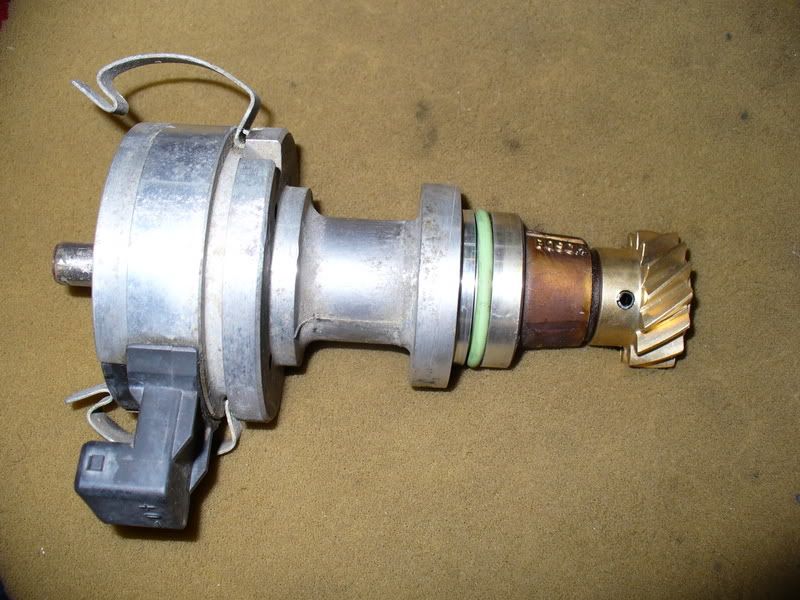
On your drive-shaft rebuild did you replace just the support bearing or all the u joints as well? If so do where did you get the u joints and what's the part number? I'm guessing they're stnd. and can be found at any auto parts store.
My center bearing per your recommendation is arriving today thanks to Javad and the boyz...
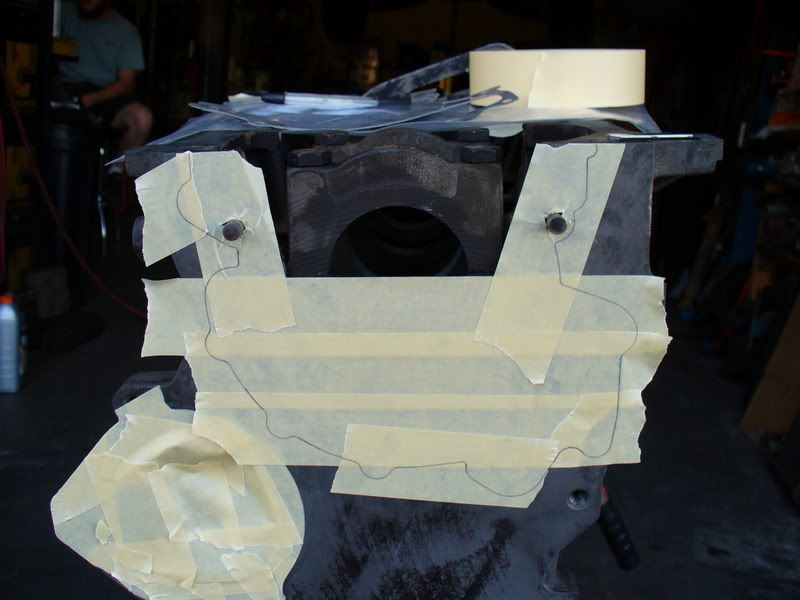
I'll follow your earlier tip on marking the splines prior to taking it apart.
Keep up the amazing work... Looking at your pace you'll have the motor in the car by Sunday.. That is if the machine shop works as fast as you do.


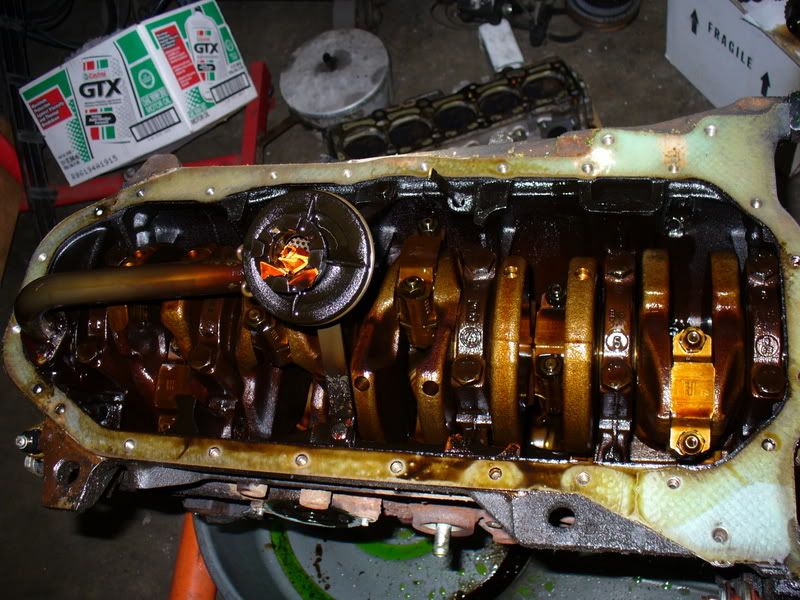

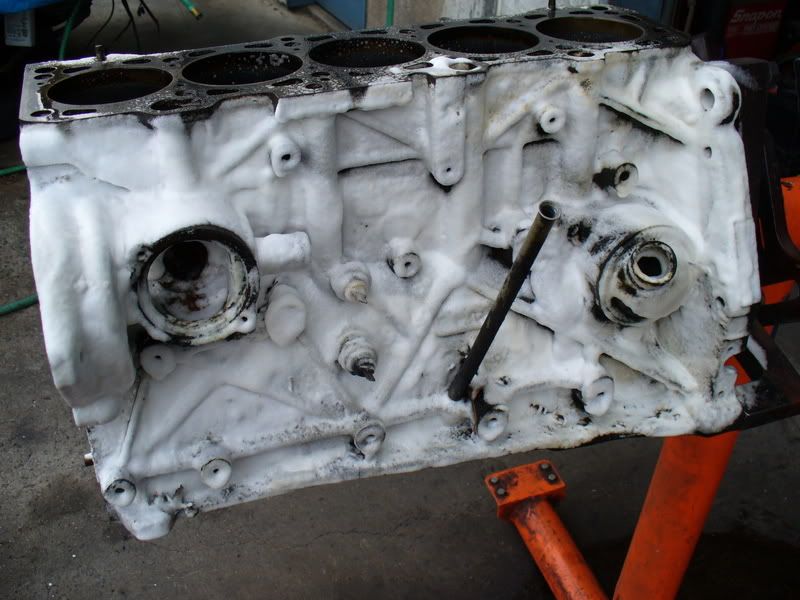
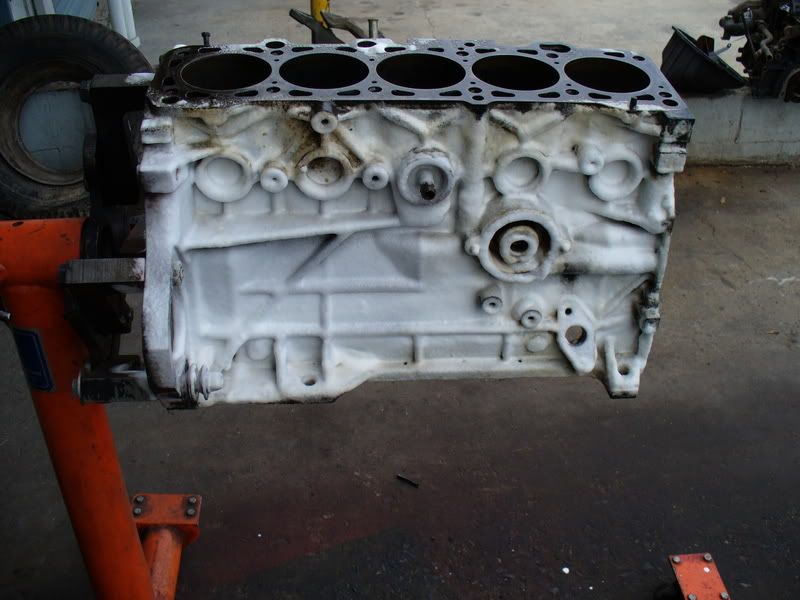
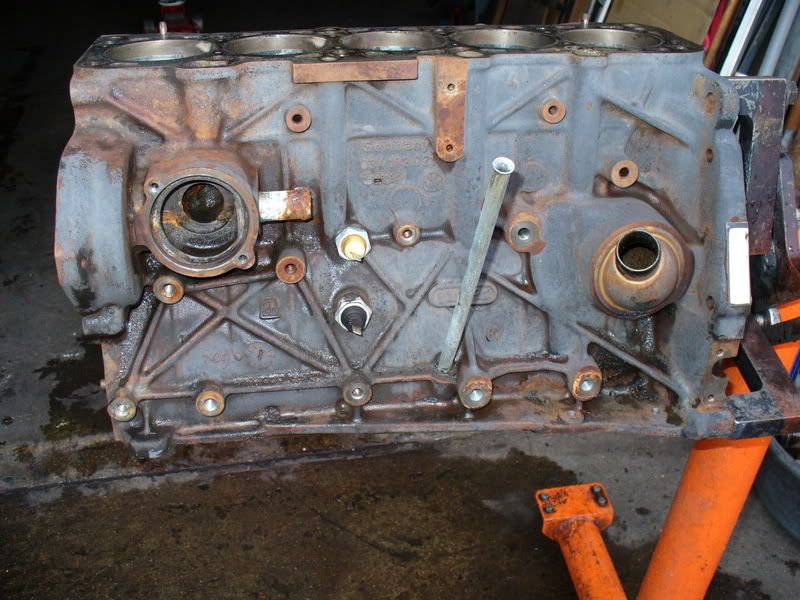
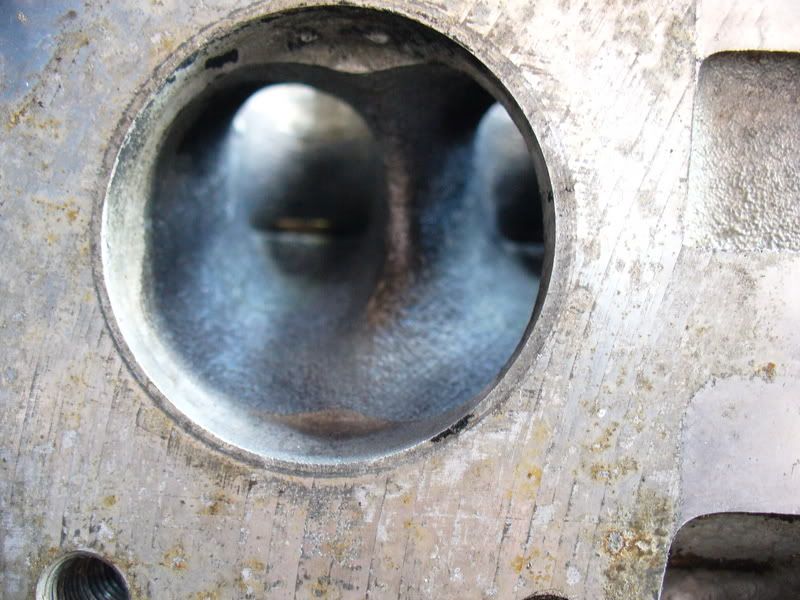
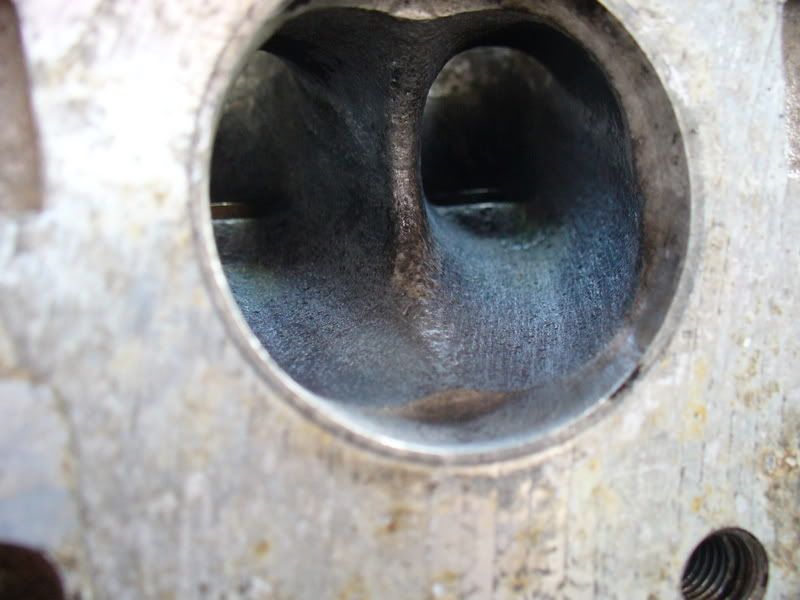
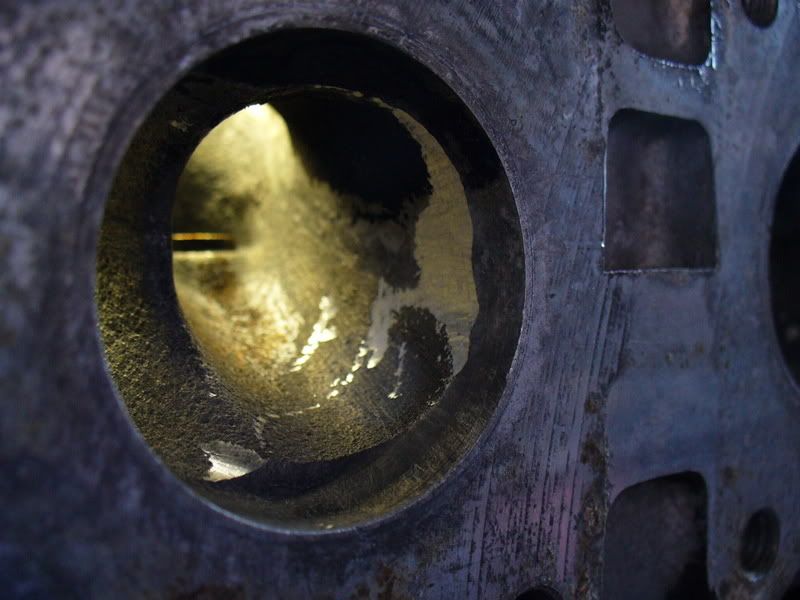
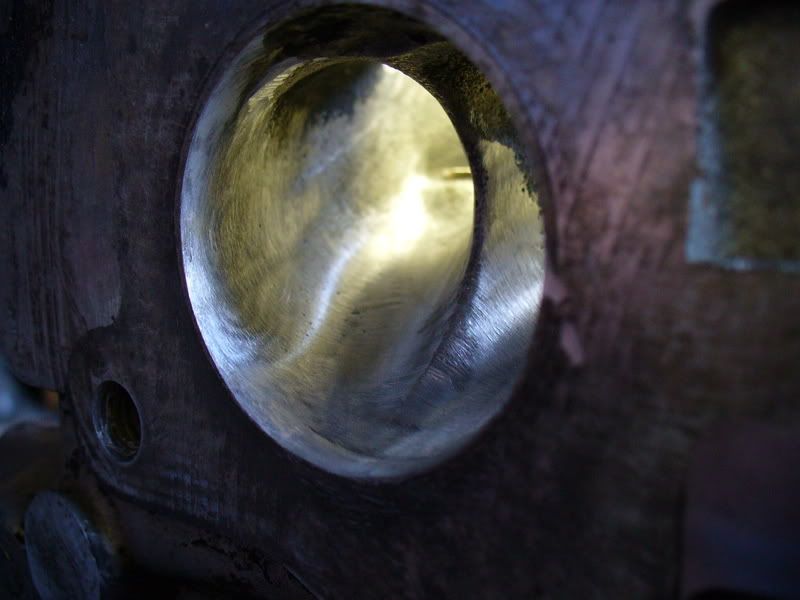
 sure will
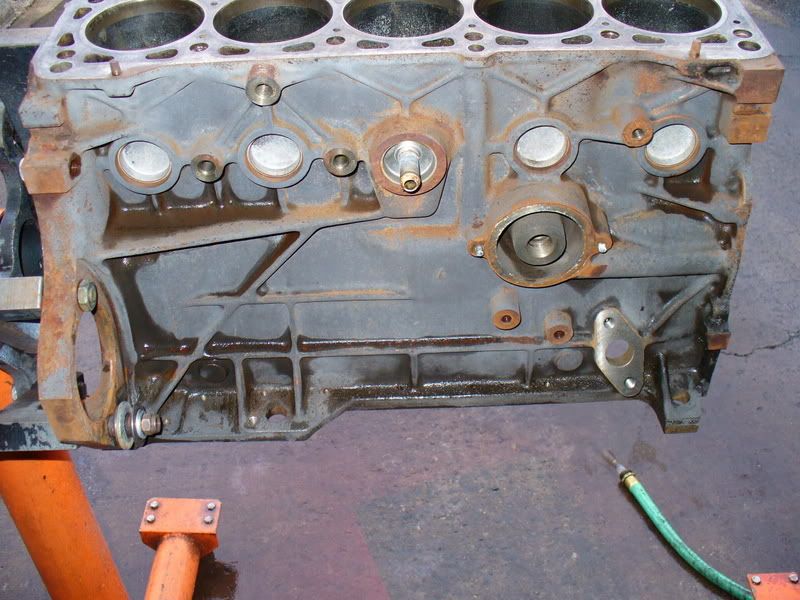
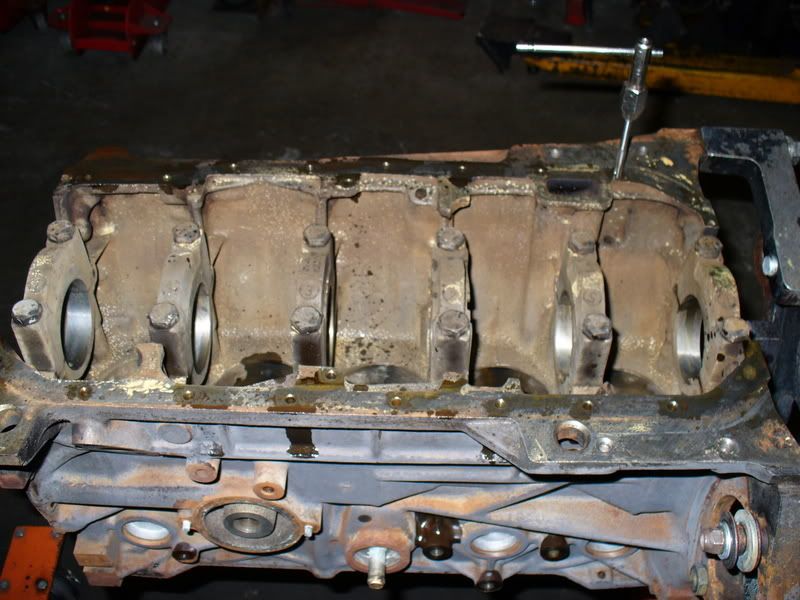
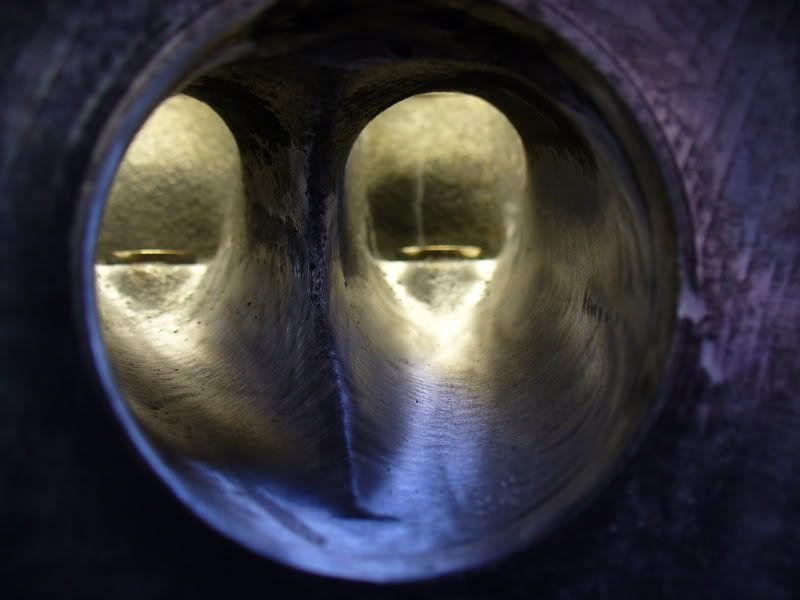
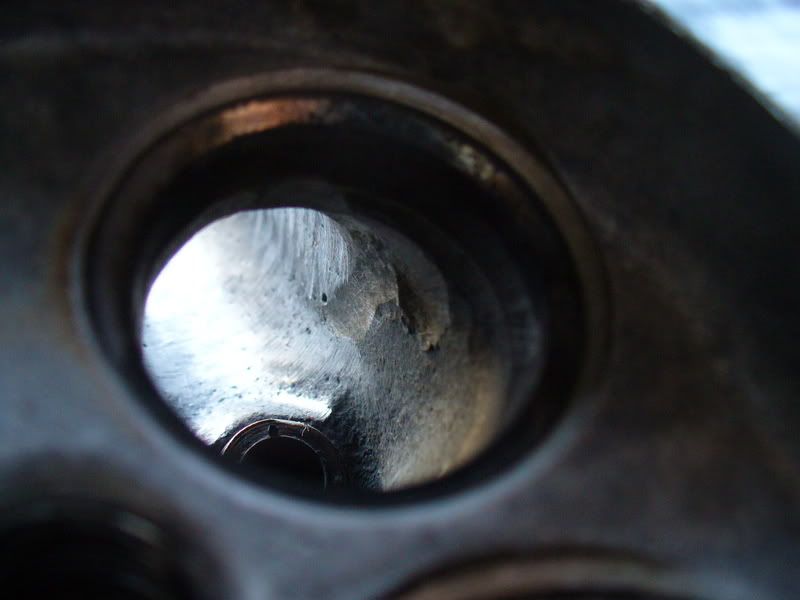
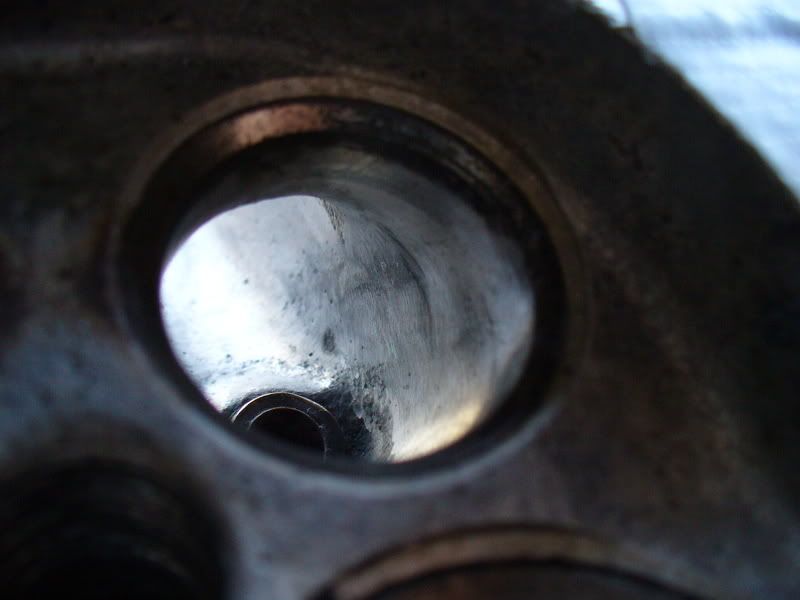
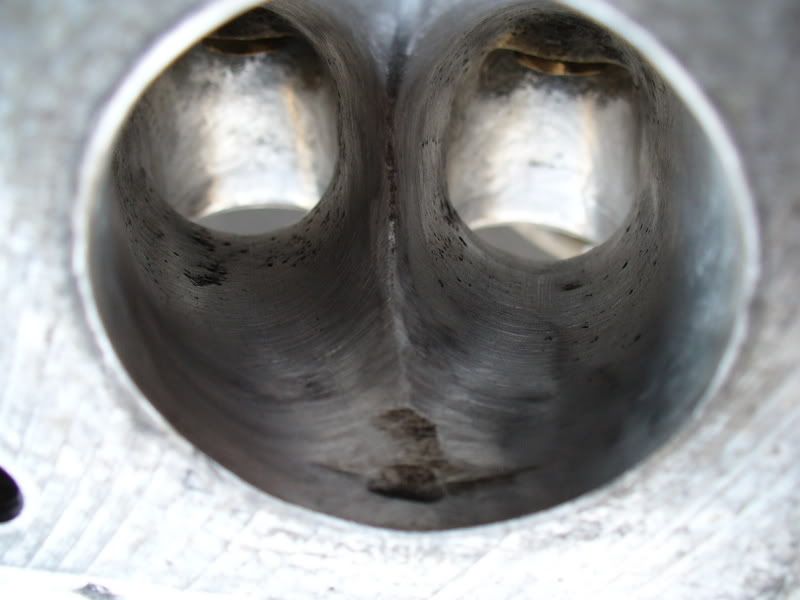
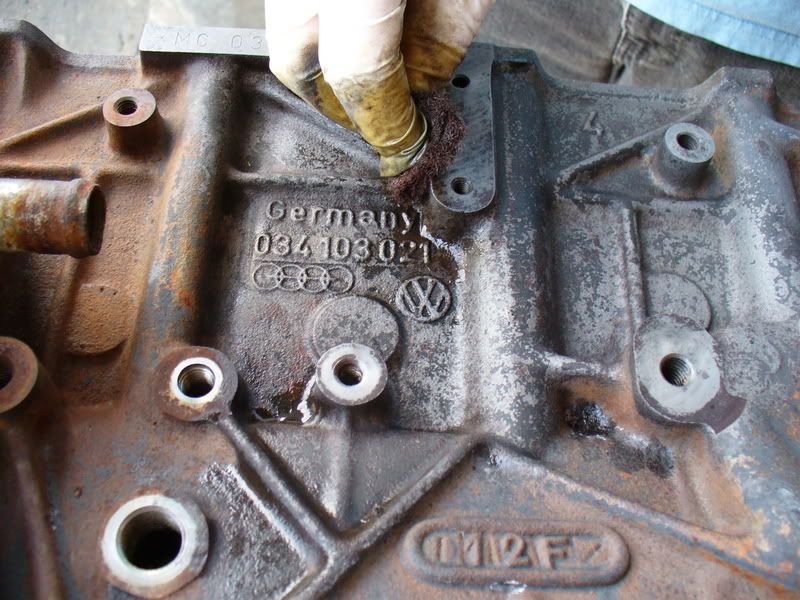
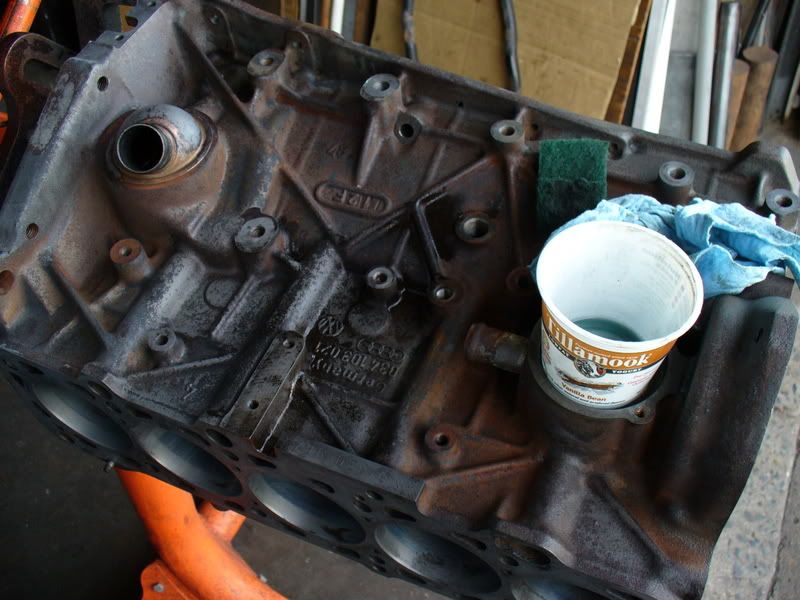
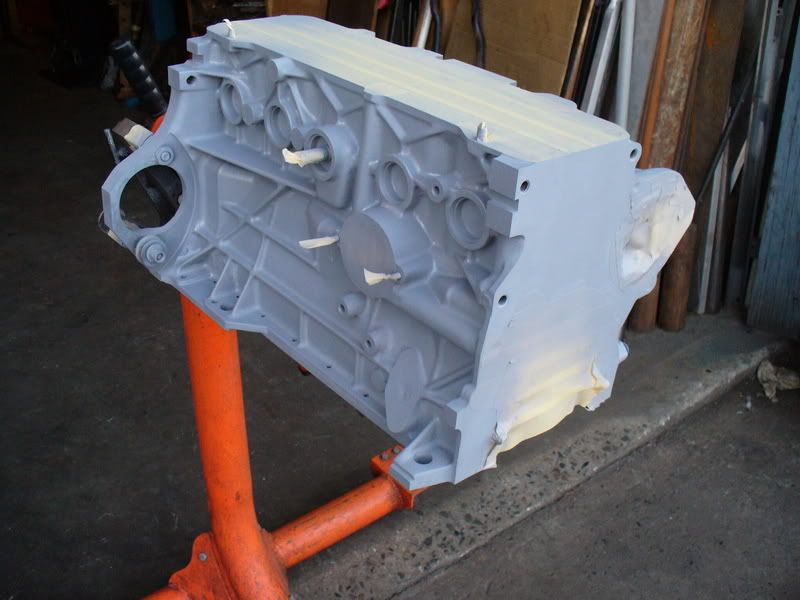
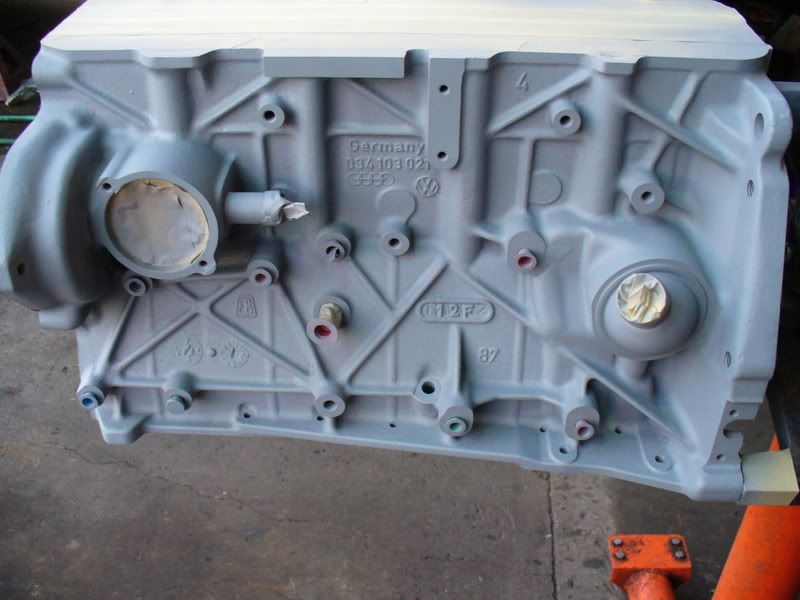
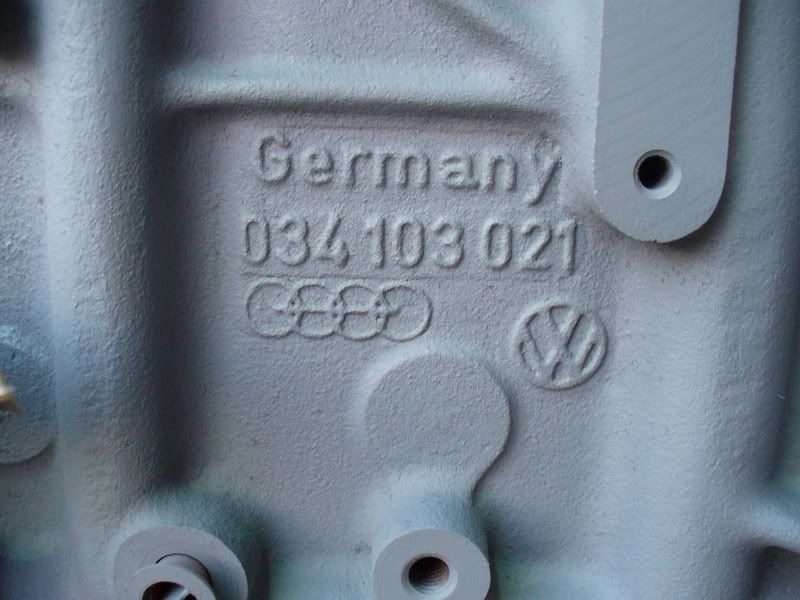
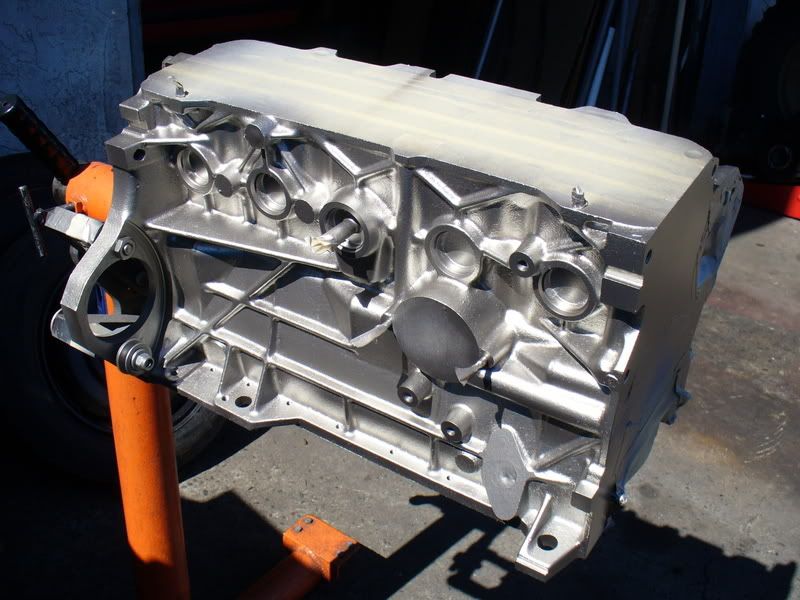
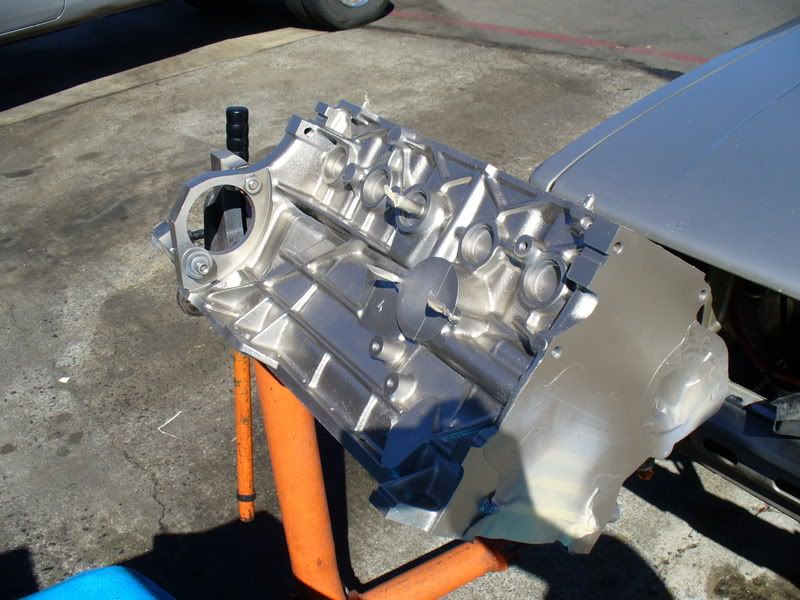
  gonna be spotless