Derracudas zermatt 20vt,6spd, 351awhp - July 4th drive vid
PxTx wrote:Says the guy who bailed out on Carlisle this year to finish his car... :wink:
ok ok ok
but hes a lot closer to waterlands than south PA is to NH
um and also a project car is never finished, jsut road worthy or driveable, never finished
24v-VR6T-CQ BEAST http://www.theprojectpad.com/viewtopic.php?f=11&t=193#p37887
16v-ABA-T VEMS O1E ETC 4Kq http://www.theprojectpad.com/viewtopic.php?f=11&t=201#p38264
16v-ABA-T VEMS O1E ETC 4Kq http://www.theprojectpad.com/viewtopic.php?f=11&t=201#p38264
-
derracuda
derracuda wrote:my goodness... I'VE GONE HYPER ADD!!!! seriously, i think i've got HDADD, high definition attention deficit disorder. i can barely pay attention, but when i do, it's incredibly clear
i don't know where to start, and where to finish... my eyes have glazed over
Yep........He's in love. :wink:

-
derracuda
ok, more random things done...
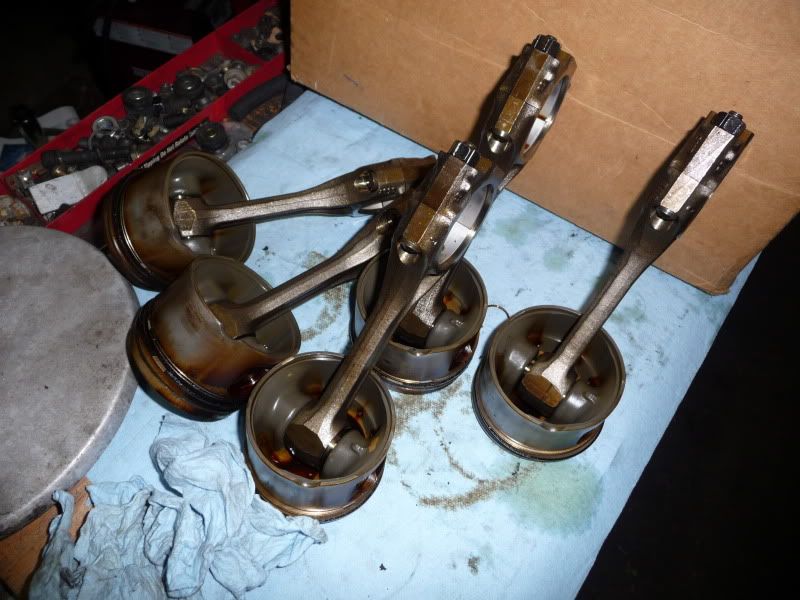
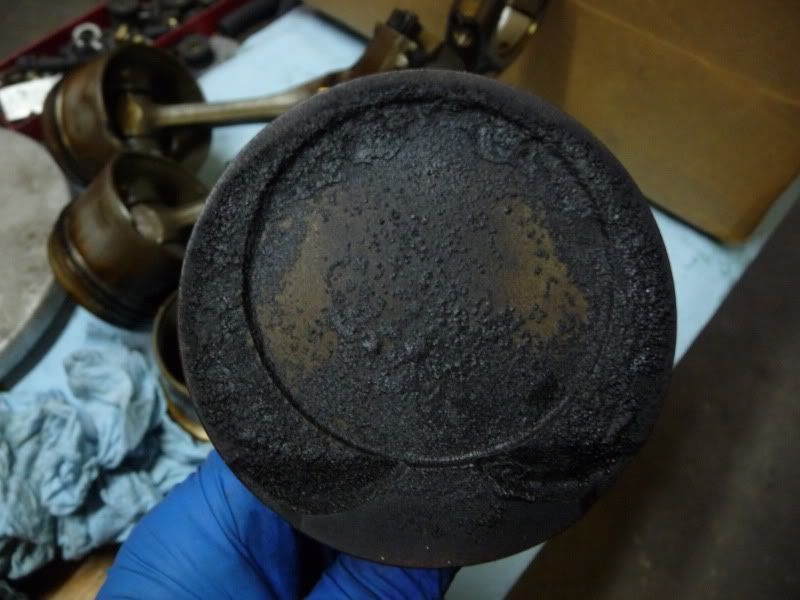
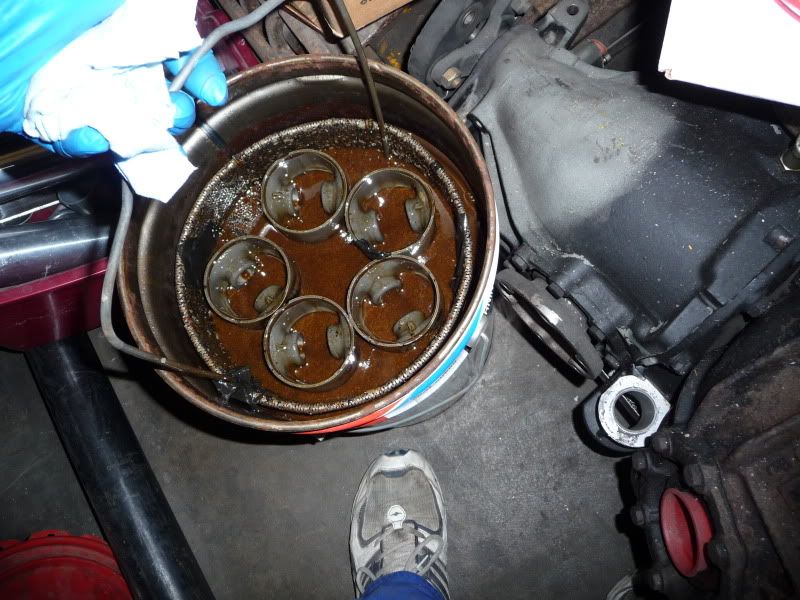
pistons got soaked and then walnut shelled, and sent to swain tech

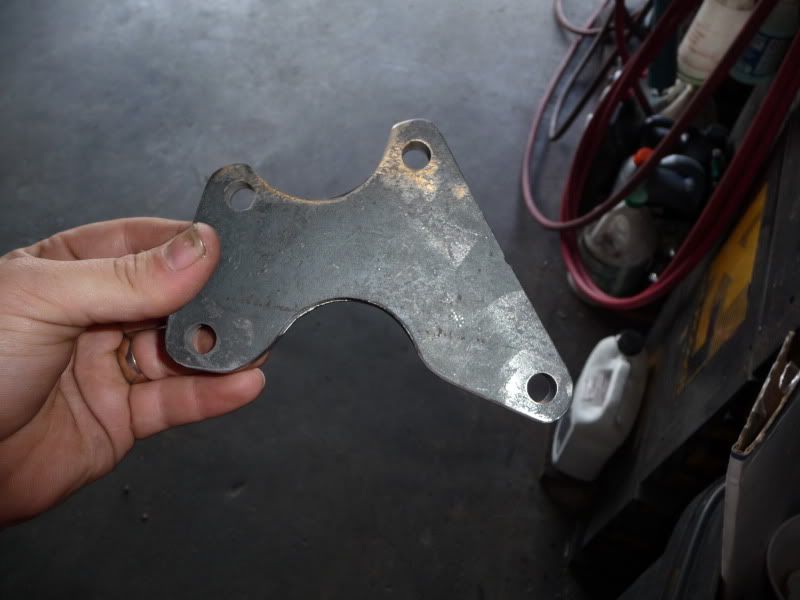
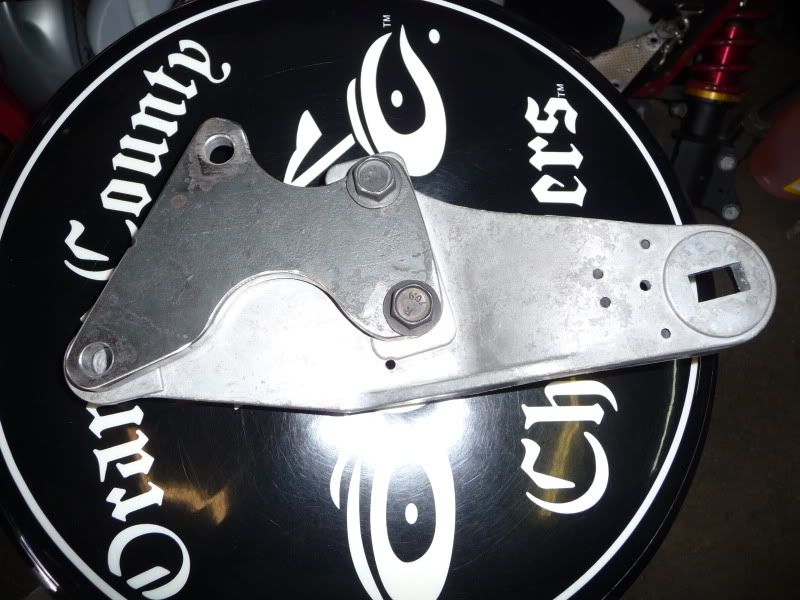
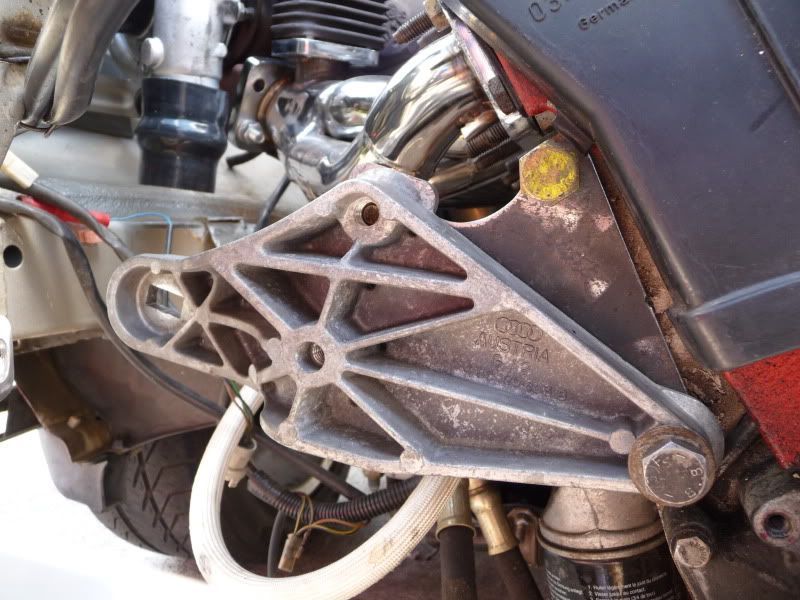
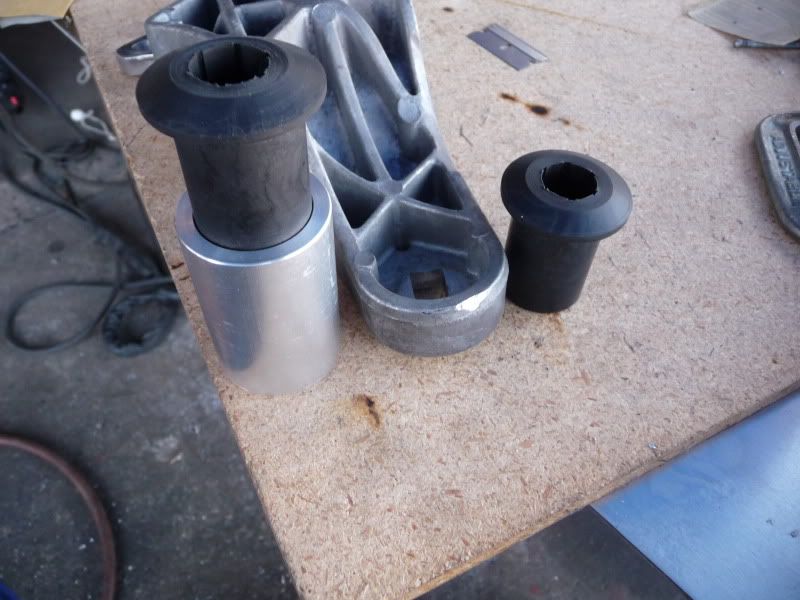
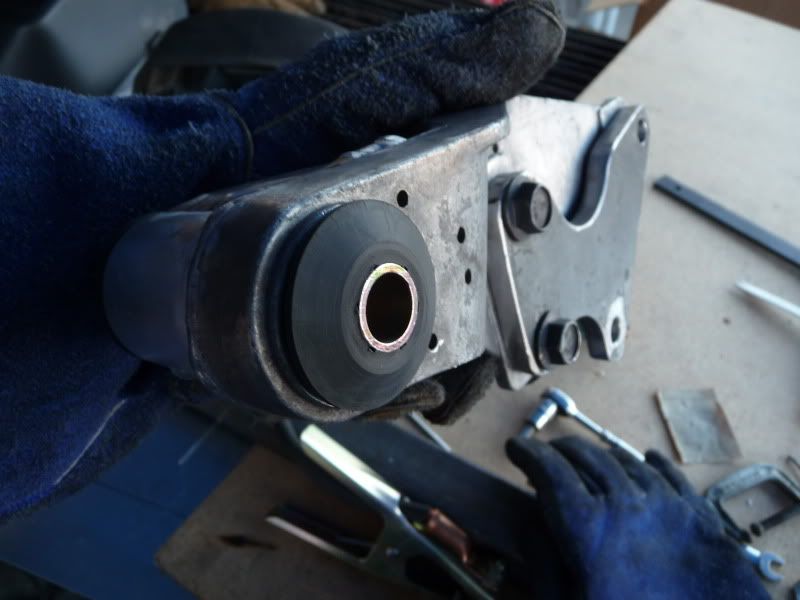
i also started on the front snub mount. it's part A8 snub mount, part derracuda werks.
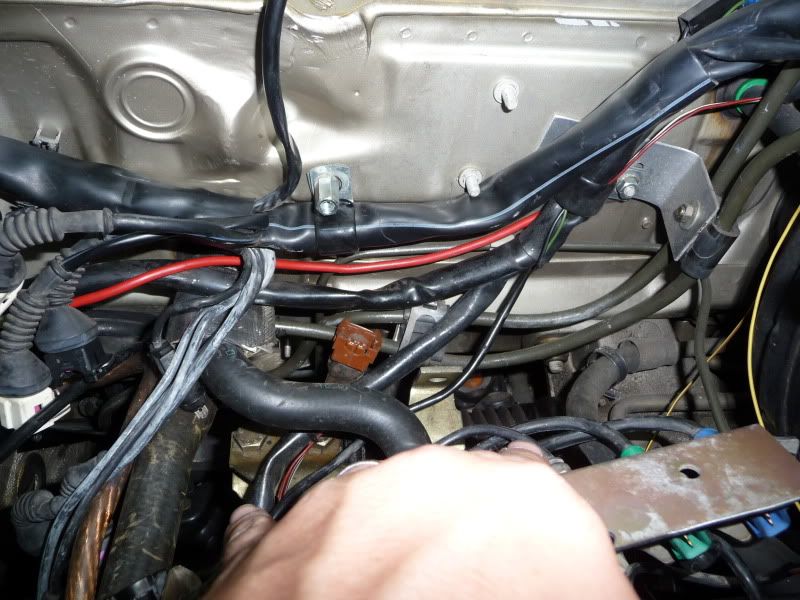
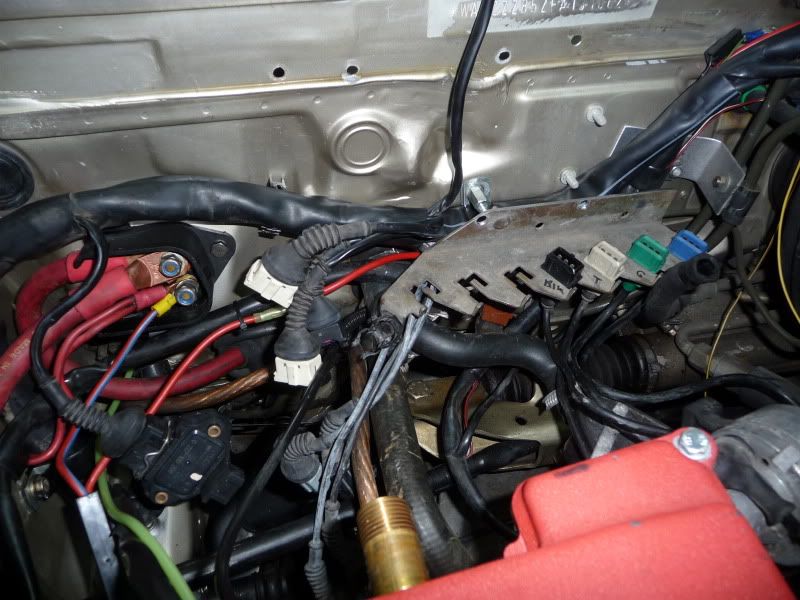
last night i tackled some of the AAN harness install. just trying to tuck it up tight and clean around my existing necessary wiring.
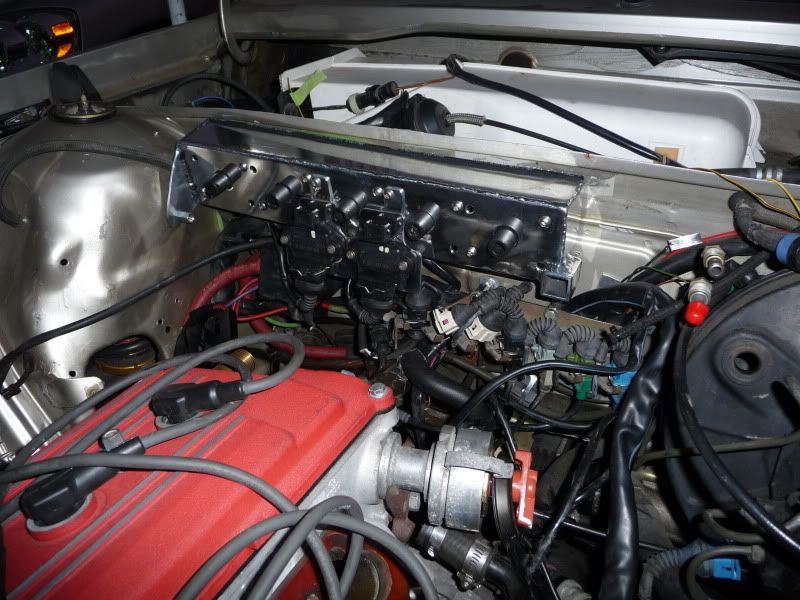
BOOM, engine bay explosion of everything!
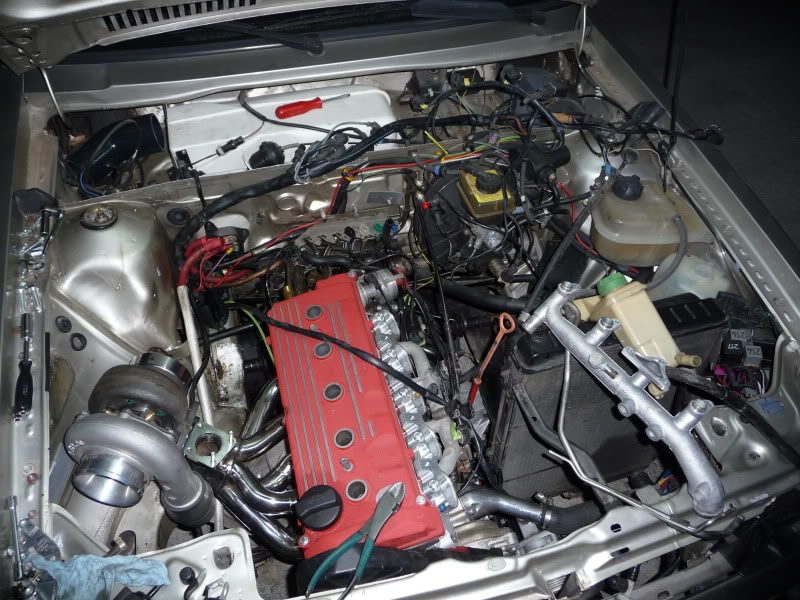
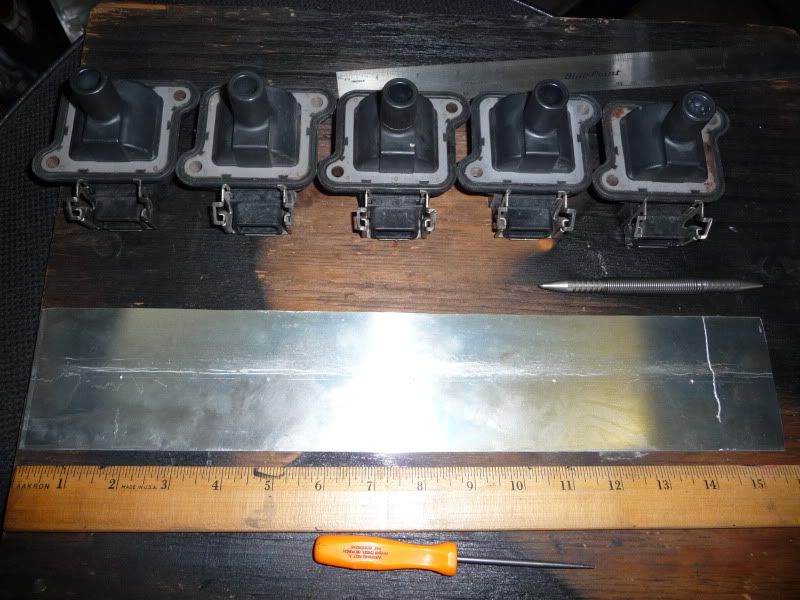
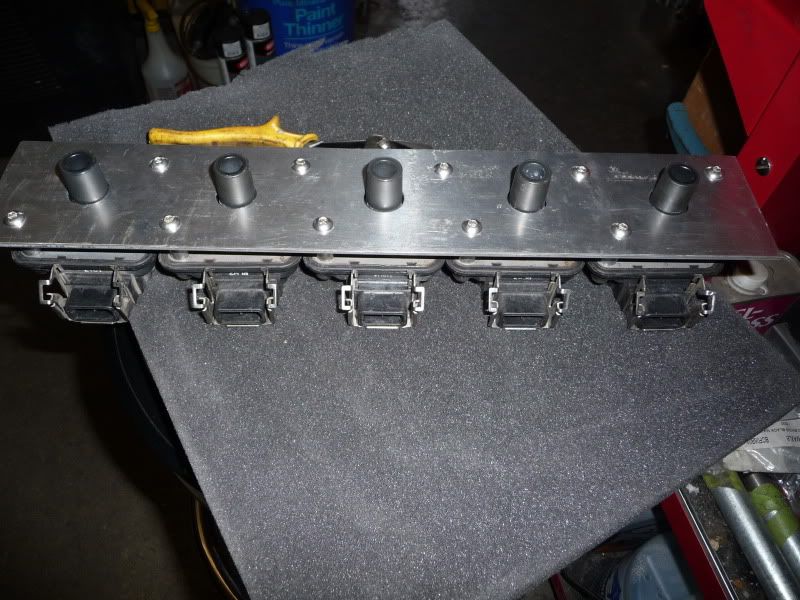
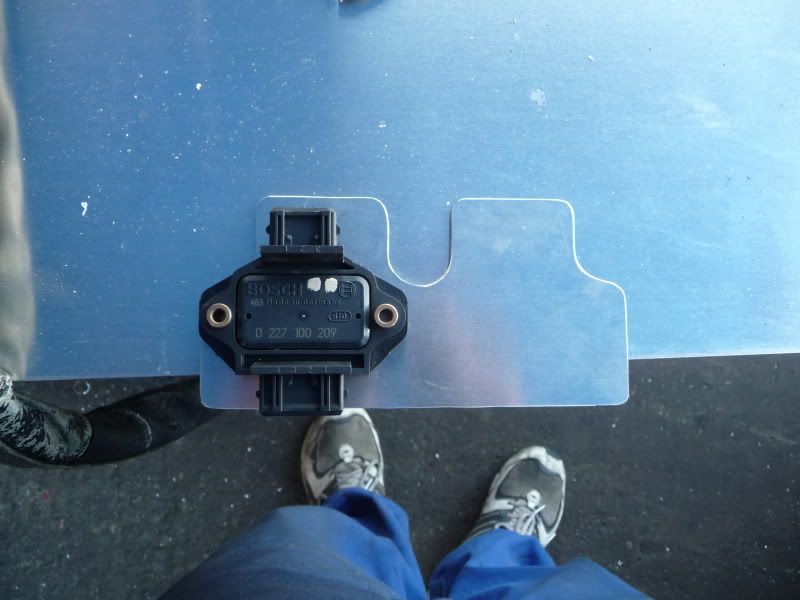
then i moved onto the coil bracket. i'm using the big 3 wire coils from the 2.7tt engine
pistons got soaked and then walnut shelled, and sent to swain tech
i also started on the front snub mount. it's part A8 snub mount, part derracuda werks.
last night i tackled some of the AAN harness install. just trying to tuck it up tight and clean around my existing necessary wiring.
BOOM, engine bay explosion of everything!
then i moved onto the coil bracket. i'm using the big 3 wire coils from the 2.7tt engine
-
audi90quattro10v
-
Joarek
-
cuatrokoop
- Posts: 271
- Joined: Thu Mar 07, 2013 11:27 pm
- Location: Findlay, OH

-
cuatrokoop
- Posts: 271
- Joined: Thu Mar 07, 2013 11:27 pm
- Location: Findlay, OH
-
derracuda
i am engaged, i got an engagement ring 8)
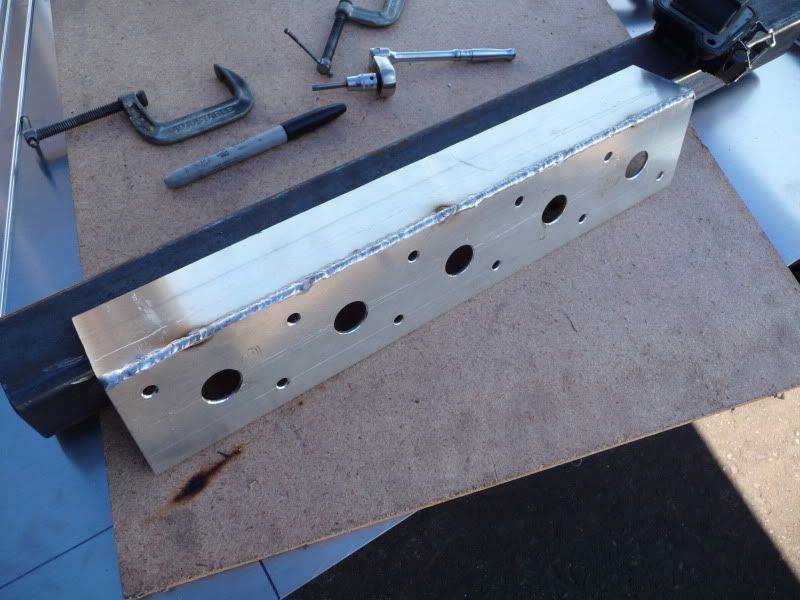
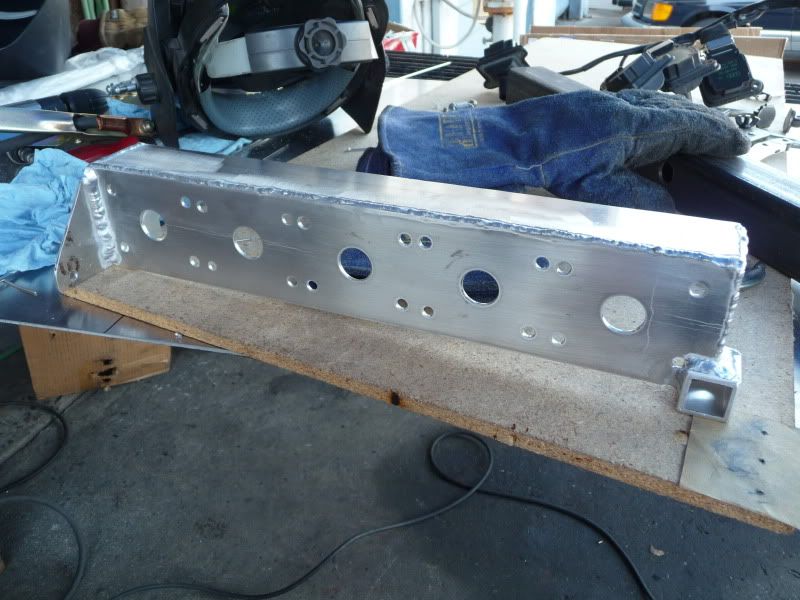
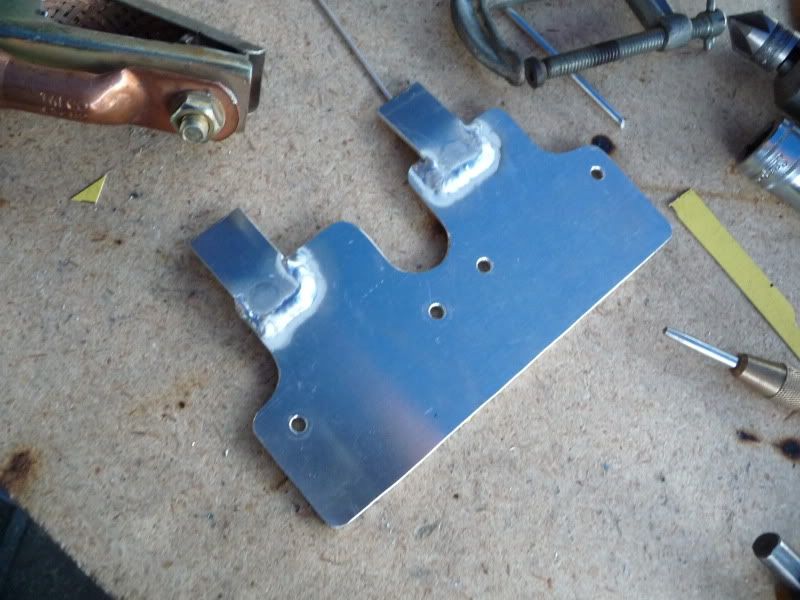
ok, on with finishing the coil bracket....
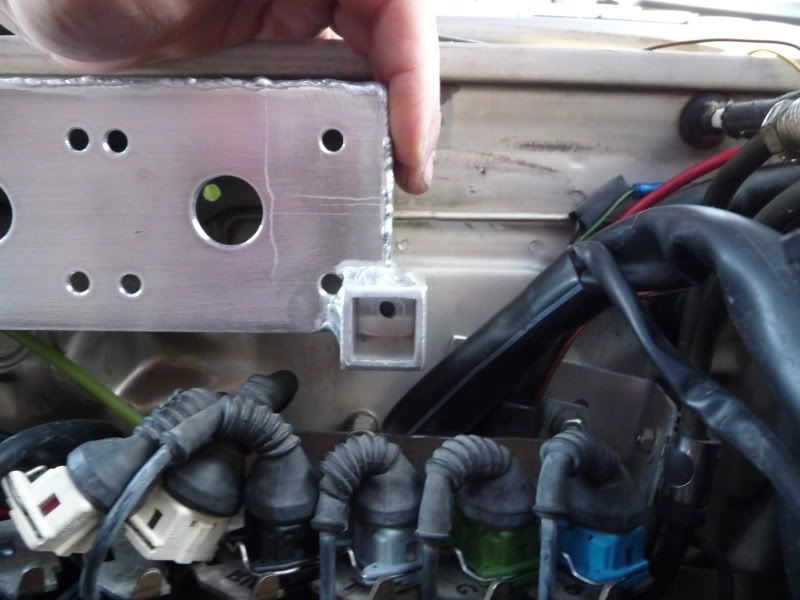
had to figure out a decent and simple way to mount it so that it's easily accessible for the future for service.
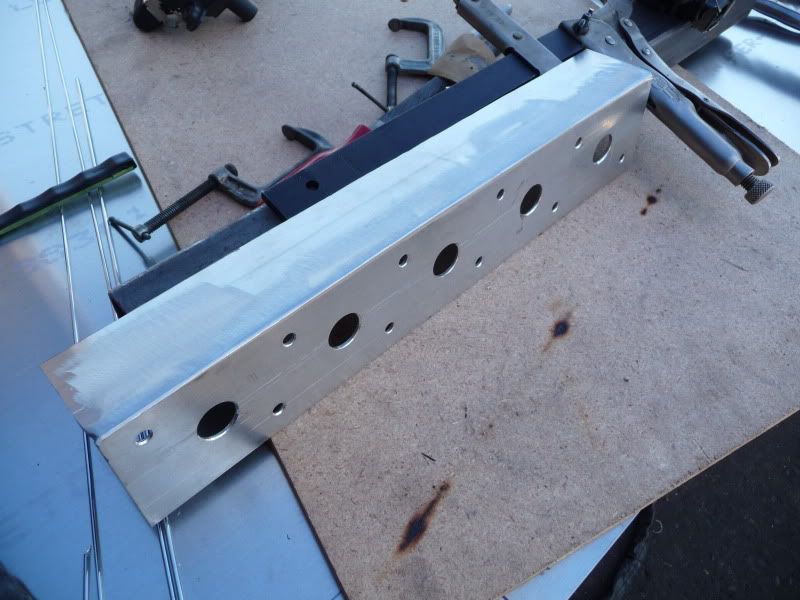
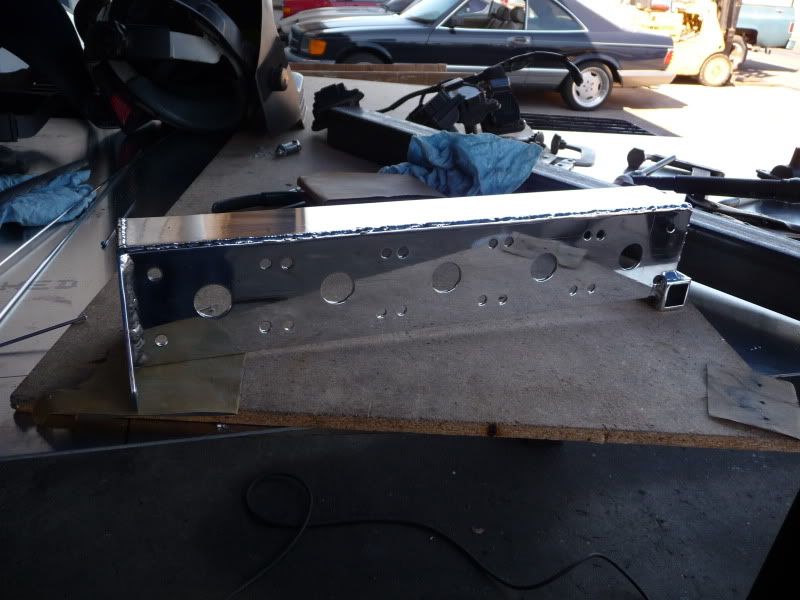
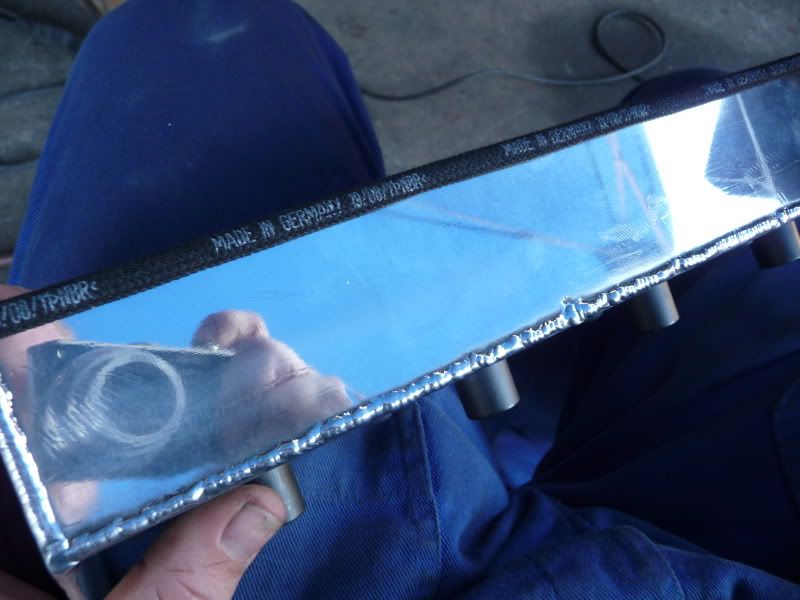
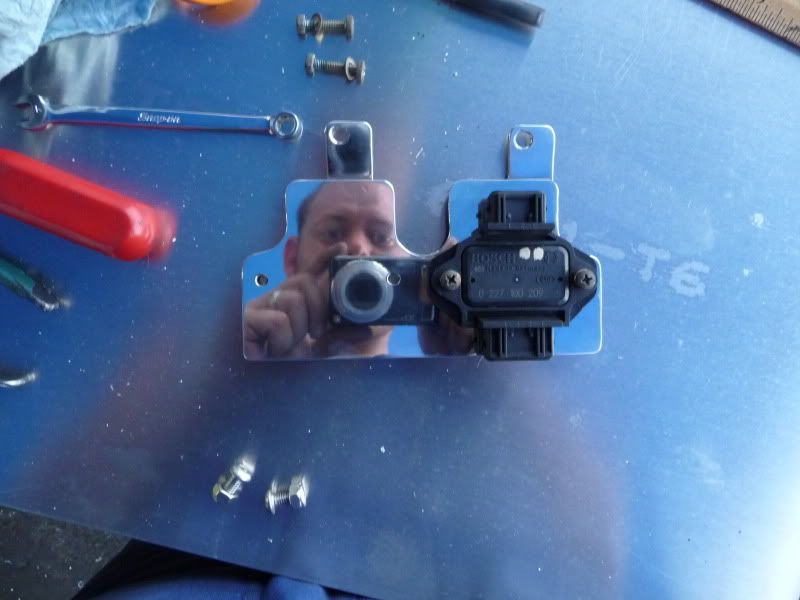
a bit of spit polish
a bit of misleading information
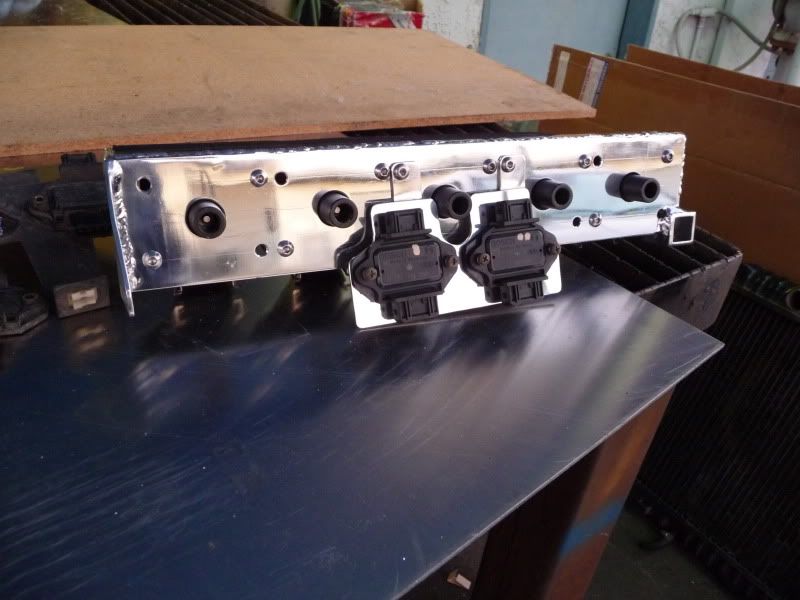
and i had to make a home for the POS's
this is how you compensate for not cutting it out right the first time...
there's a really tired guy in this picture..
snuggly like a bug in a rug... or an AAN harness in a type85
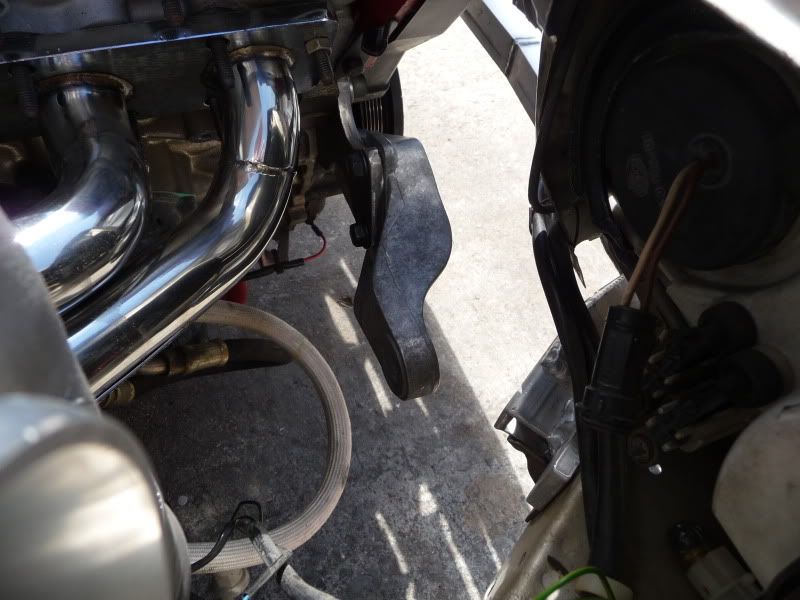
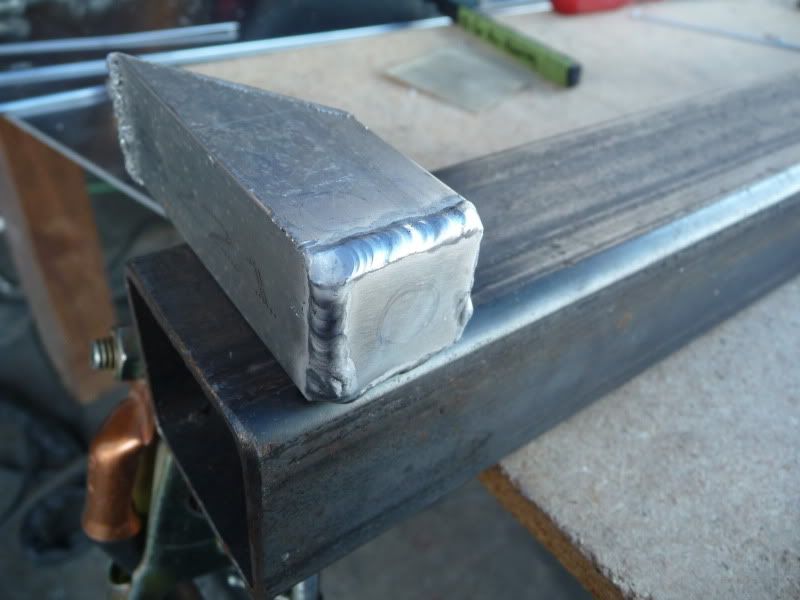
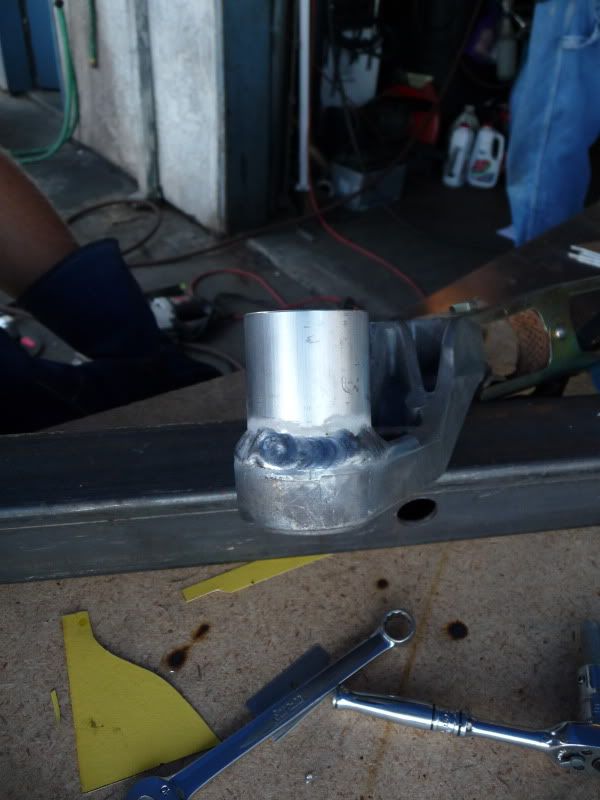
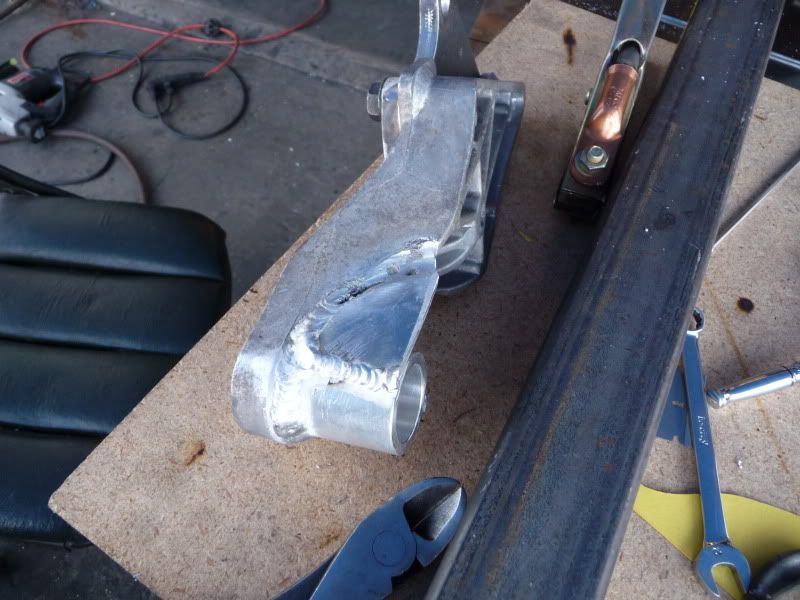
lastly, the snubber got it's mod. it's not finished, and don't say anything about the crappy weld on the little triangle bracket. the actual cast piece had some junk in it and i couldn't stop the desolation, so i just left it and smoothed it out a bit.
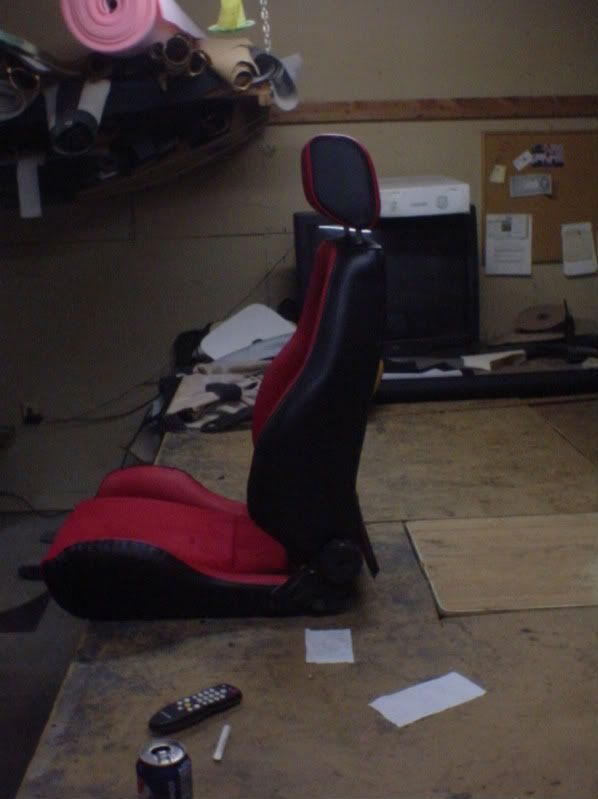
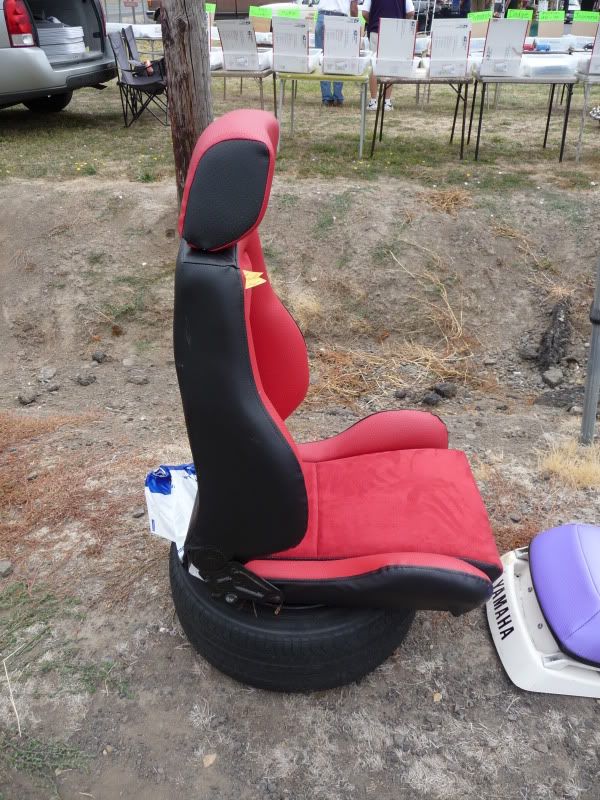
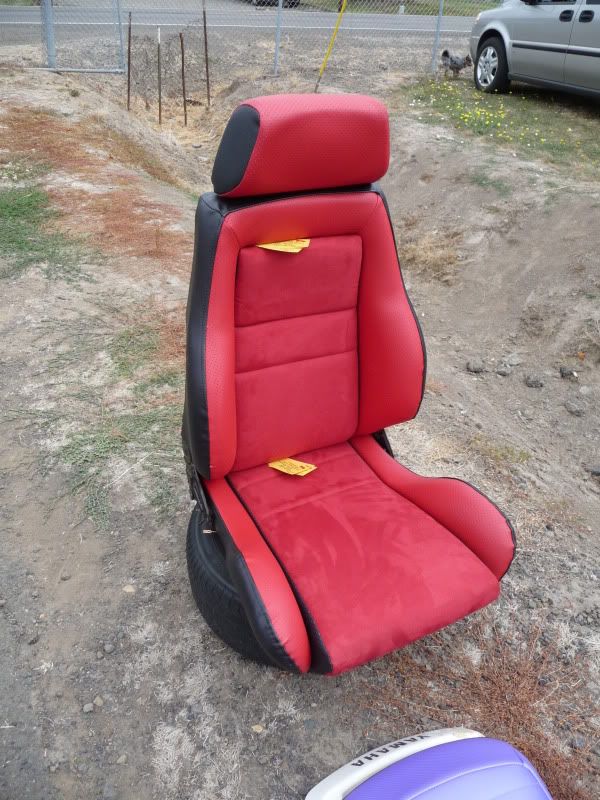
last thing of the night, a teaser of the interior... i am sooooo E X C I T E D!!!
ok, on with finishing the coil bracket....
had to figure out a decent and simple way to mount it so that it's easily accessible for the future for service.
a bit of spit polish
a bit of misleading information
and i had to make a home for the POS's
this is how you compensate for not cutting it out right the first time...
there's a really tired guy in this picture..
snuggly like a bug in a rug... or an AAN harness in a type85
lastly, the snubber got it's mod. it's not finished, and don't say anything about the crappy weld on the little triangle bracket. the actual cast piece had some junk in it and i couldn't stop the desolation, so i just left it and smoothed it out a bit.
last thing of the night, a teaser of the interior... i am sooooo E X C I T E D!!!
-
Hybrid_Hatch
-
cuatrokoop
- Posts: 271
- Joined: Thu Mar 07, 2013 11:27 pm
- Location: Findlay, OH
-
O2VW1.8T
-
glibobbo21
- Posts: 659
- Joined: Wed Feb 27, 2013 11:51 am
-
speeding-g60

- Posts: 2152
- Joined: Fri Mar 01, 2013 10:46 am
-
FunkWeasel
-
derracuda
well, time for an update! this work week has been pretty hectic, so not a lot of time on the car. i'm still working on finishing up the IM, and it's coming along pretty nice i think.
first thing i started on this time around was the rings for the topside. they will need to be welded on before the completed plenum can go on.
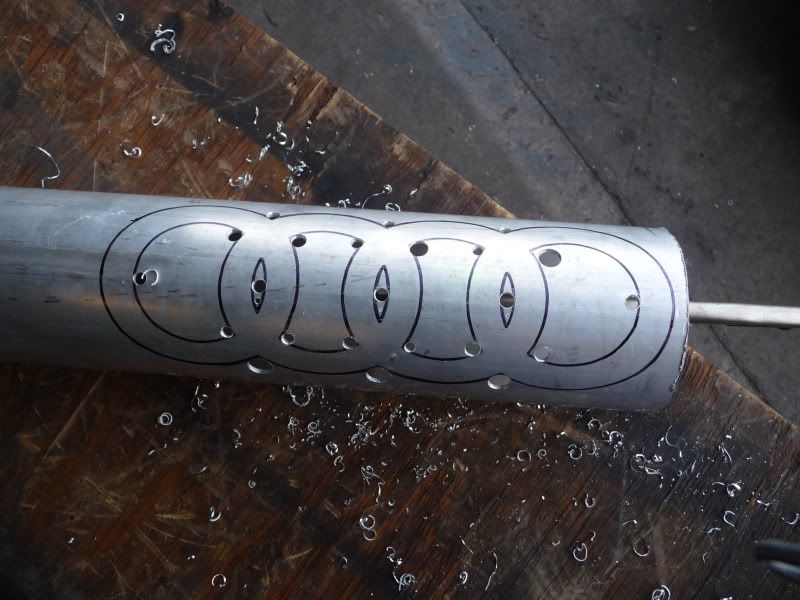
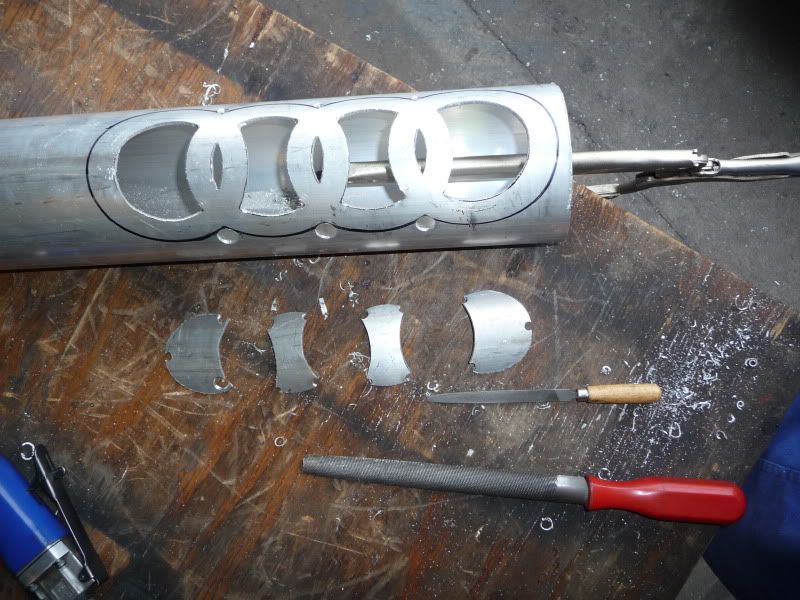
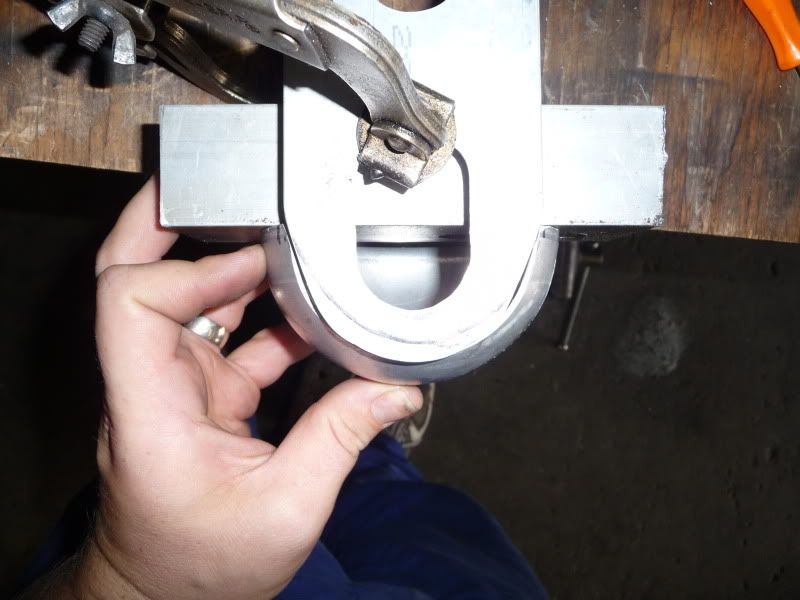
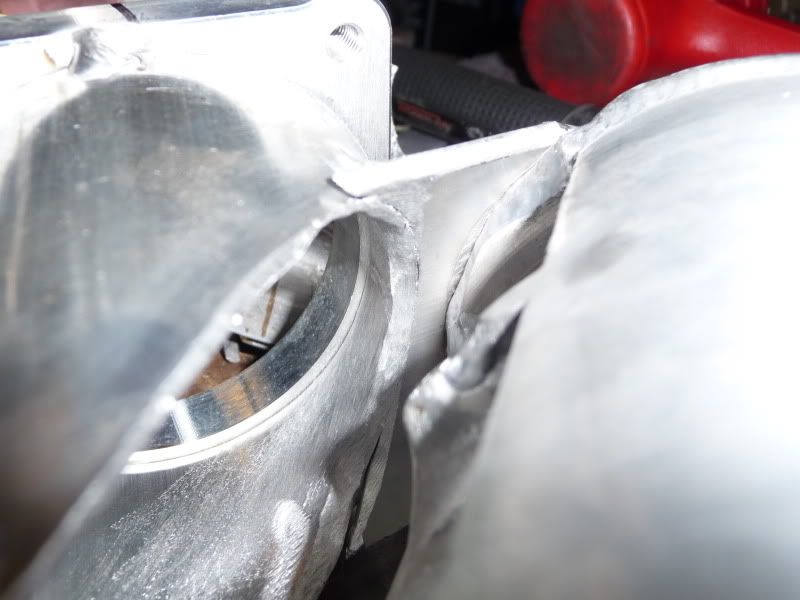
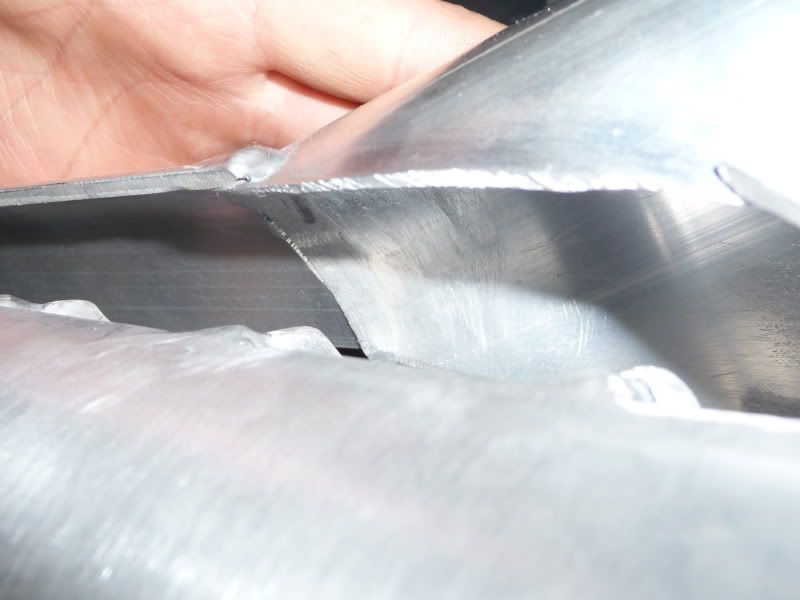
then onto the layout with the new plenum entry design. the thin divider walls were proving really hard to get to weld on, so i found some 10mm rod and coiled it around an 82mm bearing shell and then cut the pieces out like so..
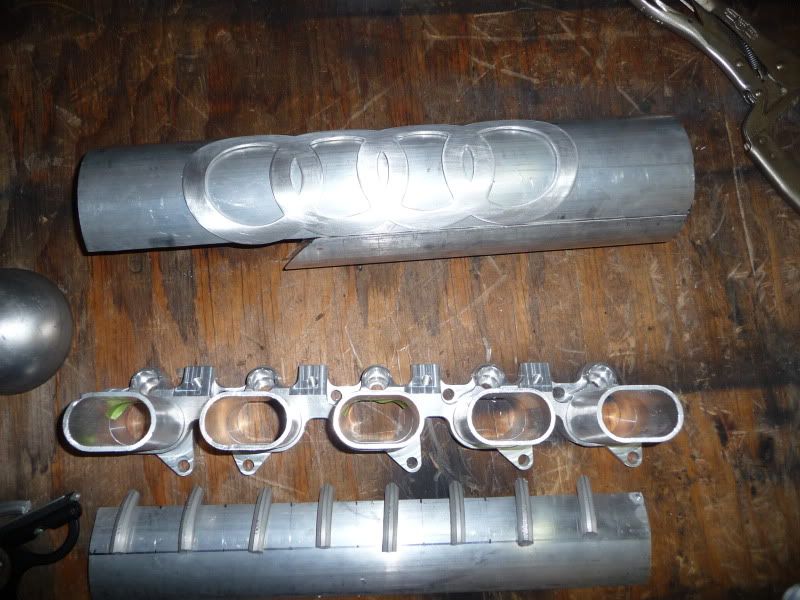
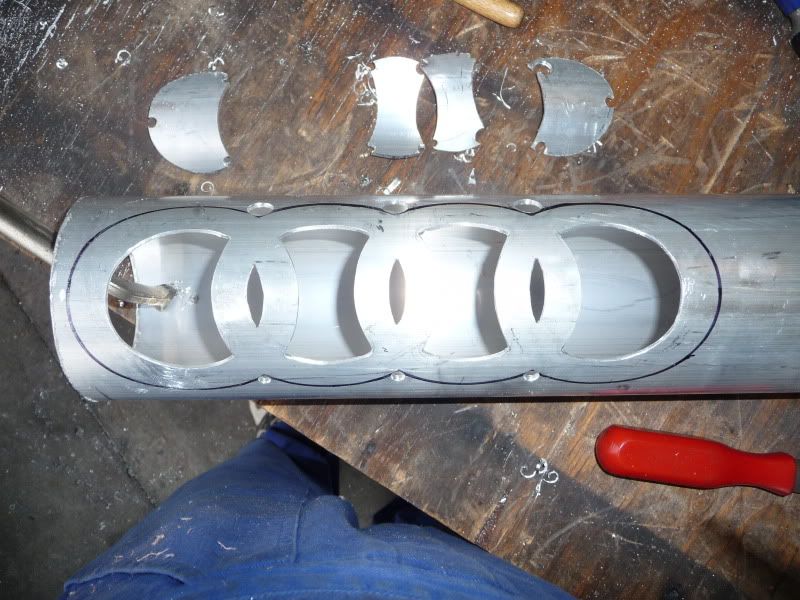
drilled holes to weld the pieces from the backside
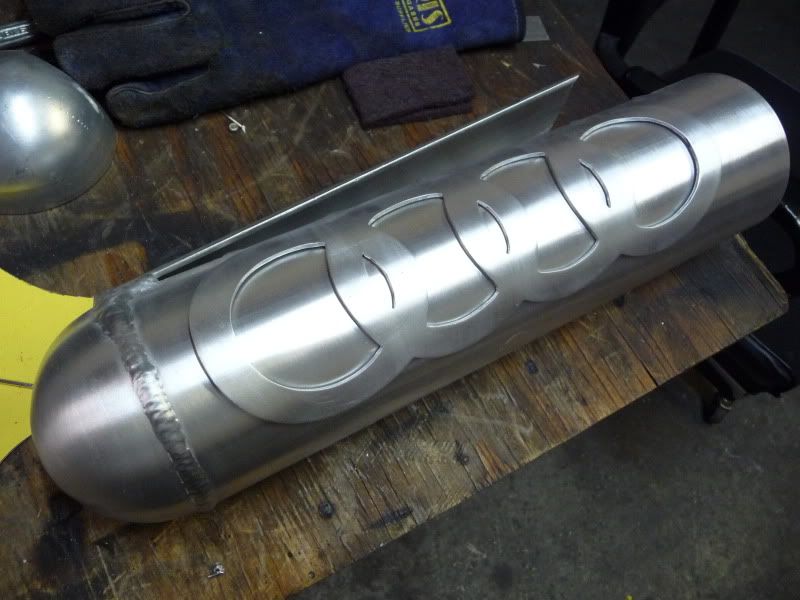
welded..
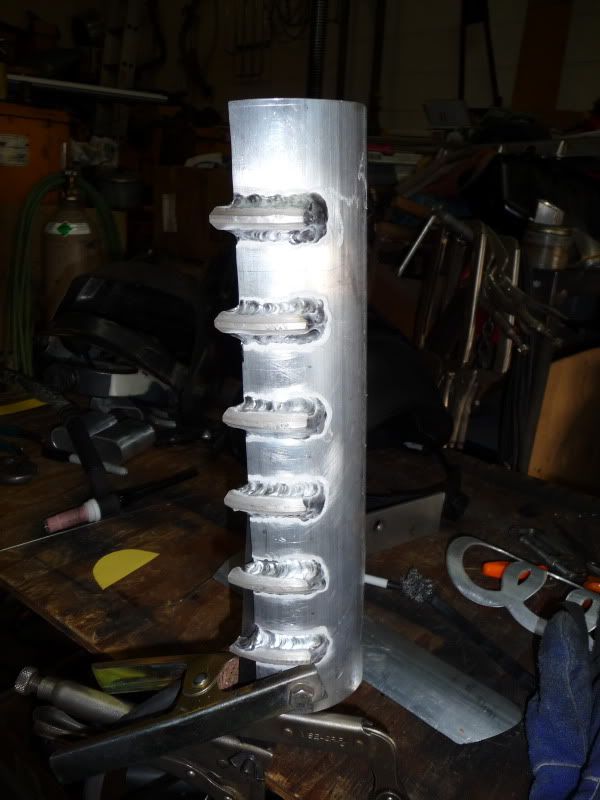
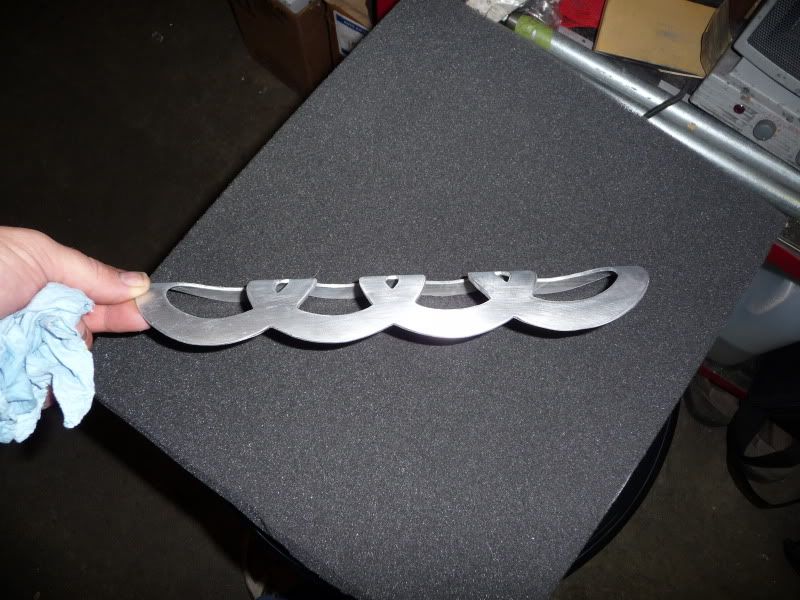
smoothed..
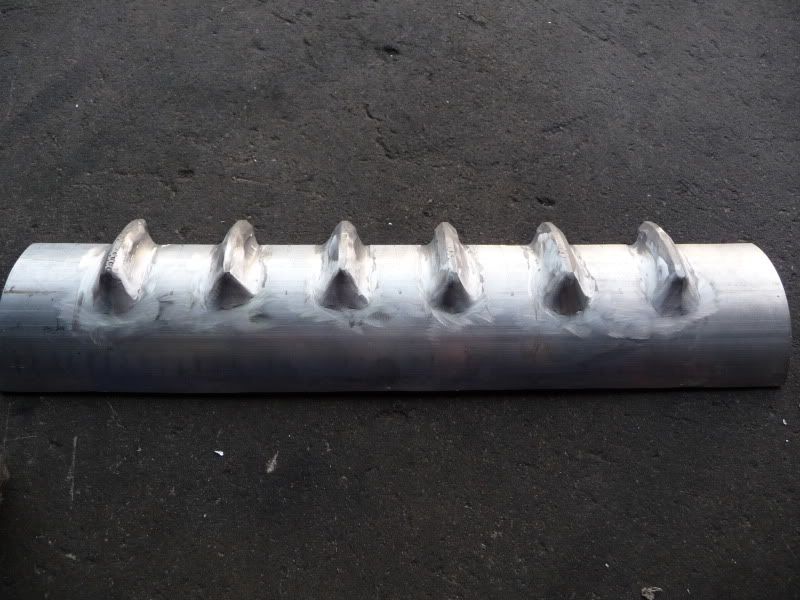
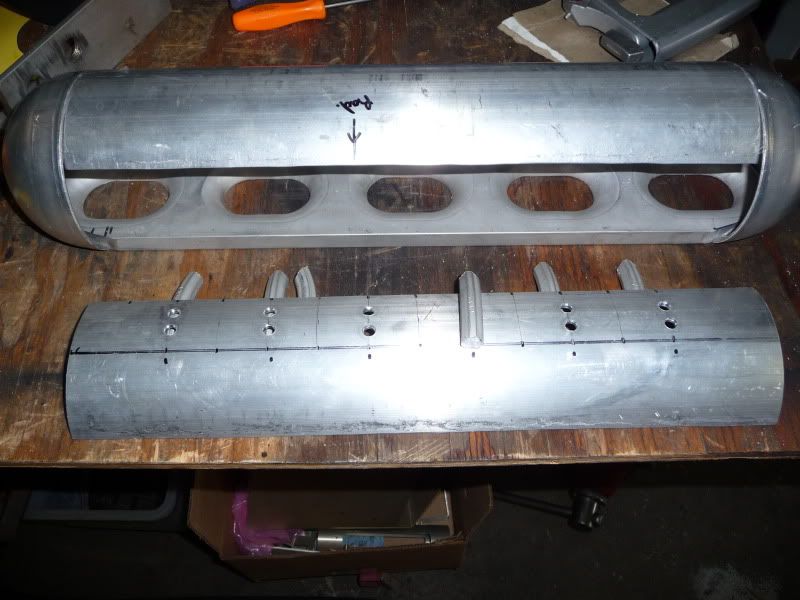
fitted to the main plenum section
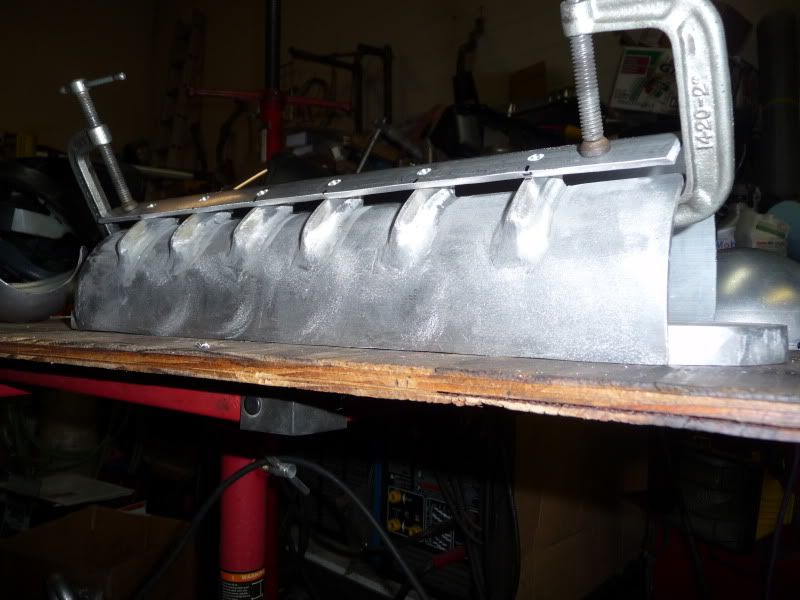
side profile
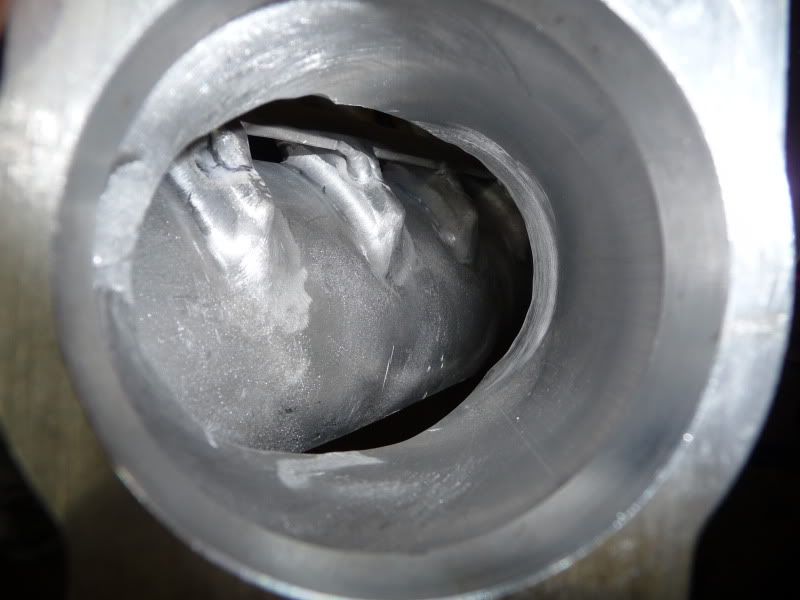
entrance into the first chamber
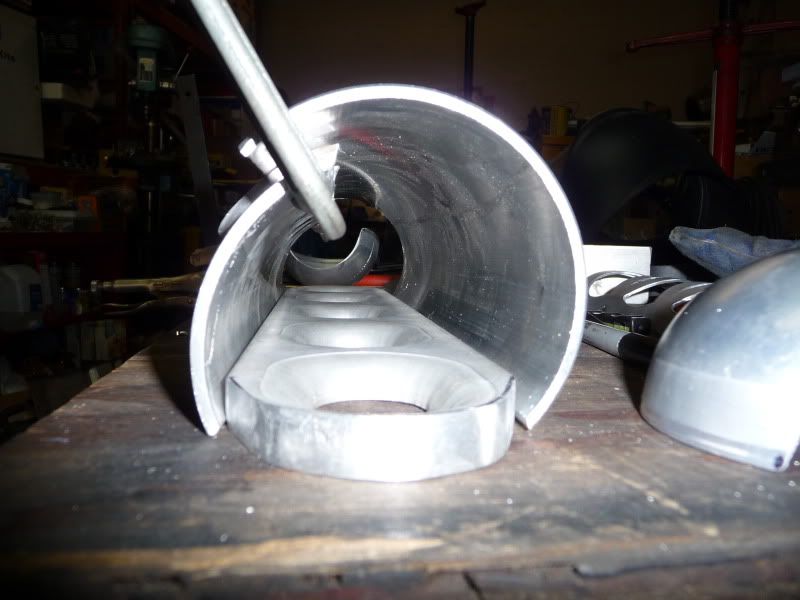
then, i needed to clearance the end caps of the IM so that the topside will clear the hood structure inside.
welded one end tank on
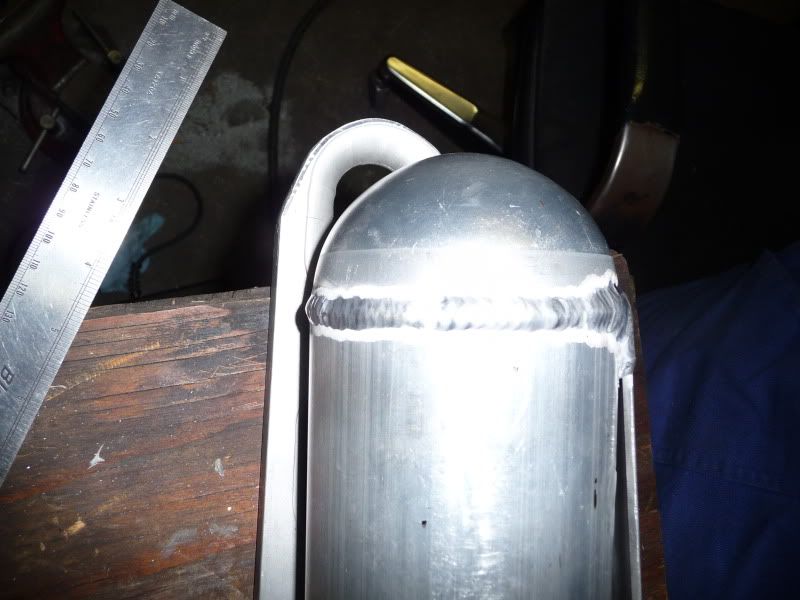
mm, rings
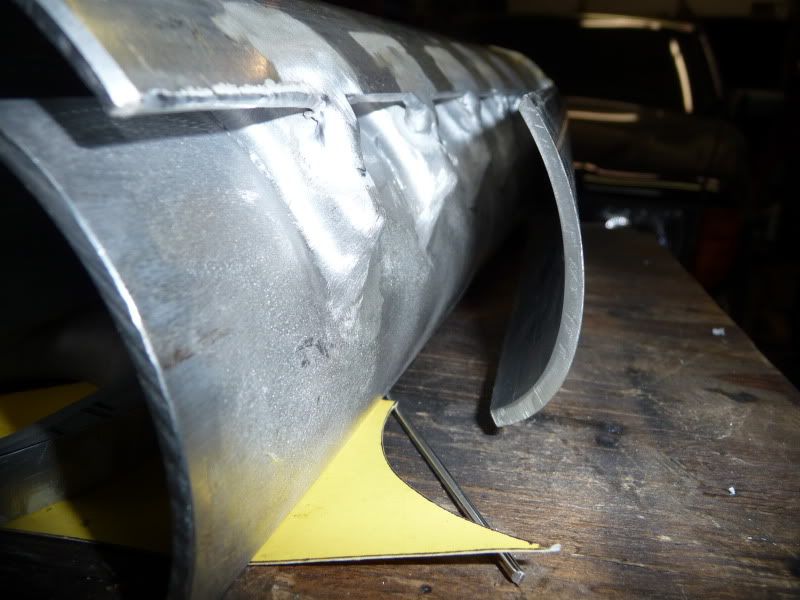
welded the front taper on
cleaned the inside joints as well as i could so they transition smoothly
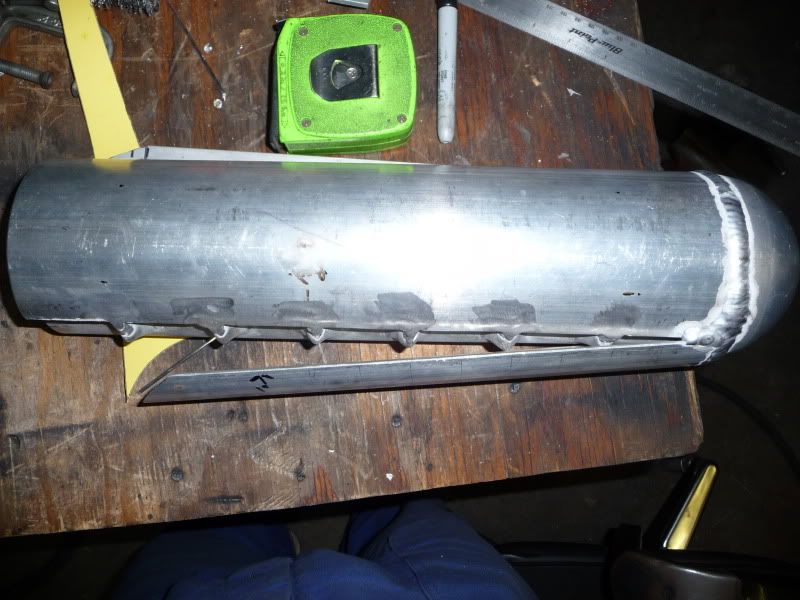
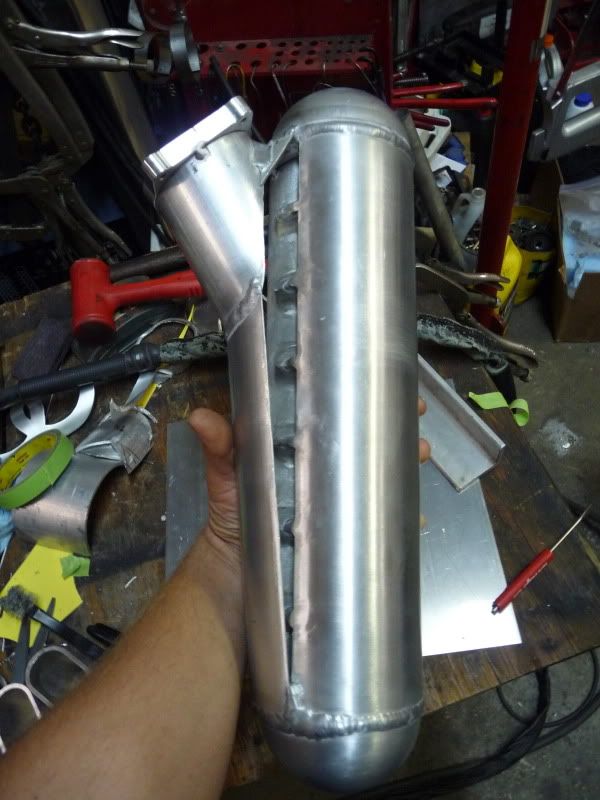
in place with a tacked TB flange on
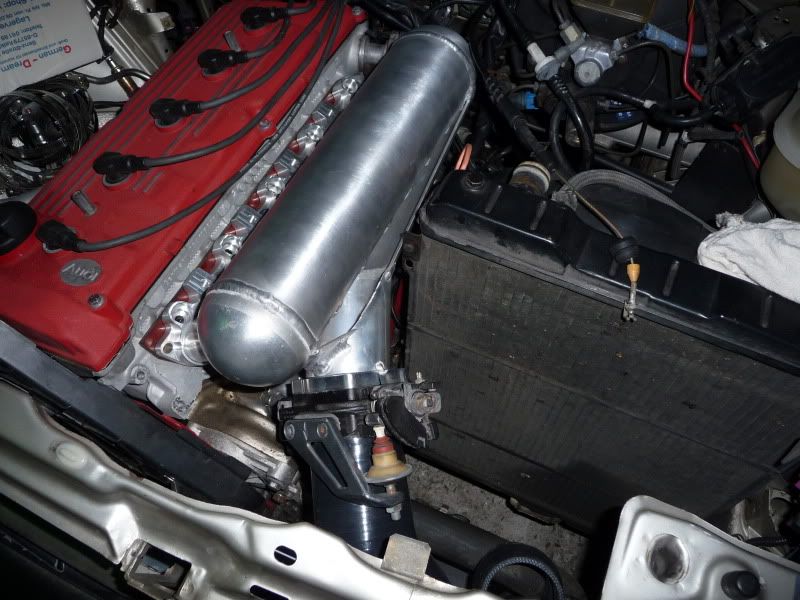
the silicone inlet boot is temporary, just to give me an idea of how this stuff fits in place. it's the wrong size
i've got the plates cut out for the still open sections of the first chamber and need to weld them in. then all that's left is welding the runners to the head flange and plenum baseplate, and the TB flange, and cable bracket. i need to also find a spot for vacuum fitting provisions that's sorta hidden.
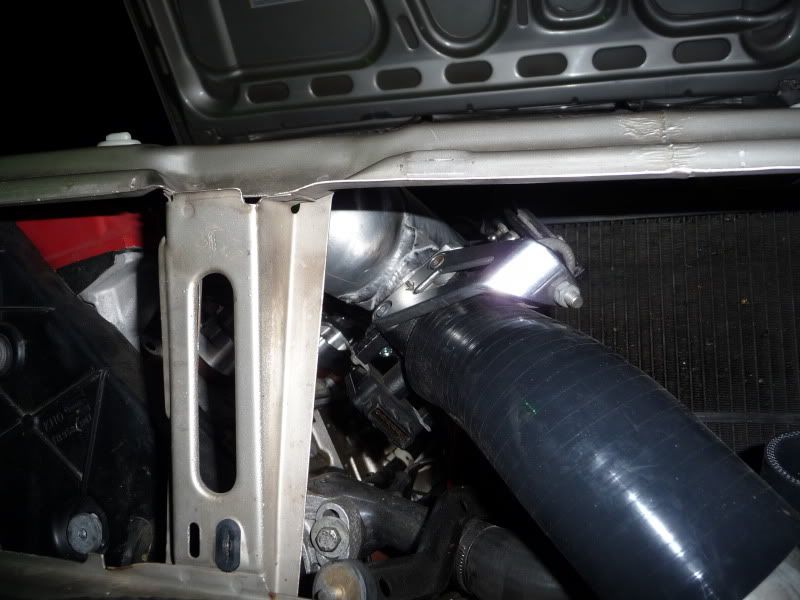
i'll probably find a bigger radiator down the road and make a new engine mount so i can rotate the radiator ala' SQ. i'm looking for a summit radiator or something that's universal and under $200 to fit in place with some slight mods.
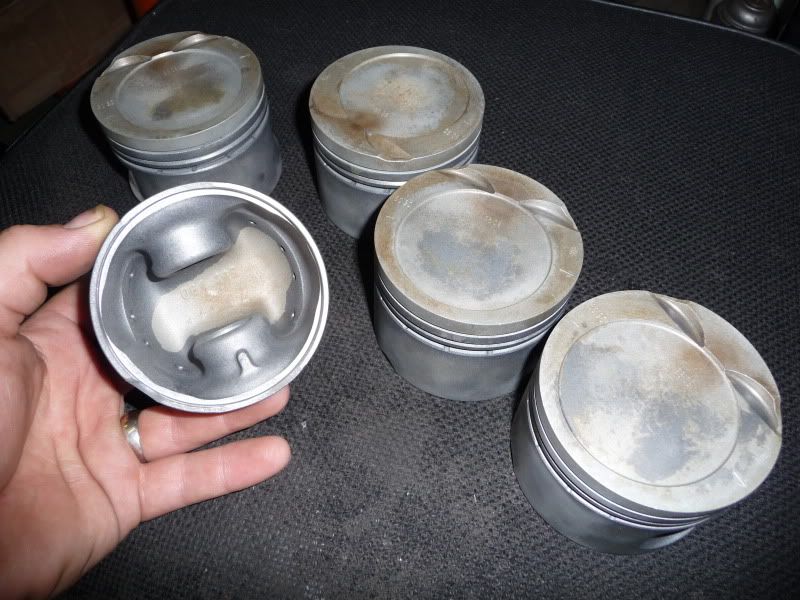
also, my coated pistons also arrived
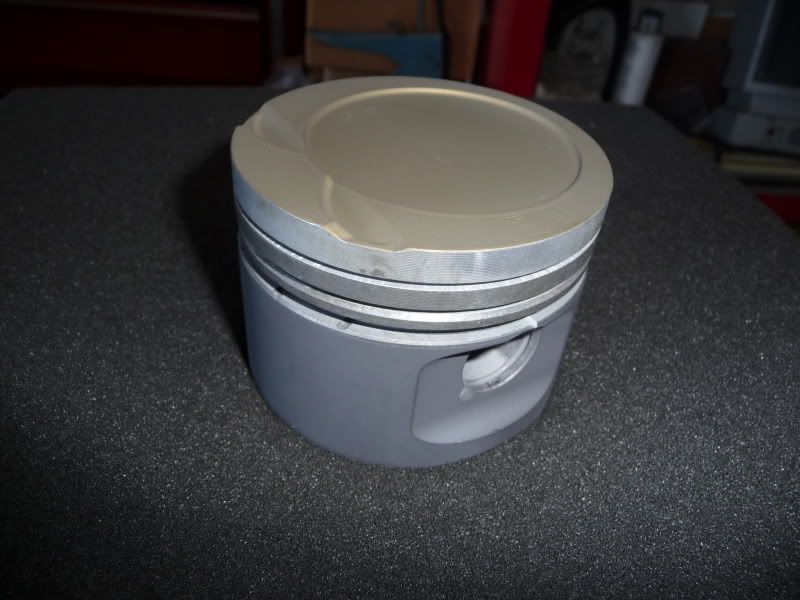
hopefully next trip down to CA i'll have my rotating assembly installed in the new block so that the engine can be back in the car permanently and just await the finalization of the bolt on bits.
exciting stuff in the works... 8)
first thing i started on this time around was the rings for the topside. they will need to be welded on before the completed plenum can go on.
then onto the layout with the new plenum entry design. the thin divider walls were proving really hard to get to weld on, so i found some 10mm rod and coiled it around an 82mm bearing shell
and then cut the pieces out like so..drilled holes to weld the pieces from the backside
welded..
smoothed..
fitted to the main plenum section
side profile
entrance into the first chamber
then, i needed to clearance the end caps of the IM so that the topside will clear the hood structure inside.
welded one end tank on
mm, rings
welded the front taper on
cleaned the inside joints as well as i could so they transition smoothly
in place with a tacked TB flange on
the silicone inlet boot is temporary, just to give me an idea of how this stuff fits in place. it's the wrong size
i've got the plates cut out for the still open sections of the first chamber and need to weld them in. then all that's left is welding the runners to the head flange and plenum baseplate, and the TB flange, and cable bracket. i need to also find a spot for vacuum fitting provisions that's sorta hidden.
i'll probably find a bigger radiator down the road and make a new engine mount so i can rotate the radiator ala' SQ. i'm looking for a summit radiator or something that's universal and under $200 to fit in place with some slight mods.
also, my coated pistons also arrived
hopefully next trip down to CA i'll have my rotating assembly installed in the new block so that the engine can be back in the car permanently and just await the finalization of the bolt on bits.
exciting stuff in the works... 8)