Ok, well it's about time I do an update as a LOT has been happening with the car... so here it goes!
I've had my ups and downs getting to this point, but everything seems to be pulling together nicely!
First I'll start w/ the front hub assemblies:Since I had to space out the bearing/hub assembly in the front to get the proper clearancing for the brake system, the CV joint was now pressing into the hub assembly. After looking over everything and sizing it up I found that I'd be best off doing two things: 1) Cut the Hub assembly ever so slightly to clearance the CV joint and 2) space the CV joint back a little bit.
What I ended up doing was removing approx 1/4" of the 'lip' that goes around the assembly... which resulted in something like this:

In addition to this, I made up some ~1/8" spacers to push the CV joint away from the hub. I ended up using 2 of these spacers on each front assembly and one on each rear assembly. now nothing makes contact, which is nice

Next on the list was
rebuilding the inner CV joints on the 'new' rear axles I bought from a fellow MG'er. Unfortunately I wasn't too careful with where I put them and a considerable amount of dirt and metal shavings got into the inner CVs. It only made sense to rebuild them, but unfortunately that was easier said than done :frustrated: The CV on the one axle was a royal bitch to get off... I ended up making a 'jig' so to speak and use that along w/ a pulley puller to get it off... it was not pretty. This pic is of the original design.

Needless to say, it didn't hold up to well and actually bent w/o moving the CV. So I cut up a 1/4" thick C-channel I had laying around and used that... that one worked great

Once the joints were off I popped 'em all apart, cleaned them, reassembled and repacked w/ grease... making sure to wrap them up this time so nothing foreign got in!

Next on the list was
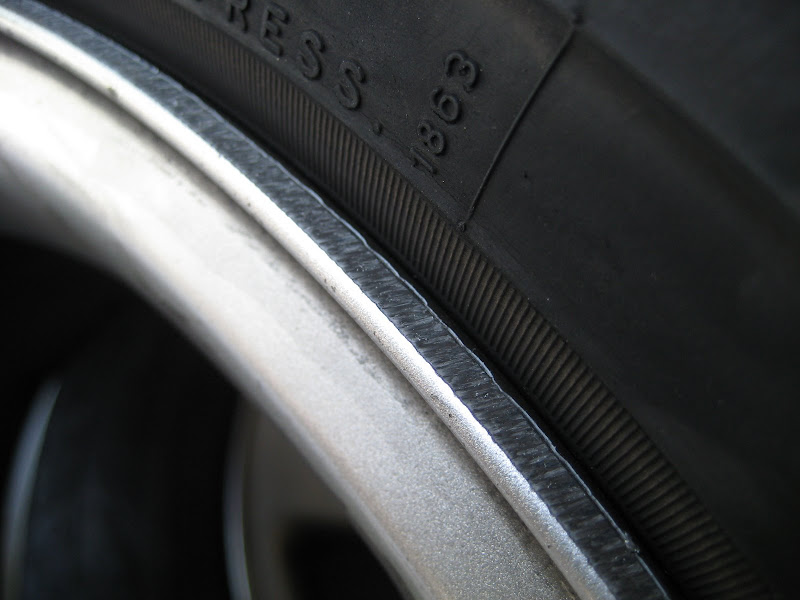
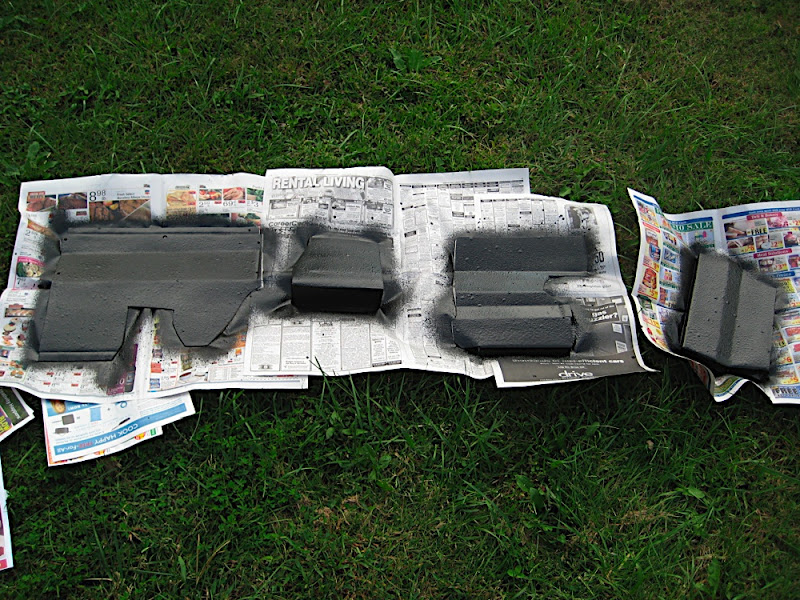
prepping and painting the calipersDue to some clearance issues w/ my 16" rims, I had to do some minor grinding on the Boxster calipers to make sure there was enough room. This now left an exposed area on the caliper that I needed to paint over... so while I was at it, I just painted all 4 of 'em
I was torn as to what colors to go, but decided to just go black for sutbleness. I might get a red Audi or quattro sticker to put on the boxter calipers once all done, but at the moment I'm ok w/ 'em being plain.
Here are the calipers all prepped and ready to go:

painting

and hanging all over the garage


Now came time to address
the clearancing issues on the front uprights. I was able to get about 1/8" of clearance b/n the tie rod end and the track wheels w/ a 12mm spacer. Unfortunately, this was just too close IMHO... so I had to come up with a solution. I wasn't too keen on slicing the strut tube or cutting the arm completely free and rotating it in fear of compromising strenght of the upright.
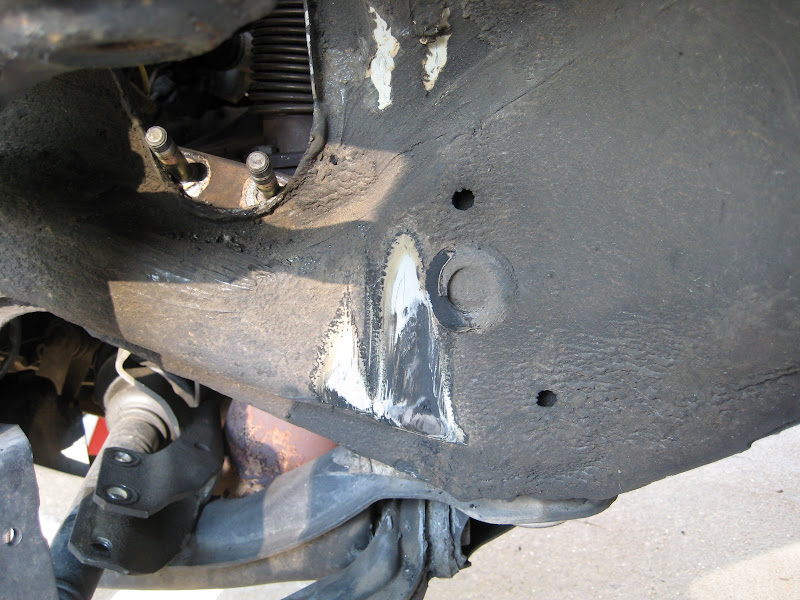
Instead, I decided to cut about a 1/4" wedge from the arm and angle it in:

after a lil bit of hammering and grinding to prep the area:

and all welded and cleaned up:

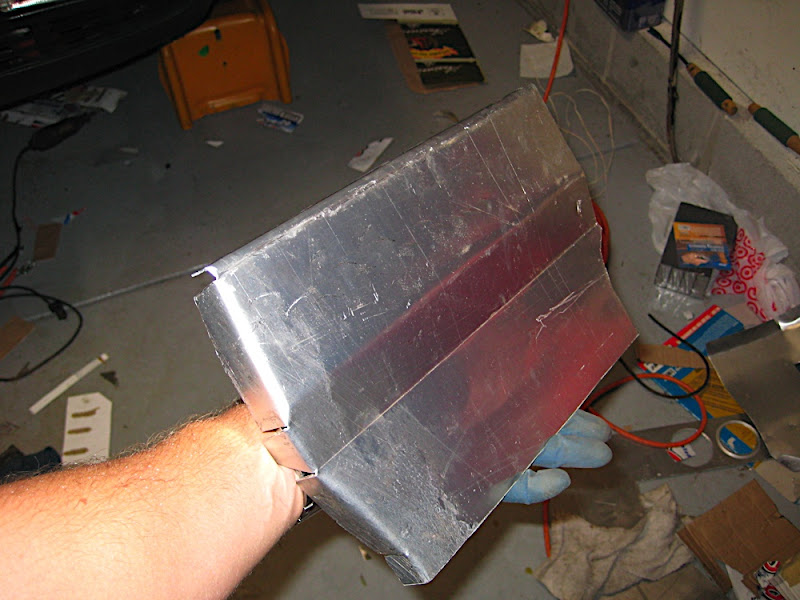
Now, not that I don't trust my welding skills... but I don't necessarily trust the strength of my welds 100%... so I decided to add some plates to the top and bottom of the arms for the
just to be sure factor

Basically sandwiched the arms w/ 3/16" plate...
The next thing that needs to be done to these uprights is to have Mance's BBSEs welded on... but more on that later (as that is this weekend's project).
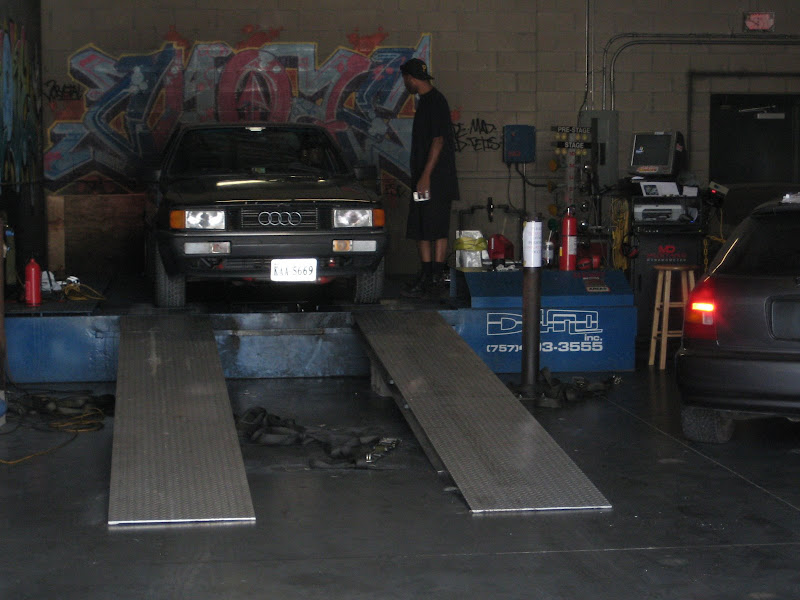
From this point, I was at a standstill for parts, so I figured it was time to start prepping the car to receive the suspension as time is getting tight for me to get the car ready for VIR.
Last weekend I spent my time tearing out the old suspension and prepping everything...
First to come out was the uprights:

I honestly can't believe how clean everything is! There's not a spec of rust on these things... anywhere! Only thing on 'em is dirt... oh, and they're
FOR SALE as well 8)
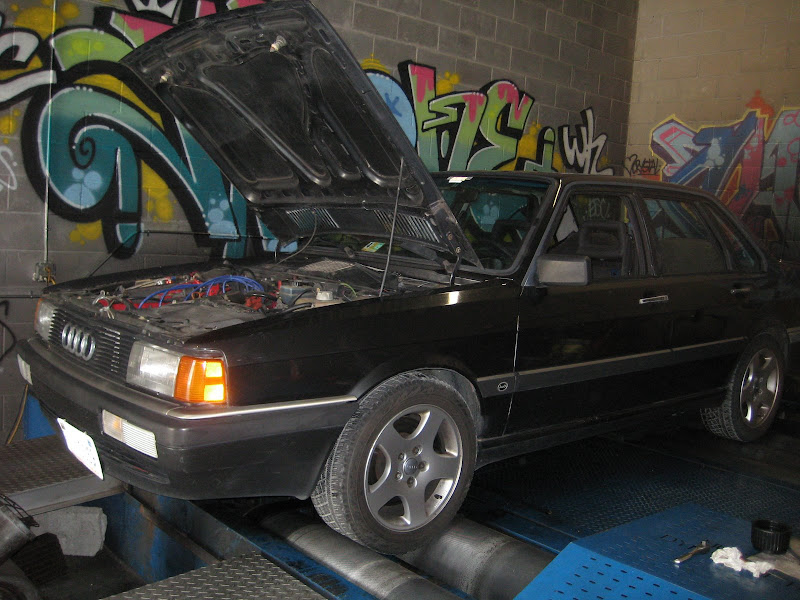
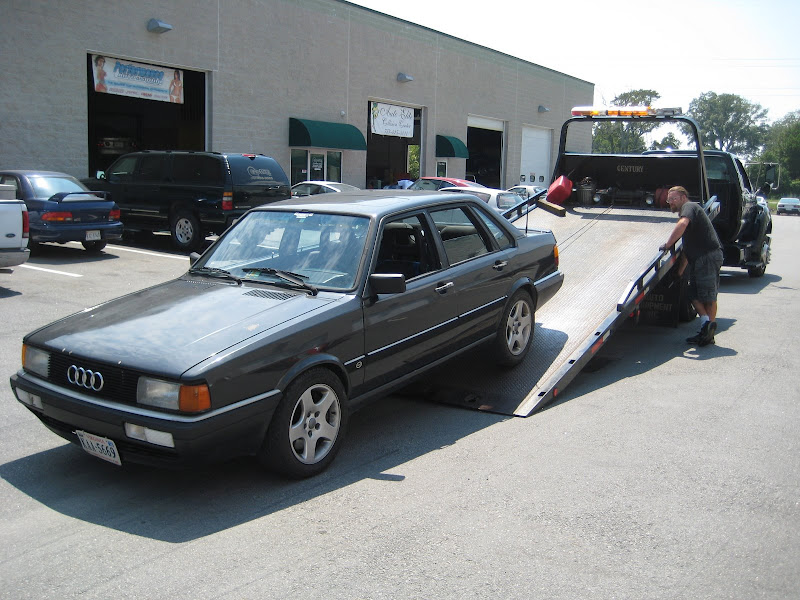
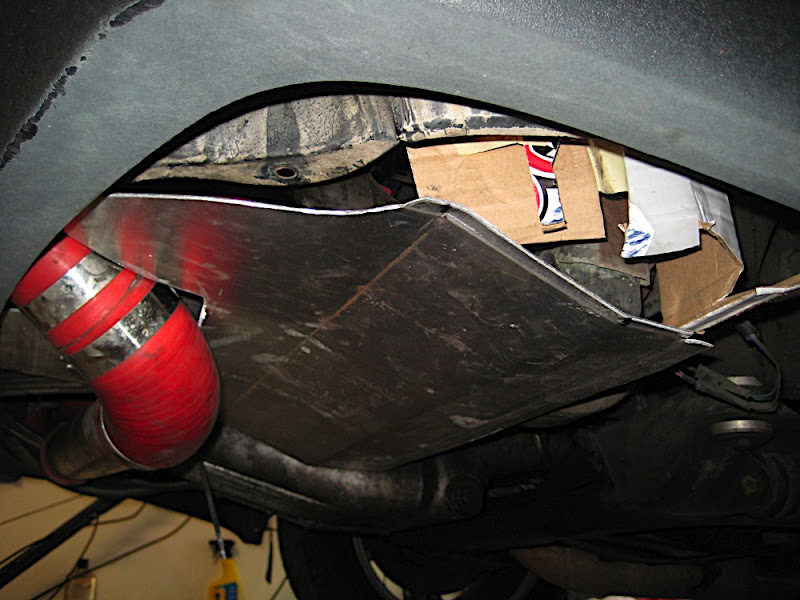
Here's the old girl after a fair amount of violating:

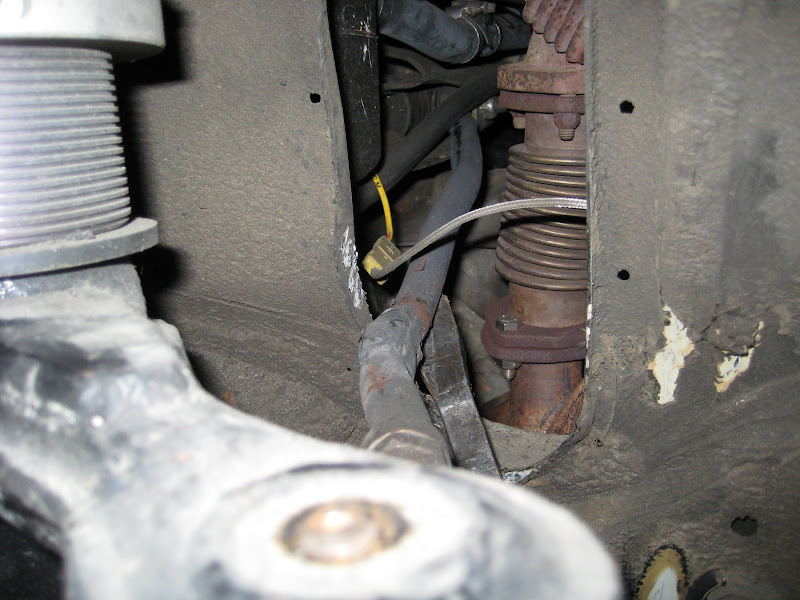
When dropping the rear subframe to get it out in prep for AL subframe bushings as well as seam welding, I found a little surprise on the rear diff! Thank GOD this was no longer inhabited!

Made my skin crawl just chiseling it off... yick. These guys probably took up residence when the car sat for the entire year before I bought it...
rear diff dropped w/o an issue, which I was VERY thankful for:

and who says cali cars always have new looking hardware:

as best I can tell, these are original... I was simply amazed at how clean this NC car was!!
Next on was
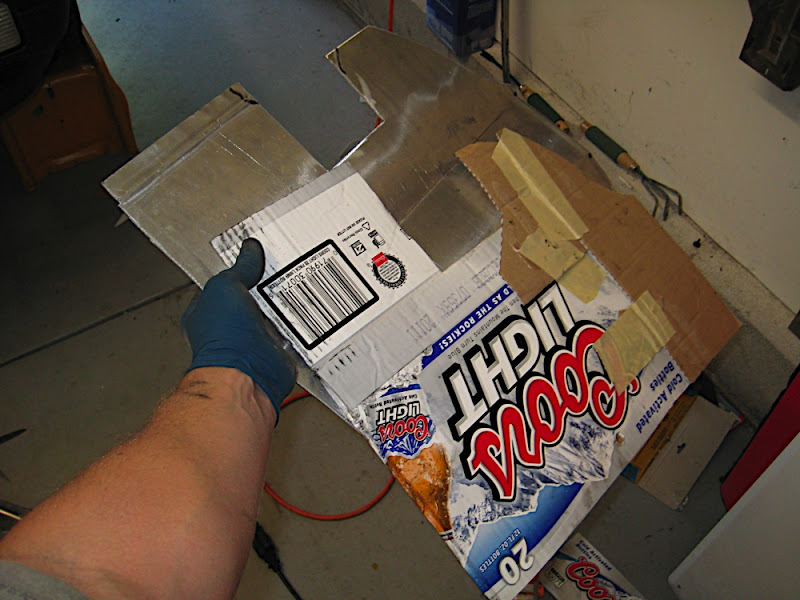
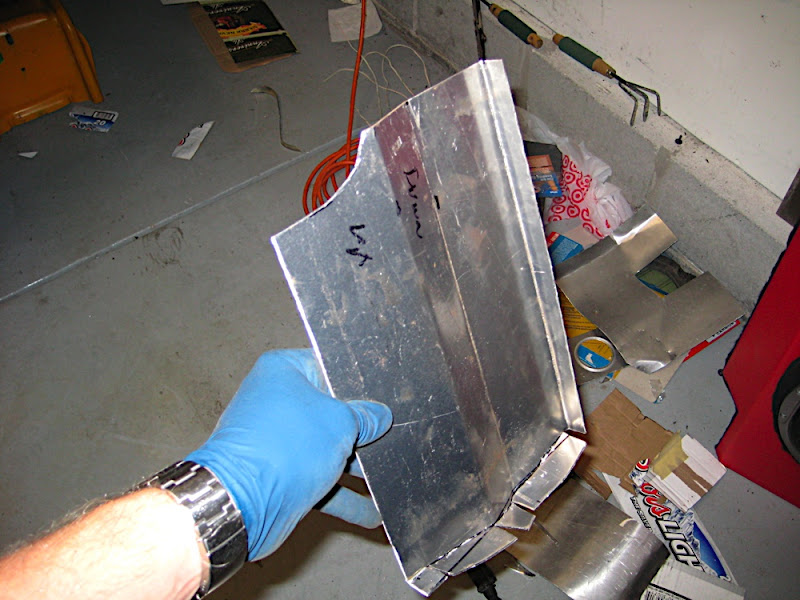
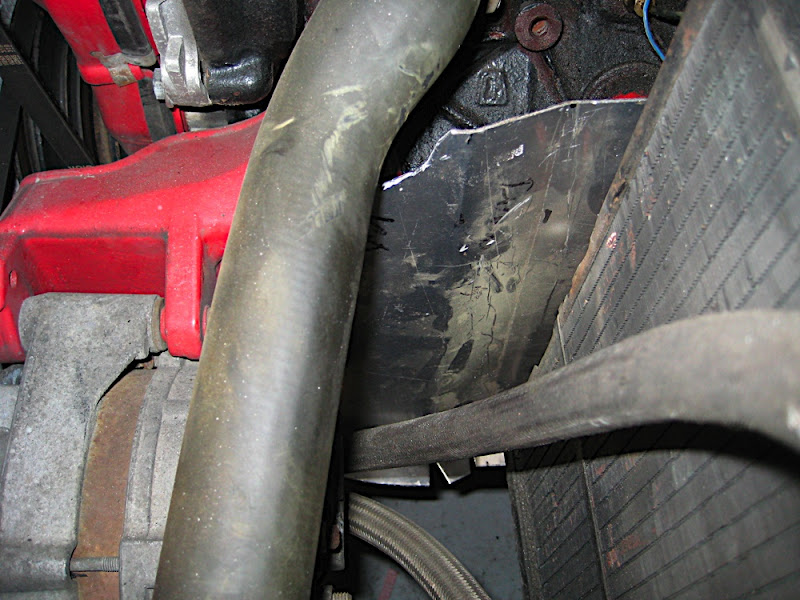
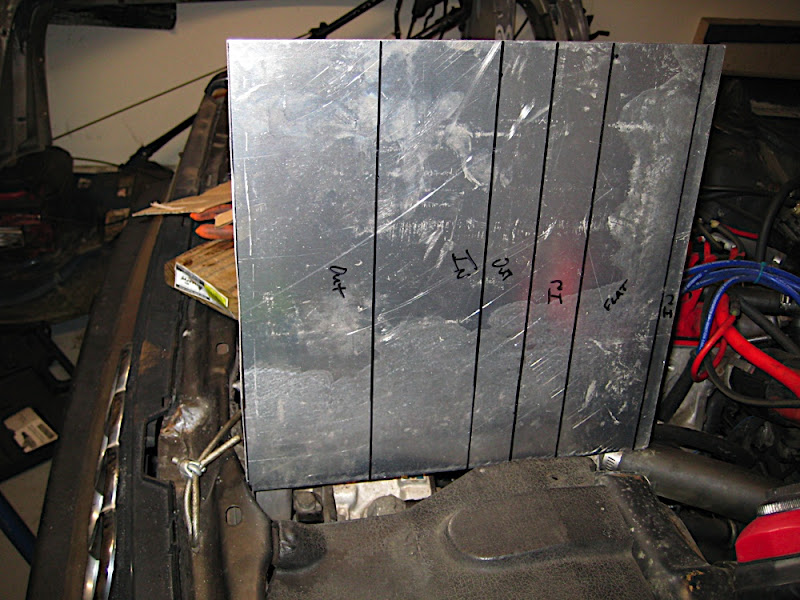
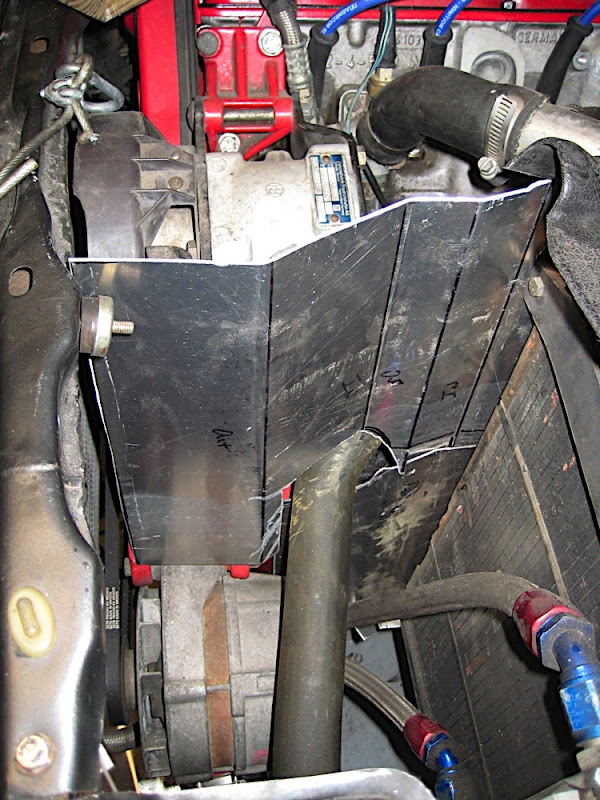
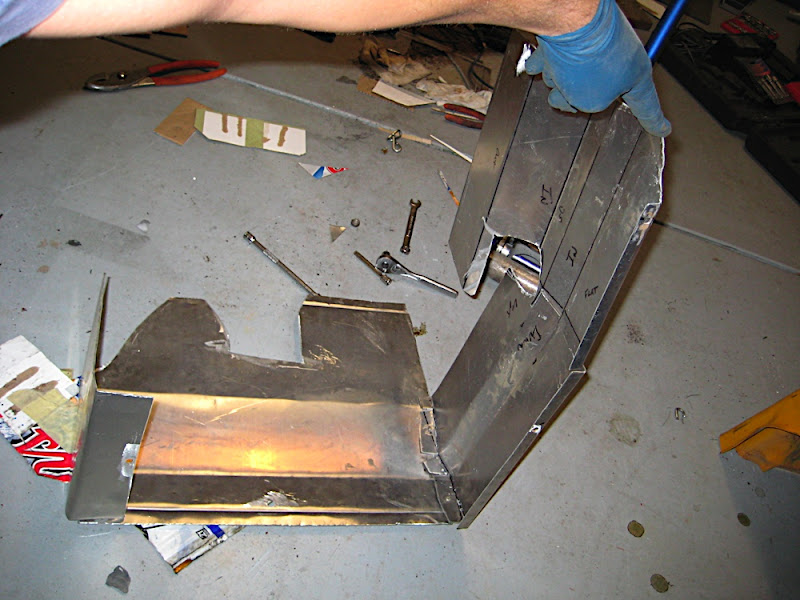
prepping the rear subframeUnfortunately, the weather wasn't cooperating with me and I didn't have any space in the garage to grind and weld... soooooooo I improvised

at least kept my head dry while I was having at the rear subframe. Got it all grinding and welding done on the seams.
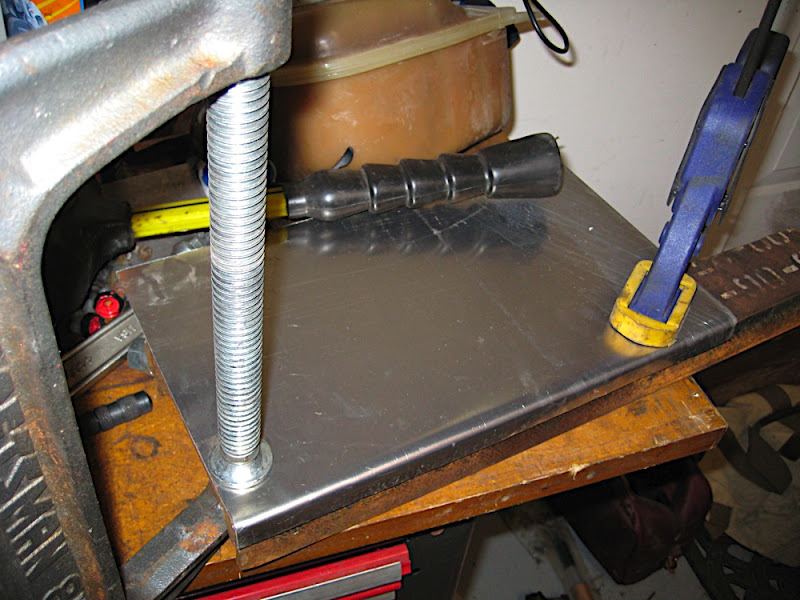
Also, I will be installing AL subframe bushings, so out with the old they go. I originally started to cut the tops off these things and tried to hammer them out. Worked when I did the front, but these were REALLY in there...
So autozone to the rescue!

This thing buzzed these out w/o even batting an eye! Biggest issue I had was finding the right 'die' to press the bushing into while clearing the bushing. I found that the tops of my front uprights worked perfectly (see right side of pic
)

Next thing was
Control Arm bushingsI was hoping to leave these be for now for the sake of saving some $$... unfortunately, these bushings were obviously shot. So while having hte autozone press I figured I'd push them out so they're ready for the 034 Delrin bushings showing up monday
I find that the easiest way to press these out is to hammer the inner lip (inside the A of the a-arm) in on itself so the socket has more area to bite when pressing it out. I forgot to do this on one bushing and had a helluva time getting it out. I ended up pounding it out w/ a screwdriver and hammer due to it being so wedged in there the press wouldn't budge it :bashtard: The other 3 went much more smoothly.
And surprisingly enough... those upright tops came in handy again

Now that brings you up to the present...
As of earlier this week, my Bilstein UrS4 sport shocks showed up:

This means I can now start welding in my BBSEs. I wanted to have the shocks here so I could make sure everything is straight. Mance really tolerances these things tight (which is a good thing), so I didn't want to accidentally weld them in "untrue" and not have the strut fit in.
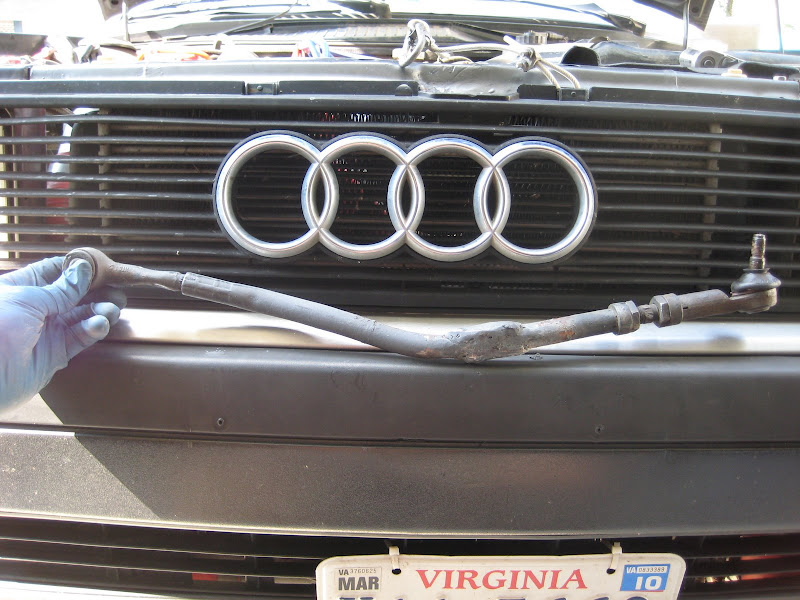
I also got a new set of rear tie rods because the boots on the old ones were toast and the adjusters were so seized I couldn't get them apart. I swear it's a conspiracy from Audi, though, as these damn things were already starting to rust internally before even getting on the car!!!!
I bathed them in antiseize though, so all should be good now 8)

And as of last night my brakes and fluid (thanks to raceshopper.com) and springs showed up as well... so if I'm lucky, I can get the assembly completely assembled and ready to go for installation next week.
That's about it for now. Figured I'd toss this up since I'm bored at work right now. Will hopefully have a lot more to share next week! And hopefully the 'ol girl will be sitting on all 4s again too.
Hope ya enjoyed the show!
Oh, and as usual, a special thanks to
Joe @ Axismotorsport for helping me out with a majority of these parts! He has been a real help with getting me everything (and putting up with me
) and I can't say enough good things about him!