Page 14 of 16
Re: CQ project, the road less traveled (progress inch by inc
Posted: Mon Sep 15, 2014 6:08 am
by PRY4SNO
Yessssss
Re: CQ project, the road less traveled (progress inch by inc
Posted: Mon Sep 15, 2014 10:27 am
by AngryTaco
looks good. Now you just need to drop a 20v in there and be done
Re: CQ project, the road less traveled (progress inch by inc
Posted: Mon Sep 15, 2014 11:54 am
by scubadave
AngryTaco wrote:looks good. Now you just need to drop a 20v in there and be done
Right. I'll do that right after I scour the thrift stores for an in-dash 8-track player and grow a mullet.
Re: CQ project, the road less traveled (progress inch by inc
Posted: Mon Sep 15, 2014 3:41 pm
by AngryTaco
You must be a camaro owner or something
Re: CQ project, the road less traveled (progress inch by inc
Posted: Mon Sep 15, 2014 4:42 pm
by scubagli
Lol, very nice rad.
Sent from my KFSOWI using Tapatalk
Re: CQ project, the road less traveled (progress inch by inc
Posted: Mon Sep 15, 2014 5:51 pm
by scubadave
Re: CQ project, the road less traveled (progress inch by inc
Posted: Mon Sep 15, 2014 6:39 pm
by ringbearer
So slick!
Re: CQ project, the road less traveled (progress inch by inc
Posted: Tue Sep 16, 2014 6:54 pm
by PRY4SNO
So... when does the production run start?
Re: CQ project, the road less traveled (progress inch by inc
Posted: Tue Sep 16, 2014 11:07 pm
by scubadave
ha! Money talks brother... I can tell you now, it won't be cheap.
How about I get it running first before I go off and offer others a little piece of heaven? I gotta pressure test it tomorrow. make sure the heat didn't smoke the flange seal. It could end up being a very pretty wall ornament.
Re: CQ project, the road less traveled (progress inch by inc
Posted: Wed Sep 17, 2014 12:05 am
by AngryTaco
needz moar 20v
Re: CQ project, the road less traveled (progress inch by inc
Posted: Tue Sep 23, 2014 12:48 am
by scubadave
I have been busy trying to get the rad brackets and mounts done. I have also picked up another Heat exchanger for the air to water since the frozen boost option I had is not really very efficient and is about five times heavier. while searching for a better option looking through google images which seemed to be the fastest way to find the option I was looking for, I found a post on audizine of what seemed to be just the right size. It was actually a Porsche 911 center radiator and they were using it for the heat exchanger for an air to water as well. I finished with the lower rad mounts today, and had previously installed the drain plug into the bottom of the tank.
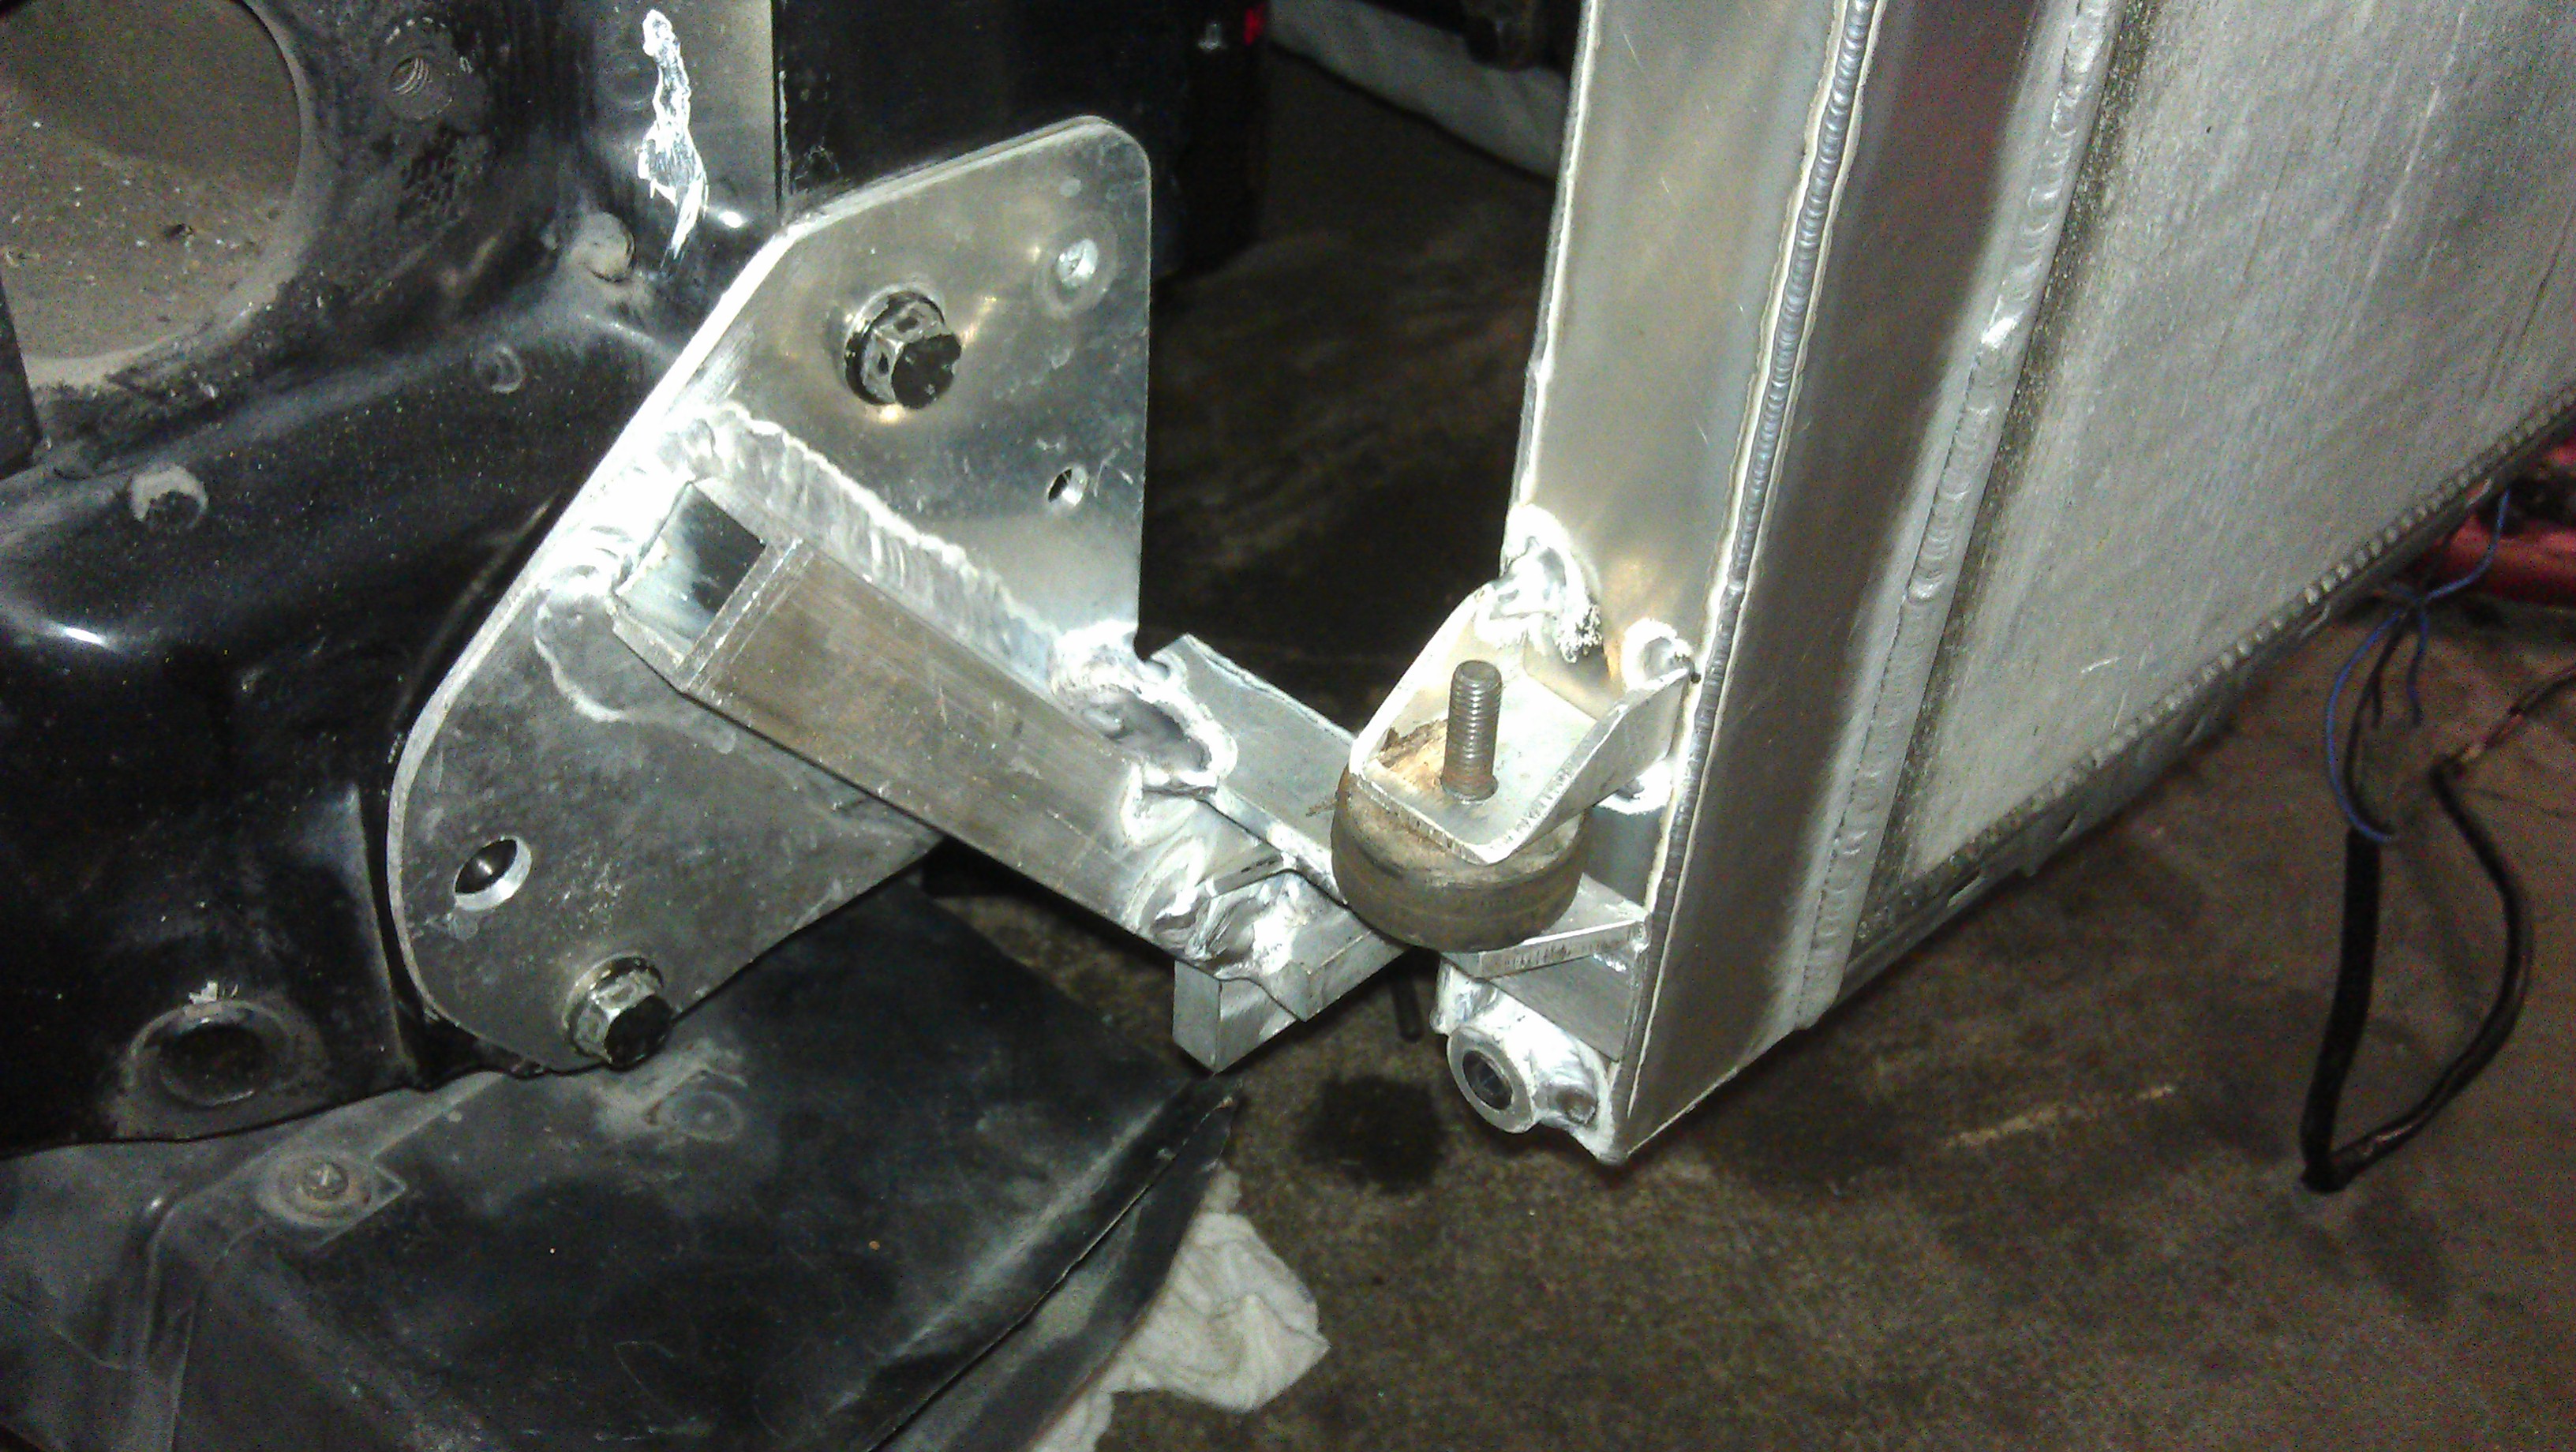
- IMAG0515.jpg (1.26 MiB) Viewed 49573 times
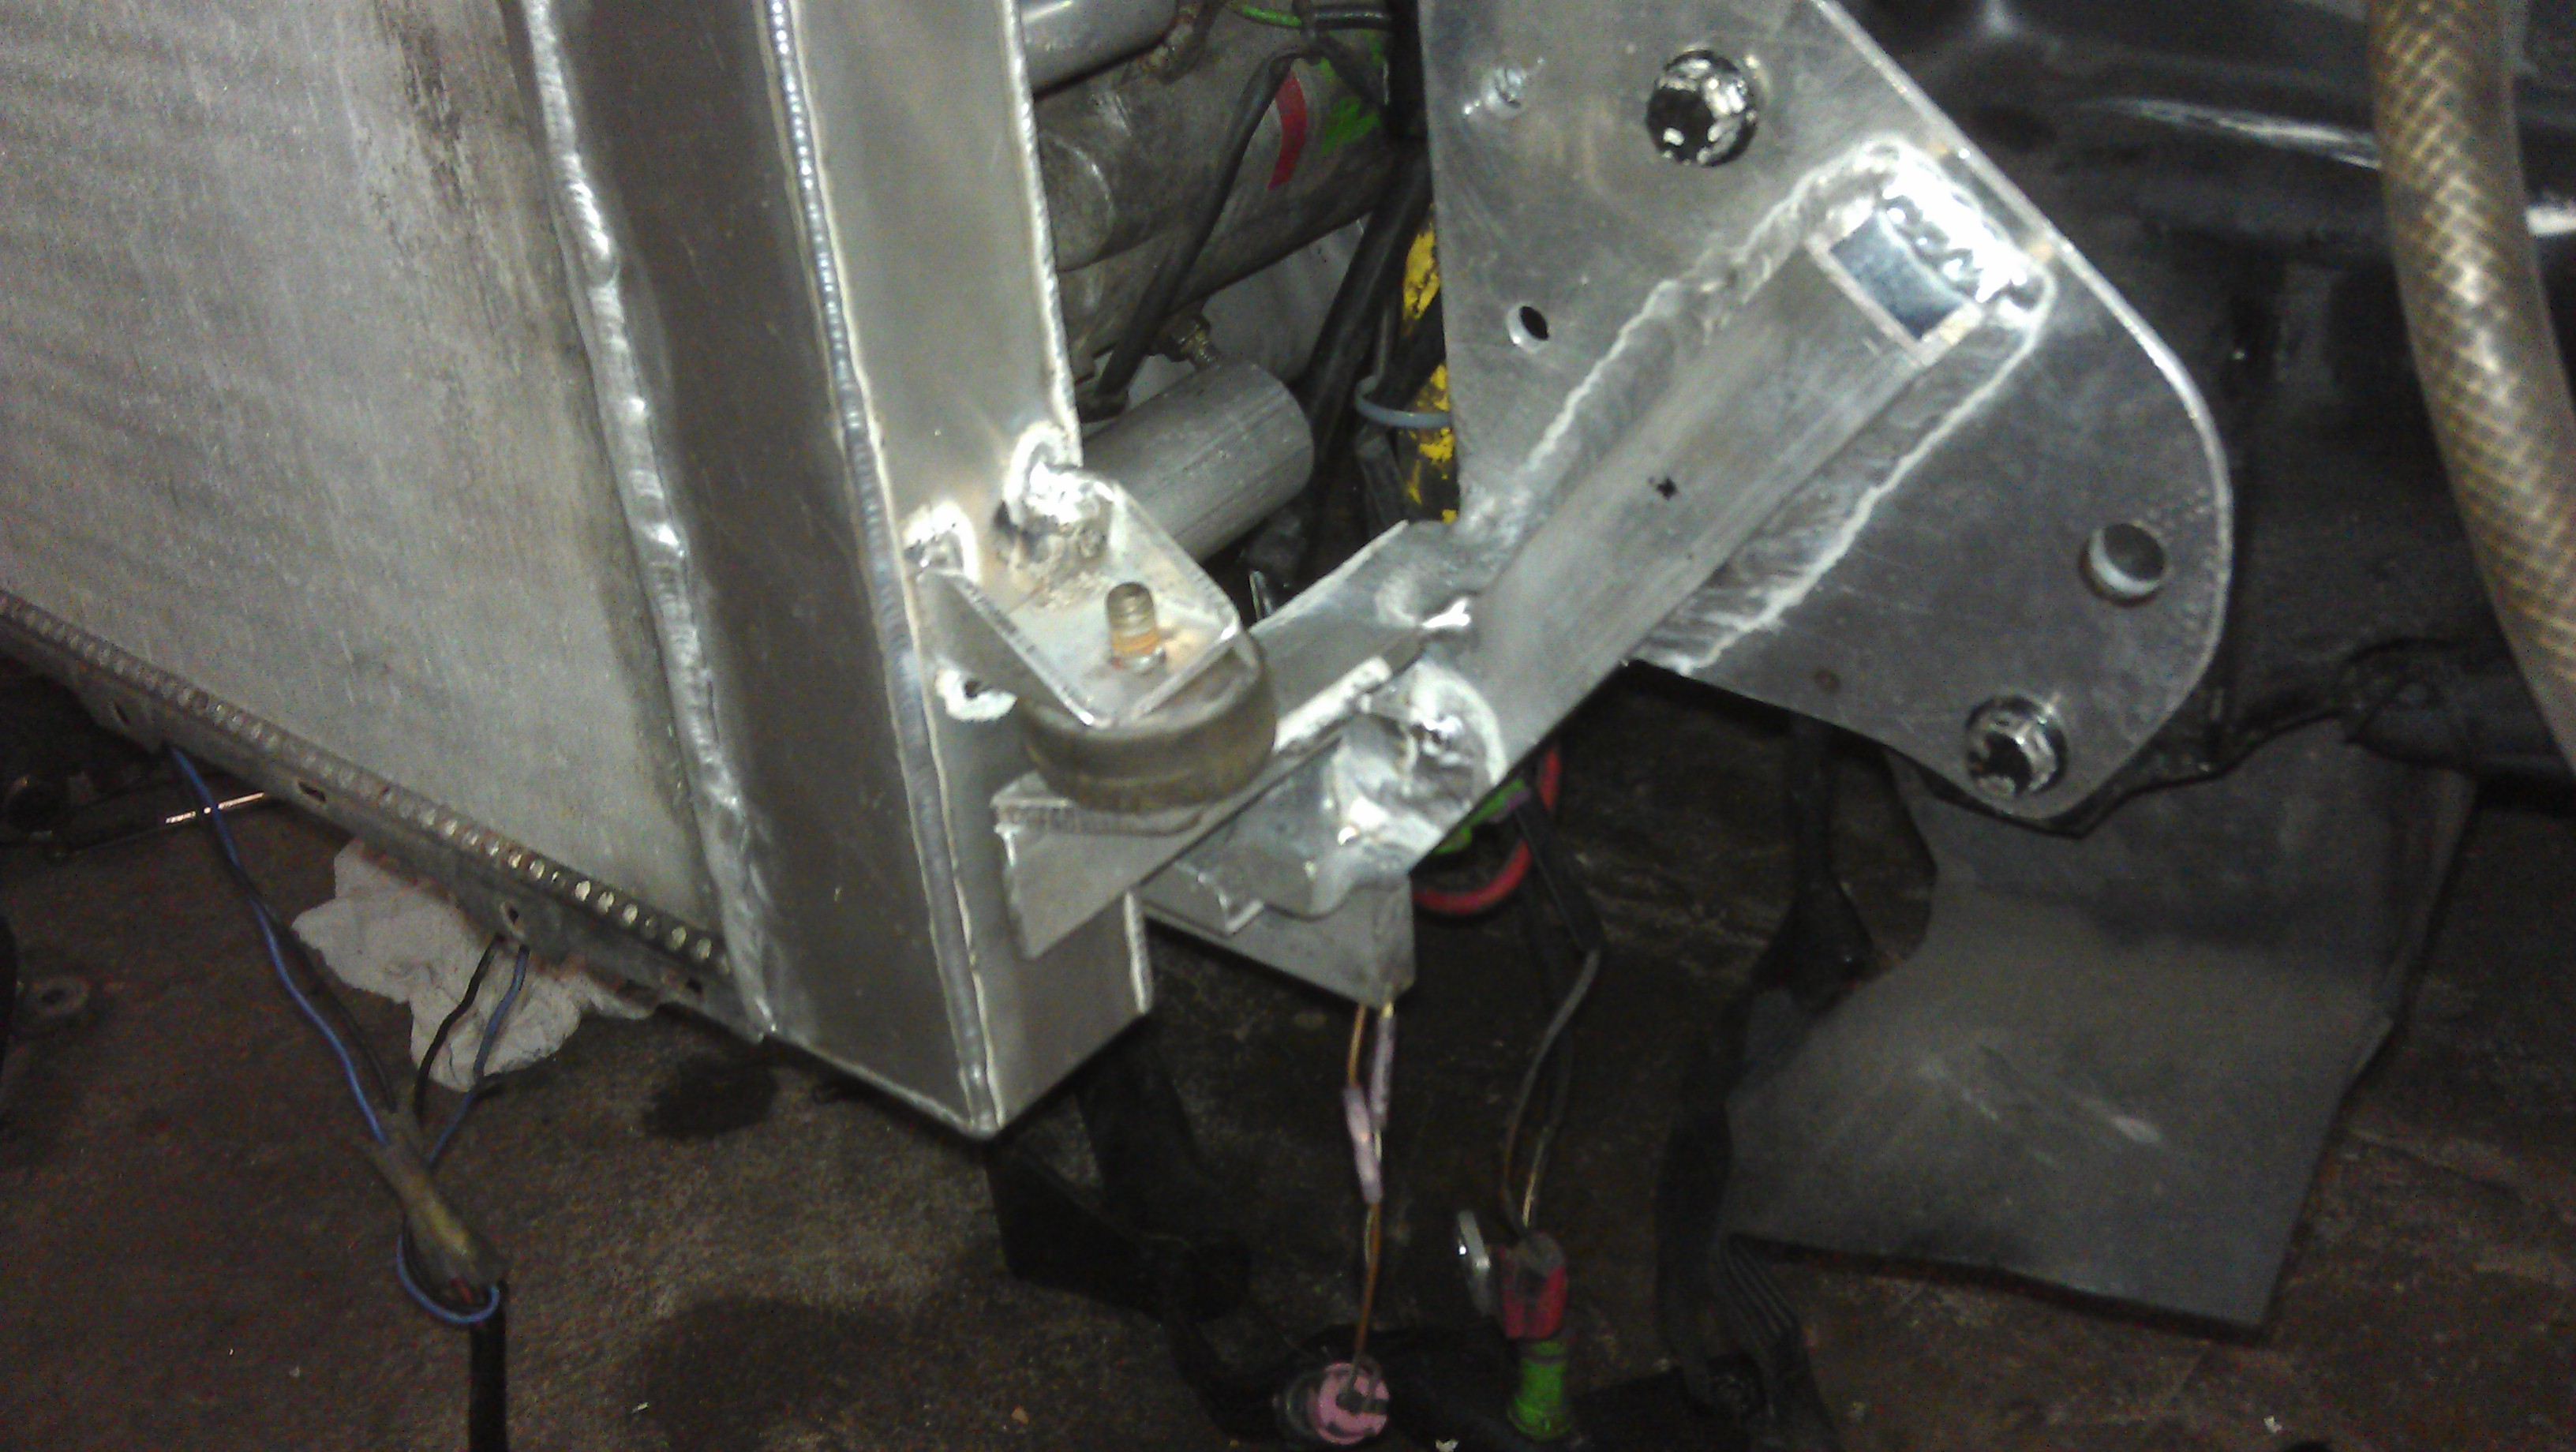
- IMAG0514.jpg (973.71 KiB) Viewed 49573 times
I figured I would save the pictures of the heat exchanger for later as I am in the middle of building the brackets to attach it to the rad and framework. I have plans to keep it part of the rad, A/C condenser packaging and leave it unattached from the bumper. It should prove to be a better, more efficient option for what I want. I will keep updating as much as possible and will be working on the car every day from now till its running. I hope I can get all the little things done in time.
Re: CQ project, the road less traveled (progress inch by inc
Posted: Tue Sep 23, 2014 5:41 am
by PRY4SNO
Nice find on the 911 part.
Re: CQ project, the road less traveled (progress inch by inc
Posted: Tue Sep 23, 2014 9:25 am
by AngryTaco
damn I need to buy a tig. nice work
Re: CQ project, the road less traveled (progress inch by inc
Posted: Tue Sep 23, 2014 12:24 pm
by scubagli
Very nice!
Re: CQ project, the road less traveled (progress inch by inc
Posted: Wed Sep 24, 2014 9:47 pm
by scubadave
Well, as of today I have the heat exchanger 95% done and fitted where it should be in relation to the radiator. I still have to fabricate the brackets to hold it in place, but Im happy with the current results. For those who cant imagine what its like to buy a brand new in box radiator, direct fit for a porsche, and hack the nipples off the plastic end tanks, I'll tell you what thats like. In order to make it fit, I needed the inlet and exit to veer a different direction. Pretty much 90* out the tanks. How did I make it usable after the circumcision? I used brass 3/8 pipe thread to barbed nipple 90's, and cut pipe thread into the holes of the missing plastic nipples. I also cut off the drain and did the same mod to gain needed room by using a plug countersank into the tank. I have yet to take pics of my carnage, but i can show you what an unmolested radiator looks like. I built a different surrounding bracket, so ignore the one in the pic.

Ill get piics of it within the next few days. I wasnt worried about the system being under any real pressure, so the mods I have done dont worry me about leaks. It seemed to go very well anyway, so I doubt it would leak even if it was. I should be finished with the engine radiator by this weekend, and be able to fill the system and start it hopefully by monday if not sooner. I will keep that updated.
Re: CQ project, the road less traveled (progress inch by inc
Posted: Wed Sep 24, 2014 11:55 pm
by AngryTaco
very cool. Keep it up!
Re: CQ project, the road less traveled (progress inch by inc
Posted: Mon Sep 29, 2014 4:28 am
by scubadave
Lots of progress the last couple days. I have the bulk of things needing to be done pretty much ready as it will ever be. Mind you, I have plans that have to be postponed till after the gtg in a week an a half. Its mostly just final touches on a few things, and I will get to them as long as my car makes it there and back without a major incident. They may be finished in the time up to, or put off as I would like to fully break in the engine before I take the trip down.
I may be firing the engine in the next day or two, then time to take a few drives to put on the miles for break in. All this while I still have to work every night till 3am at my real job. Thank dog its only 4 nights a week. I will need to watch the radiator very closely for leakage. It passed a pressure test with about 15ish lbs of compressed air and soapy water sprayed on the original tank seals.
And it looks like I will be able to fully test out Jareds mounts across the board. Engine, trans, diff, subframe. I hope its quiet compared to the previous 03stuff.
More pics to come.
Re: CQ project, the road less traveled (progress inch by inc
Posted: Mon Sep 29, 2014 4:39 am
by PRY4SNO
What's your preferred break in method?
I subscribe to the "as you'll drive it" camp, IE hard. Per Motoman's website, basically.
Re: CQ project, the road less traveled (progress inch by inc
Posted: Mon Sep 29, 2014 1:03 pm
by scubadave
break in oil, 20 miles hard ish, IE go through the range of RPM, low boost, change oil, more break in oil for another 5 to 800 miles, low boost. change oil, engine good to go.
Re: CQ project, the road less traveled (progress inch by inc
Posted: Tue Sep 30, 2014 12:38 am
by scubadave
Re: CQ project, the road less traveled (progress inch by inc
Posted: Tue Sep 30, 2014 12:51 am
by scubadave
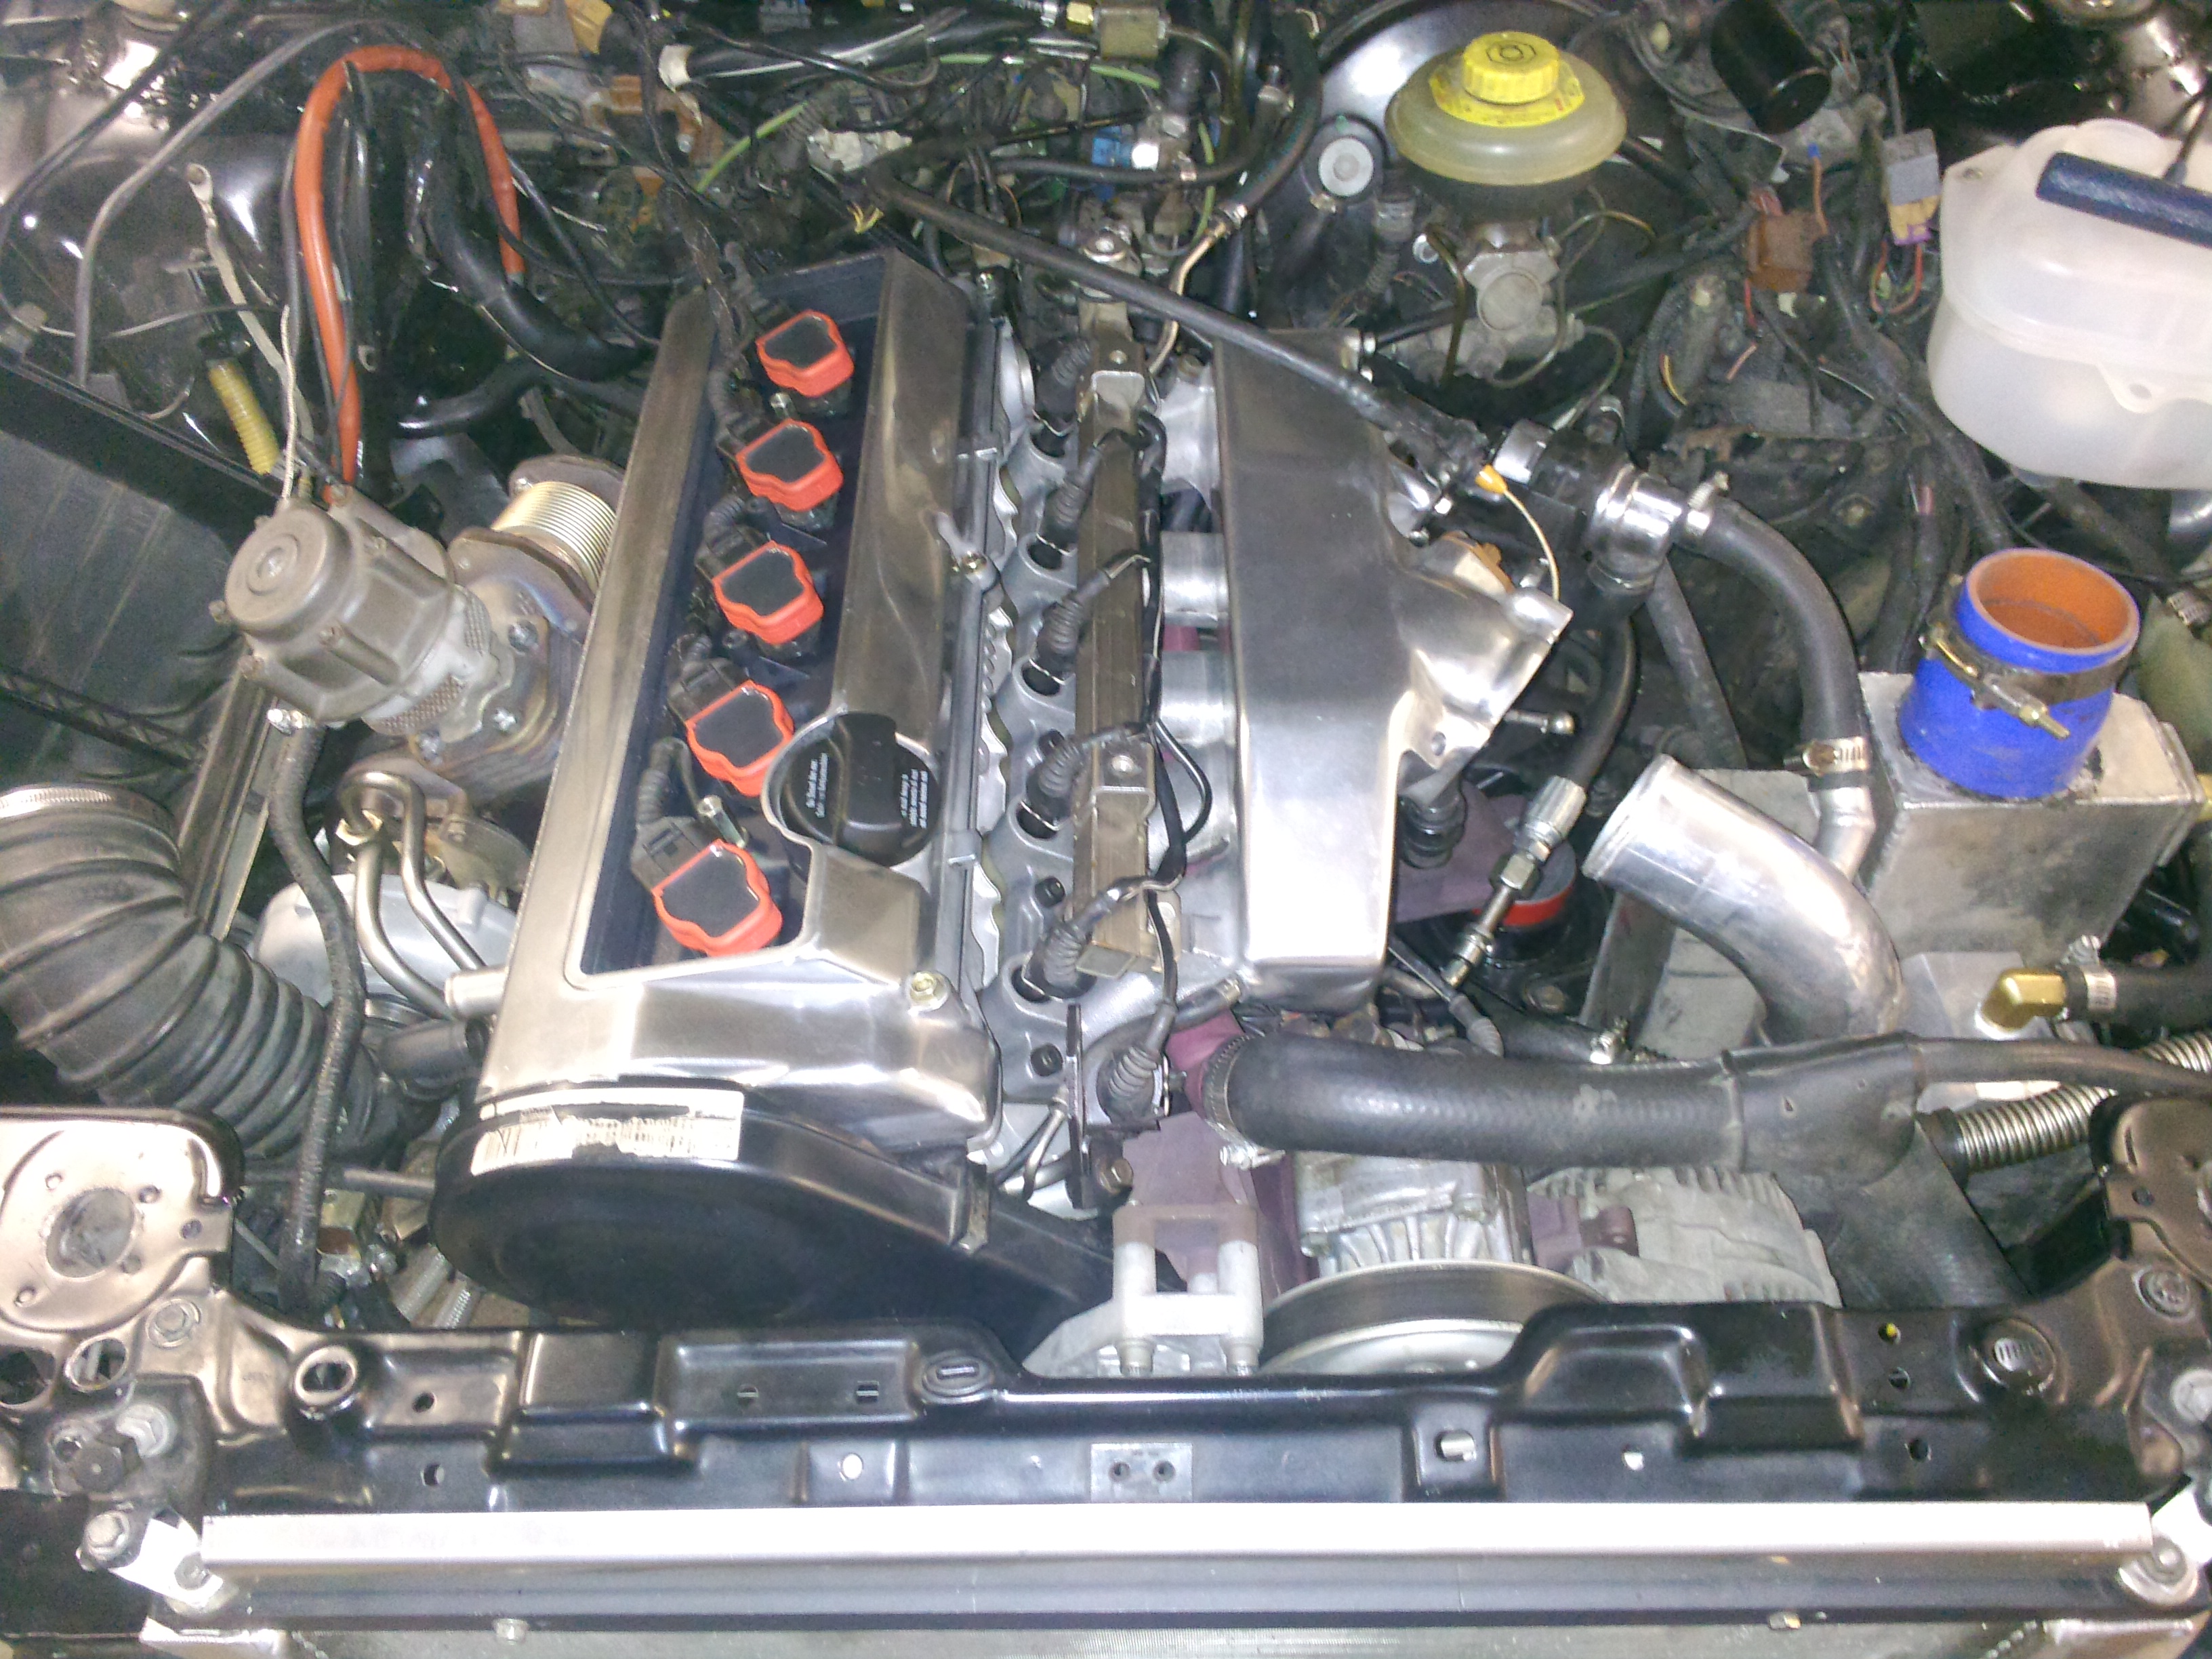
- IMG_20140929_183228.jpg (1.99 MiB) Viewed 49412 times
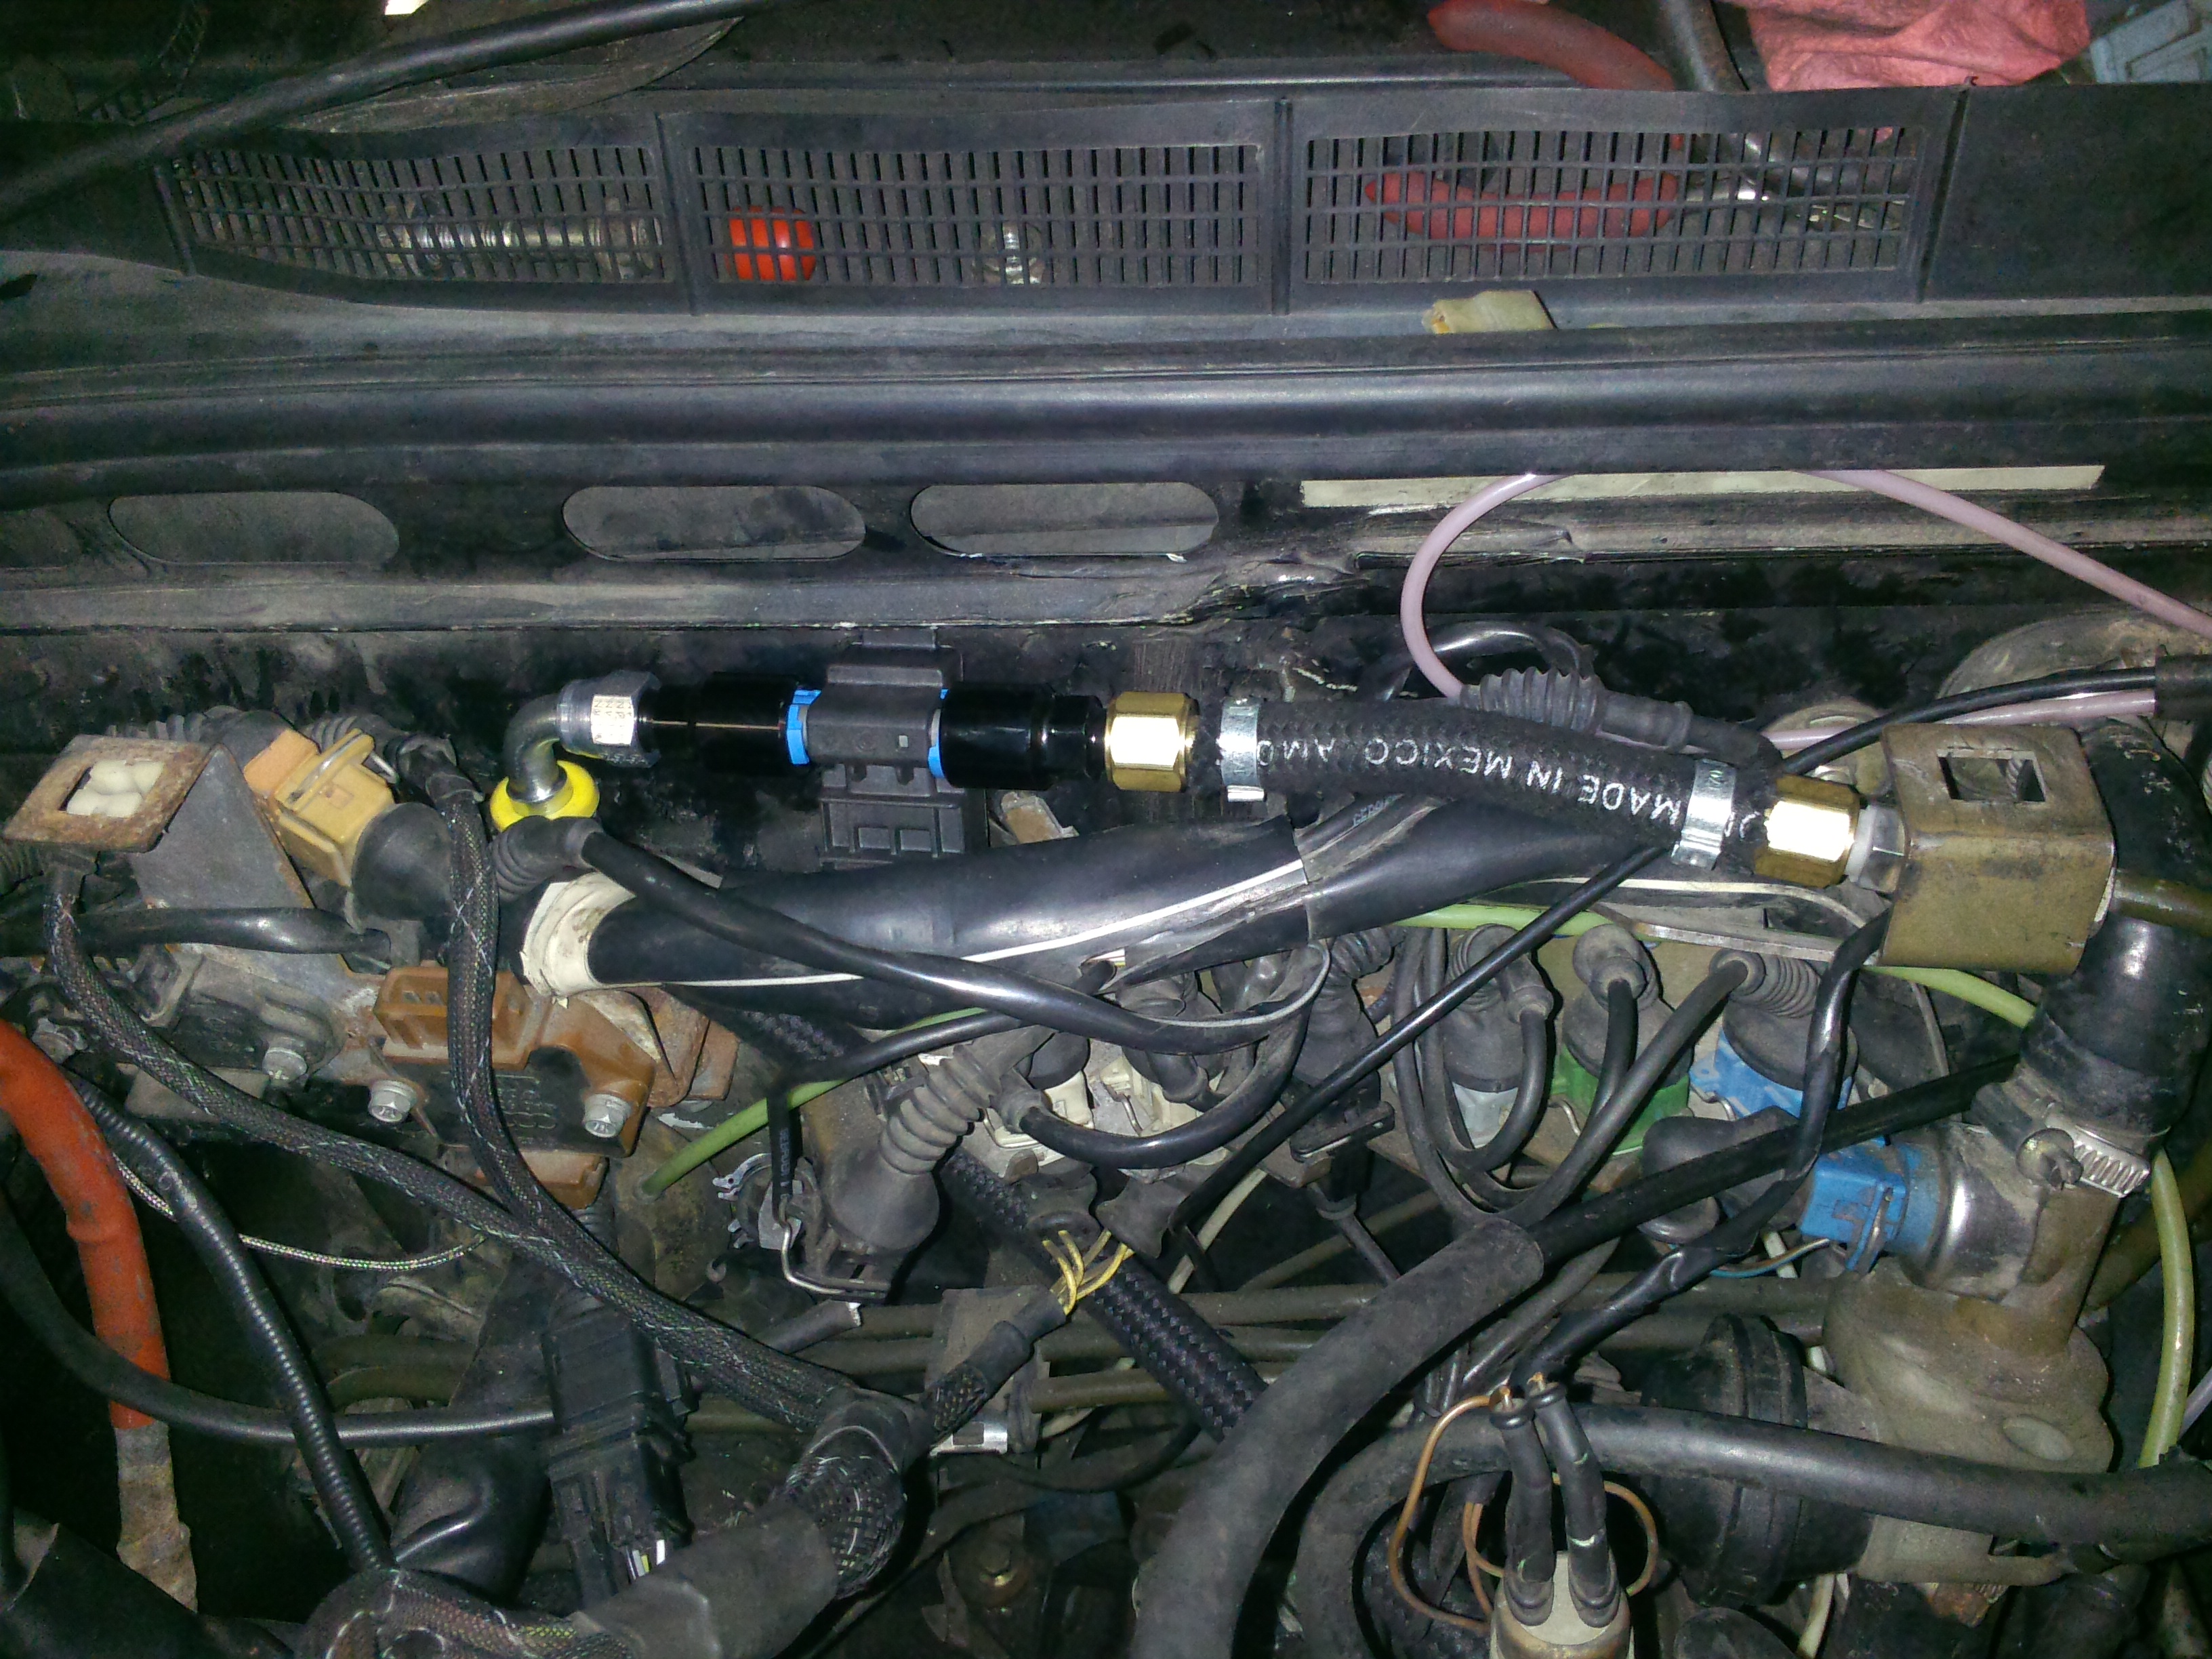
- IMG_20140929_183351.jpg (2.02 MiB) Viewed 49412 times
Re: CQ project, the road less traveled (progress inch by inc
Posted: Tue Sep 30, 2014 1:30 am
by alxdgr8
Looking great Dave! Can't wait to see it at the BBQ
Re: CQ project, the road less traveled (Almost there)
Posted: Thu Oct 02, 2014 5:20 am
by scubadave
Thanks Alex, I'm looking forward to another awesome weekend with everybody.
On another note, Its official, I am taking all of next week off to try to be ready and reliable for the trip down and back up... pending all goes well.
I was forced to spend no time with the car for the last 2 days due to the fact I had to go grocery shopping and do some needed chores around the house. I know I know, I can eat when I'm done.
Re: CQ project, the road less traveled (Almost there)
Posted: Thu Oct 02, 2014 9:09 pm
by AngryTaco
It took you that long to go grocery shopping? Dude....just do what I do and starve