Over the past few months I have been building a custom fully removable rear roll cage to go along with my "race" seats and to utilize the mounting points I had installed a while back for 6 point restraints. It wasn't an easy task to undertake, and I spent more hours than I care to admit to in designing, fitting and building this ordeal. In the end, it turned out to be exactly what I wanted, looks pretty cool and serves its purpose VERY well!
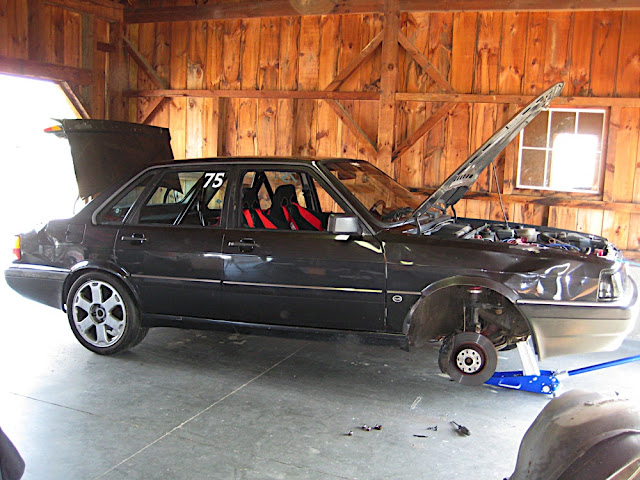
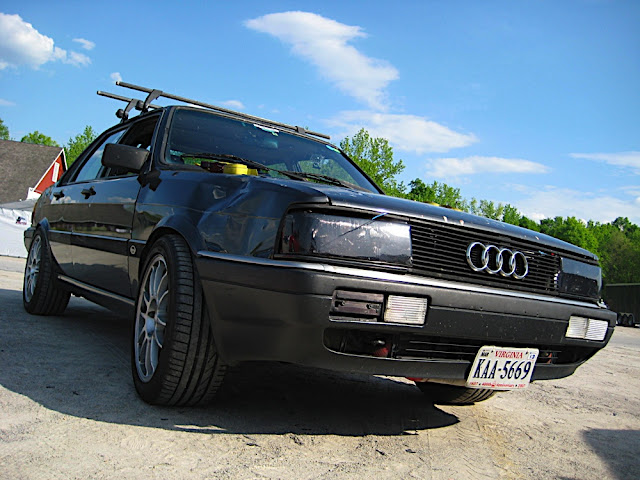
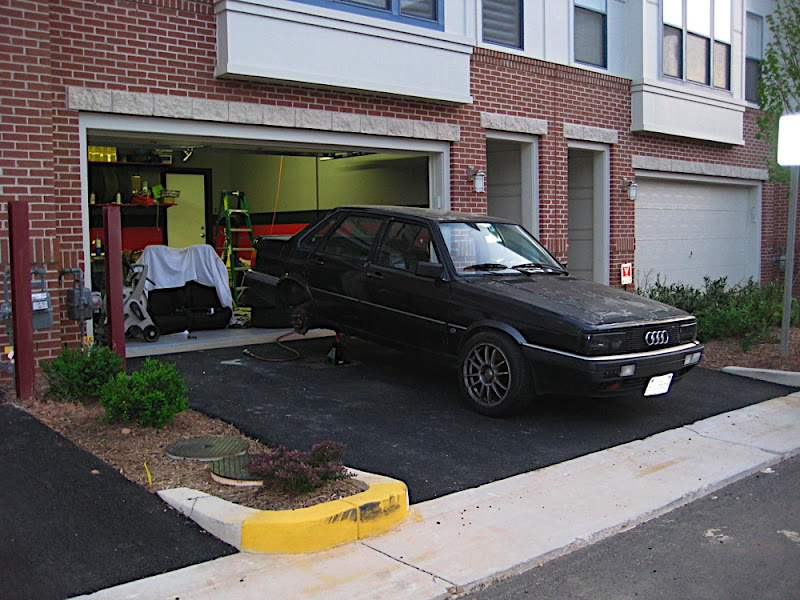
So months ago (sometime in January/Feb I think), I finally broke down and brought the old girl inside to warm up and start stripping things out.
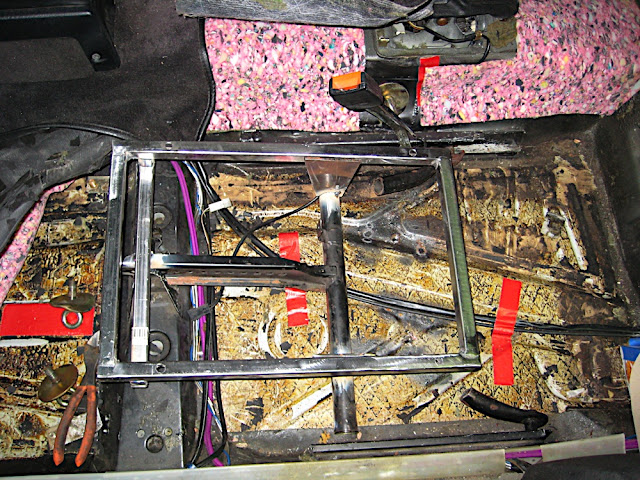
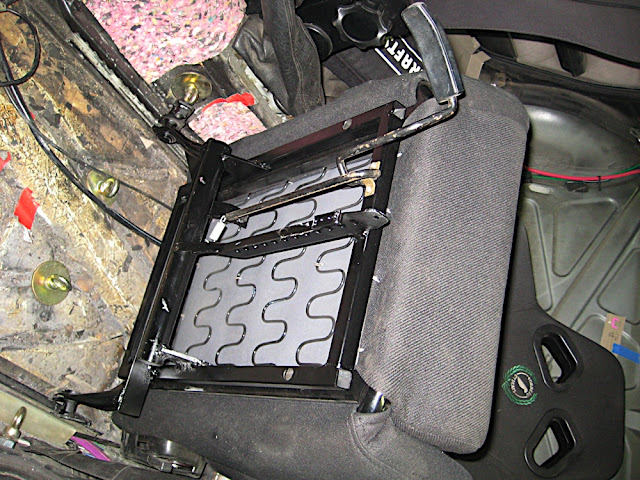
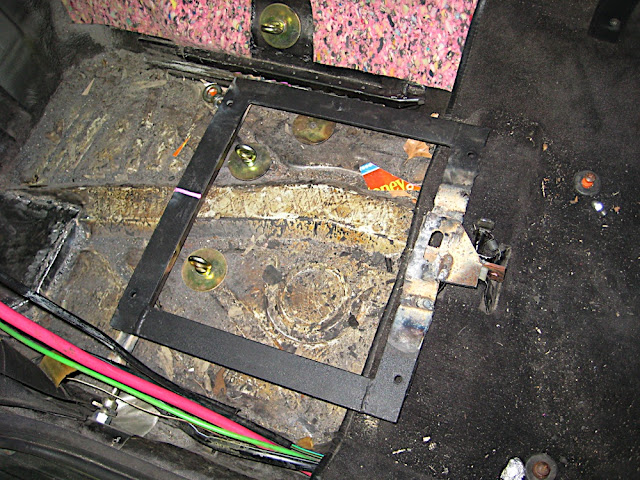
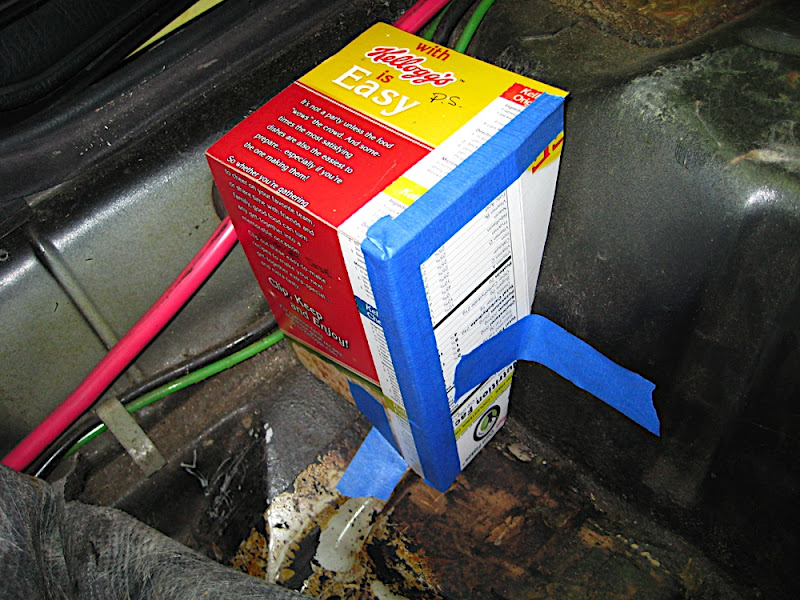
After some brain storming, I started making a mock-up of how I wanted to do things. I needed to build some sort of "foundation" for the roll cage to sit on. The catch was, this foundation needed to be high enough that I could make the roll bar SHORT enough to fit out the door and allow me to reinstall the back seat when I wasn't going to be near the track and wanted a 4 seater again.
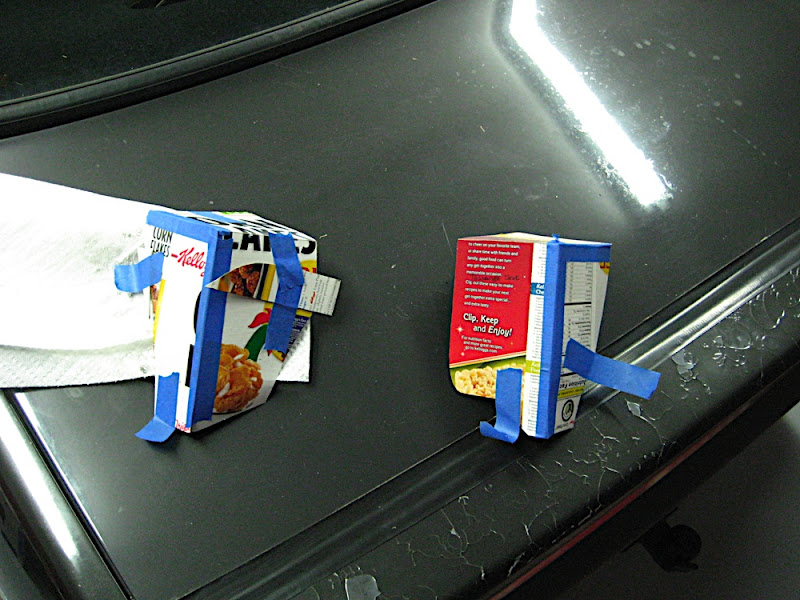
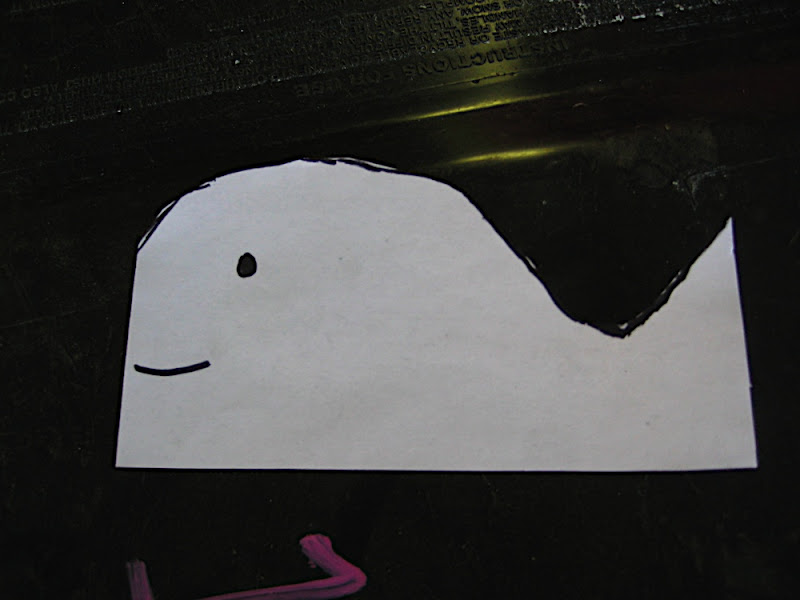
So out came the cereal boxes, scissors and tape! After a bit of tinkering, cutting and measuring, this is the general idea I came up with:
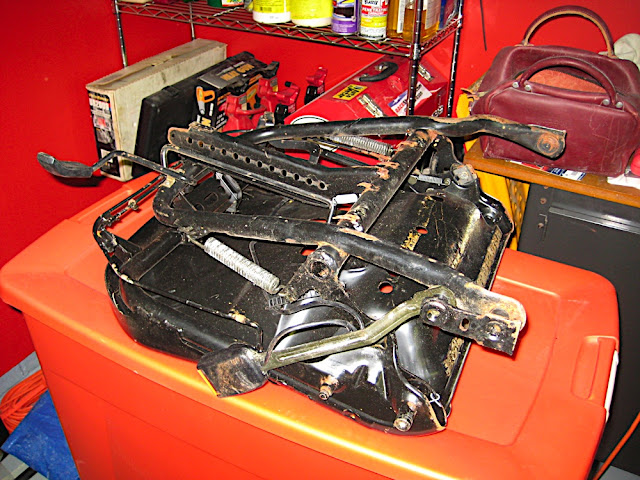
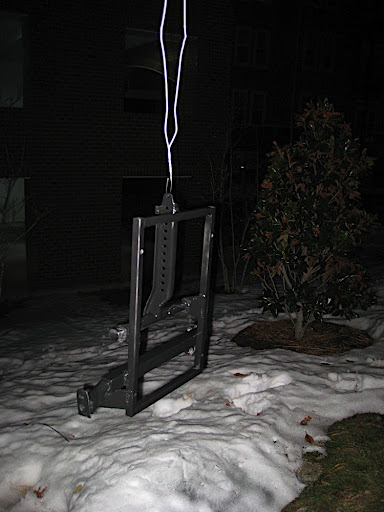
And removed:
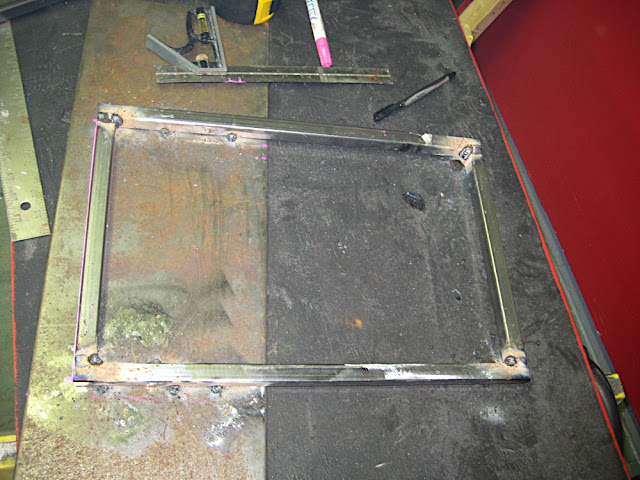
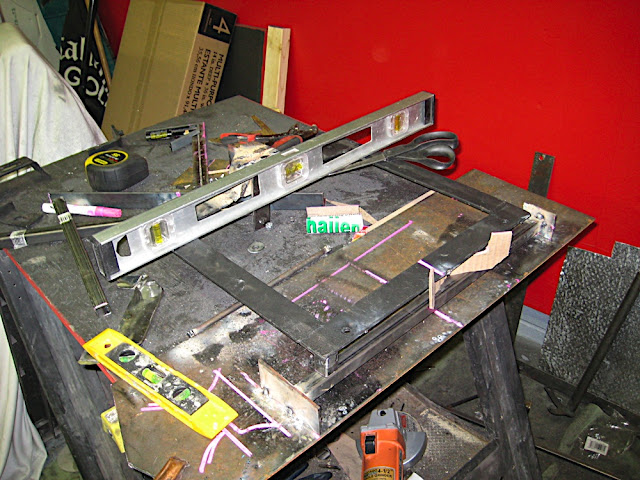
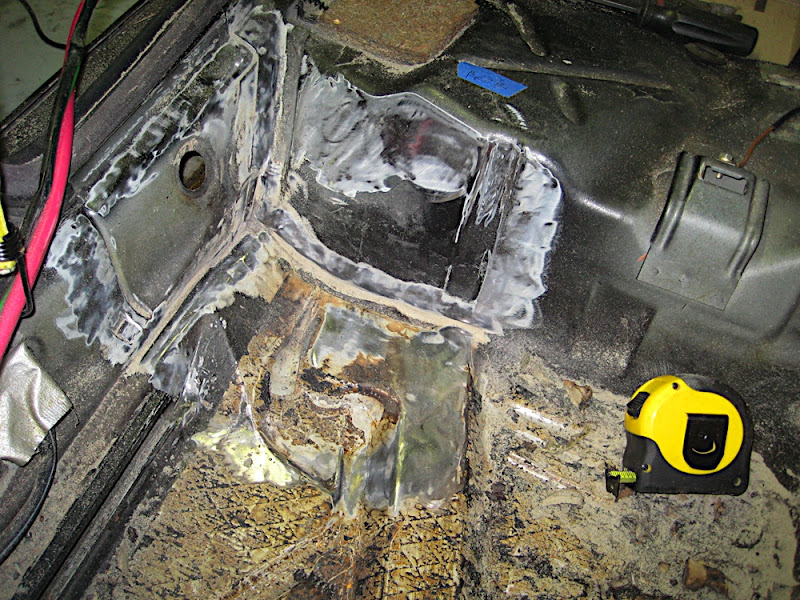
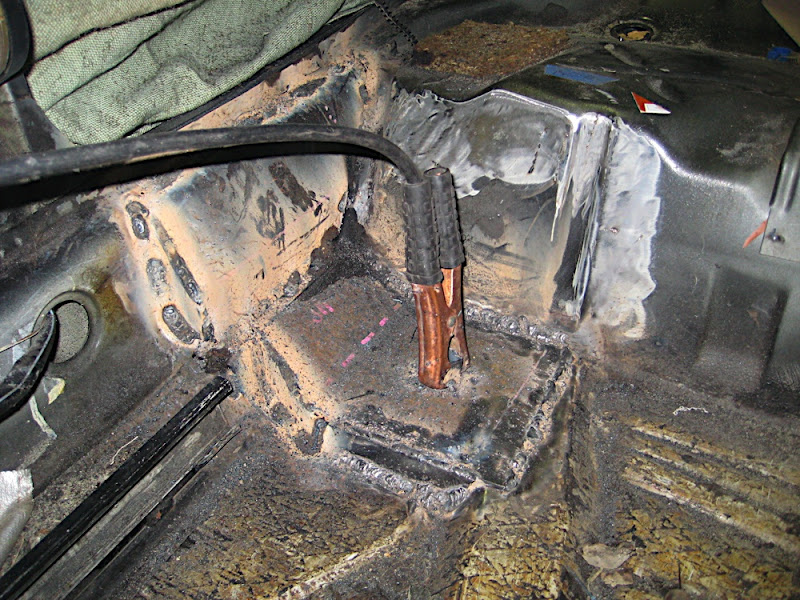
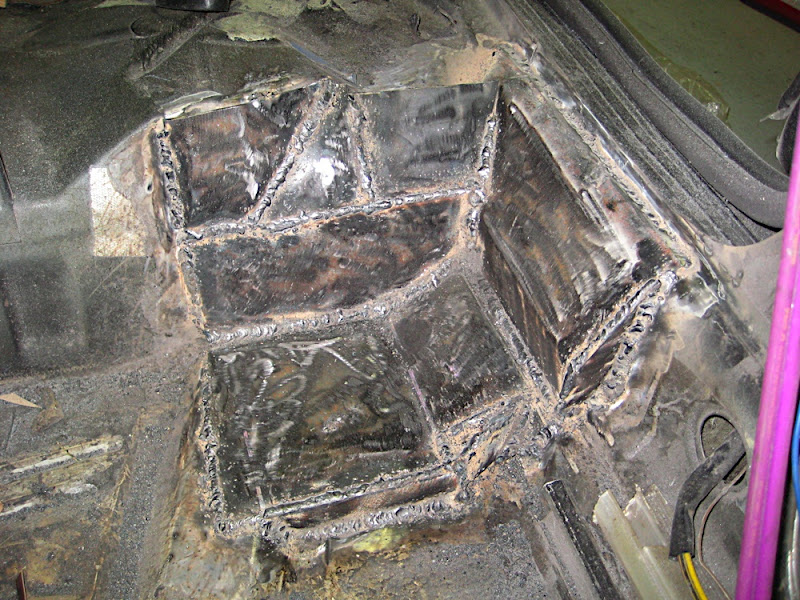
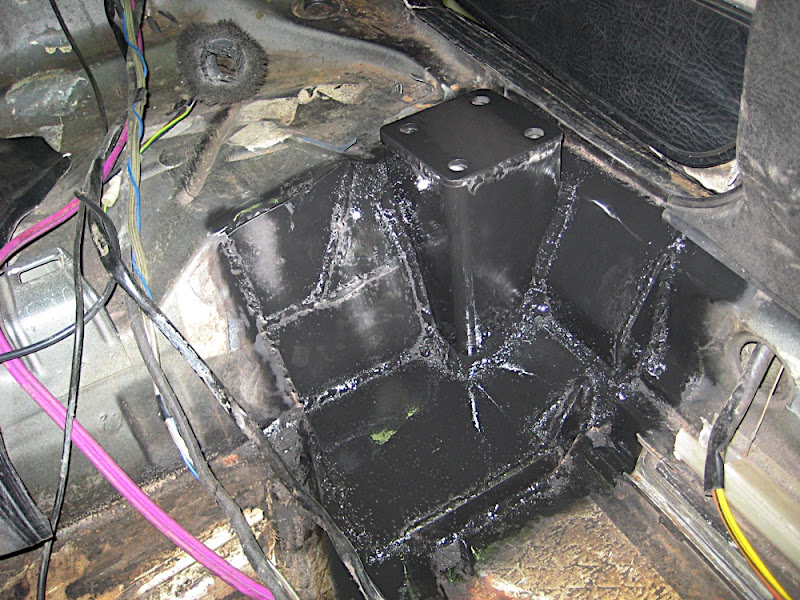
From this point, it was time to start building the base. In the past, I've seen horrible pictures of the feet of the roll cages punching through the floor boards in event of a roll over, so I wanted to make sure I made a BIG foot print for the base to sit on. In hindsight, I WAY overdid it (6" x 8"), as spec for a race cage is 4" square.
But anywho, nothing wrong with a lil redneck engineering

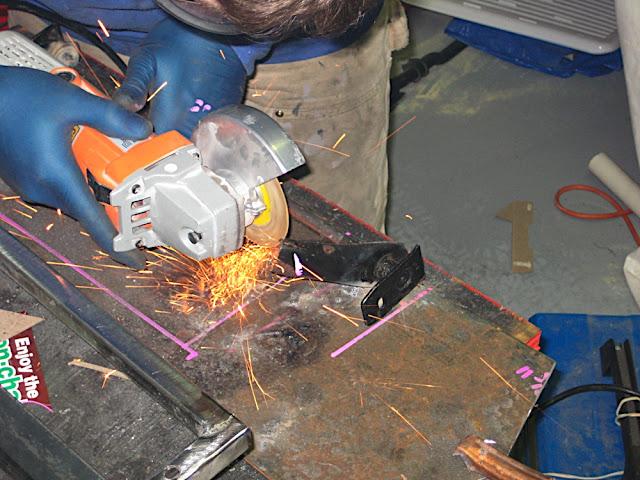
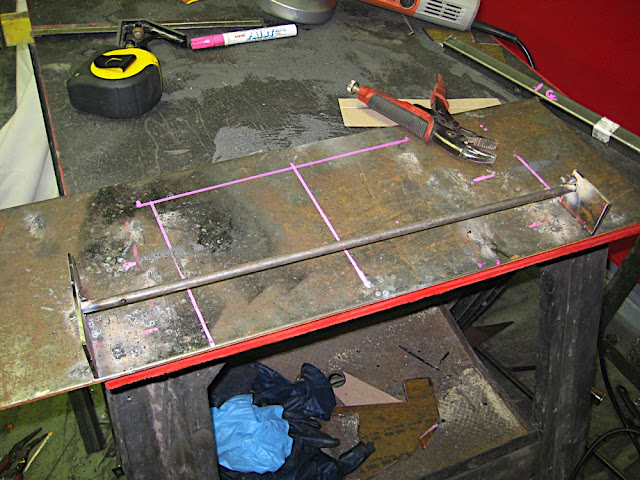
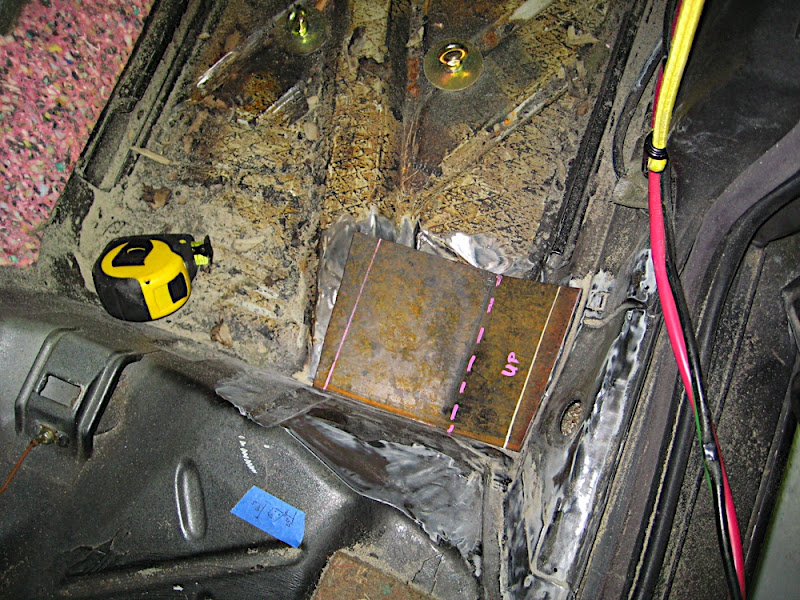
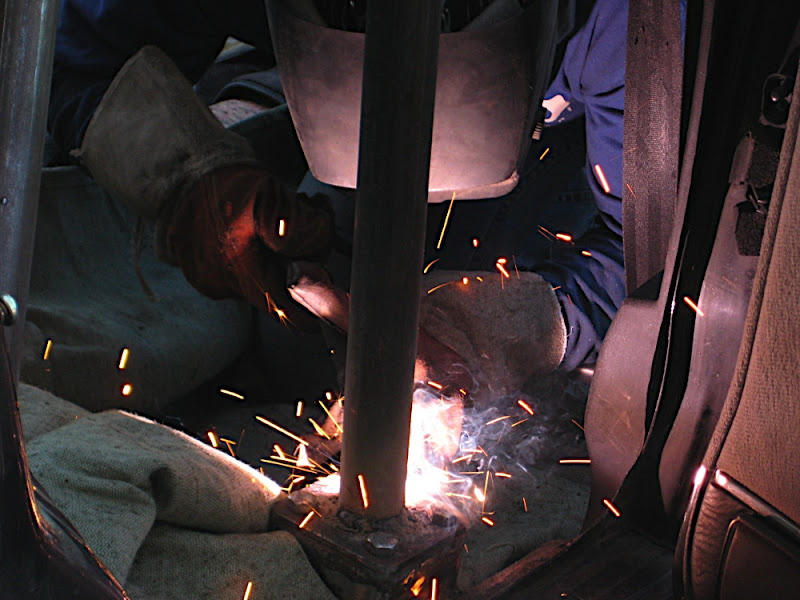
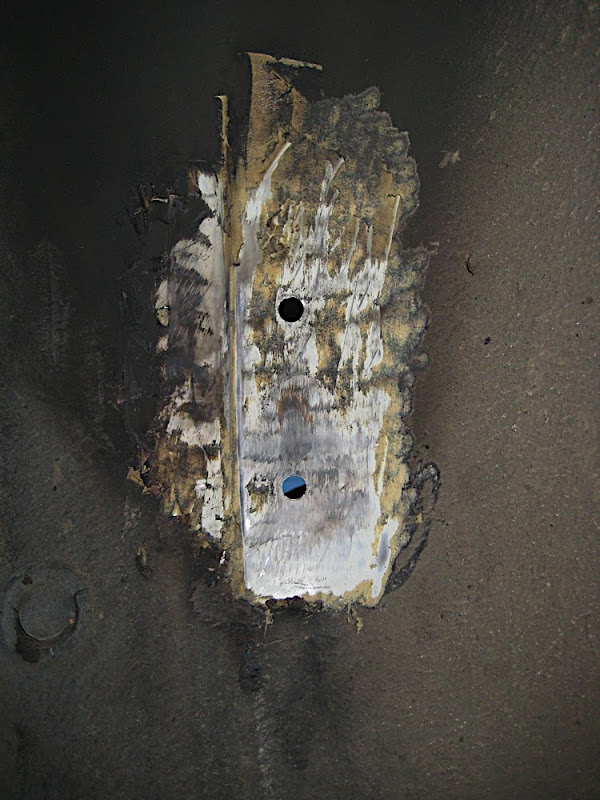
Started by cleaning off the area being welded:
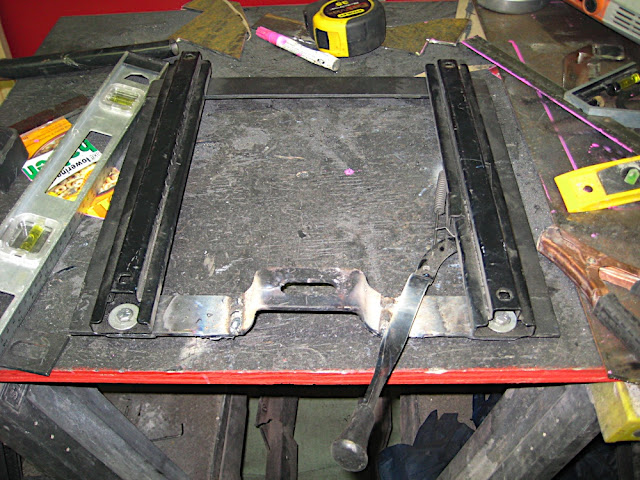
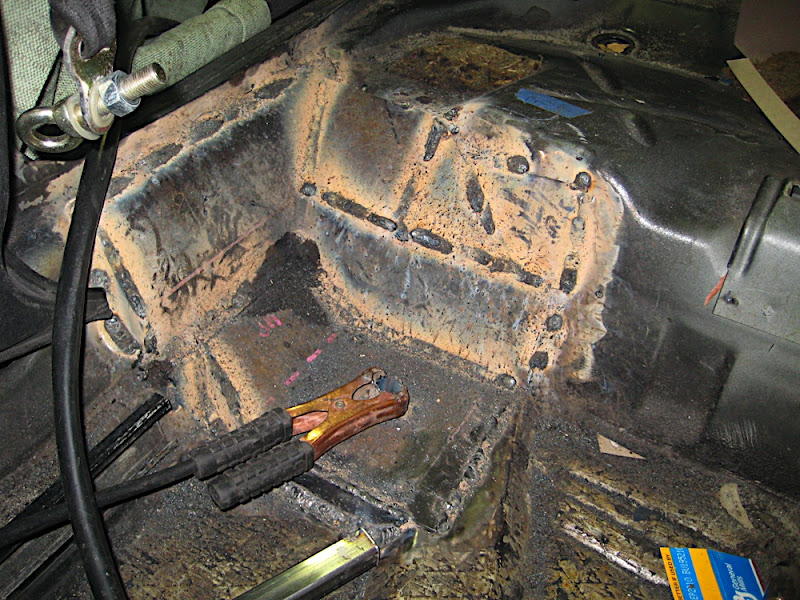
And begin piecing it all together:

and piecing some more:
and some more:
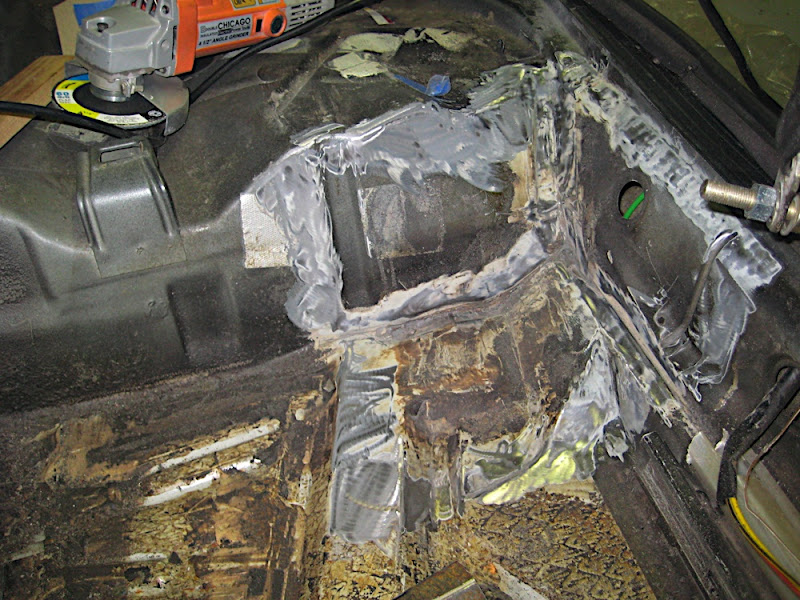
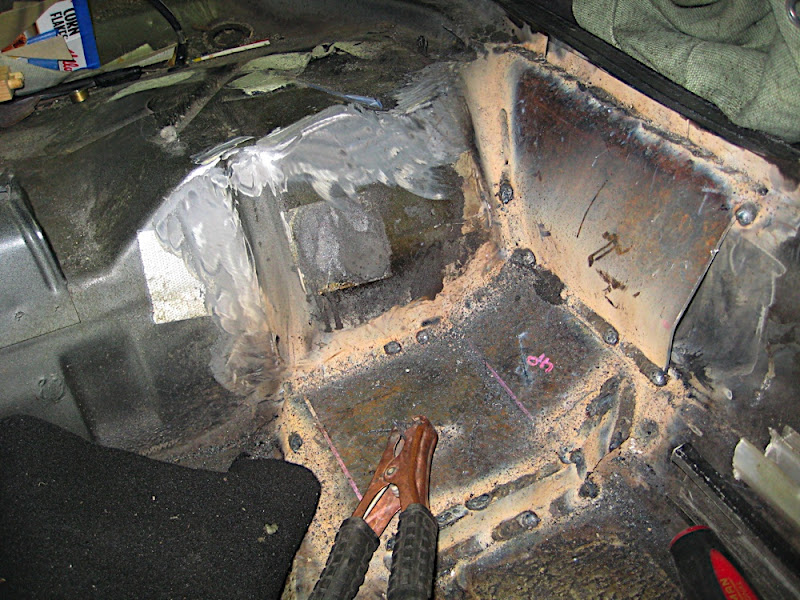
Rinse and repeat... the driver's side:
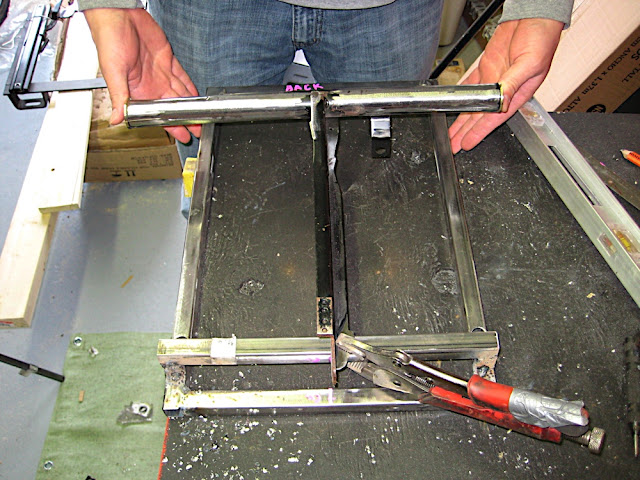
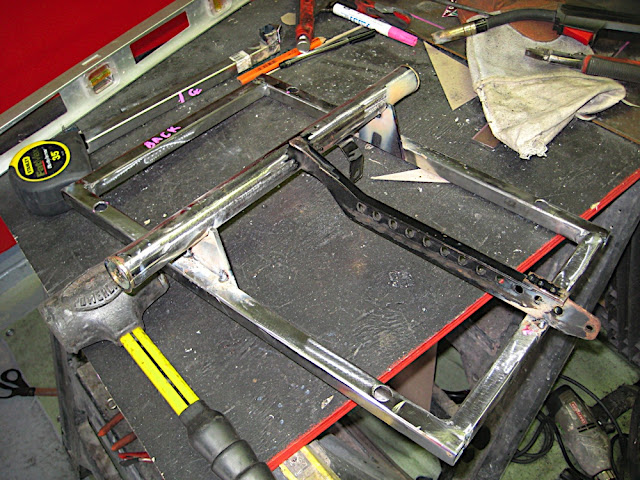
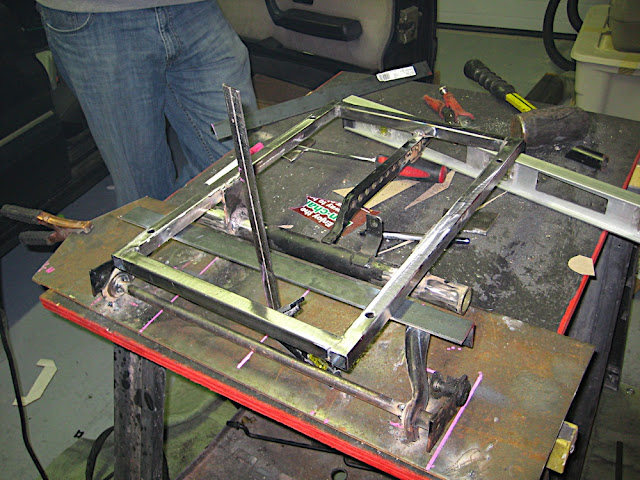
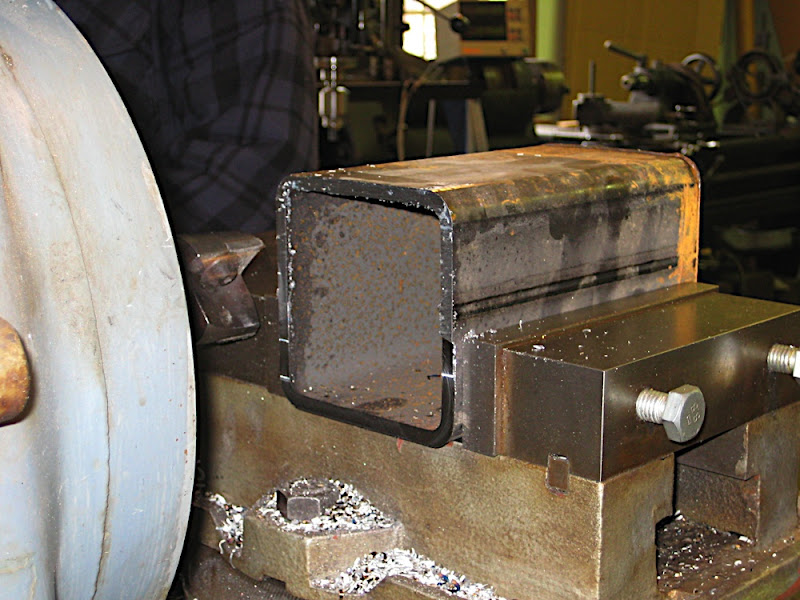
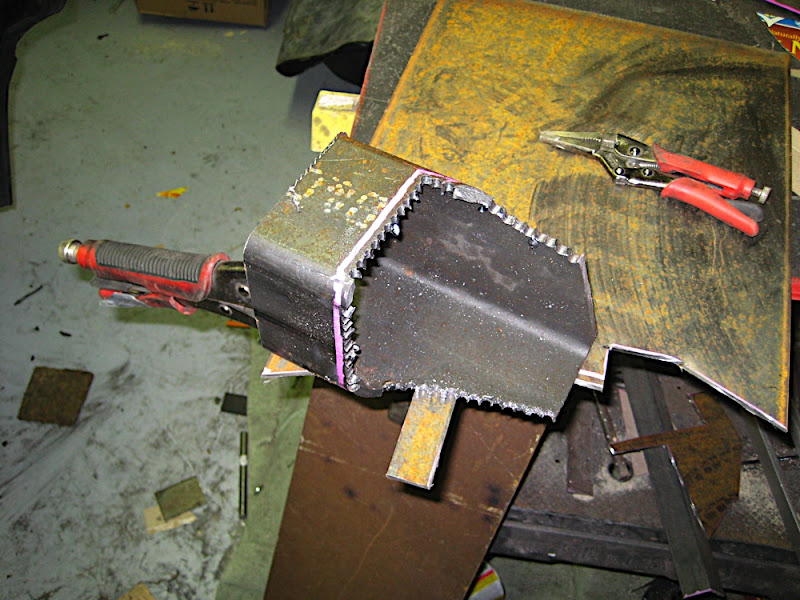
From this point on, it was time to start building the "towers" that were going to be the height of the foundation. To make life "easier" on myself, I decided to start with a 4" x 4" x .25" square tube. This proved to be excessive, and in reality I should have started with an angle iron instead of similar dimensions, but that's neither here nor there

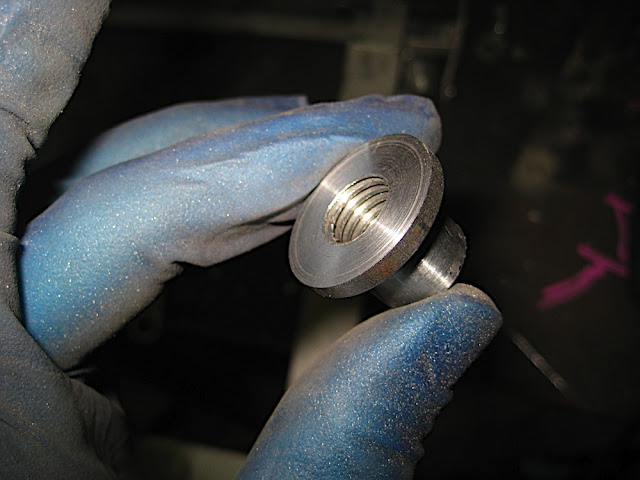
Thanks to a local buddy, I was able to get these puppies cut and milled to be perfectly flat with the help of his dad and mini-machine shop in his garage.
We started off by cutting the piece to length, and then end milling them to make sure they're 100% flat/square:
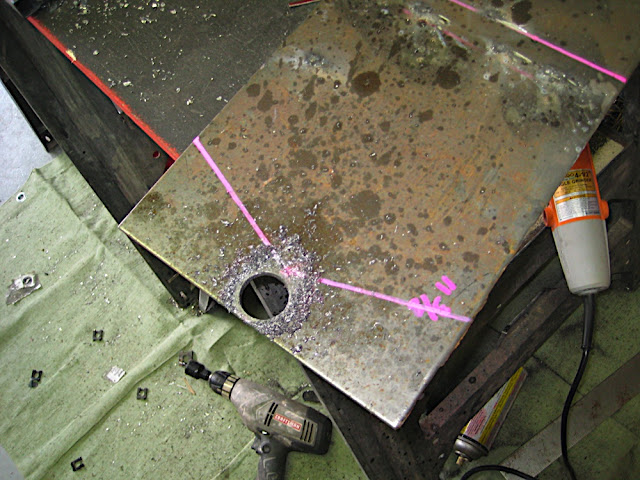
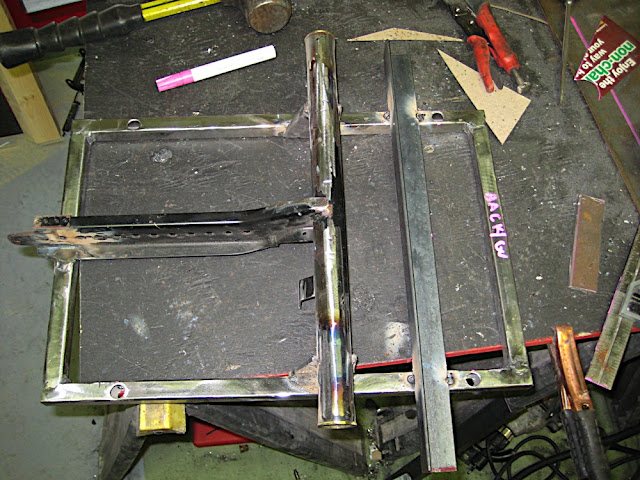
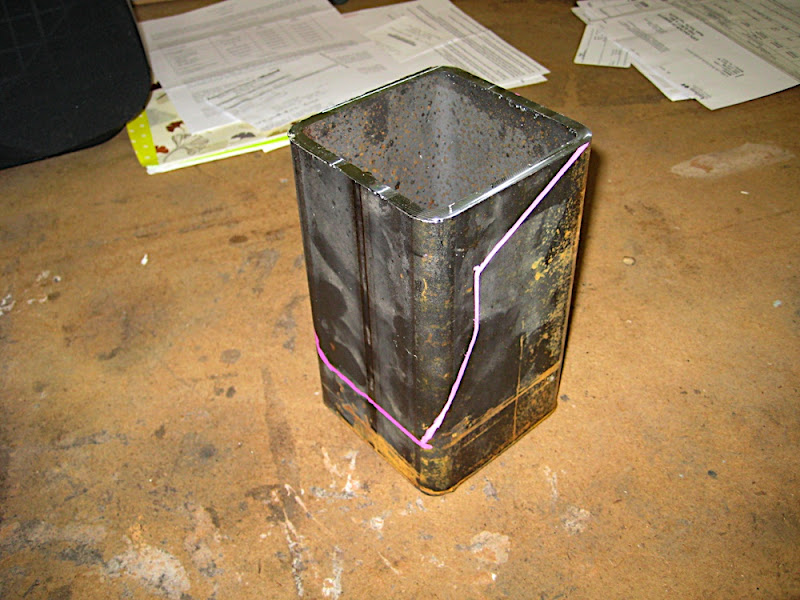
From there, we made templates to estimate how much we needed to cope the towers to allow them to nestle in like they're suppose to:
From there, we started to play with the mill. We basically perferated along the line. He started with a bigger milling bit, but ended up moving to a smaller drill bit which did the trick:
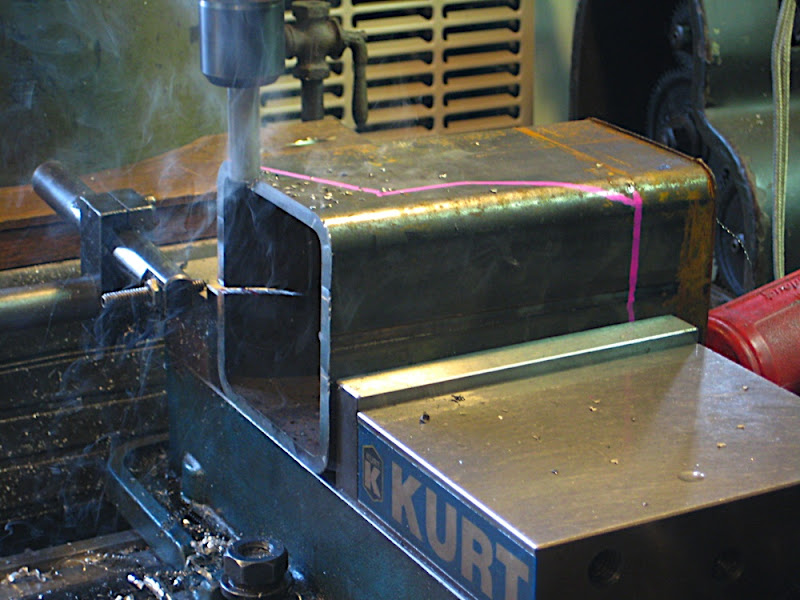
After drilling and a bit of hammering with the cold chisel, you get:
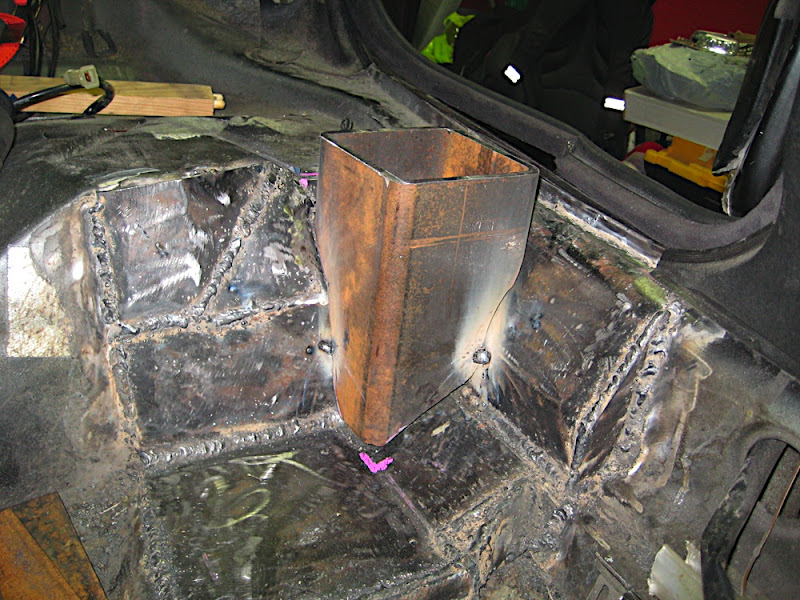
After a fair bit of grinding and fitting, grinding and fitting, grinding and fitting... I was able to fit and tack them in place:
Driver's side:
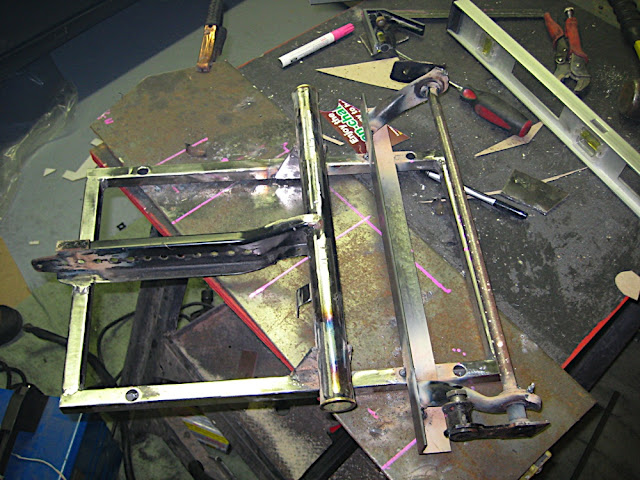
and fully welded:
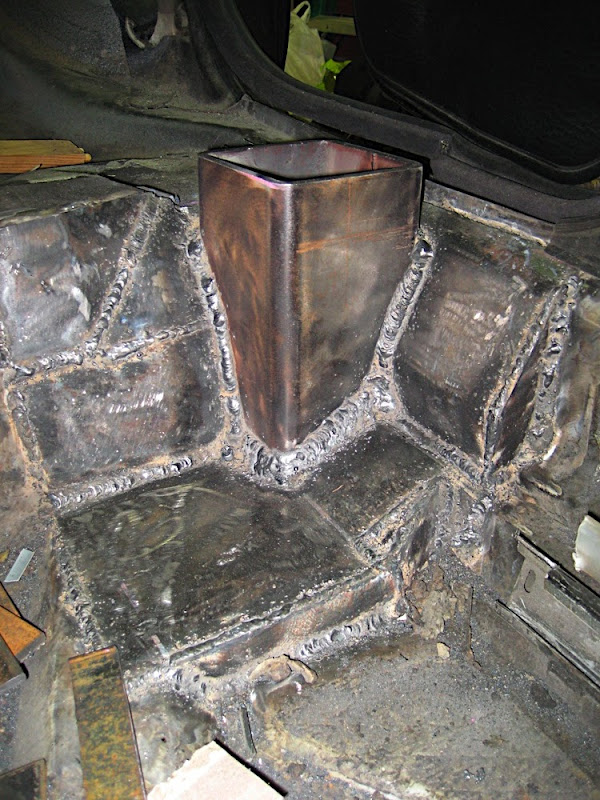
Passenger's side:
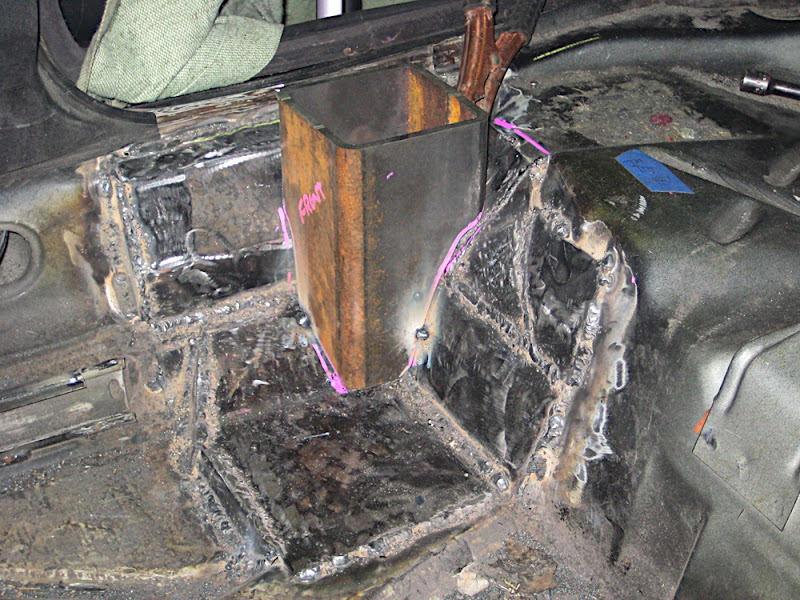
And fully welded:

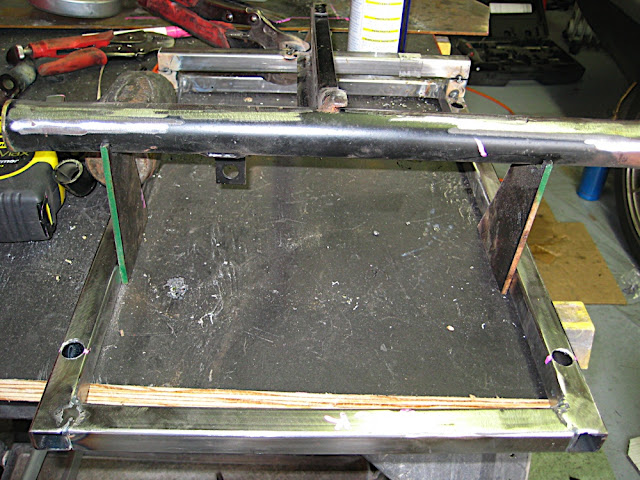
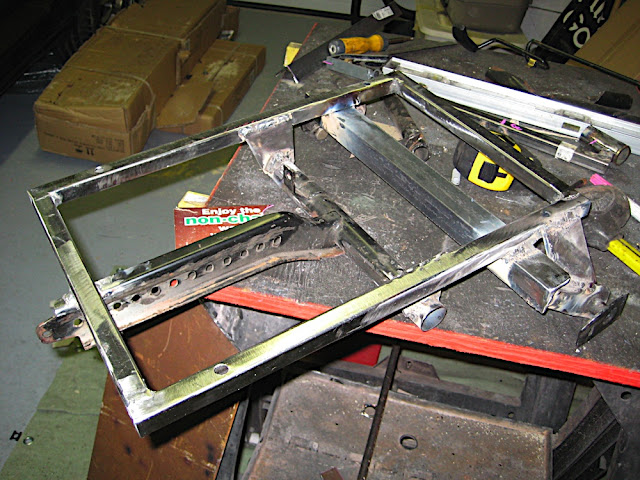
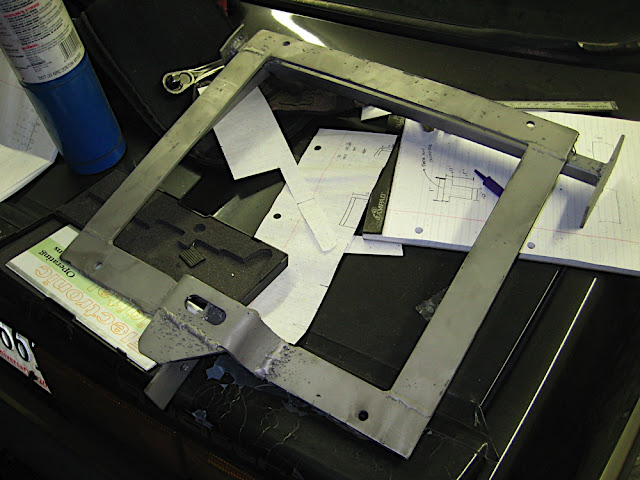
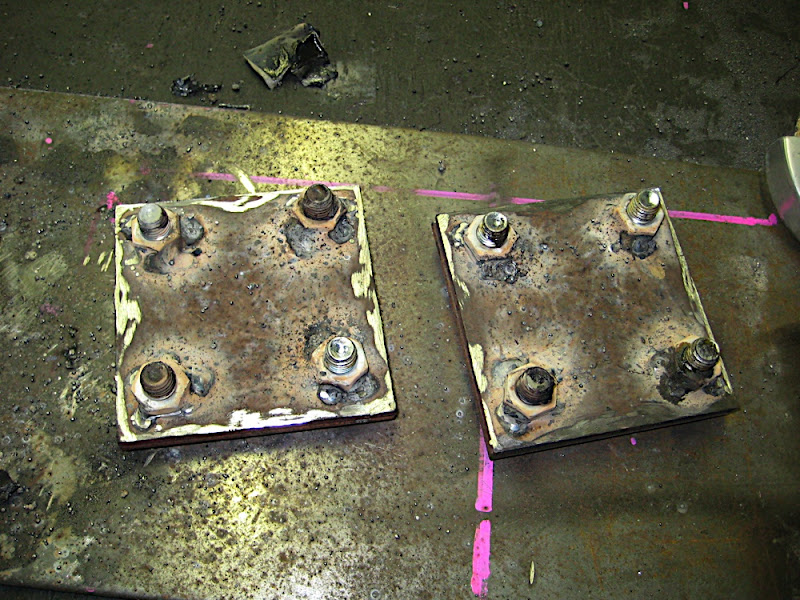
To top off the towers, I made two 4" square x 3/16" plates to serve as the base for the main hoop. I welded nuts to the back side of the one plate before installing it ontop of the towers:
Now came the fun part... bending the tubing and fabricating the cage!
It all started off like so:
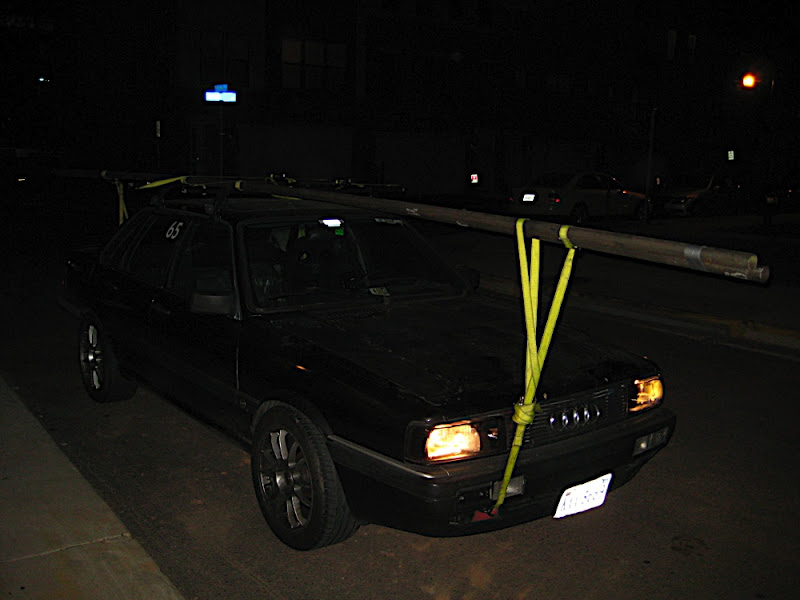
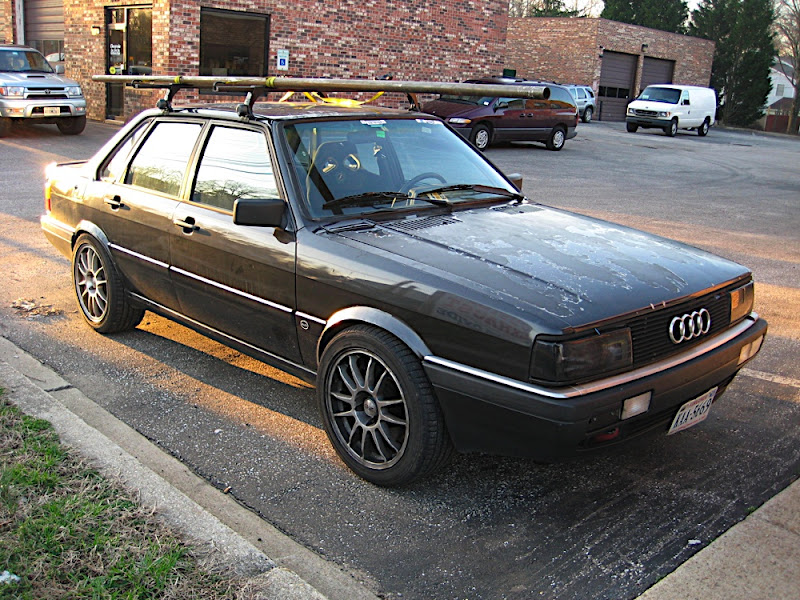
Yup, 2 23' pieces of 1.75" x .120 DOM tubing! I was able to score this at a deal from my cousin-in-law's buddy who had leftover from his roll cage on his jeep. Obviously transporting was a little tricky, but it worked out well!
So after measuring, and measuring again, we came up with a design for the rear hoop.
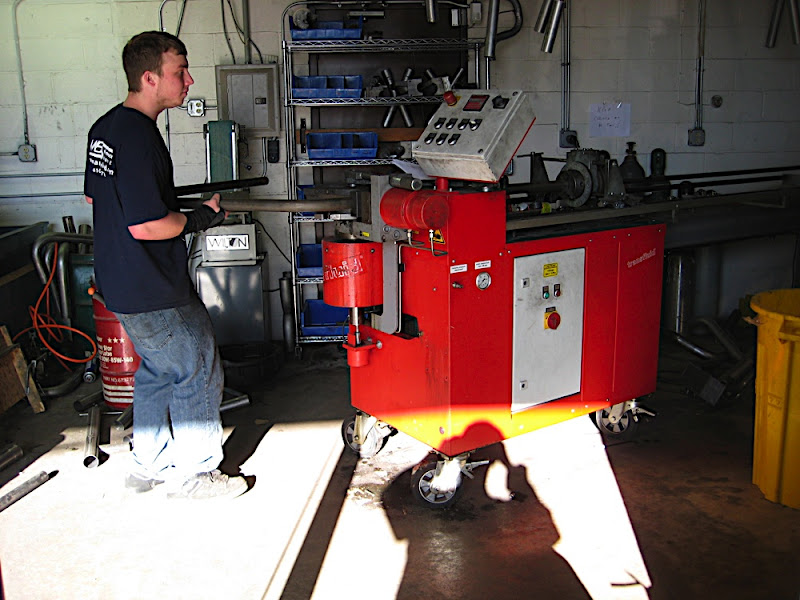
My cousin-in-law's friend was suppose to help me bend the tubing, but unfortunately time was not on his side and there was no definite time he would be able to help me out. After some looking around, I was able to find an exhaust shop in Maryland who would bend the pipe for a deal. They were Mandrel Bending Solutions (
www.mandrelbend.com). I kind of wanted to learn how to do it on my own, but for the price I decided to learn later
Inorder to make transportation a tad bit easier, I cut one of the pieces in half so I didn't take someone out when driving up there in morning rushhour!
After inputting my measurements into Bend Tech Pro, we were off to the races:
Unfortunately, we messed the first piece up b/c the tech entered the bend-back info for Chromoly vs DOM, which meant that it actually overbent the tube, so instead of being a 90* bend, it was a 95* bend.
Thankfully I brought two pieces, so we used the first piece to verify everything was kosher for the final piece of tube.
And here's the cage in all it's glory!!

Kidding. This was the scrap. Again... very thankful i brought 2 pieces!
The final piece:
When he bent the hoop, I had him make it slightly taller than it needed to be so I could remove some material and make it the exact height it needed to be. So out came the tapemeasure again and off we went:
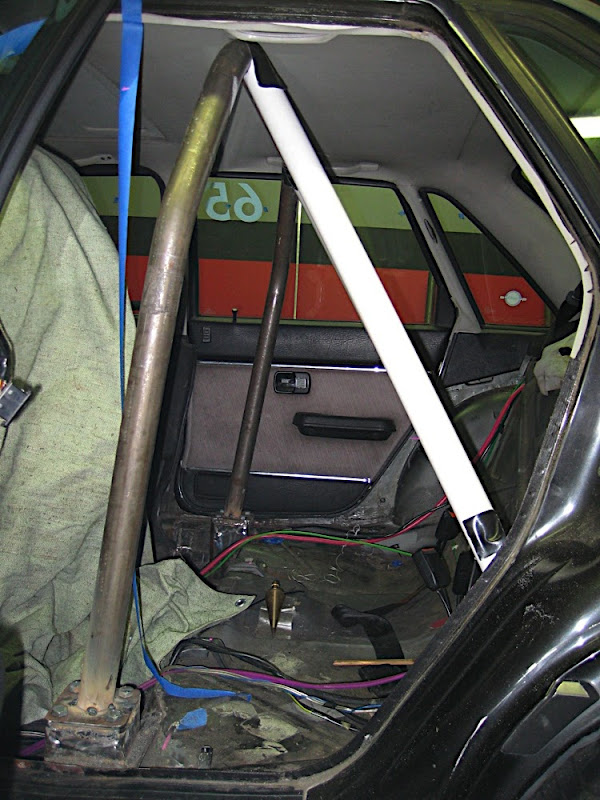
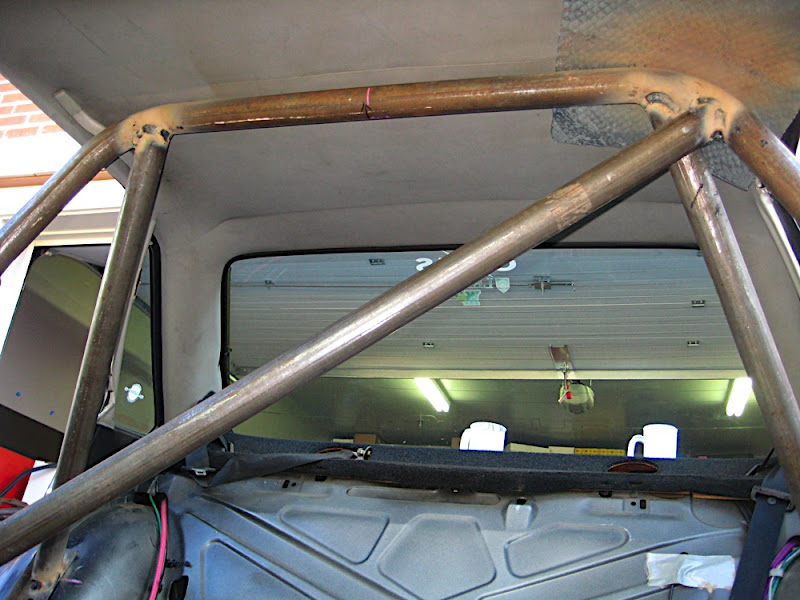
And tacked in place!
I angled it back approximately 7* from vertical (which is the blue painters tape across the top) to allow headroom over the seats if they were to be pushed all the way back.
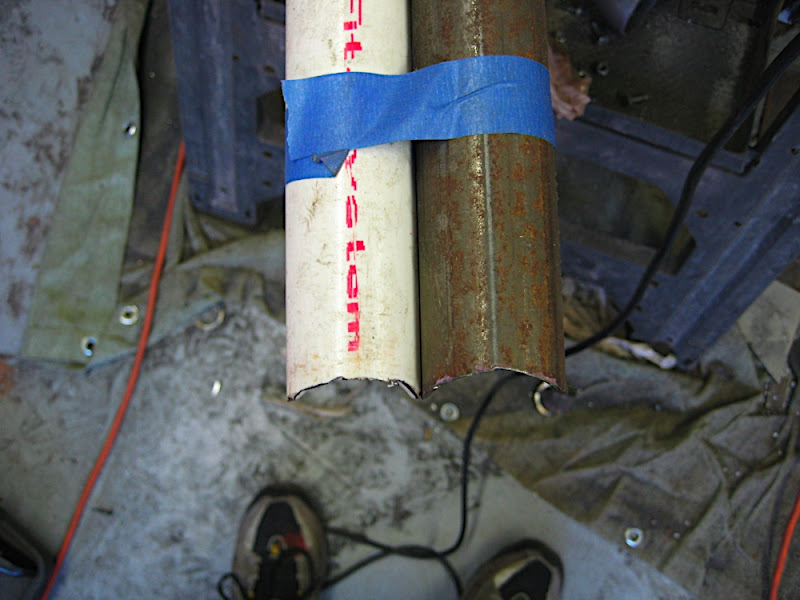
From here began the fun... building the actual cage. Let's just say that coping pipe w/o the proper notcher is a real chore with an angle grinder. To make life easier, we ended up using 1.25" PVC (similar OD to the tubing I was using) as the template and then moving that pattern over to the tube.
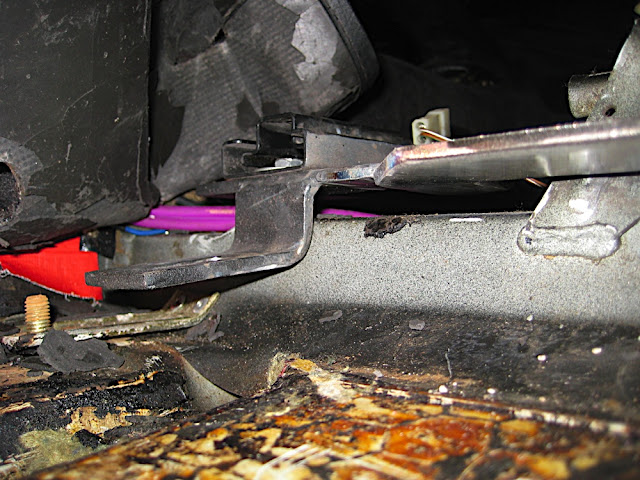
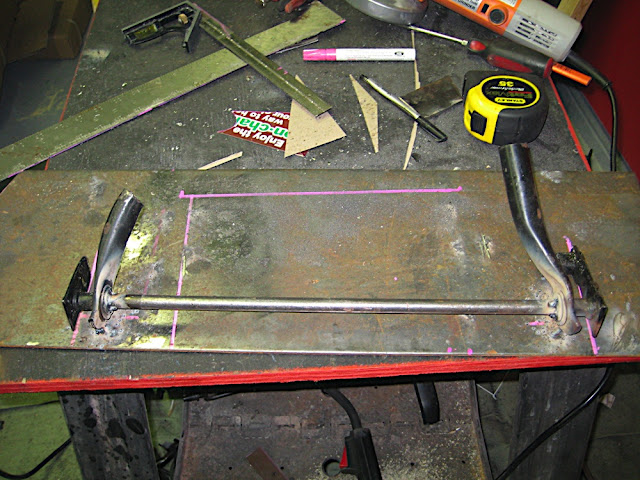
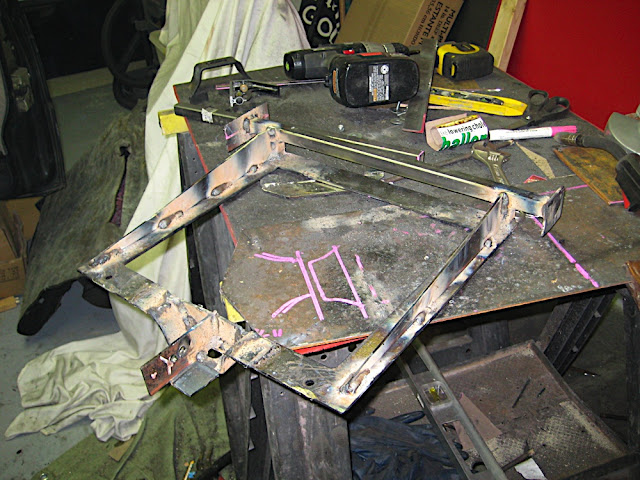
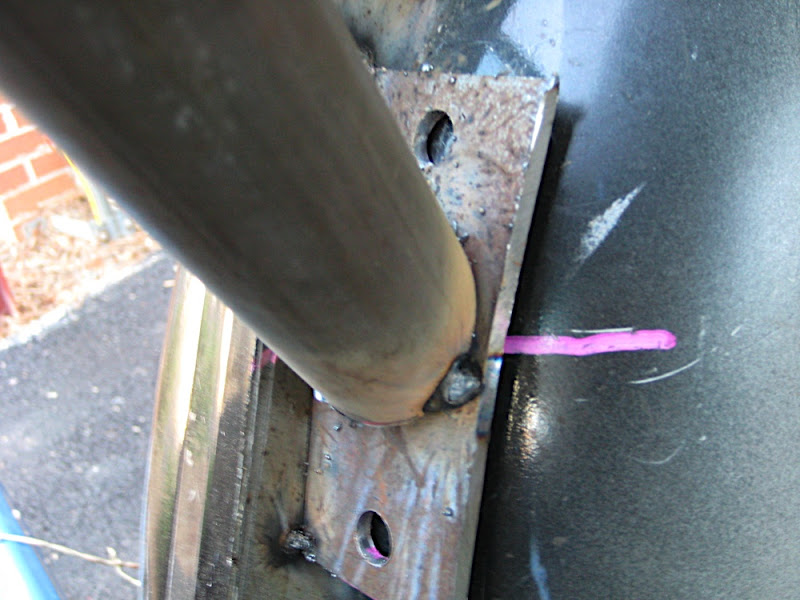
Before going too crazy, I had to make the mounts for the kickers. Like many other bolt in cages to the 4000s, I decided to mount it off the wheel well vs the strut tower. While the strut towers are stronger in the grand scheme of things, the wheel wells on these cars are part of the strut tower (just further down), so they should technically be strong enough to hold up. Being that I've seen it in the past from reputable bolt in cages, I figured I'd mimic it.
Getting the piece to match the contour of the wheel well top was a little interesting, but nothing a lil action w/ my c-channel and c-clamp couldn't handle
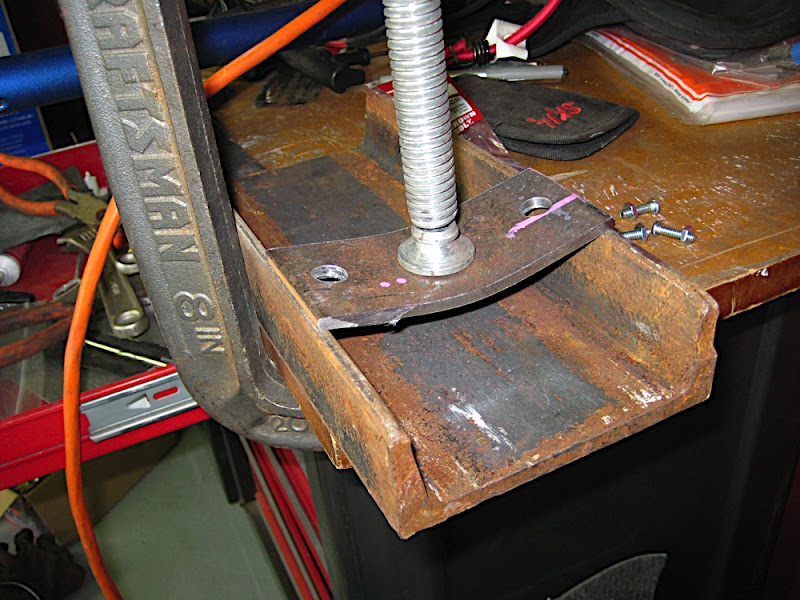
And tacked in place:
Once the mounts were in place, I got to building the mock up piece out of PVC:
And making things match:
And yes, this is actually a template we made for matching one of the joints:
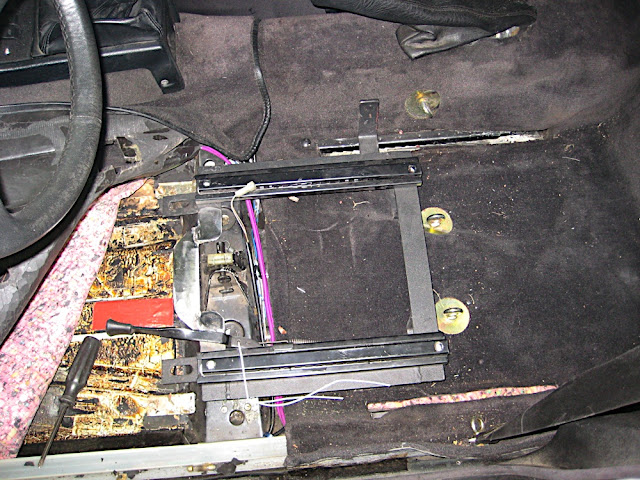
and mounting it up:
And welding it up:
Coming along nicely:
More mocking up:
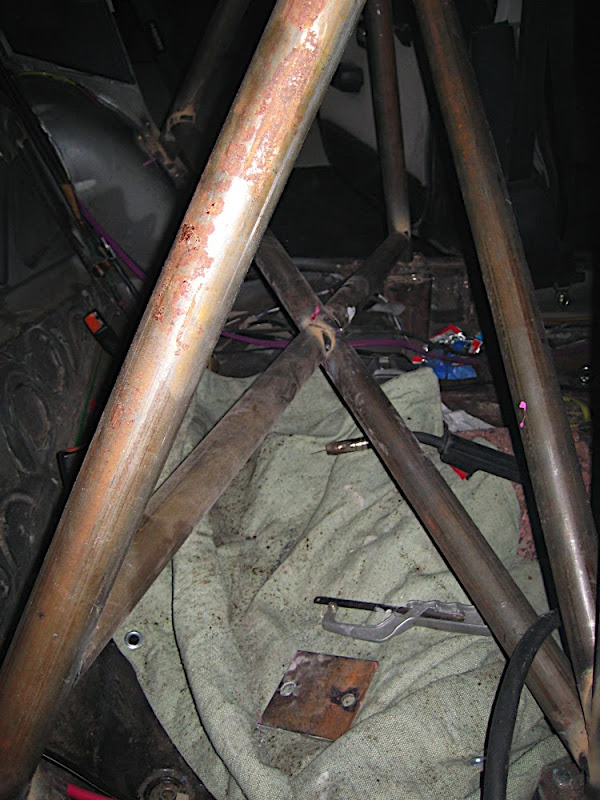
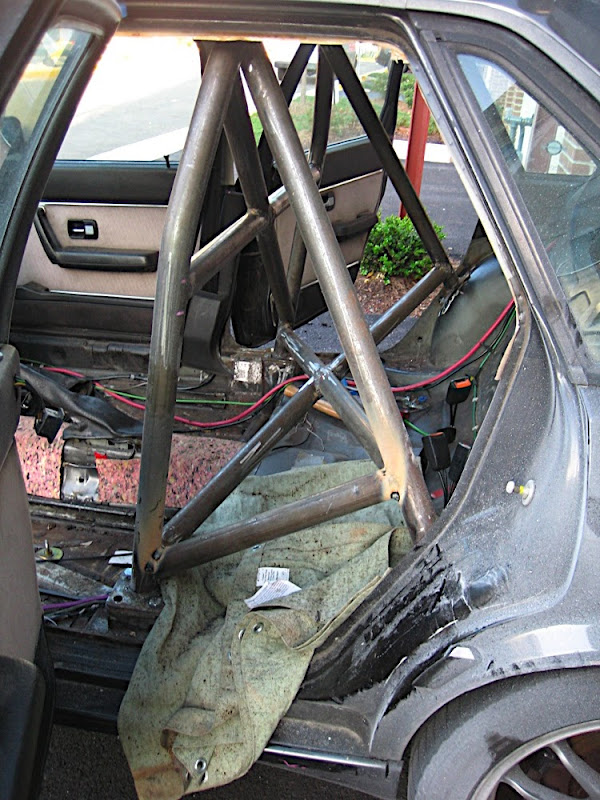
Cross bracing back to the back legs:
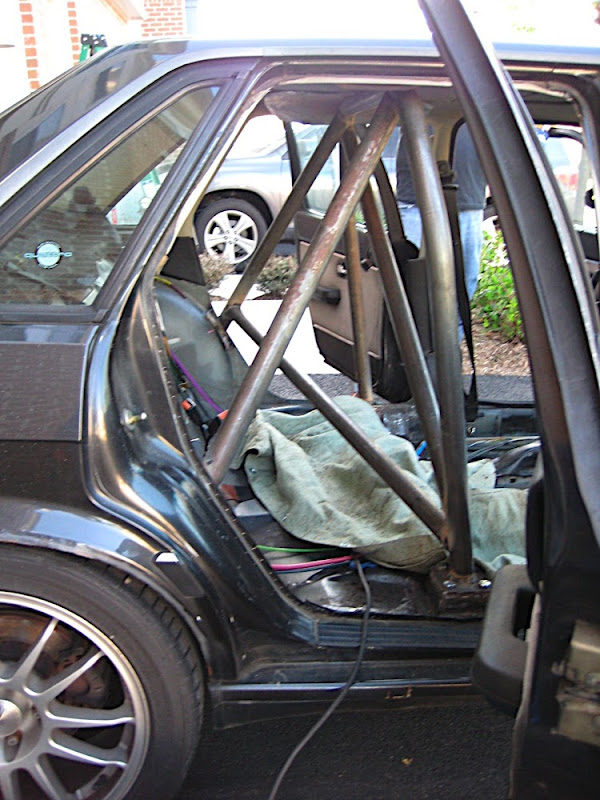
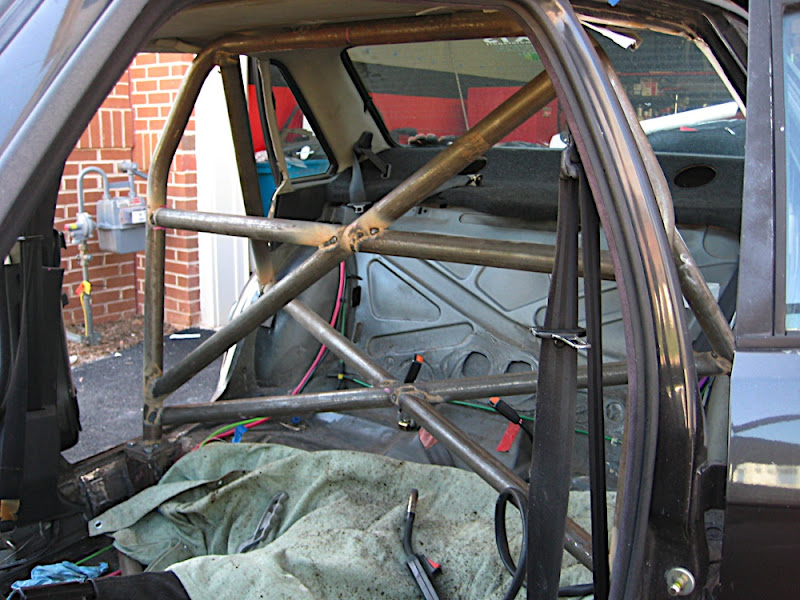
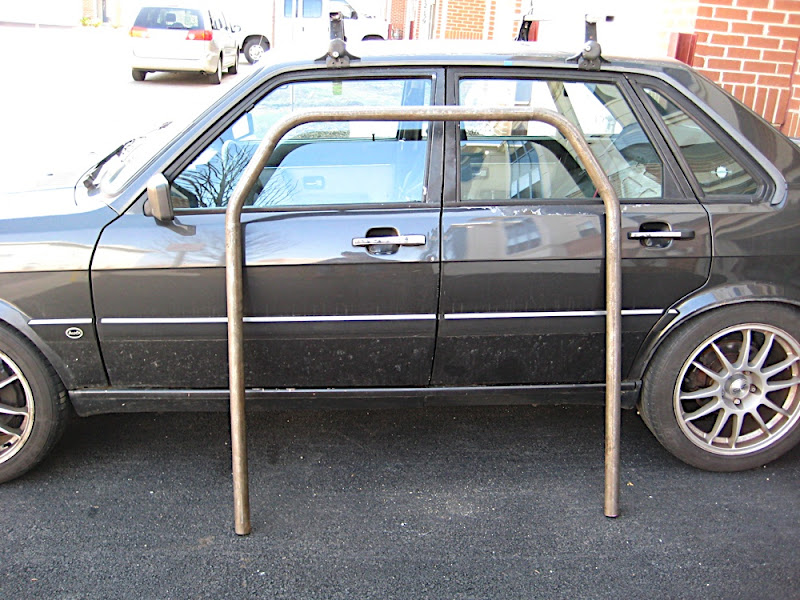
And out of the car 90% done!
This was one of the big moments as it set in stone that I was actually going to be able to get this thing OUT of the car when I wanted to
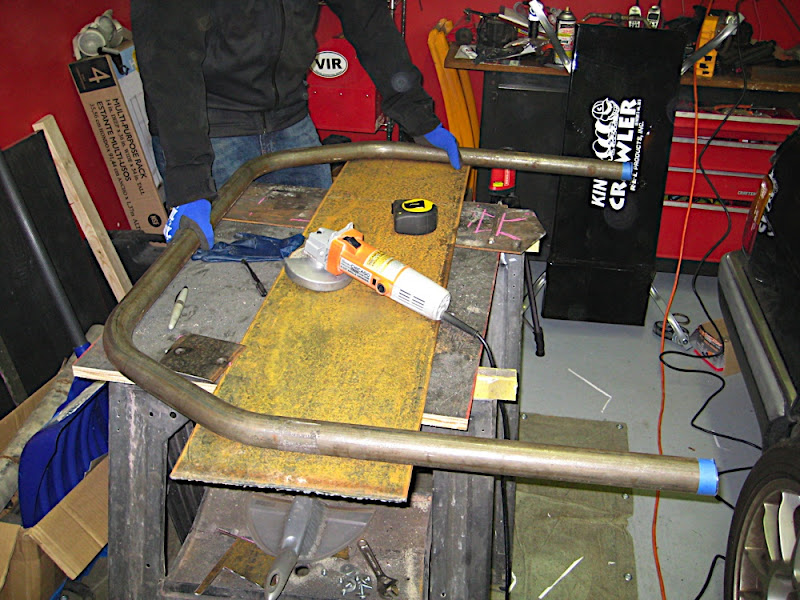
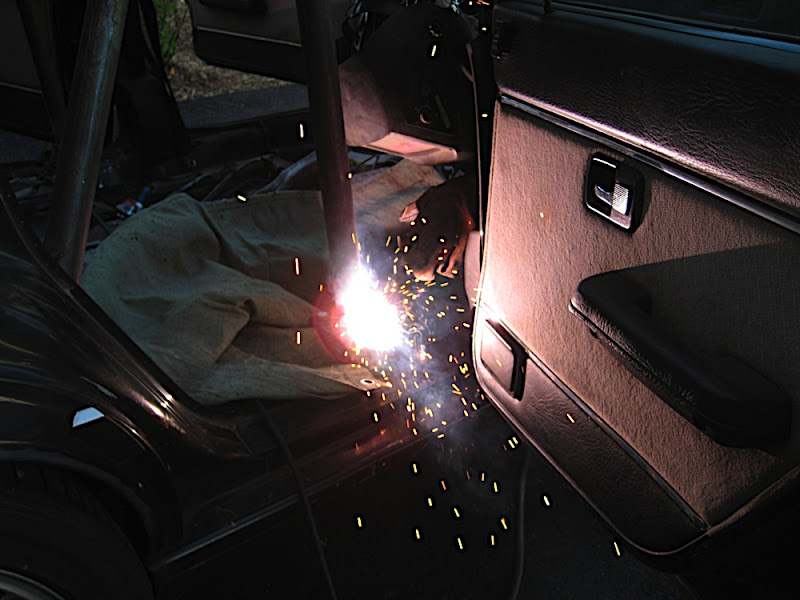
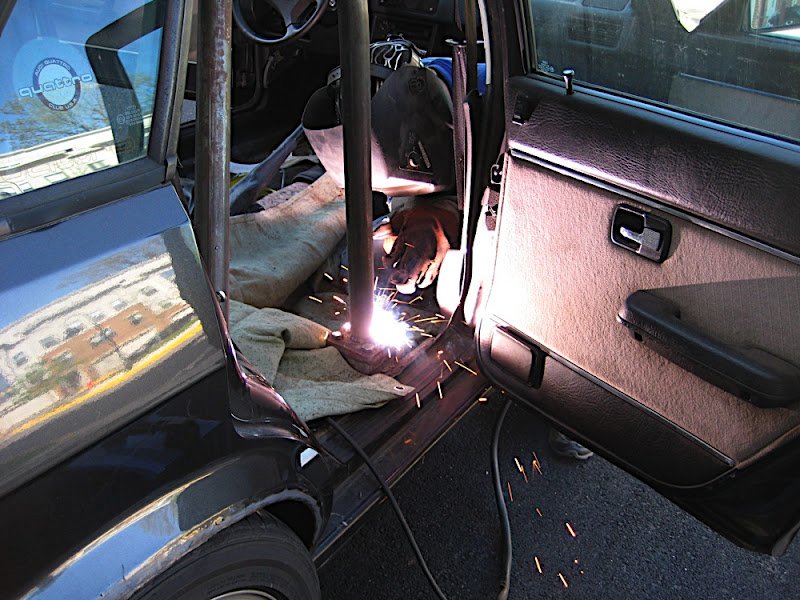
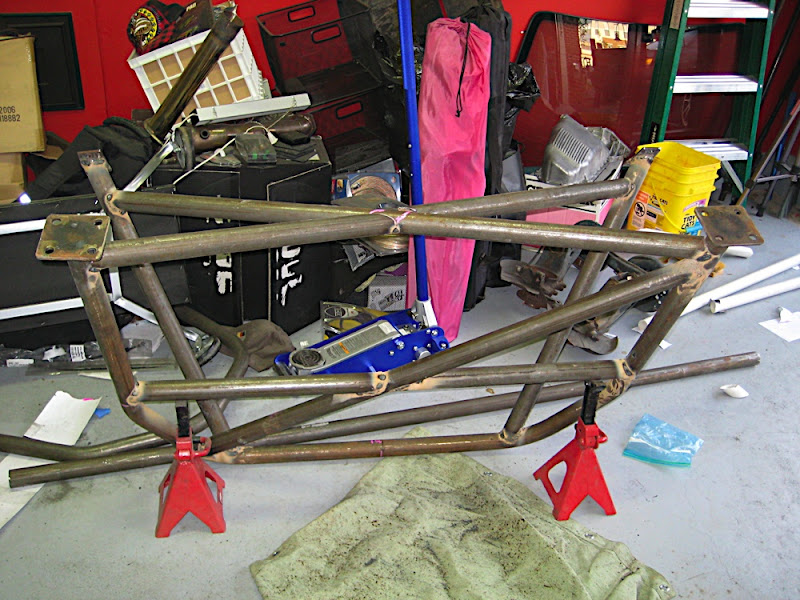
From here, I brought it into the garage and finished welding those "hard to reach spots" so I didn't have to contort myself in the car to get to some of the funny angled pieces:
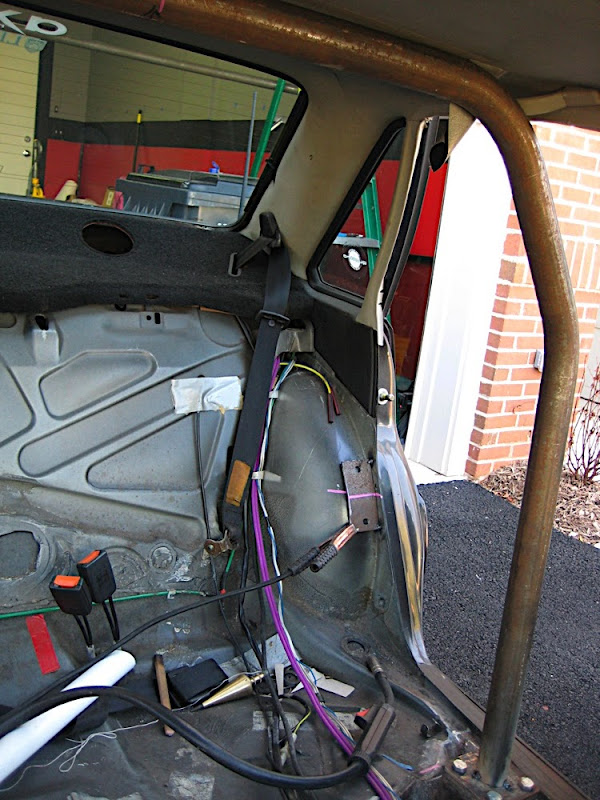
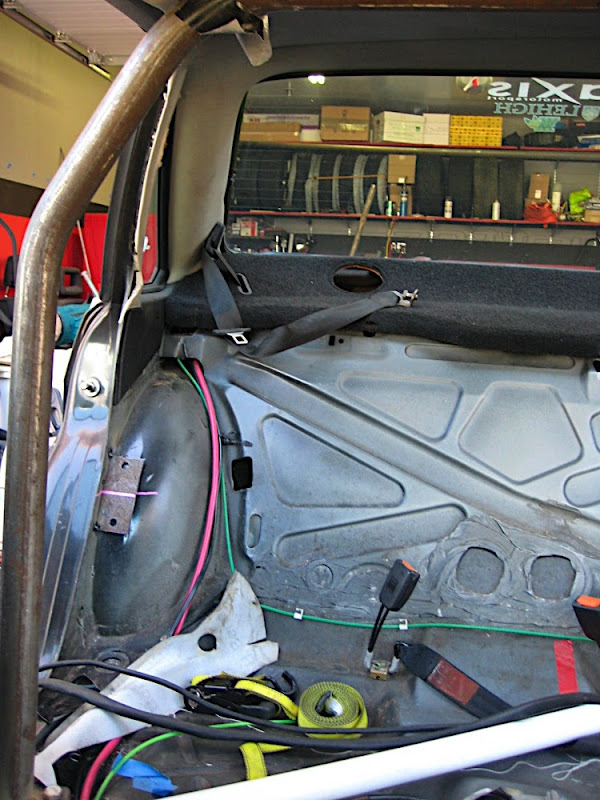
With the cage out, i was then able to start drilling the holes in the wheel wells so I can add the plates/nuts to them for mounting the back legs... I still don't understand why my neighbors don't like me :-P
and removing the coating (have I mentioned how much I hate the Audi undercoating?)
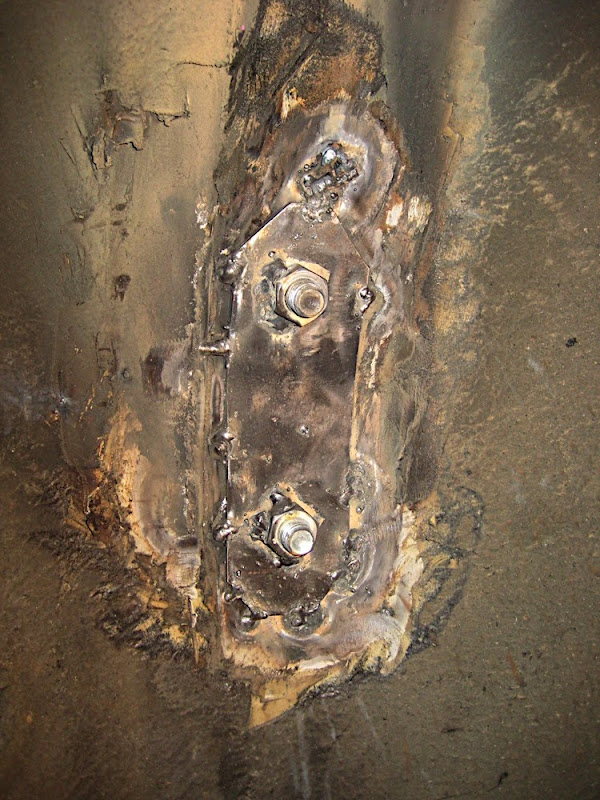
loose fitting:
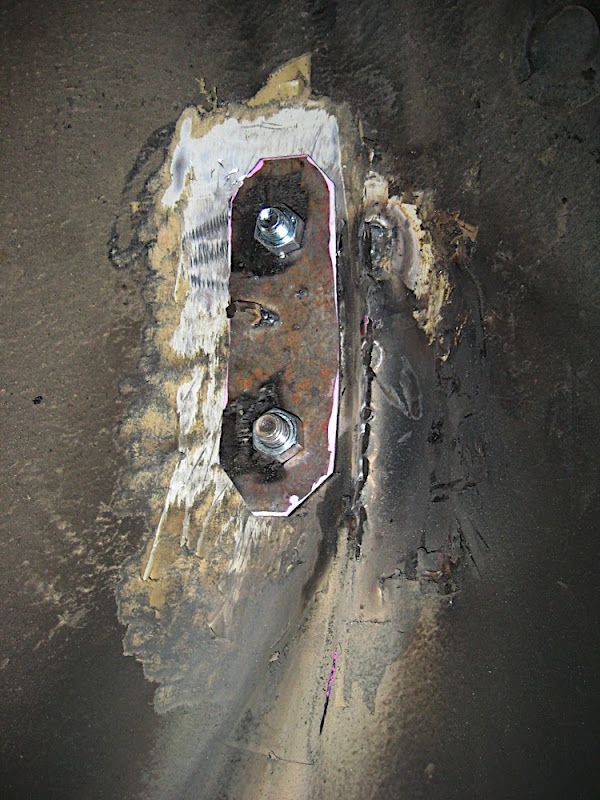
And tacked in place (it's ugly! I had a hard time welding b/c I didn't do a good enough job cleaning the metal of the infernal undercoating, plus the coating that WAS around started to melt and run where I was welding. It was a big mess, but it'll work):
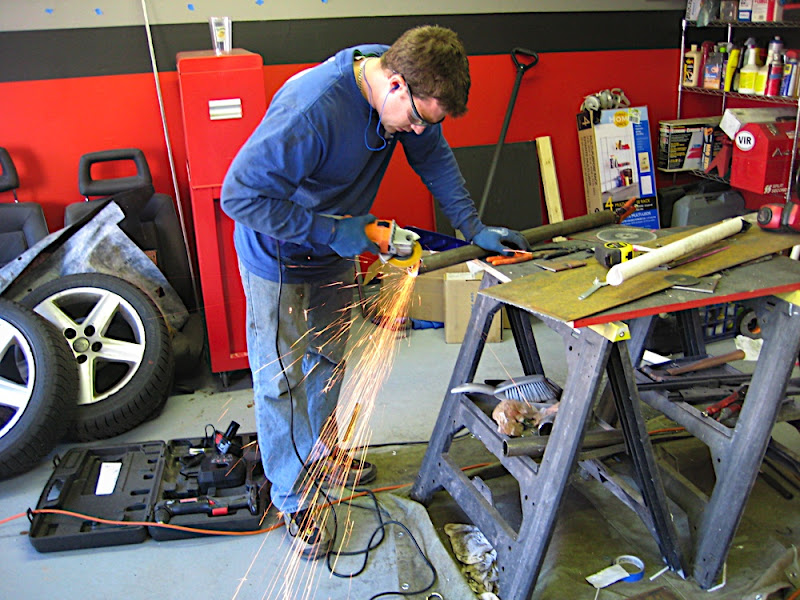
Unfortunately at this point, my Harbor Freight Special finally bit the dust:
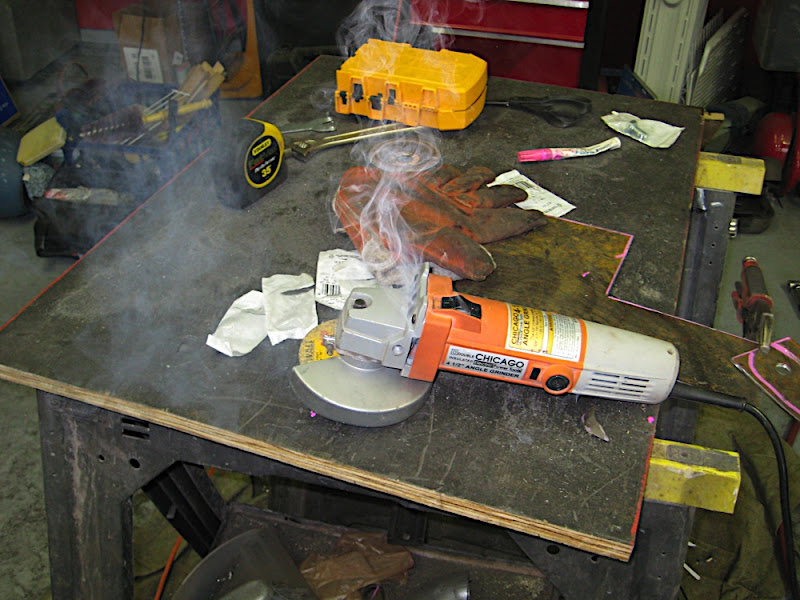
If it's possible, this one was actually crappier than my LAST $15 HF special... that one at least lasted a few years. This one barely survived 5 months! At this point, I did finally bite the bullet and pick up a sweet Milwaukee angle grinder. I've been doing this enough, it's about time I get a good tool.
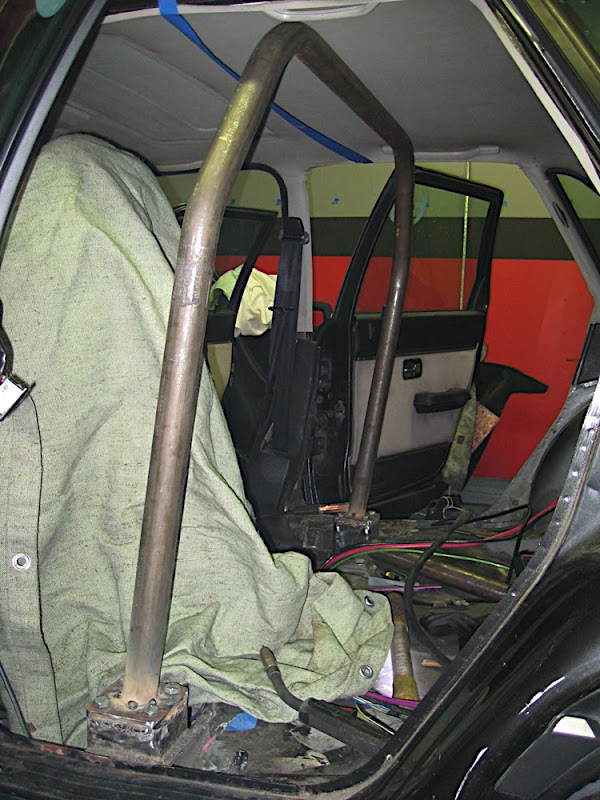
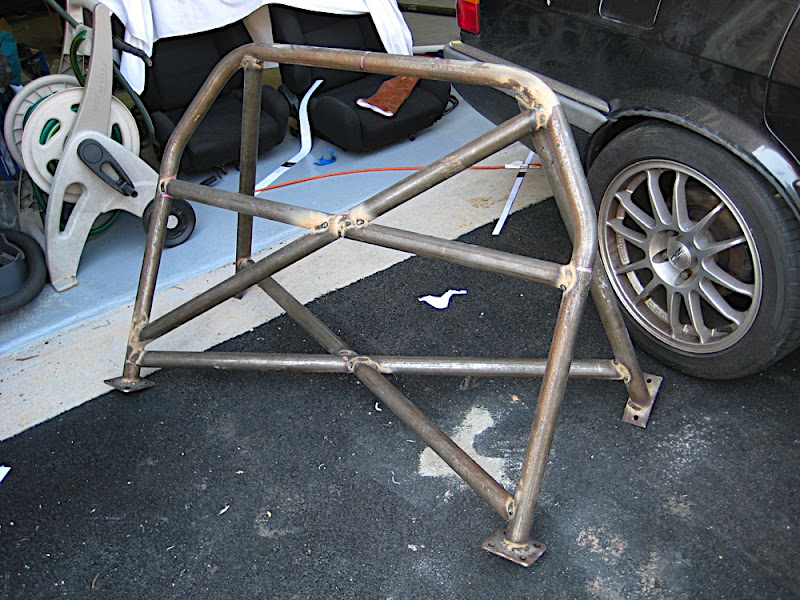
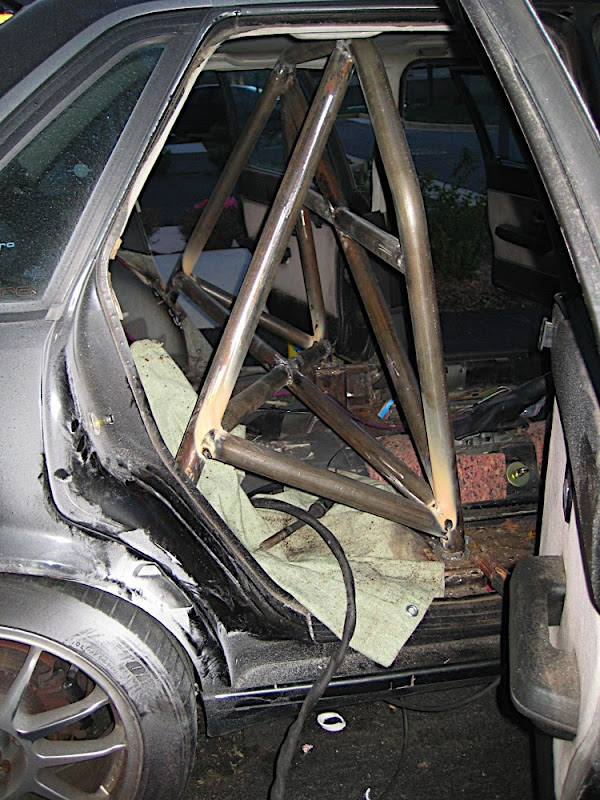
Once I got the rear mounts all squared away, the cage went BACK into the car so I could put the final support bars on each side:
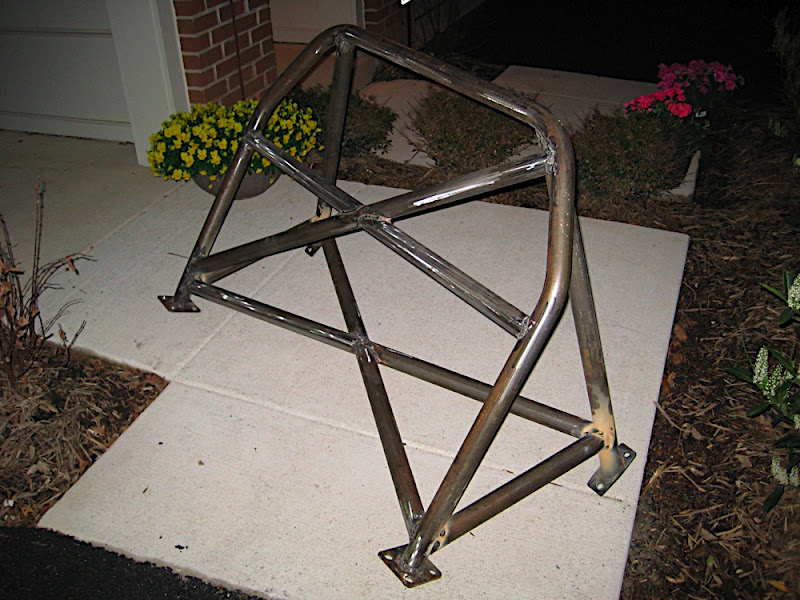
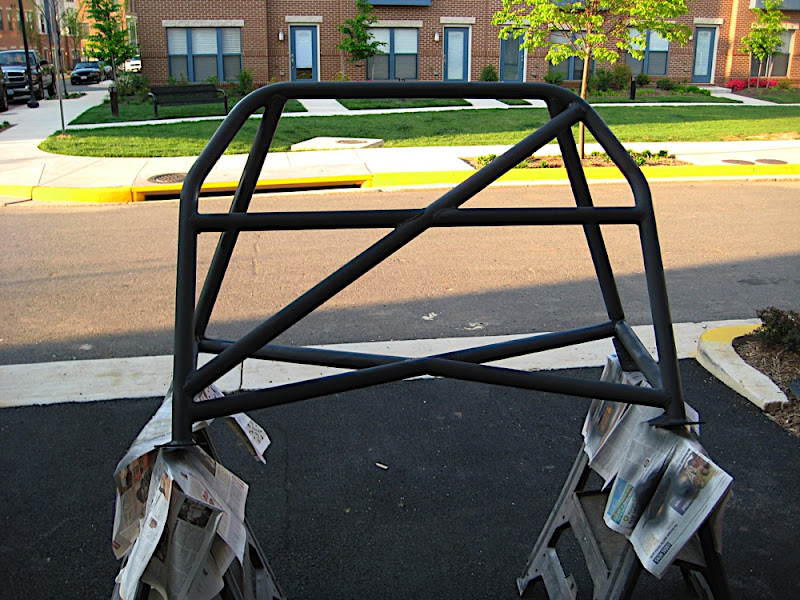
And out and ready for final cleaning and paint:
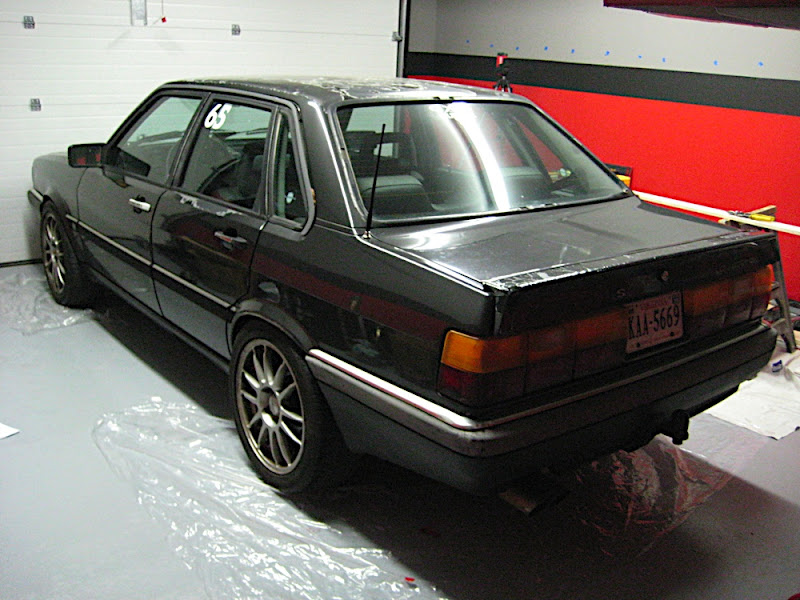
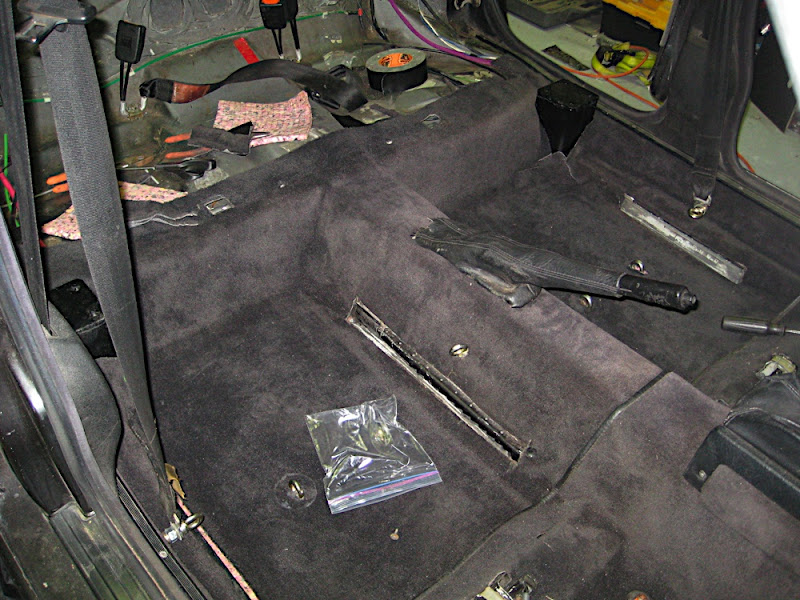
Once the cage was done, the car went back into the garage so I could start prepping the interior to go back together. Main goal here was to make it so I could still DD this car if I so desire and keep it with all the creature comforts of a 4/5 seater, so I could tote people around if need be, plus the carpet/padding keeps the noise down considerably!
So I started off by painting the finished "foundations" to the cage:

Once the paint dried, it was time to get the carpet in. I didn't do the greatest job trimming the carpet to fit these, but it still looks pretty decent to me. Not great, but it will do the trick:
And then the cage got a little loving too:
And finally, installed with my nice red harnesses in place
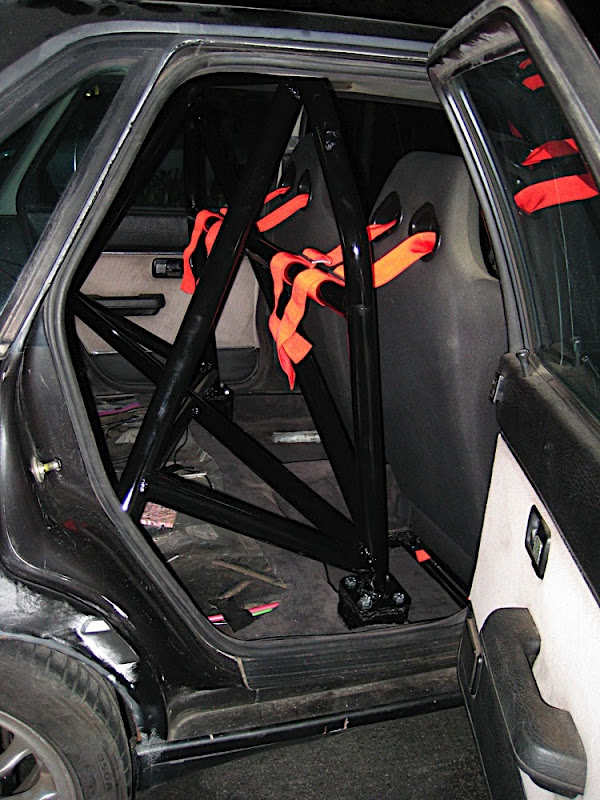
Wanted to give a big thanks to Hadyn for answering a lot of questions for me and added advice in the building of the cage, hoop, etc etc etc.
I will make another post later on about the mounts and what not for the seats that I installed. Don't have it in me to type that up right now
 looks good Justin!