Kuma85 wrote:got a picture of the powerflex bushing.
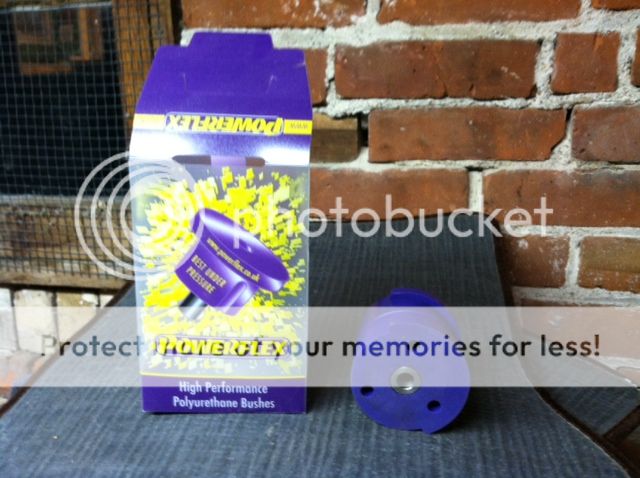
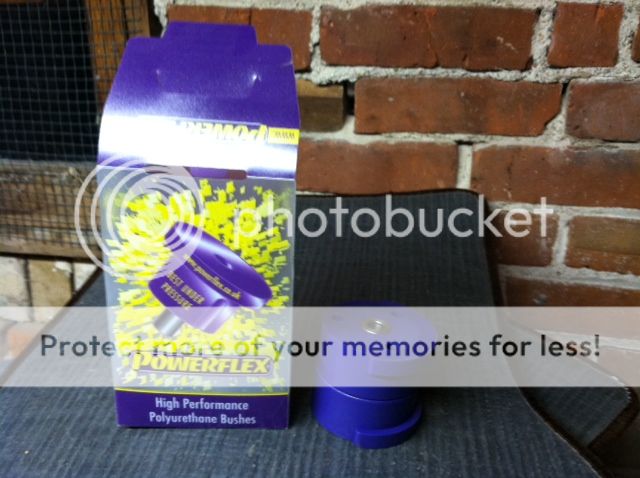
I haven't seen a pic of those yet. They look like nice pieces.
Also, I stated above you have to pull the diff to press out the old one. That is incorrect. I'm to used to working on 83/84 4kq/urq. On your car the rear mount unbolts from the diff with 4-bolts, then you can press it out of that mount. Much easier. Just support the diff in place with a couple jack stands. ON the early 4kq and Urq, the diff is all one piece so if you want to press that in, you have to ManHandle the entire diff on the the press, or use some other contraption to remove it. :frustrated:
If you are going to install that in the rear, I'd either get their matching tranny/diff mounts. OR get the 034 Track density mounts. I would think their track density should be similar to that unit.