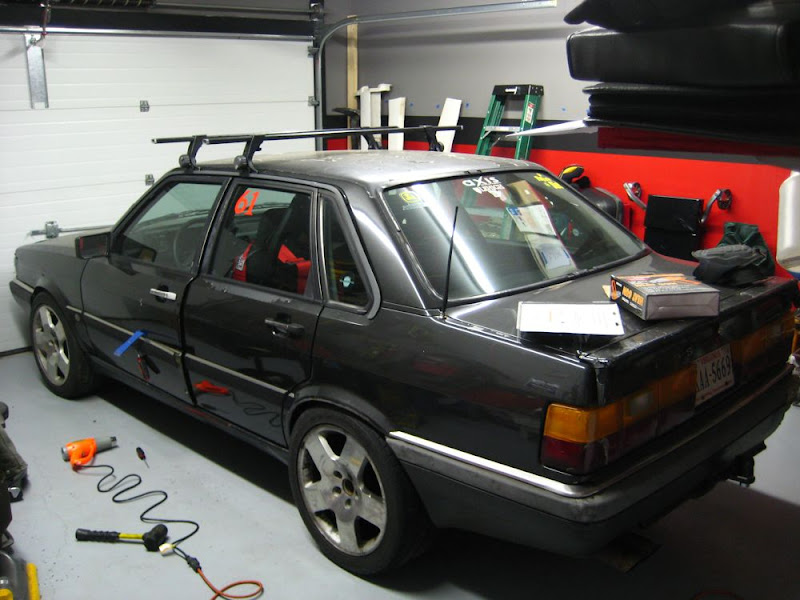
Well ladies and gents, it’s about time that I post an update since it’s been a few months since my last one. Rest assured that a LOT has been going on with the car, but at the same time I feel like I’ve done next to nothing. I’ll try to do this in pieces so it flows a little better and not jump around like I did when I actually did all the work
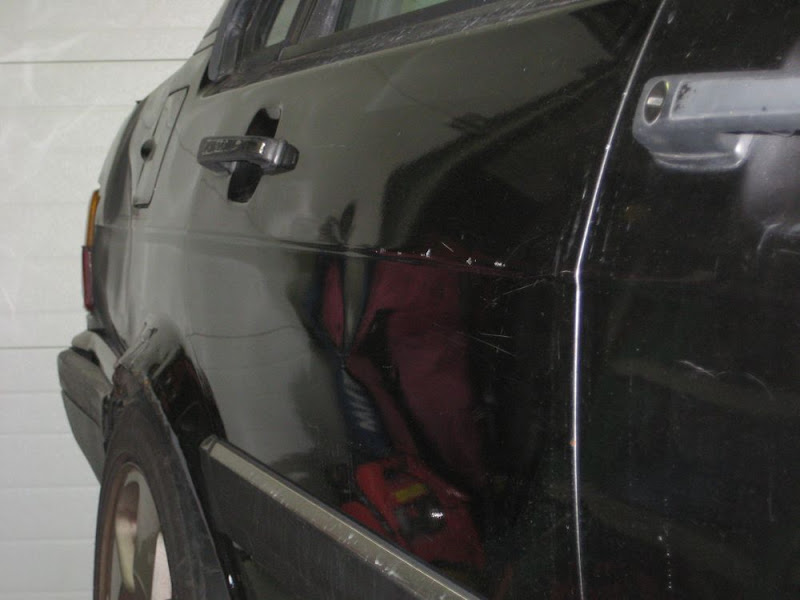
 Farewell Team Doorhandle!!!
Yup, that’s right! I couldn’t take it anymore! I’ve replaced almost every handle on the car at this point, and it’s time that I just bite the bullet and upgrade to something a little sleeker/custom. The donor handles came from the ’92 UrS4 we had parted out a year ago:
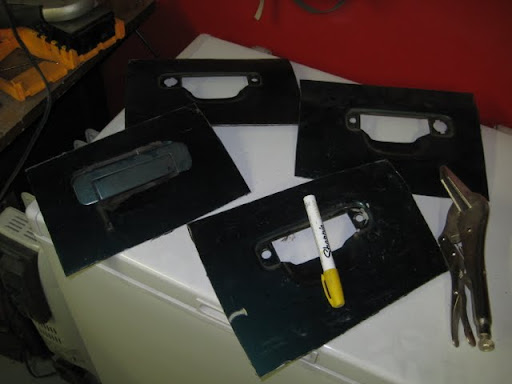
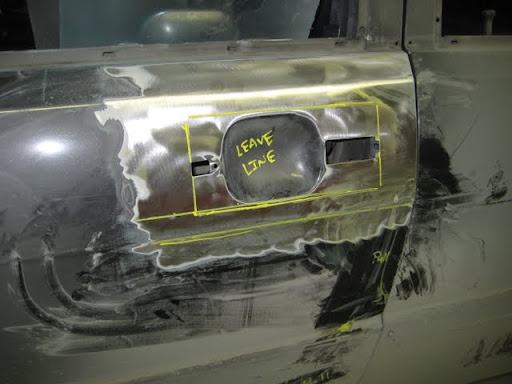
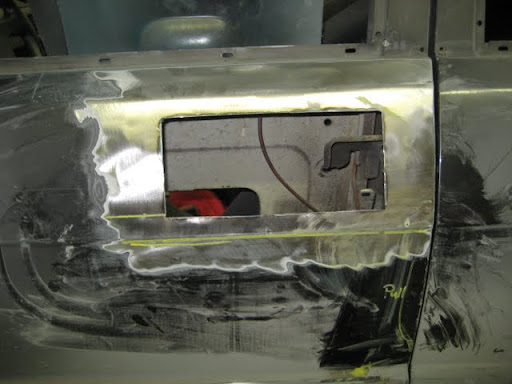
Next up was figuring out exactly HOW to position these things. At this point, I’ve just managed to do the positioning of the handles. I will still need to do the fab to get them to work with the 4000 latches, but will handle that once I take the doors off the car.
So measure 100 times:
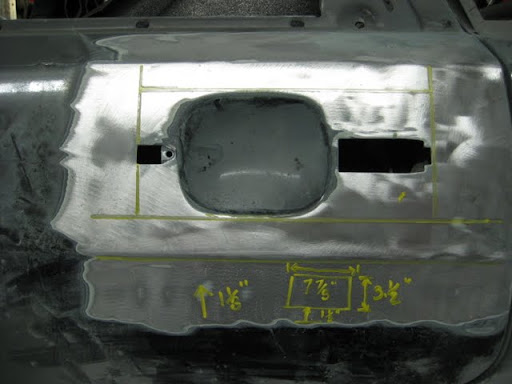
Then cut… REALLY carefully!

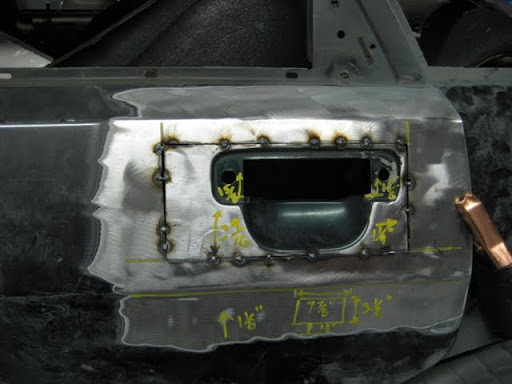
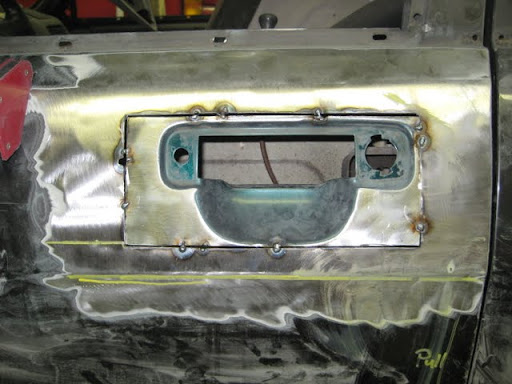
Next, time to position the handle after trimming the necessary fat off:
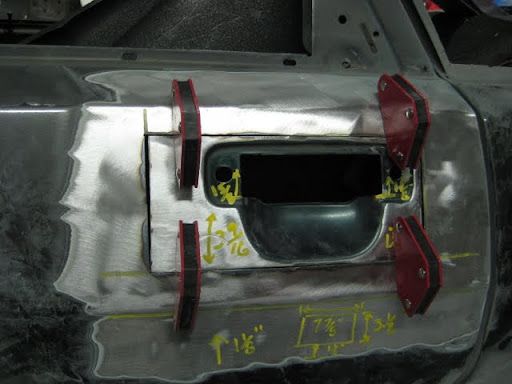
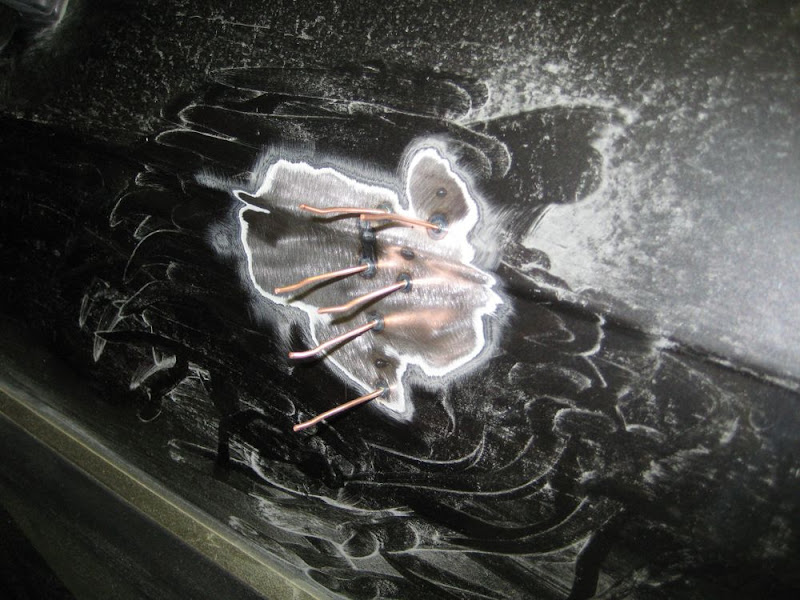
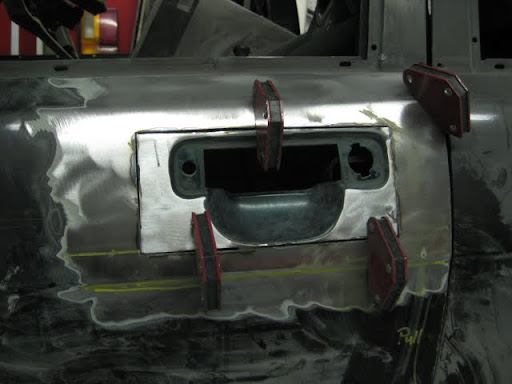
And tacked in place:
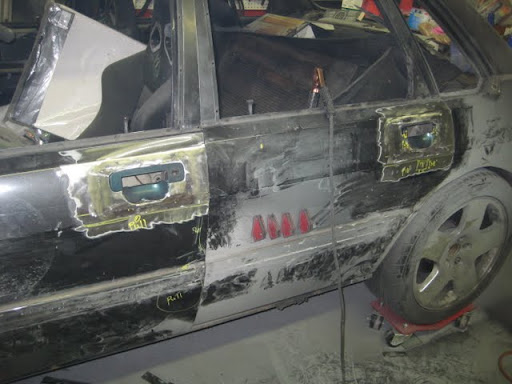
Same for the fronts:
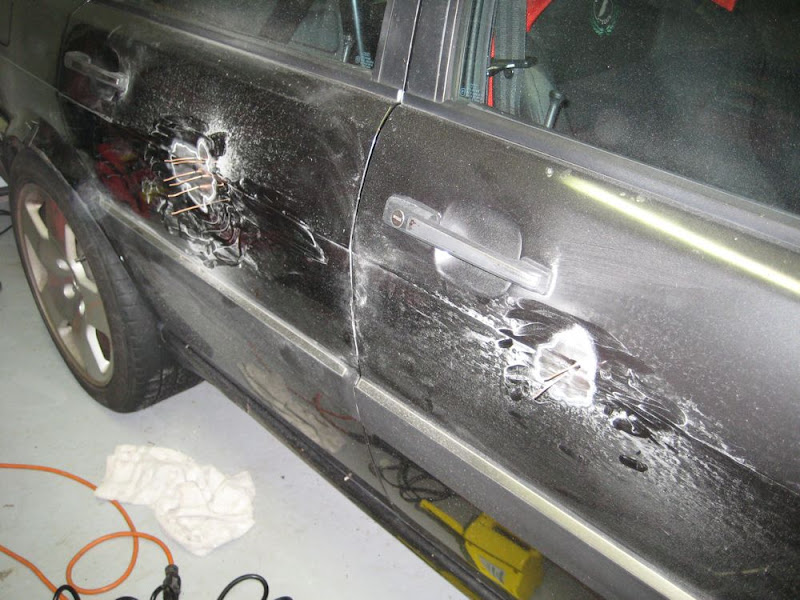
And then spend countless hours welding around the perimeters in a feeble attempted to keep the doors from warping (I did NOT succeed regardless of how long I waited, etc), then follow up with grinding and smoothing and you get:
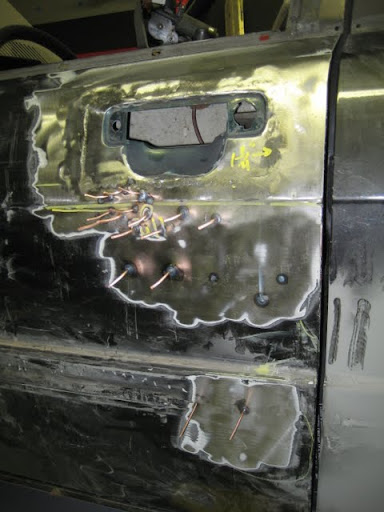
I was thankfully able to get the warpage back in line for the most part w/ the help of the slide hammer and stud welder. Needed a little persuation, but for the most part she’s flat again. I will need a light skimming of bondo to hide ALL the lines, but I can say it’s not too bad all said and done:
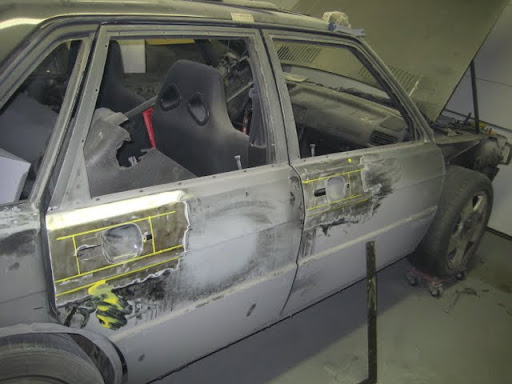
And then to the pass side… rinse and repeat!
I went about welding the pass side pieces in a little differently than the driver’s side to see if I can minimize the warping. Unfortunately, I failed again… but this time, I think I know why. I believe that b/c of how the metal is shaped in the “cupped” portion of the handle, when you weld it to the door skin, the heat doesn’t dissipate evenly and it causes the door skin to pull in. I had the door 100% flat up until I welded the bottom of the handle. Once I did that, within 4-5 tack welds, the door started to pull in. UBER frustrating, but what have you.
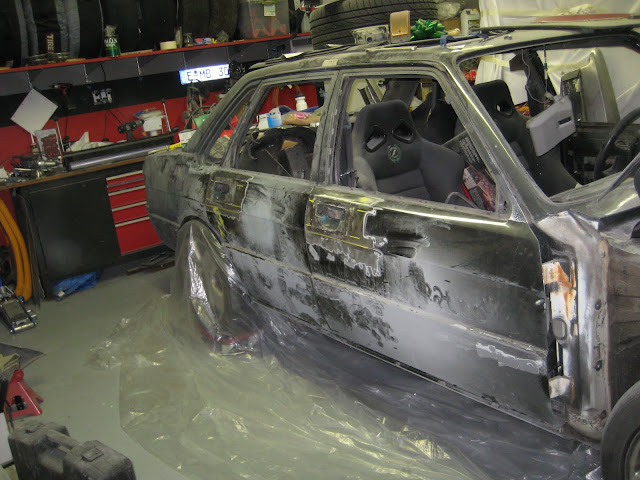
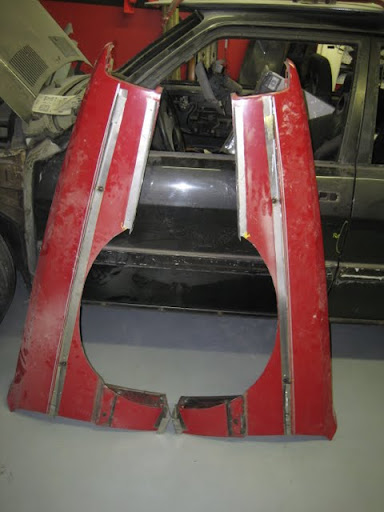
Next! Farewell old paint, hello Delorean look-alike!Since this car has been repainted once (crappy maaco job), I decided that I wanted to do this from scratch… which means she’s going to bare metal!
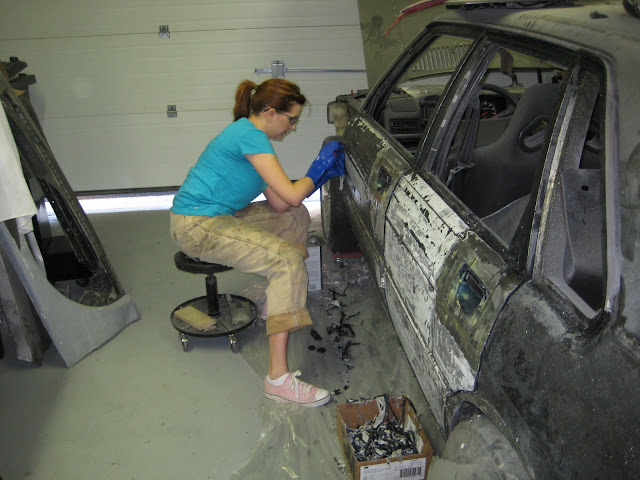
I have to say, big thanks to Hank and his crazy painting expedition for tipping me off to using paint stripper to get the paint off. My lord did it make this a LOT easier and a TON cleaner than if I went at it w/ a sander like I was planning on doing. It took me a while to do the stripping, but I had a helper this time (my gf is a trooper!!!), so it went quicker than if I did it alone.
Going:
Gone:
She’ll kill me for this one

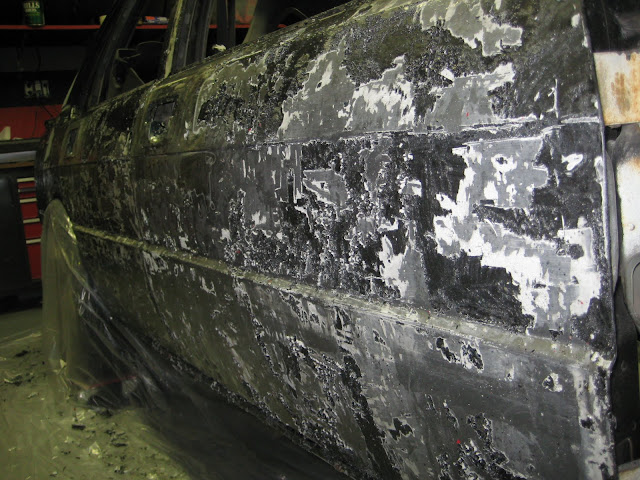
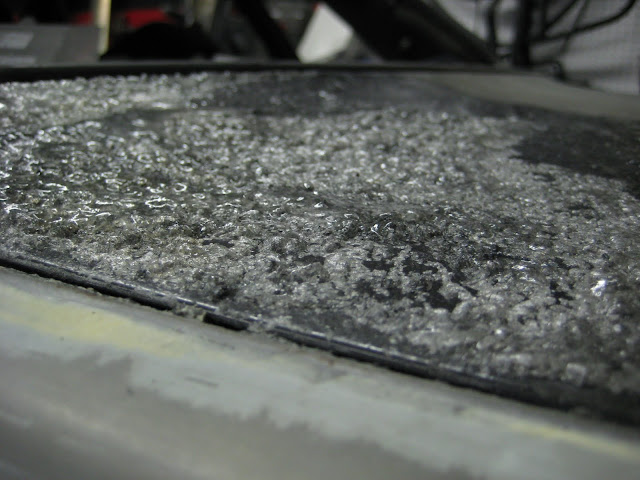
As if the already peeling clearcoat needed any more help… It was funny to listen to this stuff work, as the garage started to sound like a bowl of rice crispies (snap, crackle and popping) as the painted peeled and bubbled up:
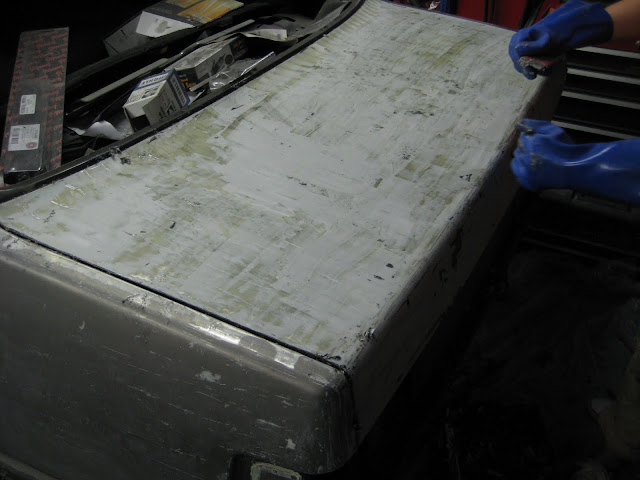
And the trunk and driver’s side done:
And now the roof:
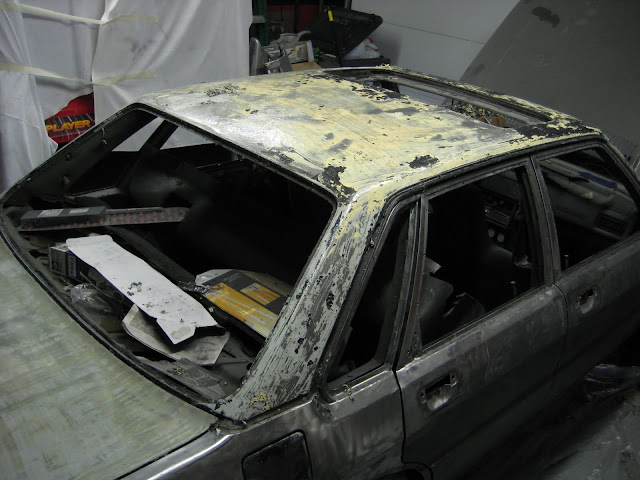
And a funky find… brass brazing at the seams of the roof and A and C pillars:

I believe when they repainted the car, they might have sanded the roof down then reprimed and painted, vs the rest of the car… reason I say this is b/c it had a funky yellowish primer vs the standard Audi white. That, and it was only on the c-pillars and roof, no where else on the car! What I also found out was that the peeling clearcoat had allowed water to actually penetrate the paint, and I was starting to see surface rust on the roof in spots.
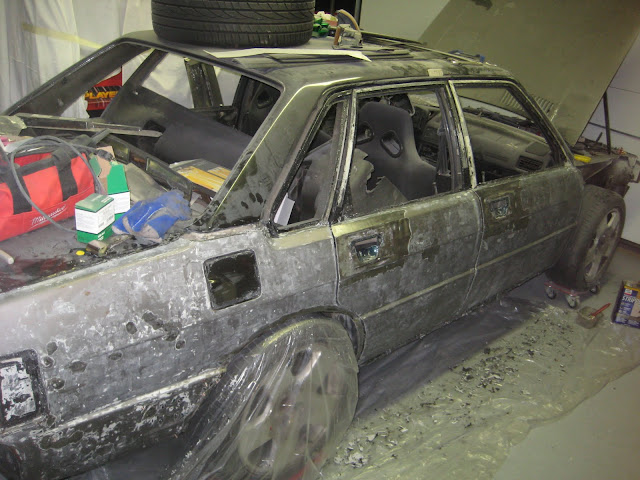
But after hours of scraping and almost 2 gallons of stripper… this is about 95% of the paint on the car:
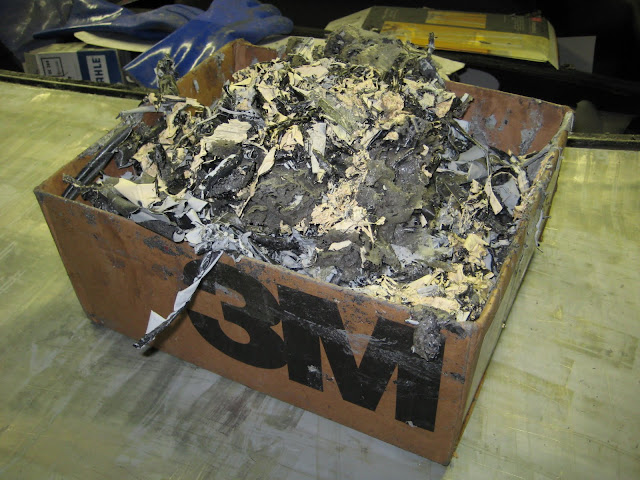
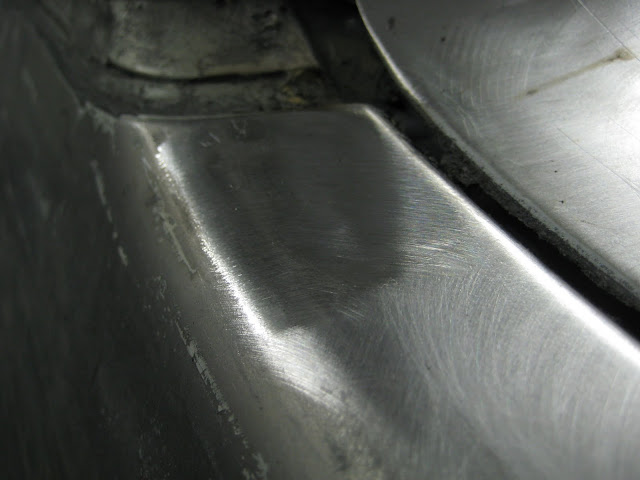
From this point, it was time to start cleaning up the metal totally… so I busted out the abrasive disks for the angle grinder and went to town:
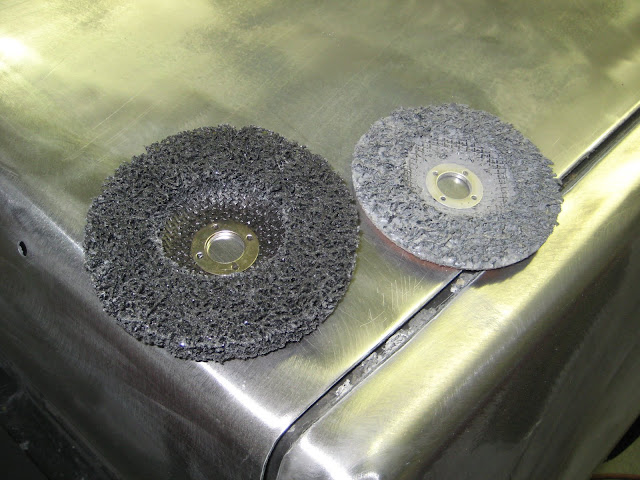
And for the places I couldn’t get w/ the grinder, I used a wire wheel and my die grinder (RIP). This project has def allowed me to upgrade in tools, but this lil guy just wasn’t up for the abuse I guess:
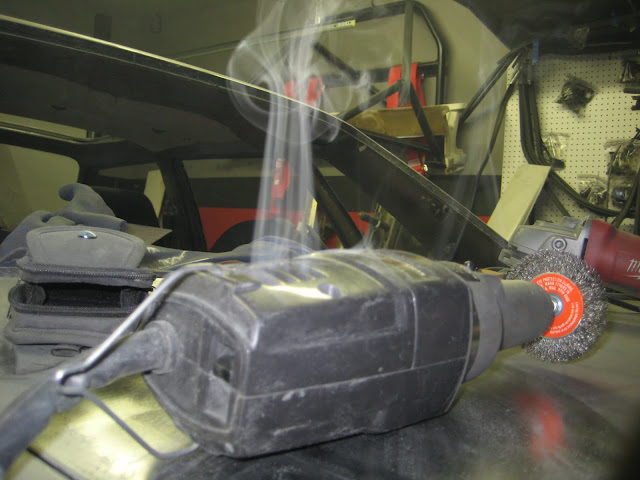
But the wire wheel did continually get even with me as I worked… man these kinda hurt after a while:

Also, while on the body… it was time to start filling up holes I wasn’t going to use. Namely the antenna (going to install a roof mounted one a la CQ):

And farewell rear spoiler (I have plans for designing one for the rear that will actually provide a lil downforce at the track):

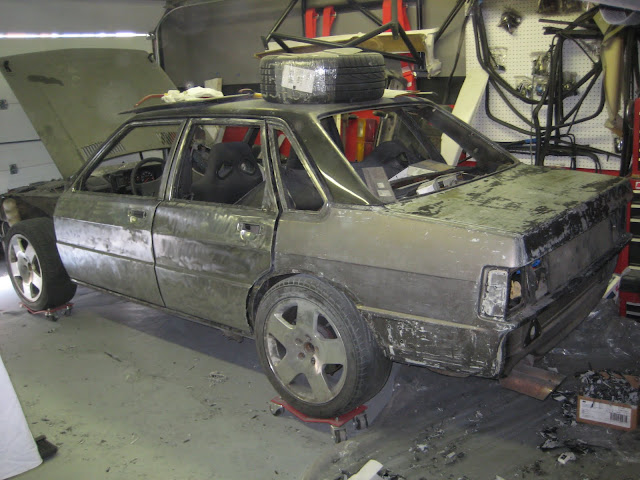
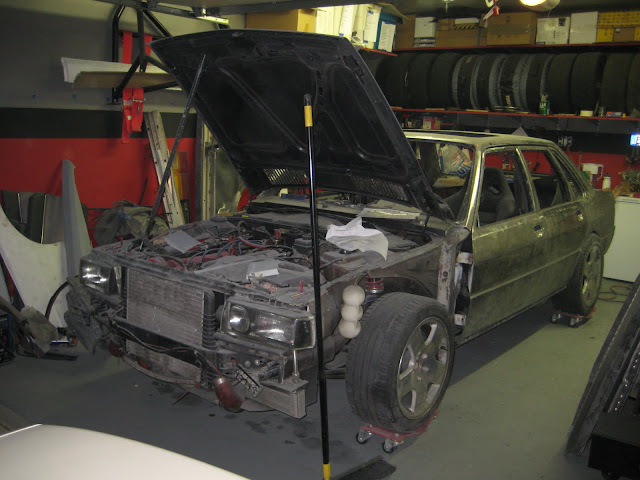
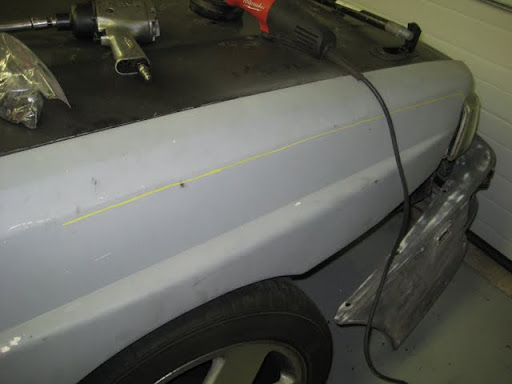
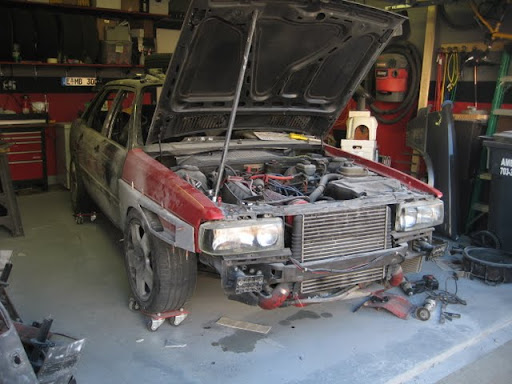
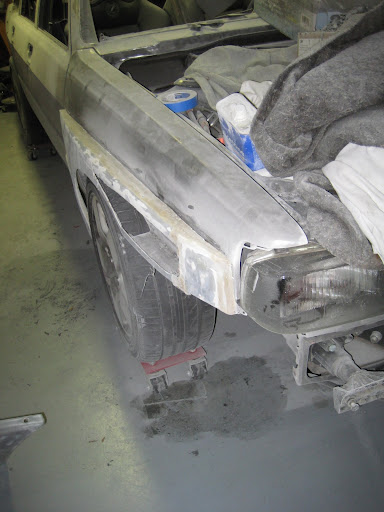
As she sits:
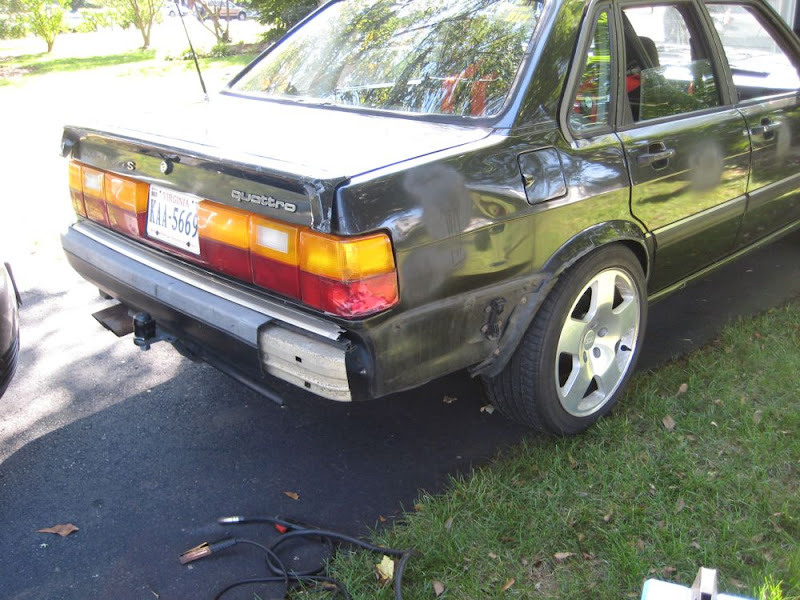
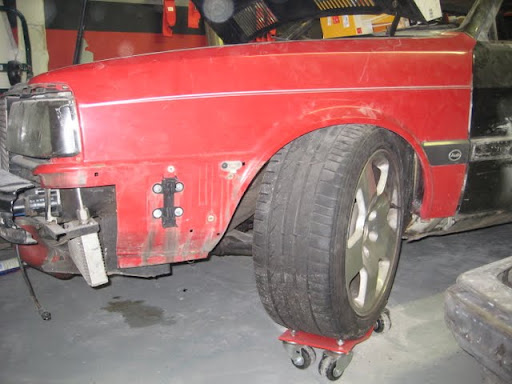
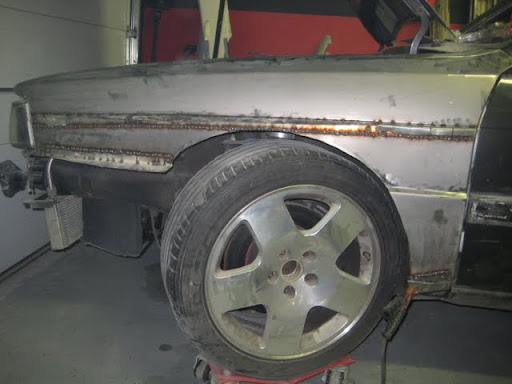
And then it was time for the front. When I initially did the motor swap, I cut the entire front core support. Ever since then, I’ve regretted doing that as the way I installed the top piece, it just looked like junk to me… so now is my time to fix this
I removed my mounting hardware:


And welded her back in and smoothed it out:

I’m also going to go back and fill in all the holes on the front clip too that aren’t going to be used… no real point in doing this, but I figured why not smooth everything out. It’s totally for looks and I’d probably be the only one to notice it, but it makes me smile so that’s all that matters
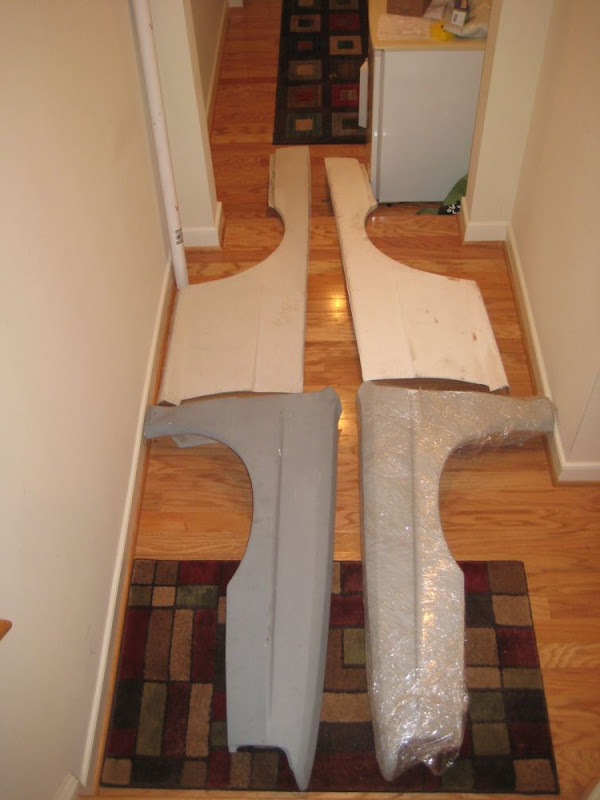
 And now, the saga of the front fenders
To say it nicely… this has been a royal PITA! What started off as a bolt on “easy” part of the project turned into a 2 month ordeal. I knew that these fenders weren’t going to be perfect as the guy I bought them from warned me that the gaps, etc weren’t great and they needed some work. Unfortunately, that didn’t even touch on how bad they really were. Whomever was responsible for molding these things (not the guy I bought them from) should be drug into an alley and beaten with a rubber hose. I’d be embarrassed if I were to sell these as good… and pix will show why!
But I digress… in order to get these fenders to fit, you had to do some trimming on the 4000 rocker panels… which brought me to buy new tools (yay):
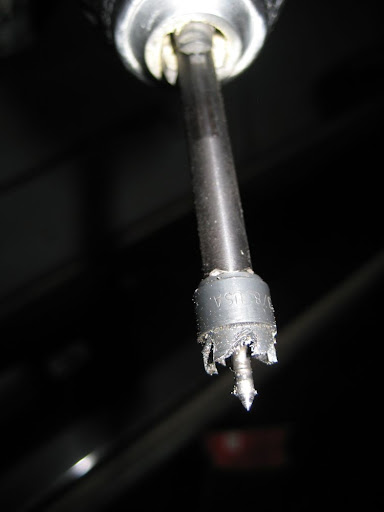
This little thing was great at cutting out the spot welds… only downside is that it has zero strength, so the teeth break off REALLY easily. Not bad for $16, but at the same time the stupid cutters cost more than the tool itself practically.
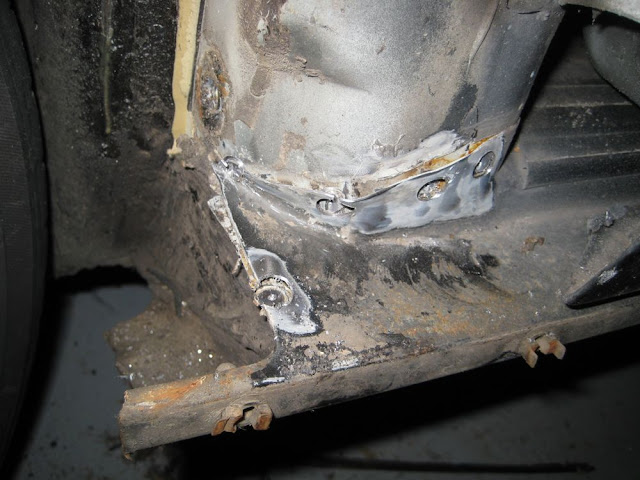
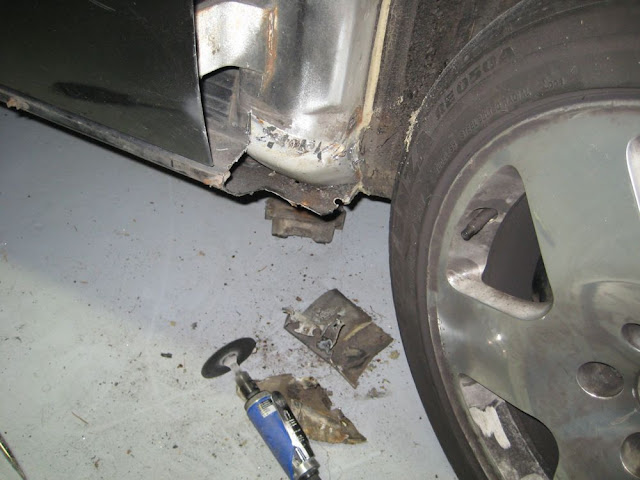
Here’s what had to get cut off the rocker panels… Driver’s side:
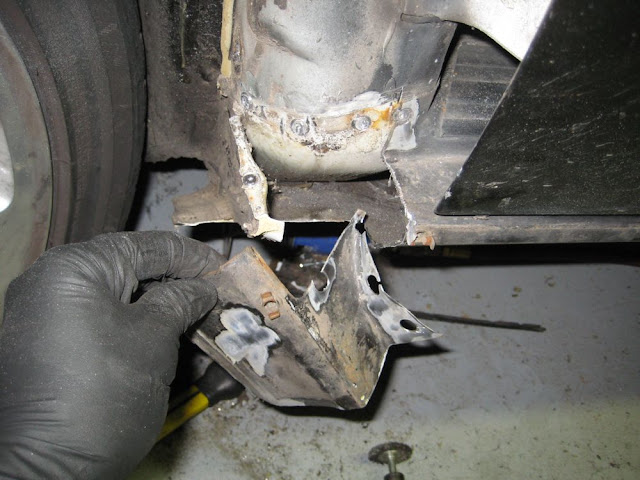
And passenger’s side:
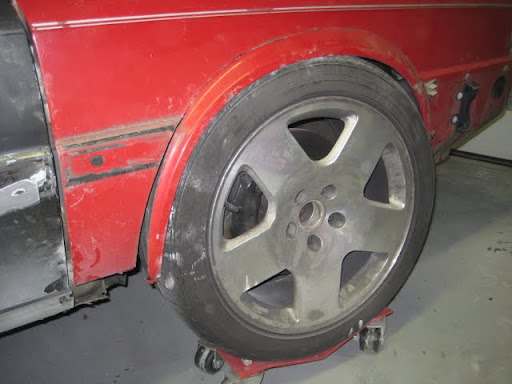
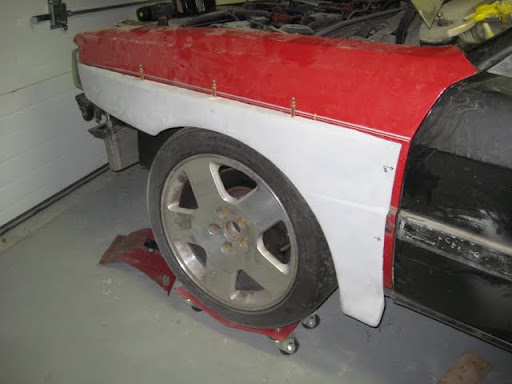
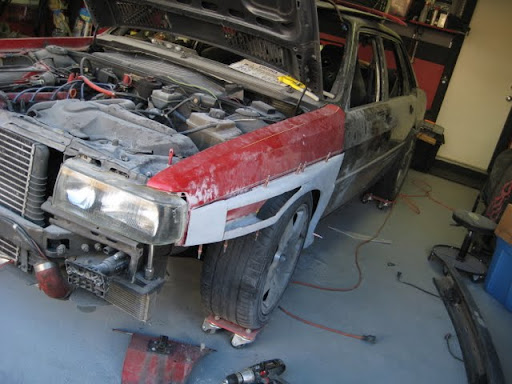
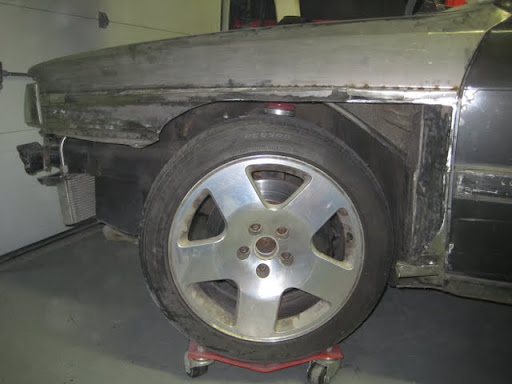
With that out of the way, I can now fit the fenders… and as you can see, they fit great on the driver’s side:
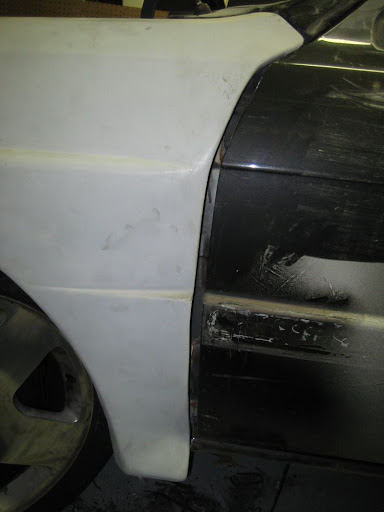
And even better on the pass side:

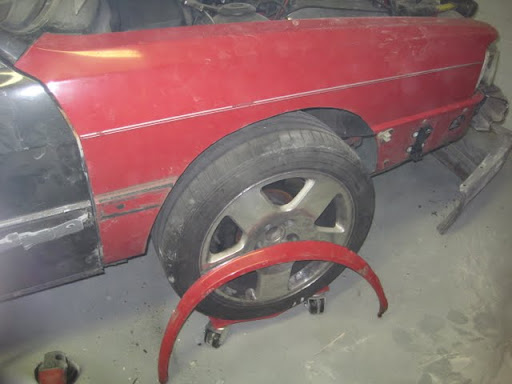
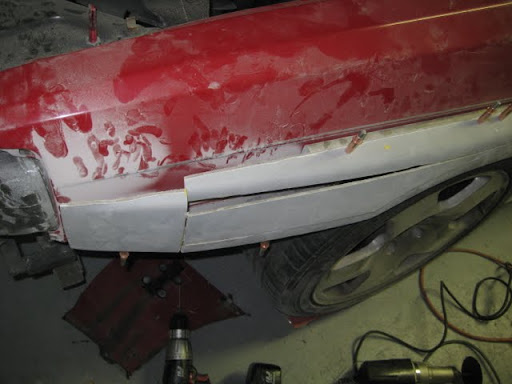
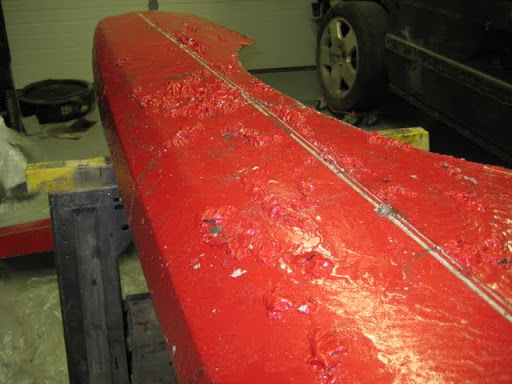
That curve that you see on the front tip as it meets the headlight… that’s how it sat naturally. If I were to pull it out to sit where it was
suppose to fit, you could literally hear the fiberglass cracking and breaking. This must have been grafted off a bent fender or something, b/c I have no clue how else it could suck in this badly. The bottom edge was in almost 1+ inches from where it was suppose to be!!! This wasn’t the case on the drivers side, but then again the gap was so bad that it needed its own help, plus it didn’t meet properly at the top, etc etc etc etc. I could go on, but I’ll stop here
Lemonade out of Lemons:
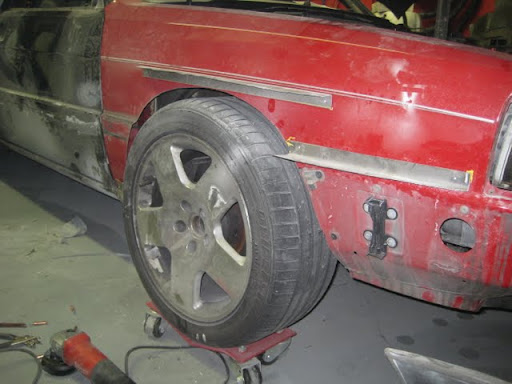
At this point, I started to cut slots in the pass front fender to see if I could somehow salvage it. No matter what I did, there was no way these things were going to work. Not only were they torqued, but there was no way they were even going to clear my wheel/tire setup!
So at this point, I completely switched gears and decided it was time to build my own fenders. Not exactly the path I had envisioned, but one more thing that will make this puppy truly unique and mine
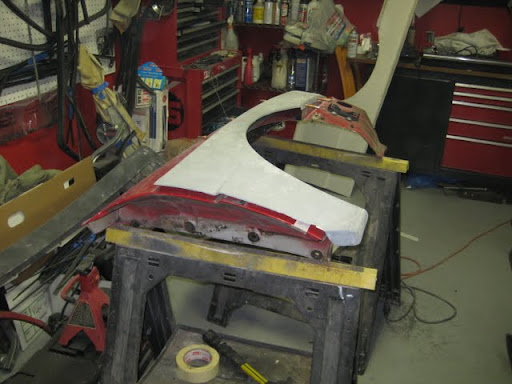
Since both fenders on my car were bent (driver’s b/c of PO and pass b/c of me), I snagged the front fenders from the CGT we had parted out a few years ago.
I started off by dropping the car as low as my suspension would allow to make sure I gave myself adequate clearance b/n the fenders and the wheels/tires. This also will give me an idea of how much extra rubber I could sneak under the fenders if I find the need down the road
With the stock fenders and my setup, there is no room for one to actually turn the wheel. So I started off the fabrication by removing the lip around the entire fender:
To show the clearance gained by doing so:
From this point, I started to bend some sheet metal to make mounts that would allow me to bond the fiberglass flares to the metal ones, while also removing the awful twist in the fender AND make plenty of room for the wheels to live within the flares.
It was also at this point that I decided it was time to twist this a little more (and I can thank Hadyn for planting the seed in my head)…

And the initial positioning of the flare:
As you can see, I had to do a TON of chopping of the flare to get it to lay flat. This was the initial idea, but those flaps are later cut out/removed. I will go into it later on in the post.
Next the driver’s side:
This part went a LOT faster b/c I could measure directly off the pass side once I got it all fit. So it took about 8-10 hrs to do the pass side, and about 4-5 to do the driver’s side.
And more cutting b/c even the driver’s side was torqued! Just not nearly as bad as the pass side:
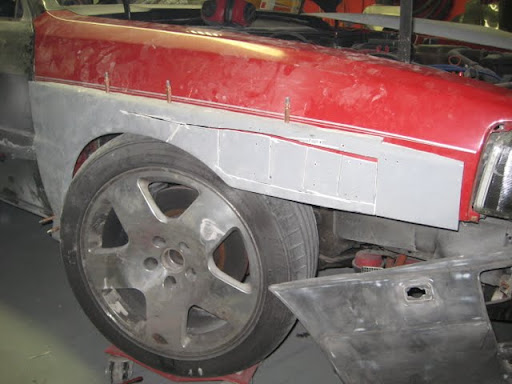
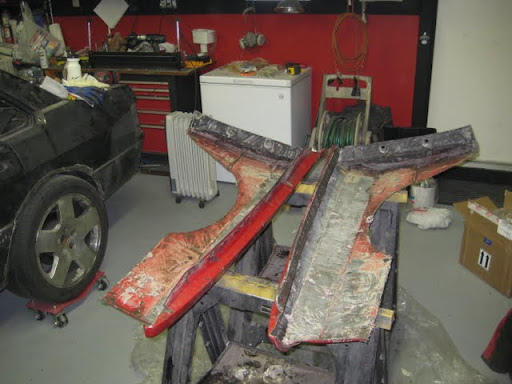
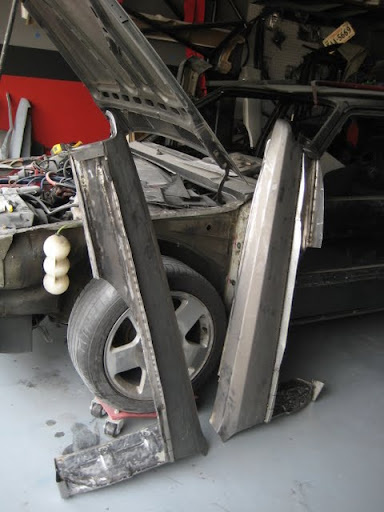
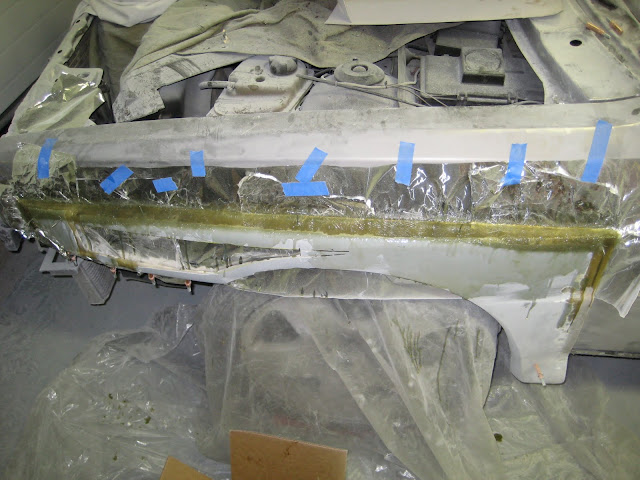
And here she is w/ the fenders pretty much “ready” for the next step. As you can see, I ended up cutting a hole in the center of the flare. I had to do this b/c the difference in angles of the areas where I cut was so extreme there was no way I was going to get the fender to lie flat using the existing material. So OUT it came to be filled in later.
At this point, it was time for me to make the attachments to the fenders permanent. Here’s how the fenders looked:
And out came the stripper again, and I cleaned these puppies off inside AND outside!
Clean and ready to go!
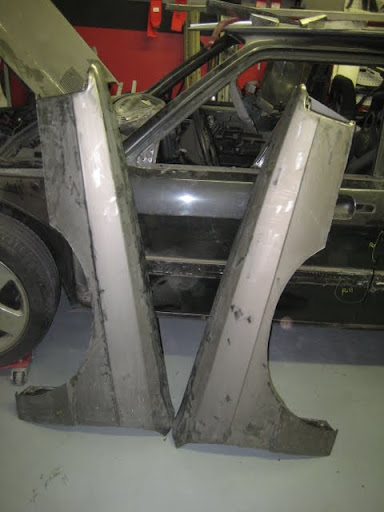
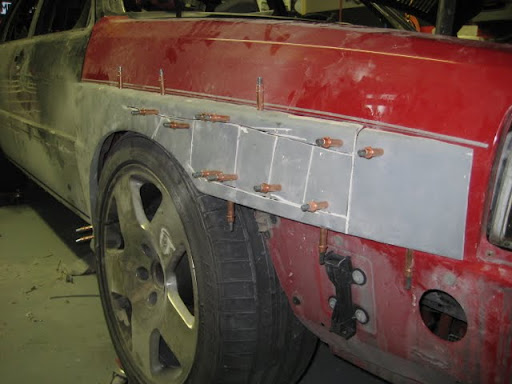
And supports tack welded into place:
And then some more cutting to make the rear vent functional plus grinding down the spot welds:
Rinse and repeat on pass side, and you get the final products:
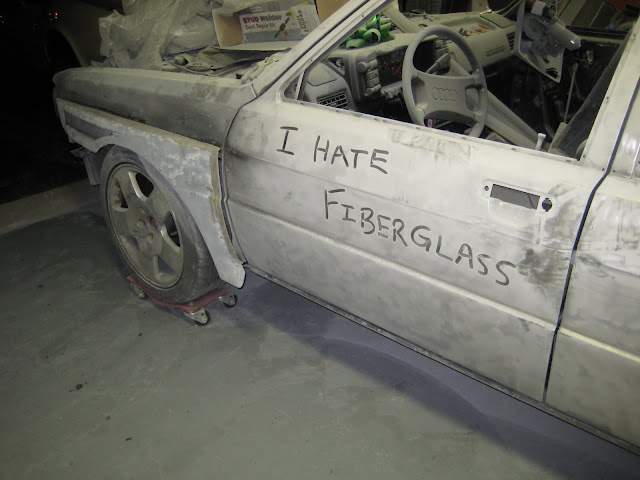
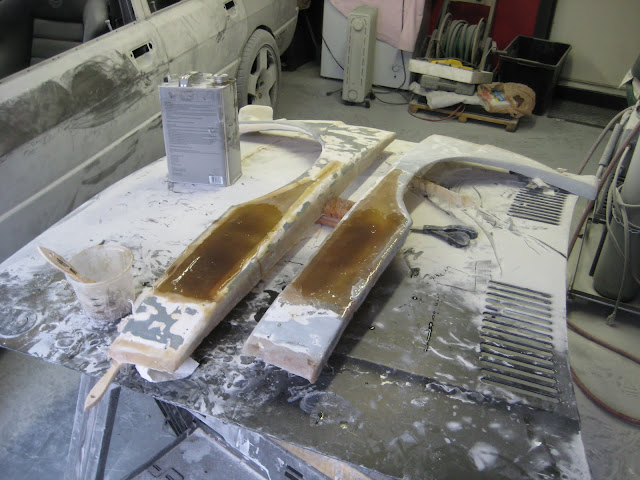
Next came the Fun with Fiberglass!!! If I didn’t say it already, I will say it now… I HATE fiberglass! Not necessarily a pain to work with, but lord does it make a mess!
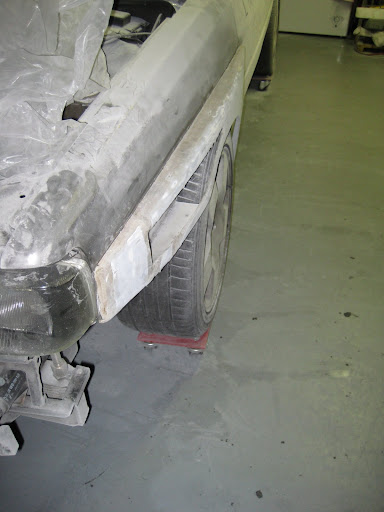
As you might remember, there was a huge gap on the driver’s fender. Well, unfortunately even w/ repositioning the flare on the new fender, the gap continued. So the time came for me to learn to fiberglass… lol. My only experience using fiberglass was watching guys on TV use it… but hey, if they can do it on TV, how hard can it really be… right? Yeah…. Fun.
Here’s the misalignment on the driver’s side of the car:

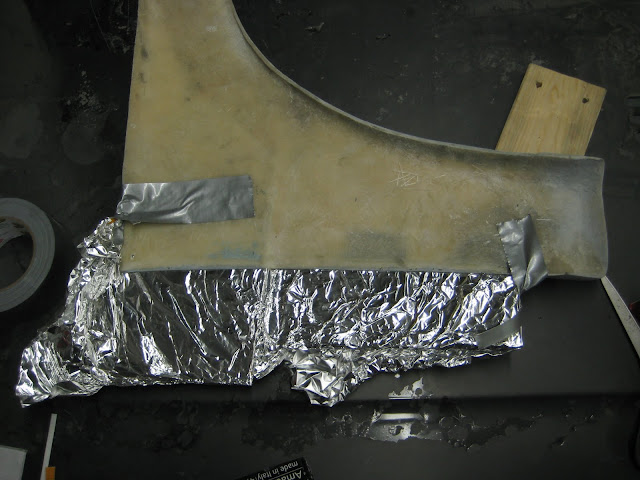
In order to make up this gap, I had to make some sort of mold. I initially was going to try to graft on a piece of fiberglass panel that I had, but after playing with it, this really wasn’t a good option. Instead, I decided to do some grinding on the panel to thin it out a bit and built a “mold” of sorts to hold the resin reasonably where I wanted it and sort of shape it how I needed it. I made the mold from cardboard and aluminum foil. The foil is a huge help b/c the resin doesn’t really stick to it (as seen on TV of course
), which was a huge help.
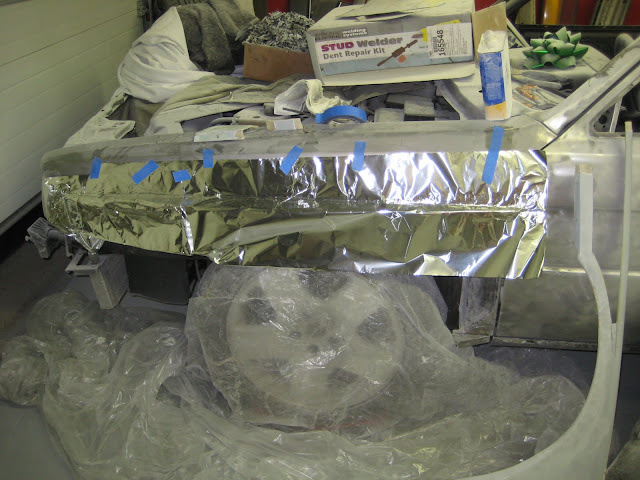
Beginnings of mold:
Setup for both fenders (unfortunately, there was a slight misalignment on the pass side too, so “while I was at it…”):
And laying everything up:

And the aftermath of driver’s side:

And pass side:

And after a TON of grinding/sanding (I can’t even describe to you how much I hate fiberglass at this point… I itched for about a week straight even thinking about it after this!)


Next up was making up the gap along the top of the fender. Again, I was originally going to glue in a piece of fiberglass panel and then rivet it down and bondo over it, but honestly I didn’t like that idea one bit. After fixing the gap, I decided that working with fiberglass isn’t so bad and that I’d tackle this part as well.
So I started out laying out my release paper for the mold:
Positioned the panel and layed some glass:


And the finished pieces (and my final statement
):
Then came the next step of filling and smoothing the holes in the center. In order to keep everything aligned properly, I decided to lay the first layer of fiberglass with the flares mounted ON the car to make sure everything lined up correctly. Last thing I felt like doing was redoing this AGAIN!
Action shots… mind you, I had not washed the shop cloths since I started doing the fiberglass work as there was no real point considering even looking at the garage at this point got that lovely white powder all over you!


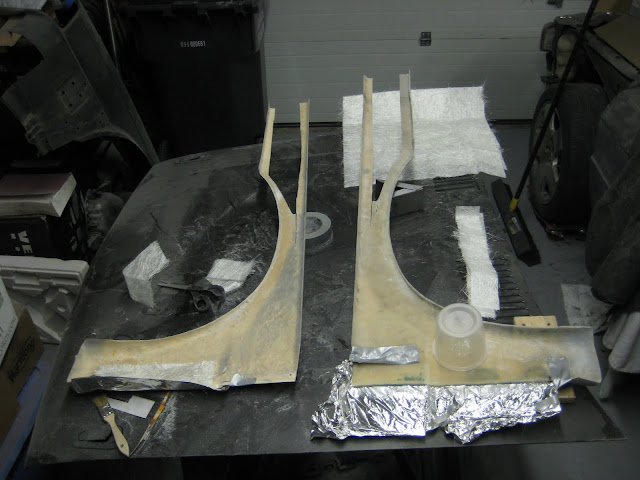
And the final pieces:
I don’t have any pictures of them mounted on the car, but they look pretty sweet if I do say so myself. While this has been a ridiculously frustrating process considering that I paid good $$ for fenders that I had to literally rebuild myself, this has def allowed me to make the car uniquely my own. Also, this has properly educated me in how to tackle the rear flares! Given the amount of time playing around with the fronts, I’m pretty sure the rear will go a LOT quicker.
Next on the list is bending up the rocker panels. Since I haunched out the front fenders a bit compared to “stock,” the rocker panels are going to need to sit out a bit more than they would have initially. So at this point I need to make and install the rocker panels first before tackling the rear to make sure everything lines up the way it’s supposed to!
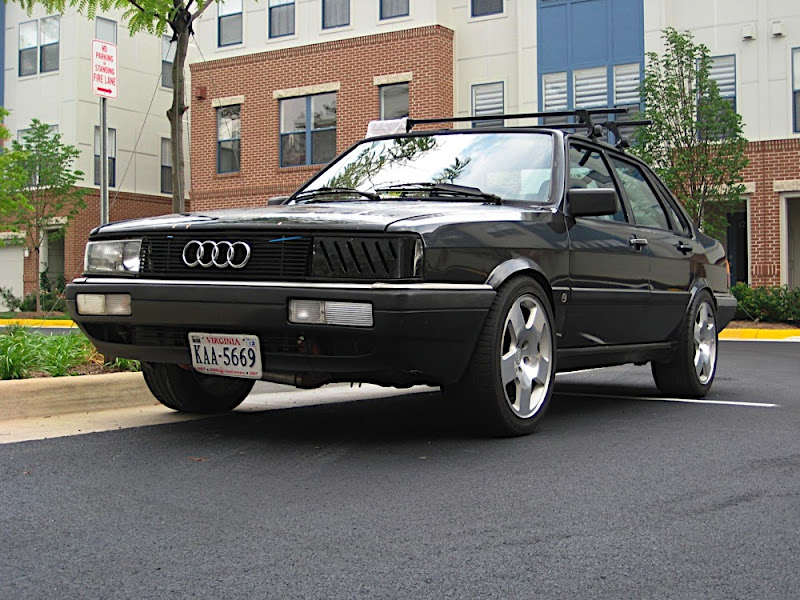
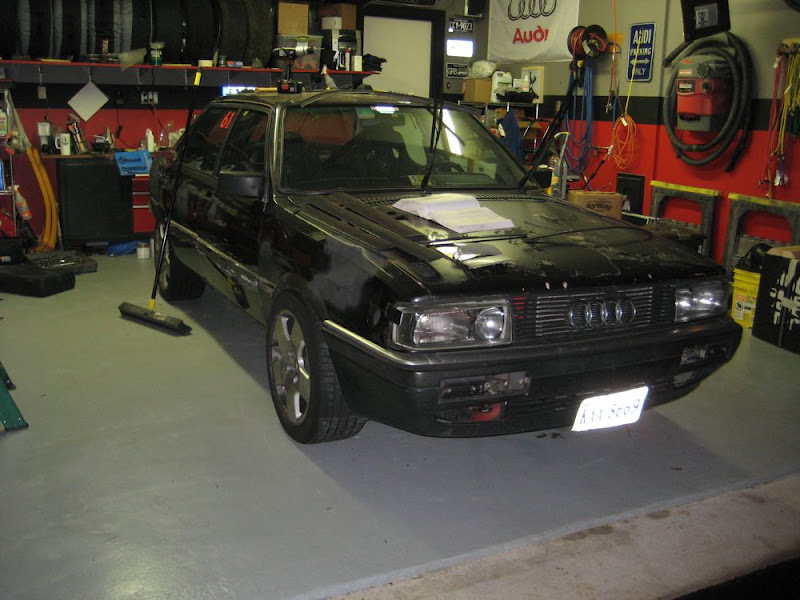
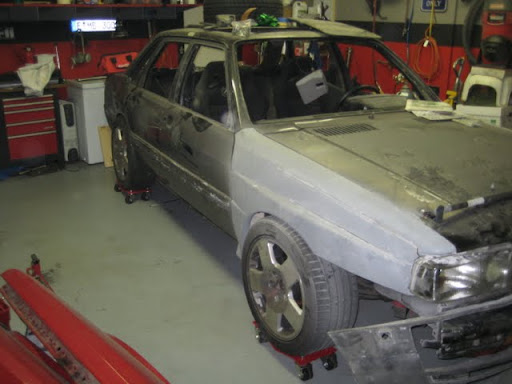
So that’s how she sits right now… Hopefully life will play a little nicer in the next few months so I can actually get this thing finished before my next track event, as I missed it at VIR earlier this week :(.
Hope you enjoyed the show… more to come w/o a doubt!