Nick's Black 90 - 3B Swap: Running!
-
mr_aj_johnson
- Posts: 220
- Joined: Mon Apr 22, 2013 11:01 am
Re: Nick's Black 90 - 3B Swap: 2.0 Coil Setup
TBH anytime I need connectors I just call Marc. Otherwise I have to remember PN's, and have to remember to get online and order them...

Re: Nick's Black 90 - 3B Swap: 2.0 Coil Setup
I'll make a p/n list tonight. I did a lot of research building my VEMS harness and sourced all kinds of connectors/terminals. Gotta parse through it all to simplify it haha.
-Alex-
@vexartmedia @odd.cylinders @5cylinder_porsche
Odd Cylinders YouTube Page
1992 Porsche 968 (07K transplant in progress)
1983 Aud UrQ (MC1, GT2871R, IIc)
1985 Audi 4kq
2003 Audi S8 (Avus/Oxblood; DD; 6MT swap)
@vexartmedia @odd.cylinders @5cylinder_porsche
Odd Cylinders YouTube Page
1992 Porsche 968 (07K transplant in progress)
1983 Aud UrQ (MC1, GT2871R, IIc)
1985 Audi 4kq
2003 Audi S8 (Avus/Oxblood; DD; 6MT swap)
Re: Nick's Black 90 - 3B Swap: 2.0 Coil Setup
That would be great Alex! I may just have enough Econoseal ECU pins to do the coil conversion. Should be started on the wiring next week.
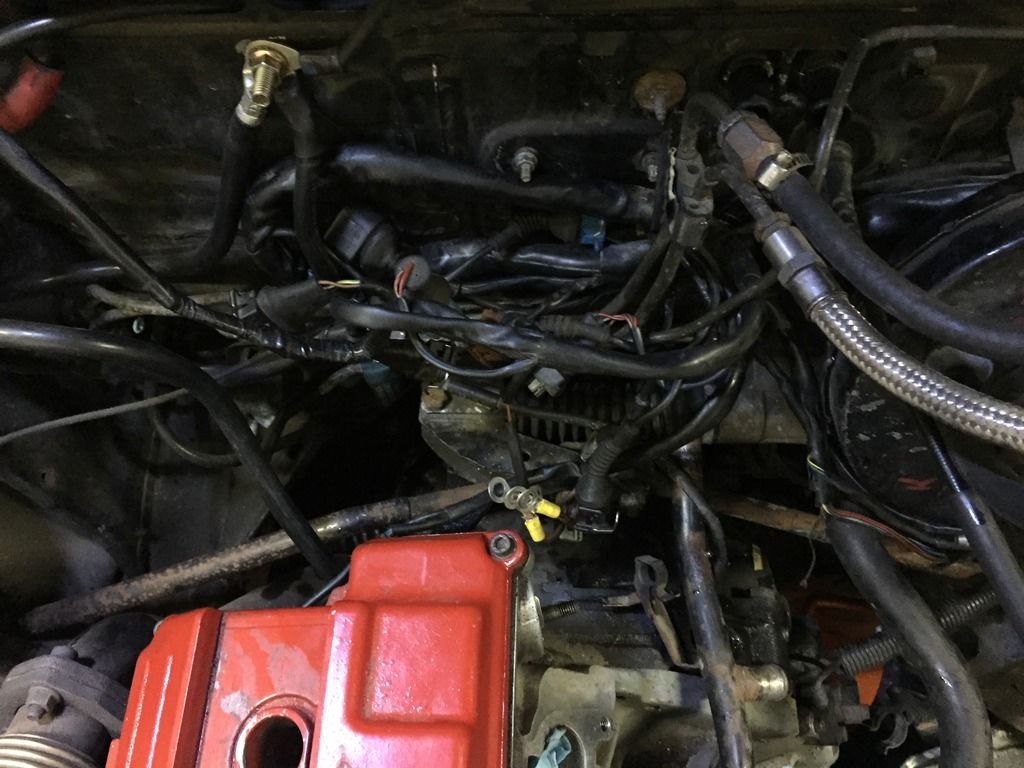
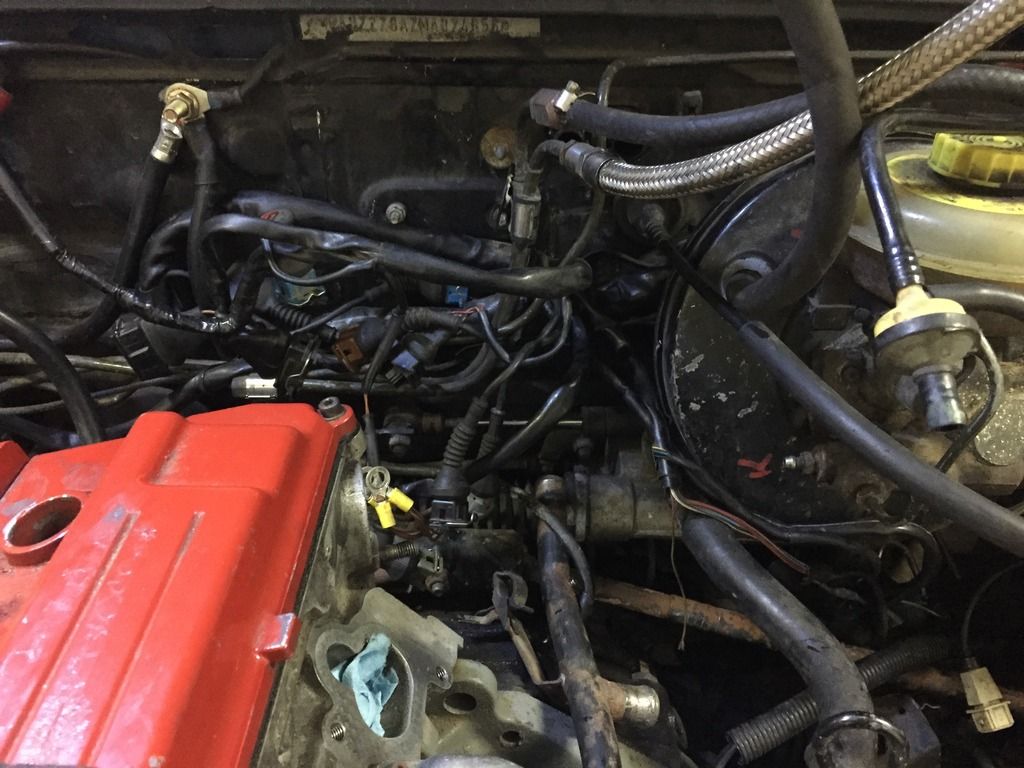
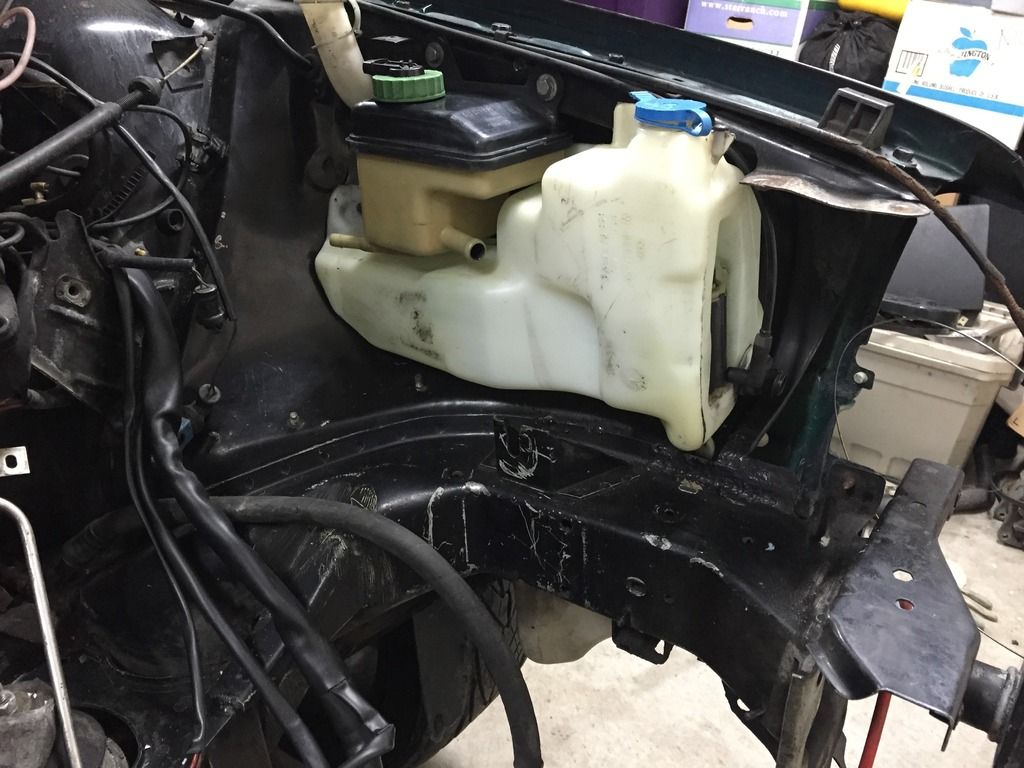
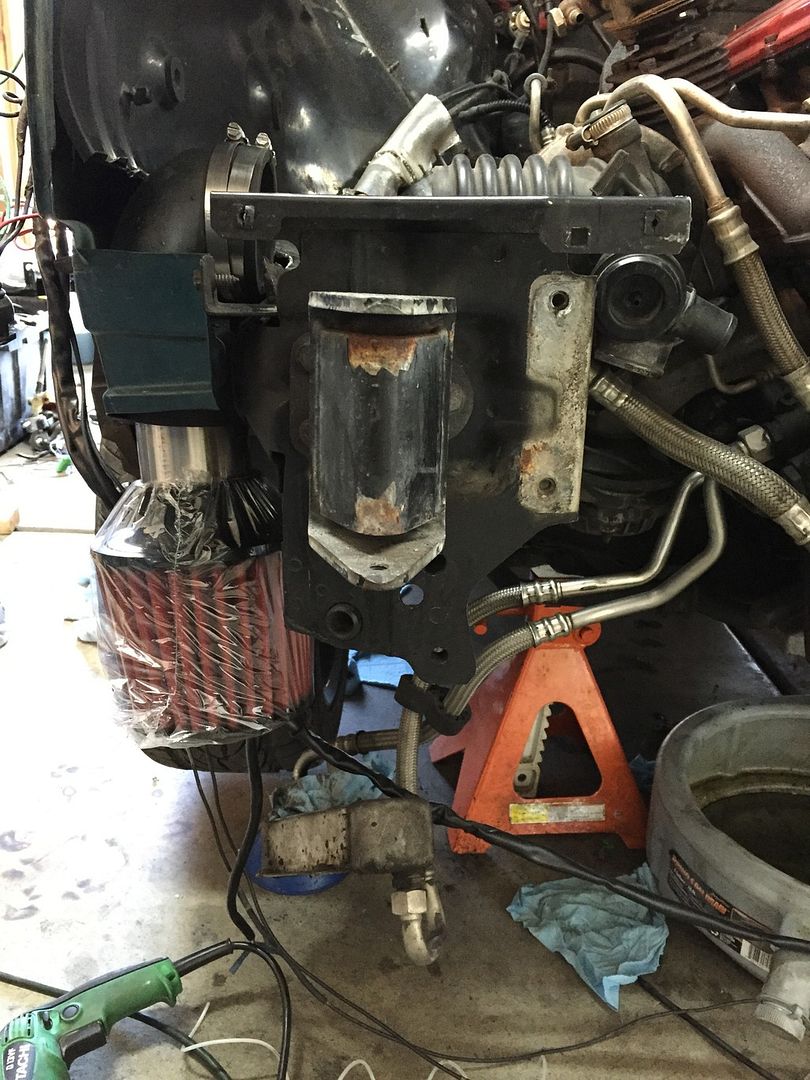
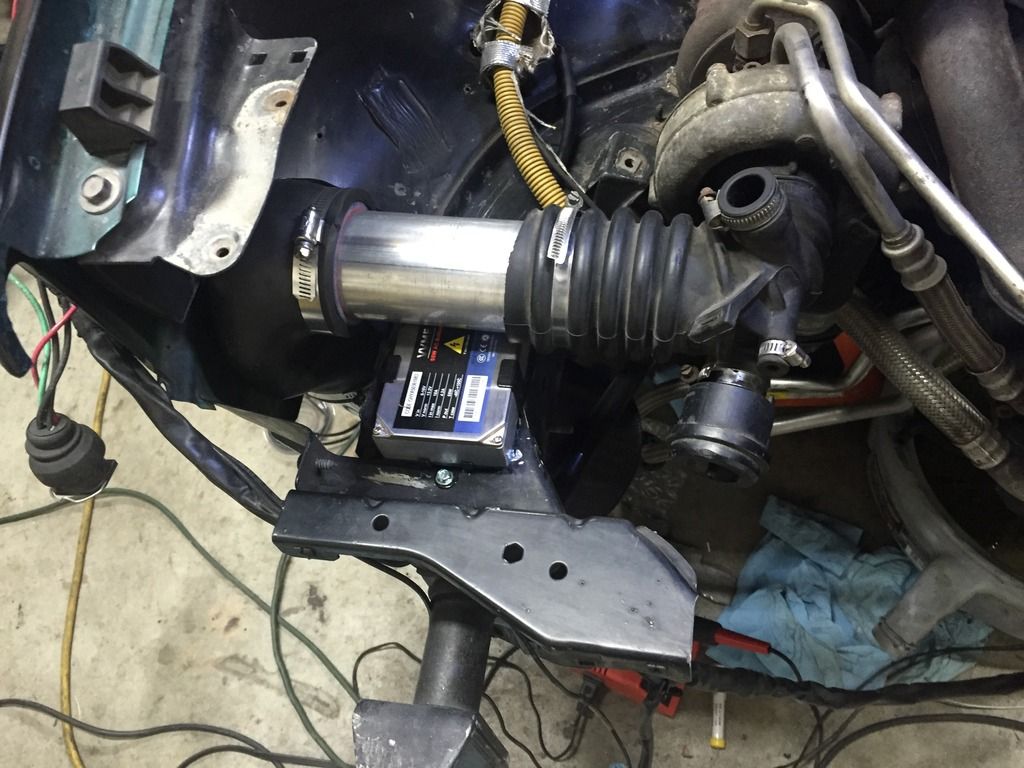
Moar progress today. I was able to get the 3" cobra head fitted to where it will eventually rest with an AEM Dry filter (the Spectre was going to hang down too far). Also pulled out the coolant lines to the heater core and back to the block. I need to retrofit something to hook up the after run pump. Also rerouted some of the wiring to try and clean it up. There's no easy way about it so I'm just going to do the best I can and leave it be.
Pics because fun!
Re: Nick's Black 90 - 3B Swap: 2.0 Coil Setup
Junior Power Timer:
TE Connectivity 929940-1
$0.68/each at Mouser http://www.mouser.com/ProductDetail/TE- ... txL2kM%2fi
Standard Power Timer: (What the AEB 4-wire terminals use; they're larger than the normal Bosch JPT)
TE Connectivity 964326-1
$0.24/each at Mouser http://www.mouser.com/Search/ProductDet ... 1-964326-1
Don't ask me why the larger ones are cheaper...
-Alex-
@vexartmedia @odd.cylinders @5cylinder_porsche
Odd Cylinders YouTube Page
1992 Porsche 968 (07K transplant in progress)
1983 Aud UrQ (MC1, GT2871R, IIc)
1985 Audi 4kq
2003 Audi S8 (Avus/Oxblood; DD; 6MT swap)
@vexartmedia @odd.cylinders @5cylinder_porsche
Odd Cylinders YouTube Page
1992 Porsche 968 (07K transplant in progress)
1983 Aud UrQ (MC1, GT2871R, IIc)
1985 Audi 4kq
2003 Audi S8 (Avus/Oxblood; DD; 6MT swap)
Re: Nick's Black 90 - 3B Swap: 2.0 Coil Setup
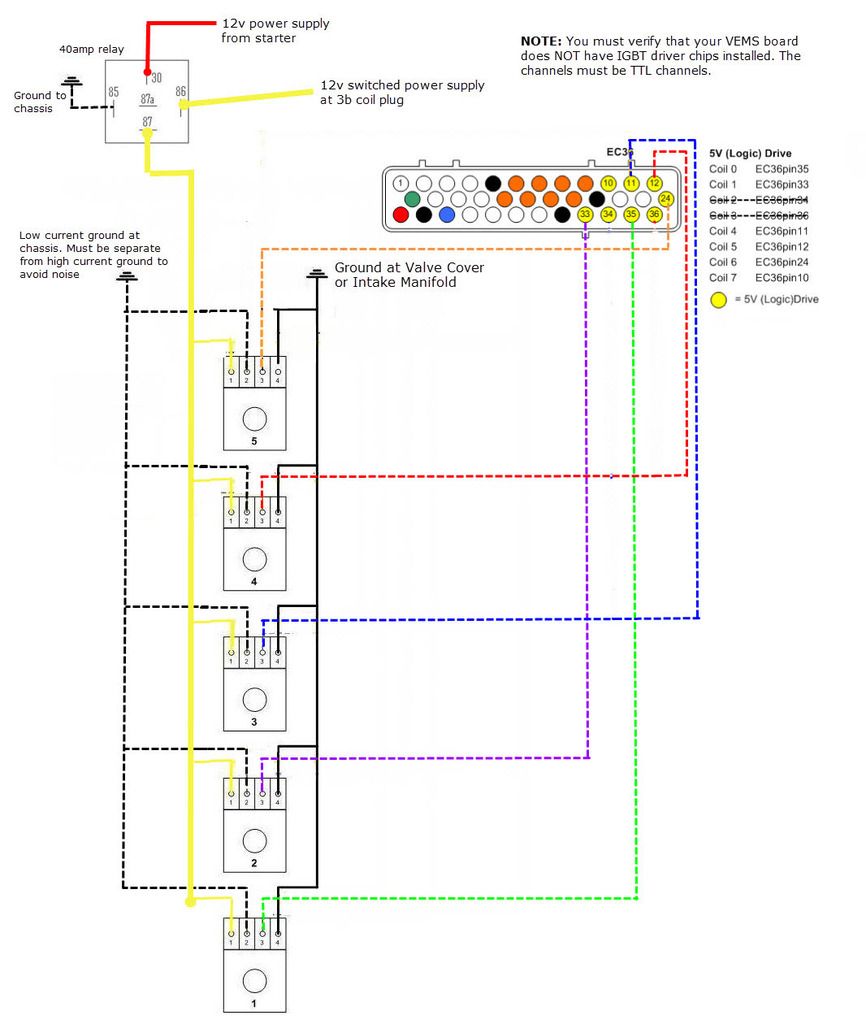
awesome updates! I love that coil pack schematic. its the first one i've seen that makes sense to me!
Re: Nick's Black 90 - 3B Swap: 2.0 Coil Setup
Thanks 
I've confirmed that I don't have chips on the VEMS board for IGN 1,0,6,5,4,7 and still need to confirm for 3 and 2 (need to take a pic of the underside of the board). Even if I have chips there on IGN 3 and 2 I can still program the others to work. Hopefully I'm good though and can hook things up like the schematic is right now though to not confuse everything. I'll keep this updated with progress.
Next week begins the wiring of the coil conversion, painting of parts and plumbing of after run pump.

Re: Nick's Black 90 - 3B Swap: 2.0 Coil Setup
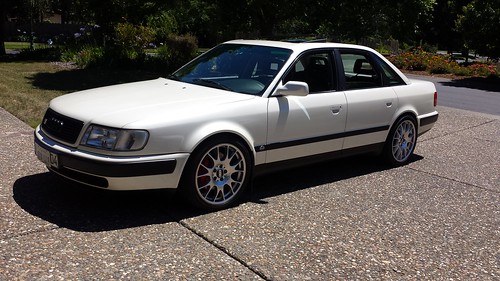
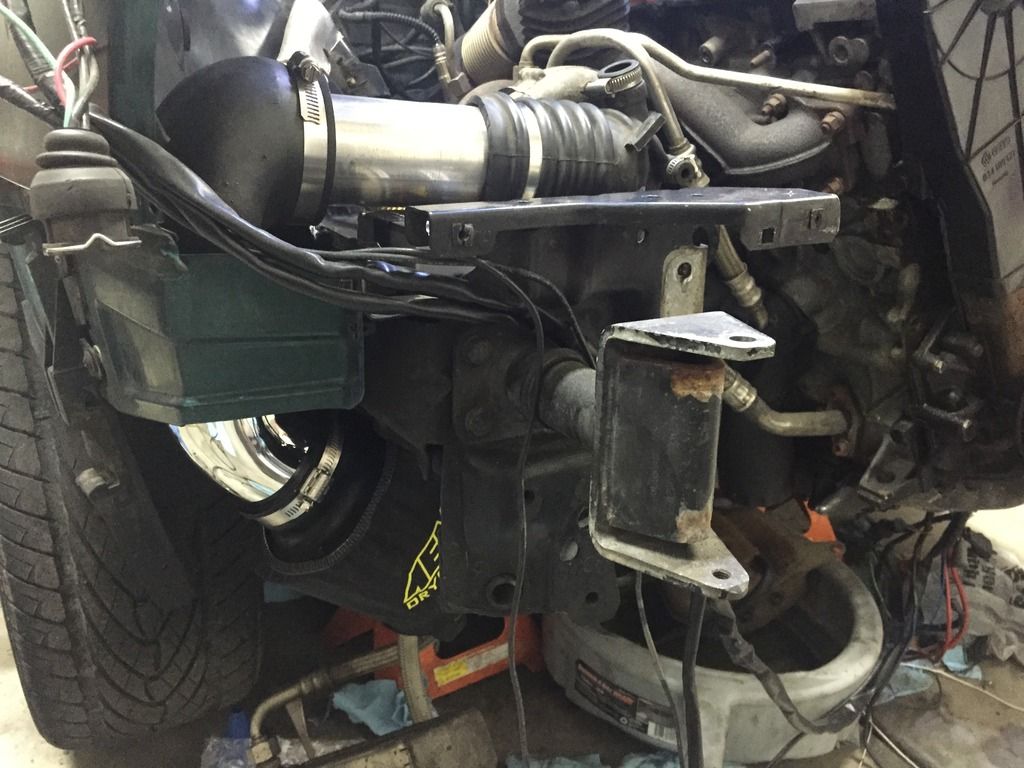
Air filter setup looks familiar for sure! The pipe between the cobra head and filter on mine is curved to gain more room. Don't go through any puddles with that setup!
- IMAG0155.jpg (1.08 MiB) Viewed 32766 times
Re: Nick's Black 90 - 3B Swap: 2.0 Coil Setup
Well I did get the idea from a car very very similar to your's. . . just different wheels 
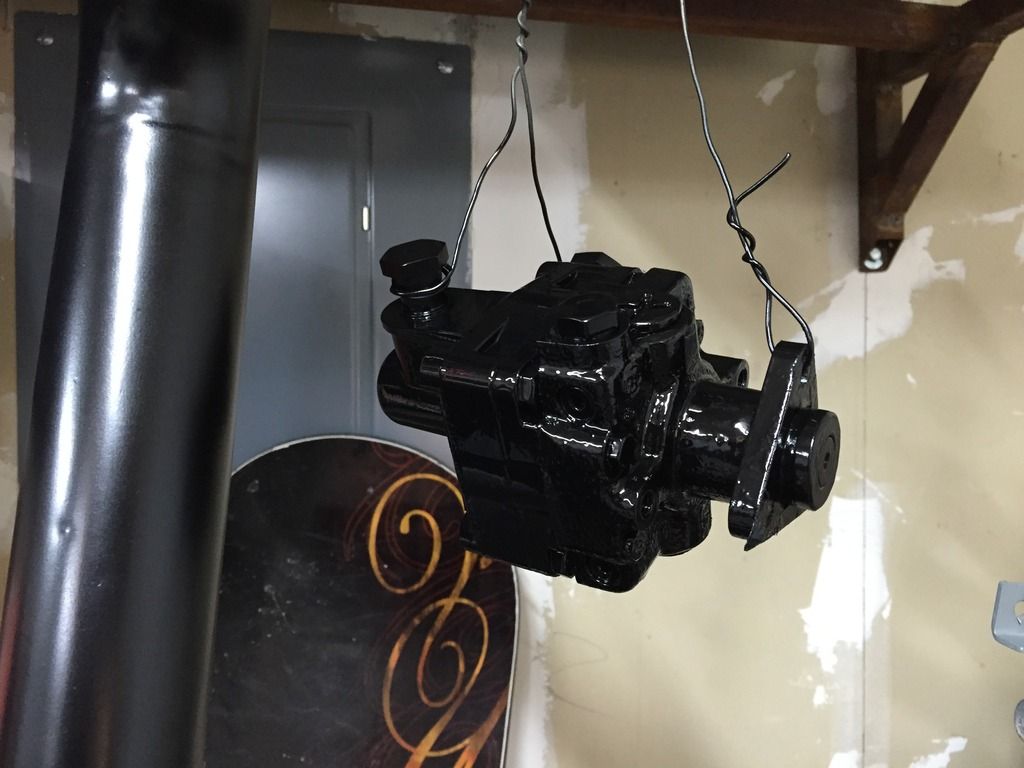
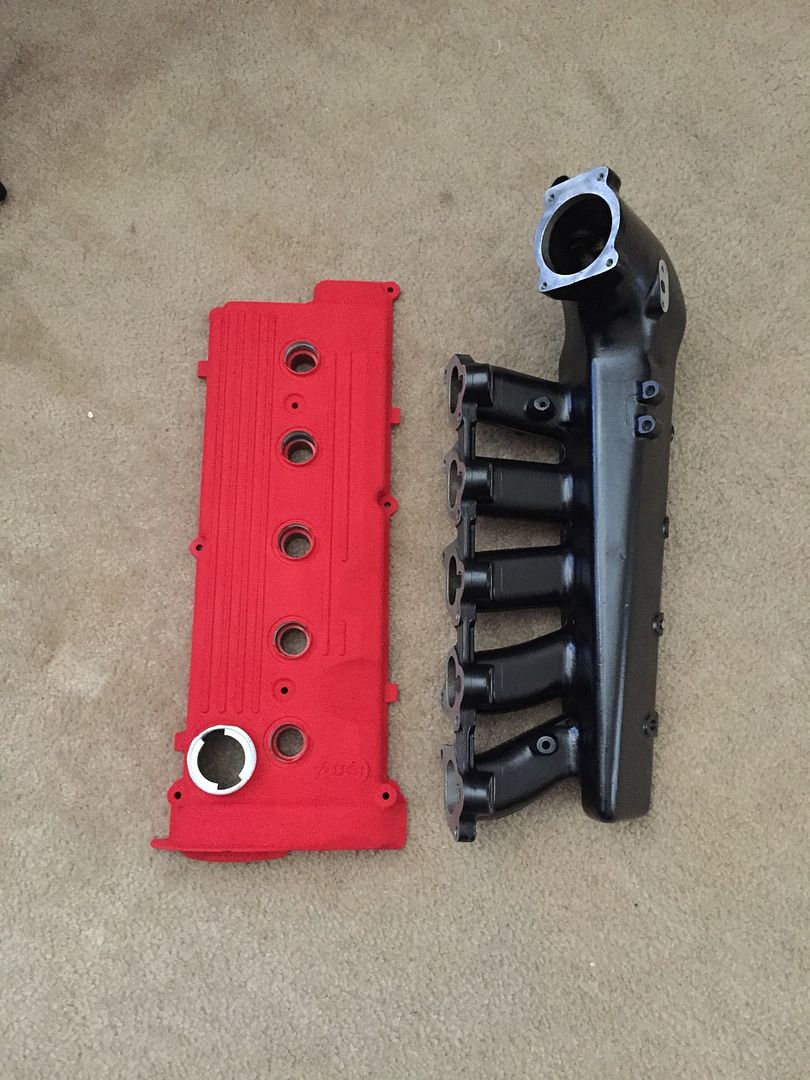
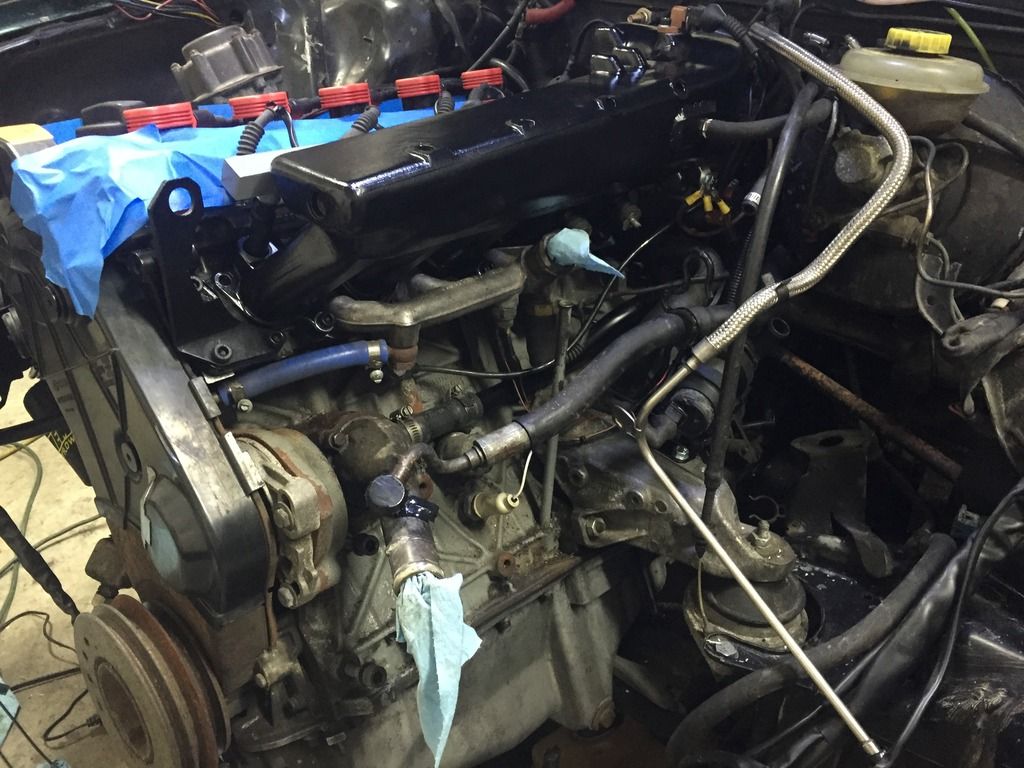
Made some progress over the weekend to the tune of new paint! Super stoked to have some paint on things and really see some progress there. I decided (after a good discussion with Chris) to use Satin Black instead of Gloss because Satin will have a good sheen and not display all the flaws like Gloss would. I did the VHM Engine Satin Black on the intake manifold, charge pipe, pcv pipe and power steering pulley. I used some regular Rustoleum Satin Black Enamel paint for the other parts. We'll see how it goes with everything once it all gets put back together.
Also updated the dash tablet mount by vinyl wrapping the wood trim. Just need to fit the plug through the dash and we're good there.
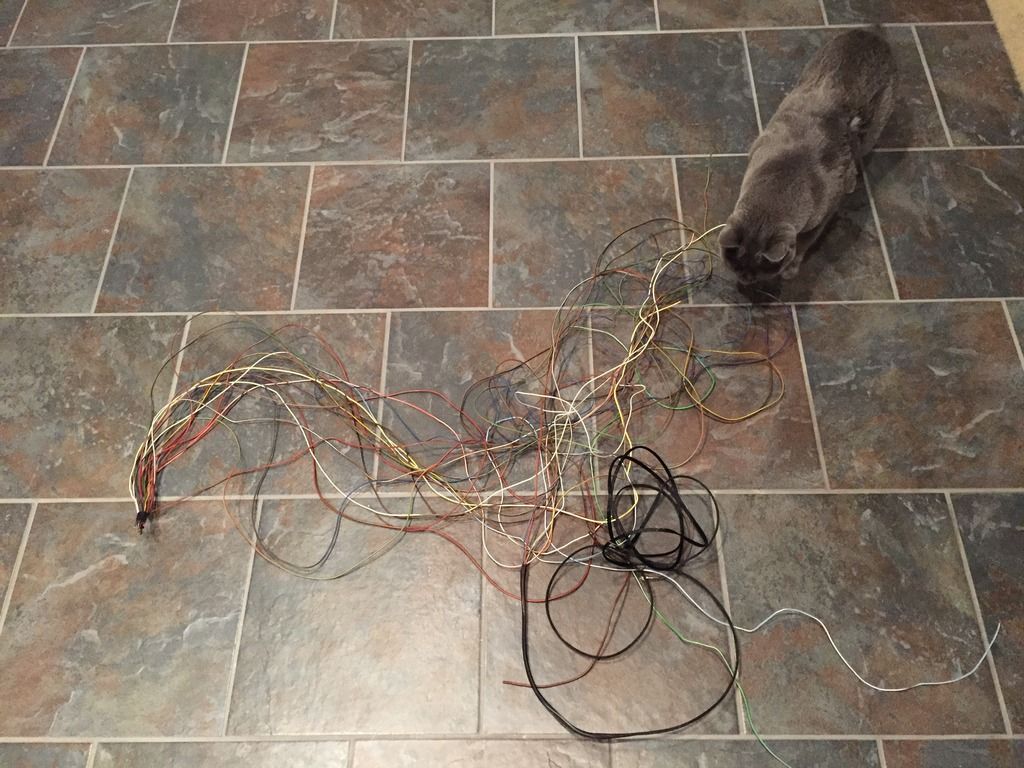
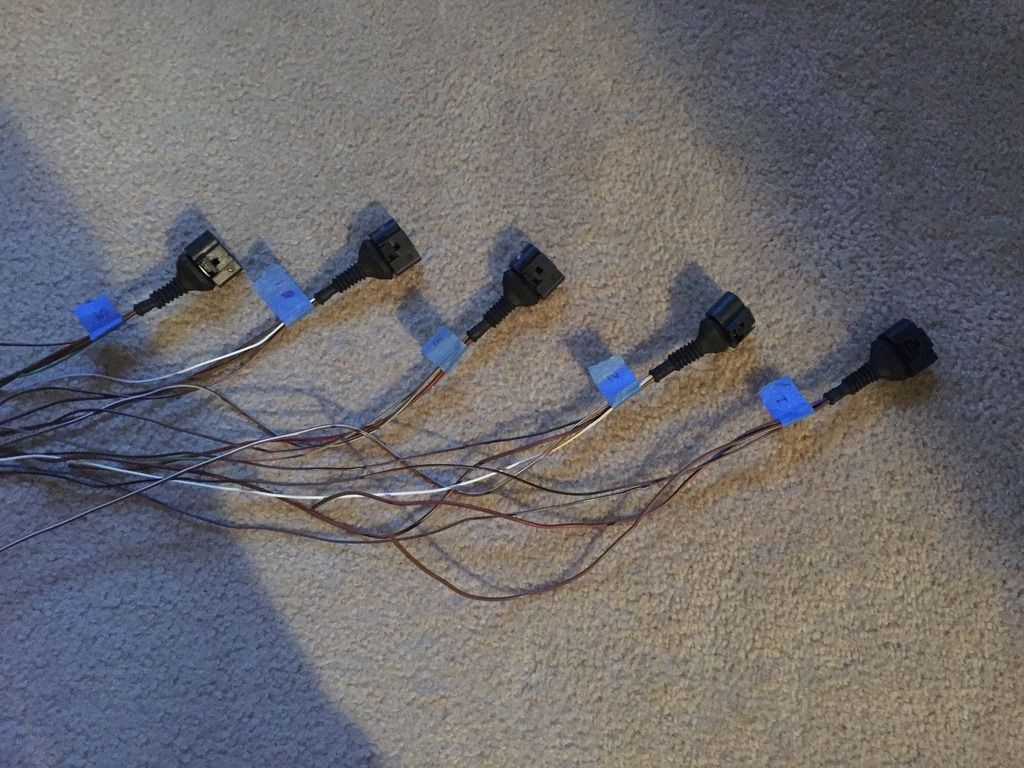
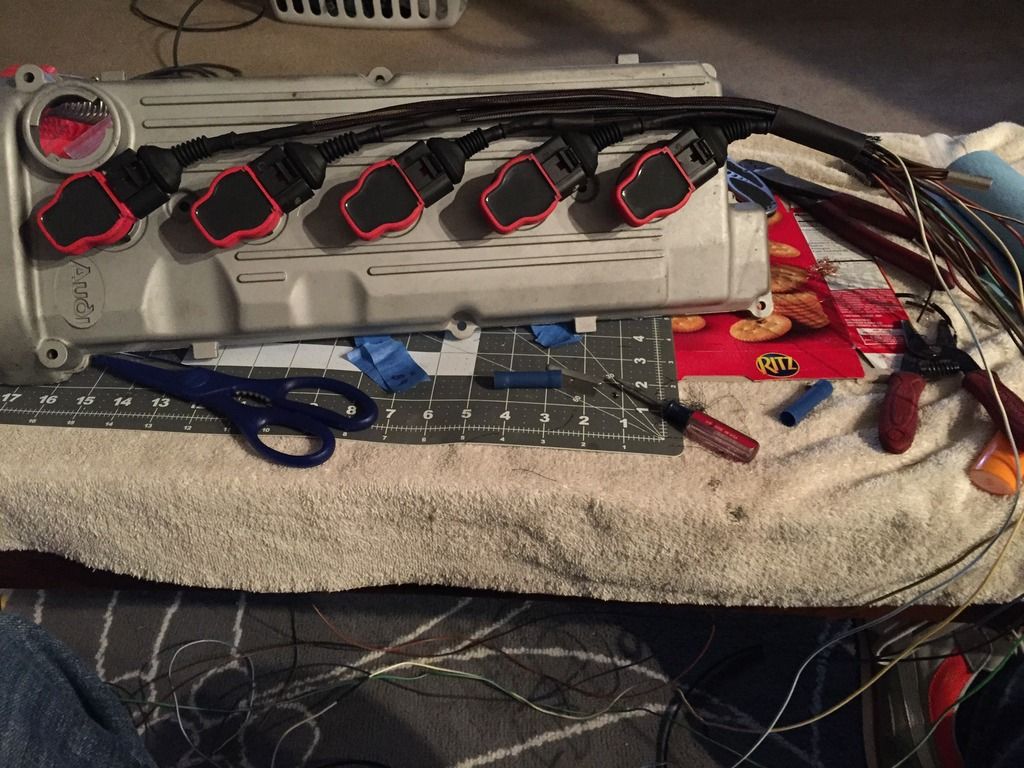
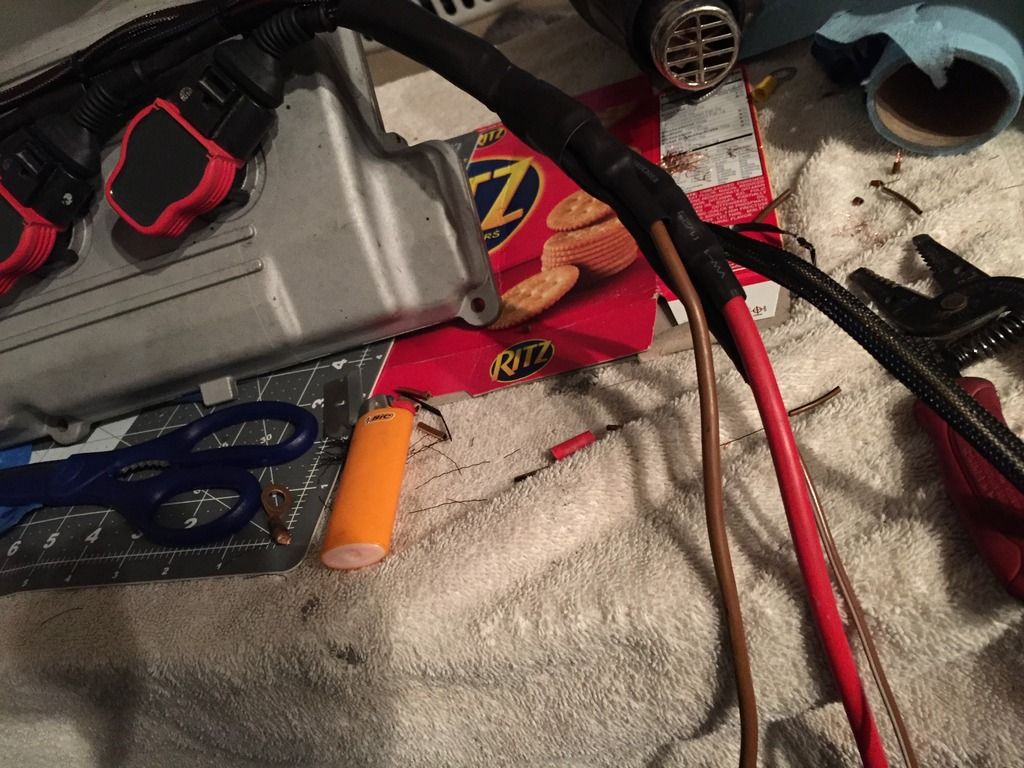
Started the wiring for the Coils. I cleaned the plug and boots and then soldered the wires up leaving pig tails. I plan on running the signal wires to the ECU but the remaining power and ground wires will stay in the engine bay. I'll be waiting until I have the valve cover and coils to terminate the power and grounds to make sure I get good lengths on them. ALSO: I have yeah, I have whats known as a "2+6" ignition configuration. 2
igbt, 6 ttl. the 2igbt's being channels 2 and 3. This means that I need to run my 5 coil signals using the 0,1,4,5,6,7 channels for my coil setup. I'll update my schematic sheet and post up the next version soon.
Next hurdle is the afterrun pump plumbing. I need to find a T to tie into the heater core hose. my OEM 3b pip is rusted through where the afterrun would normally tie into so that's a no-go unless I can find another one. . .
Things are coming together but it's a long process and I want to start putting this thing back together so I can start taking other stuff apart! Right? Isn't that how we do things with project cars? fix one section just to tear apart another? I mean, what fun would it be if there was nothing else to do? Boring I say, Boring!
Pics because we love them!
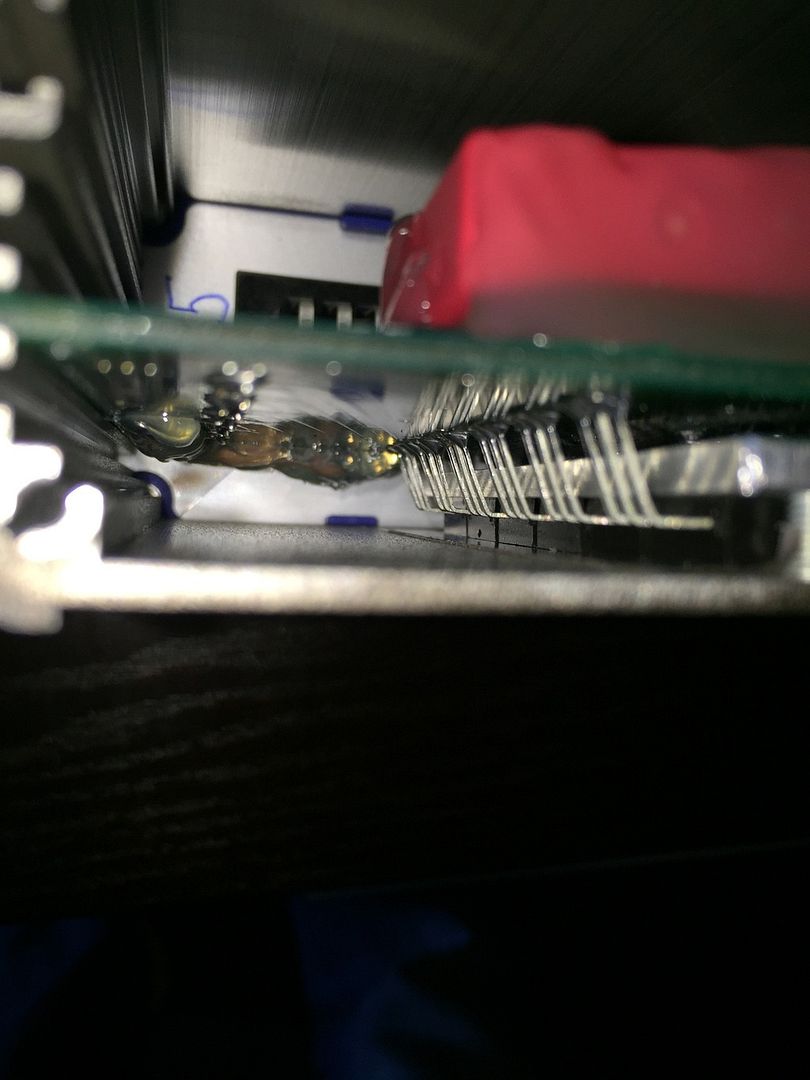
Inside my 2+6 Ignition VEMS Econoseal:
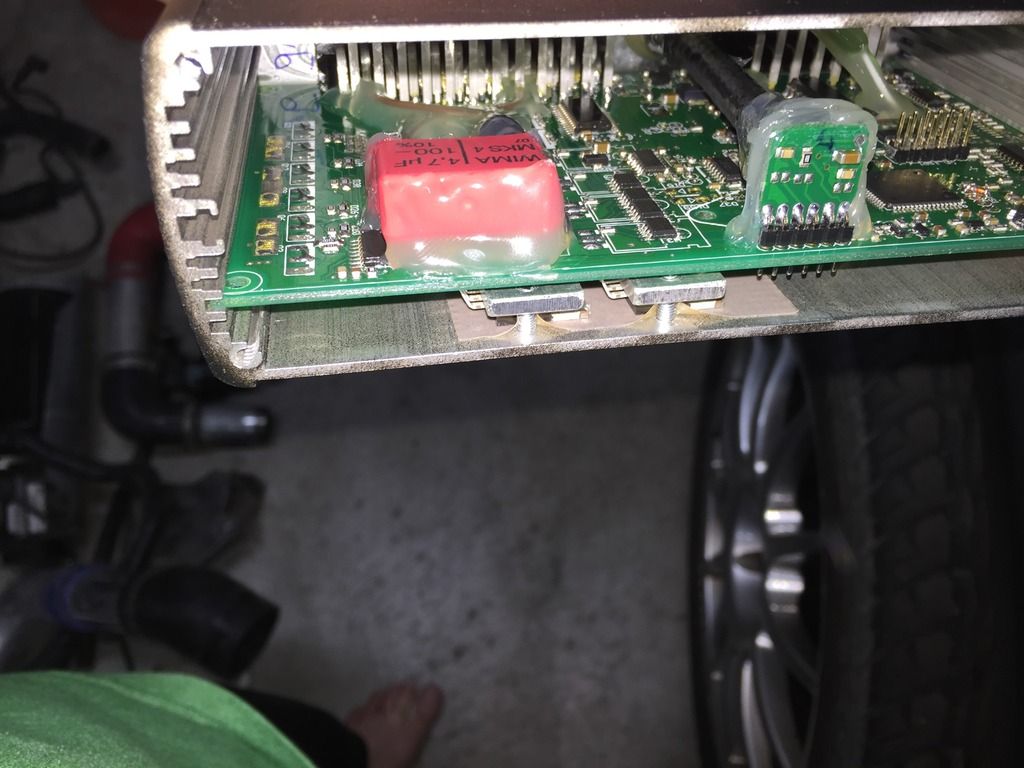
Here you can see channels 2,3 with the chippy chips:
My cat helping out with the coil wires:
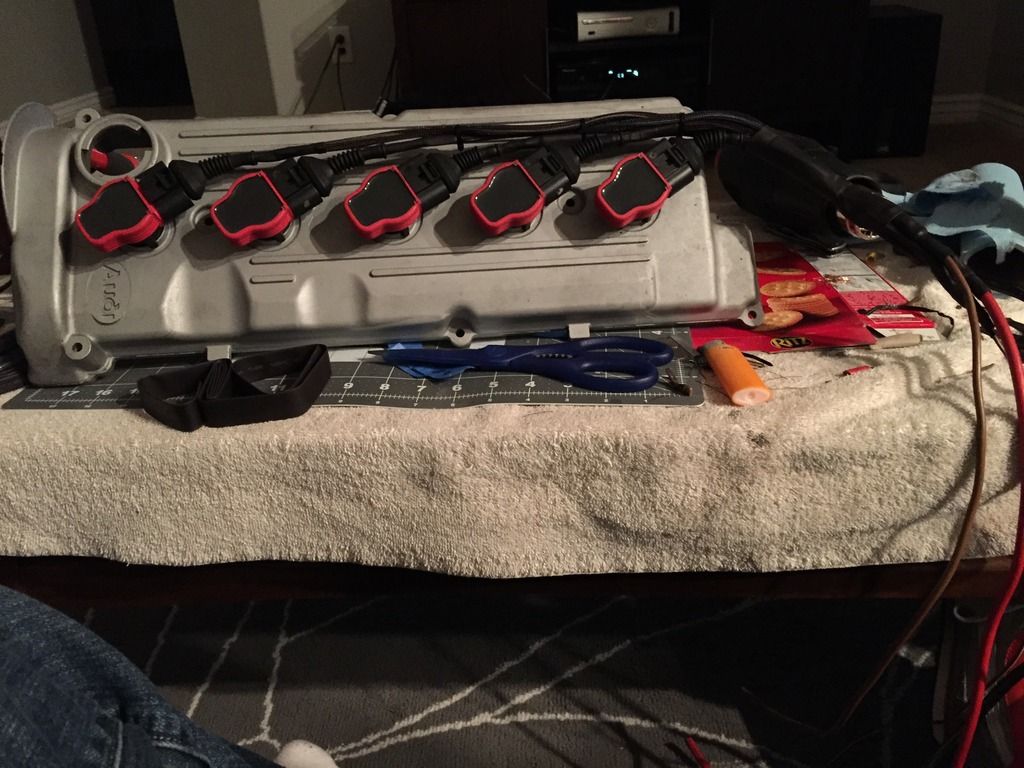
All booted:
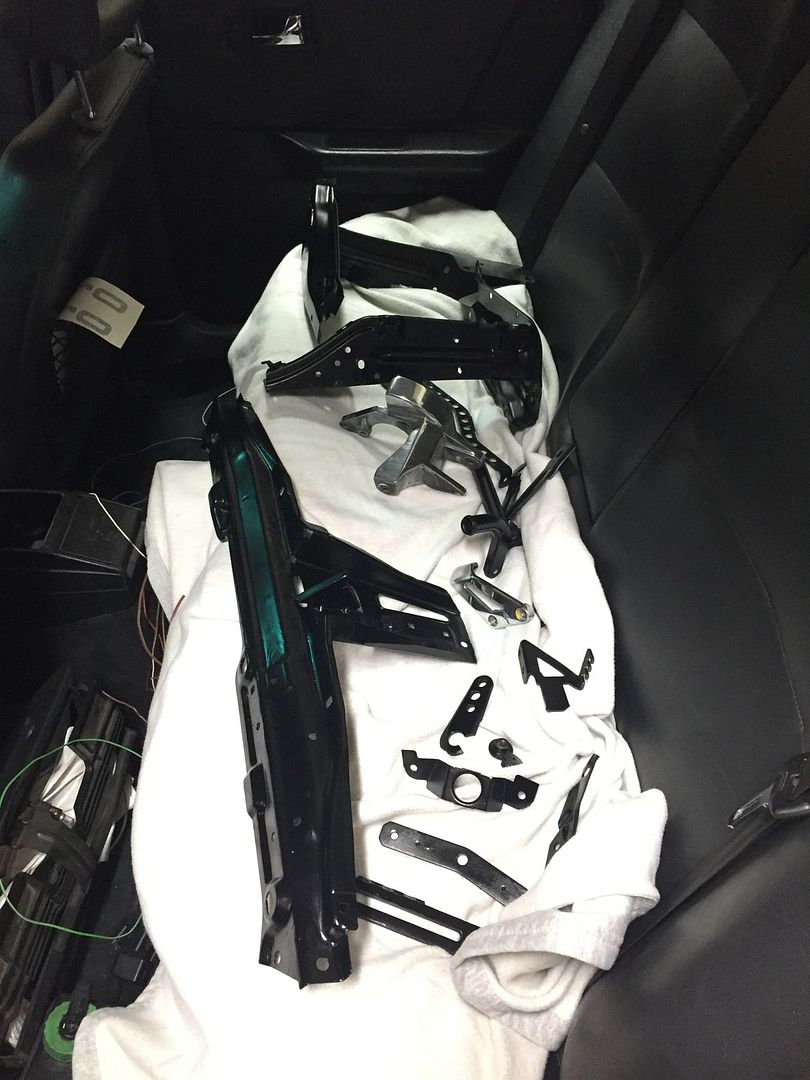
Paint!
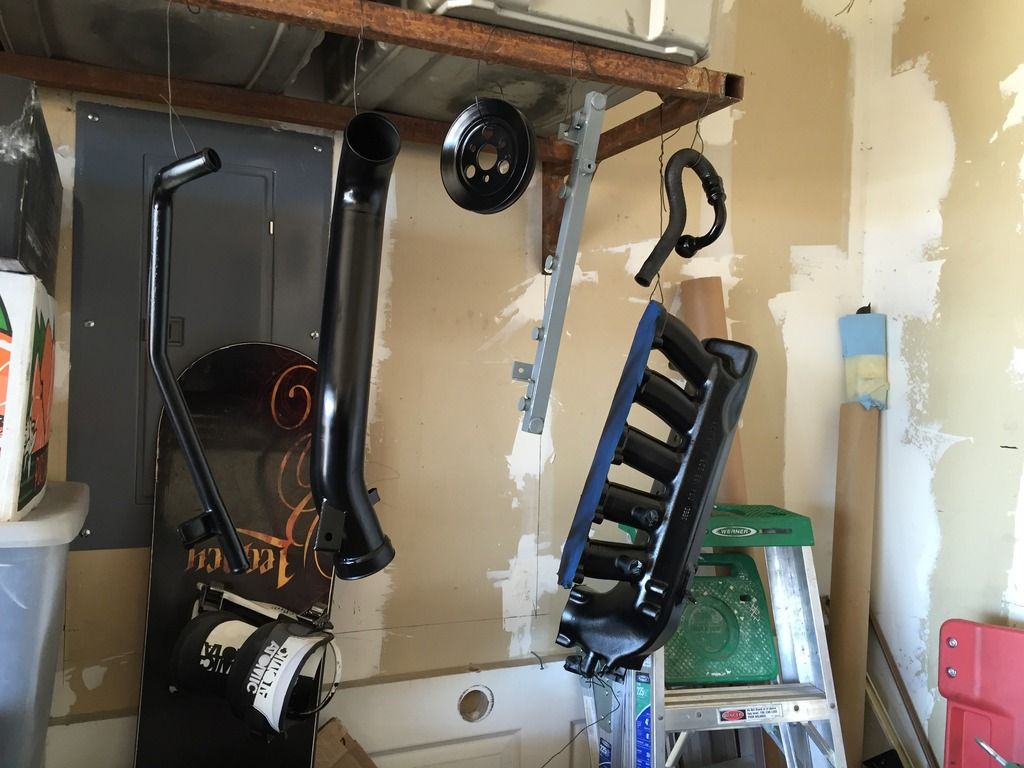
Hang it where you can:
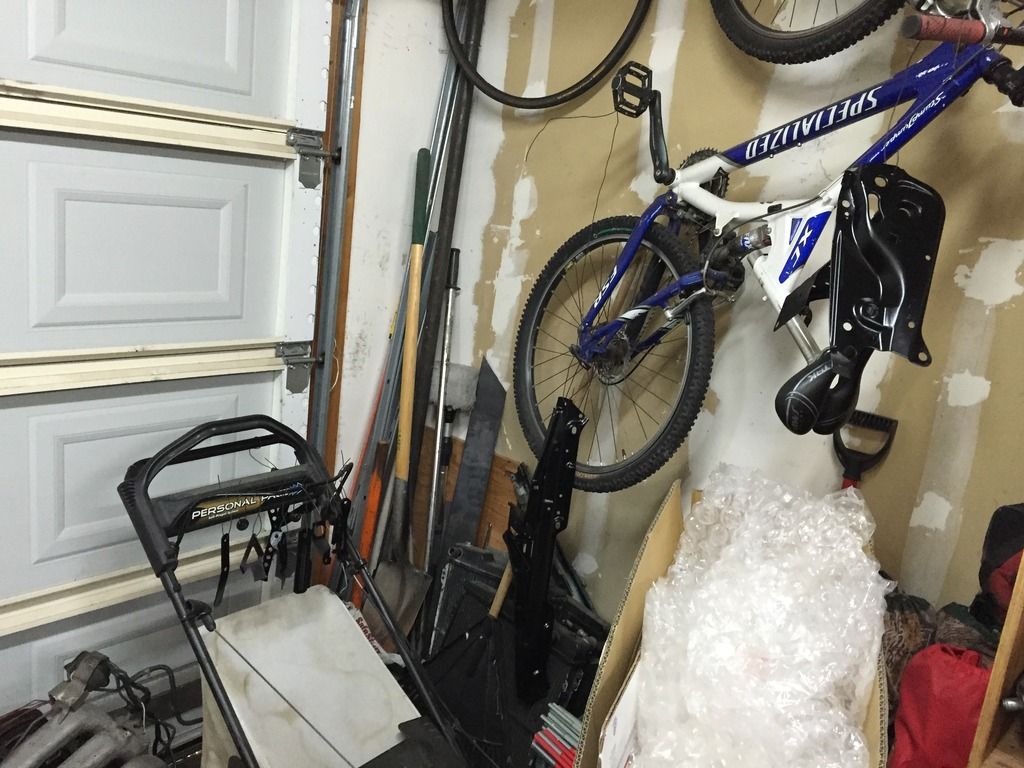
on a nice warm blanket:
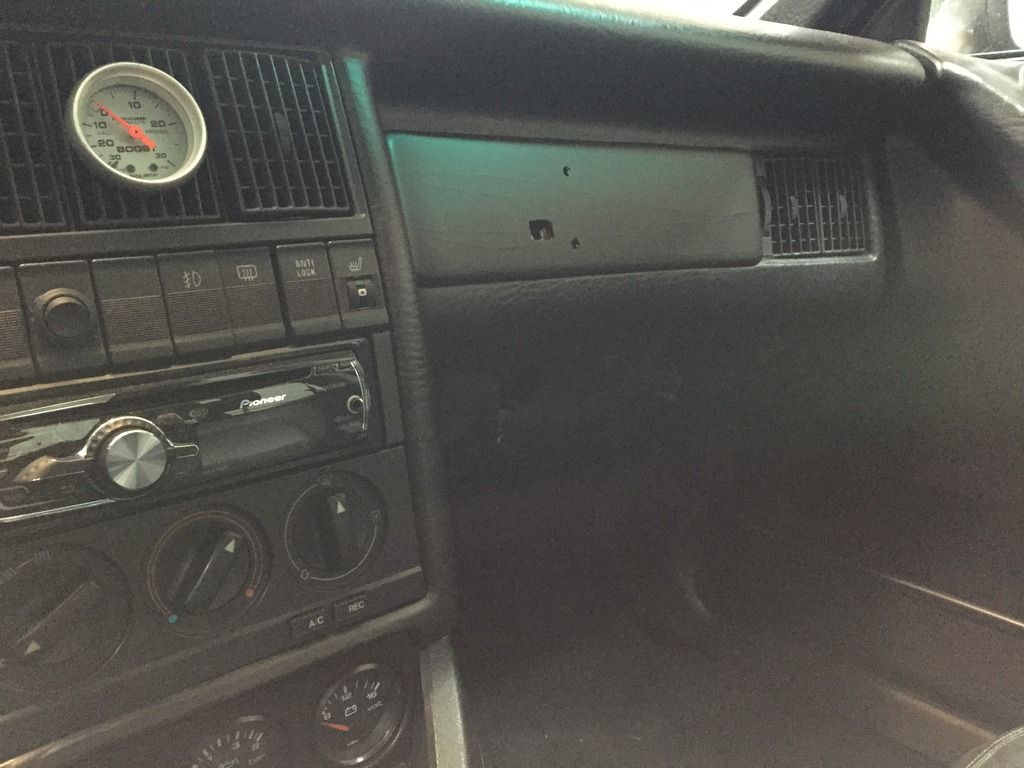
grainy pic of the vinyl wrapped dash tablet mount. Should I have taken time to smooth it out? Probably.
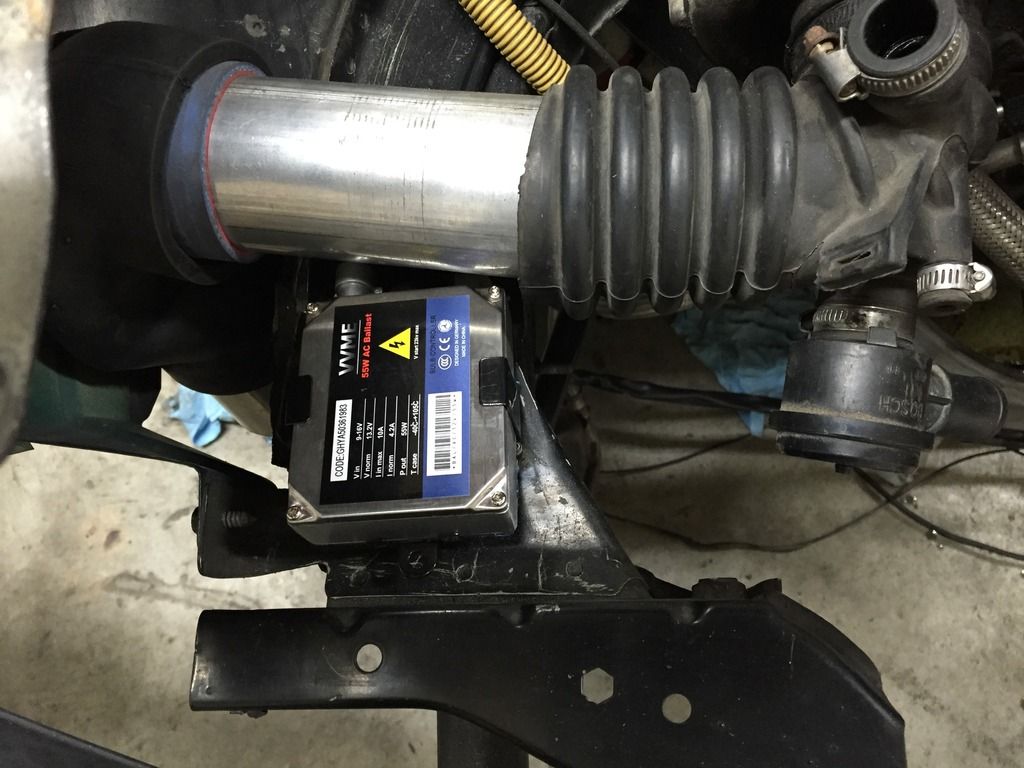
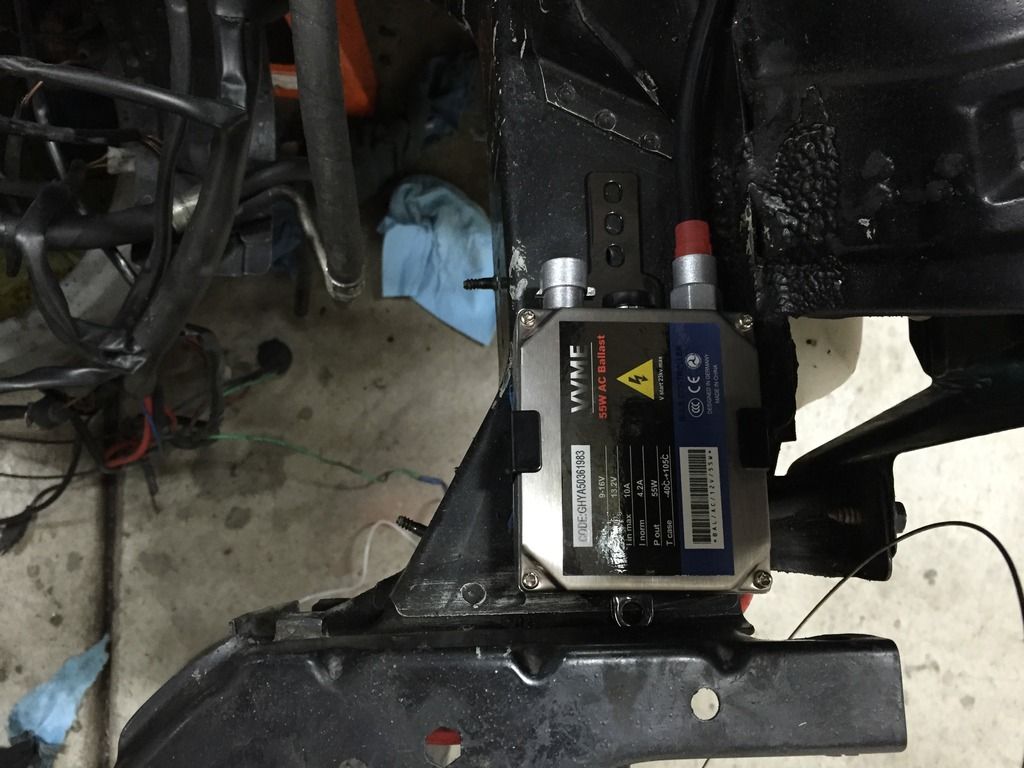
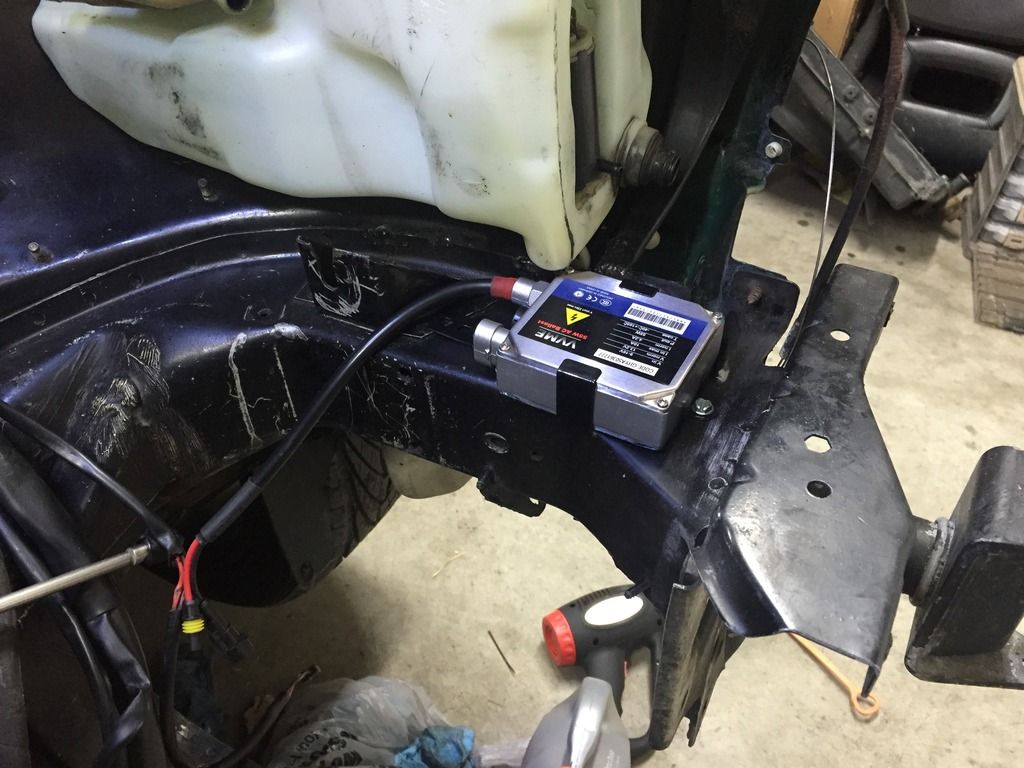
Planned spots to mount my HID ballasts. These are the NON slim VVME ones found on Ebay with an H1 bulb and 8k temp. We'll see how they do:
Made some progress over the weekend to the tune of new paint! Super stoked to have some paint on things and really see some progress there. I decided (after a good discussion with Chris) to use Satin Black instead of Gloss because Satin will have a good sheen and not display all the flaws like Gloss would. I did the VHM Engine Satin Black on the intake manifold, charge pipe, pcv pipe and power steering pulley. I used some regular Rustoleum Satin Black Enamel paint for the other parts. We'll see how it goes with everything once it all gets put back together.
Also updated the dash tablet mount by vinyl wrapping the wood trim. Just need to fit the plug through the dash and we're good there.
Started the wiring for the Coils. I cleaned the plug and boots and then soldered the wires up leaving pig tails. I plan on running the signal wires to the ECU but the remaining power and ground wires will stay in the engine bay. I'll be waiting until I have the valve cover and coils to terminate the power and grounds to make sure I get good lengths on them. ALSO: I have yeah, I have whats known as a "2+6" ignition configuration. 2
igbt, 6 ttl. the 2igbt's being channels 2 and 3. This means that I need to run my 5 coil signals using the 0,1,4,5,6,7 channels for my coil setup. I'll update my schematic sheet and post up the next version soon.
Next hurdle is the afterrun pump plumbing. I need to find a T to tie into the heater core hose. my OEM 3b pip is rusted through where the afterrun would normally tie into so that's a no-go unless I can find another one. . .
Things are coming together but it's a long process and I want to start putting this thing back together so I can start taking other stuff apart! Right? Isn't that how we do things with project cars? fix one section just to tear apart another? I mean, what fun would it be if there was nothing else to do? Boring I say, Boring!
Pics because we love them!
Inside my 2+6 Ignition VEMS Econoseal:
Here you can see channels 2,3 with the chippy chips:
My cat helping out with the coil wires:
All booted:
Paint!
Hang it where you can:
on a nice warm blanket:
grainy pic of the vinyl wrapped dash tablet mount. Should I have taken time to smooth it out? Probably.
Planned spots to mount my HID ballasts. These are the NON slim VVME ones found on Ebay with an H1 bulb and 8k temp. We'll see how they do:
Re: Nick's Black 90 - 3B Swap: 2.0 Coil Setup
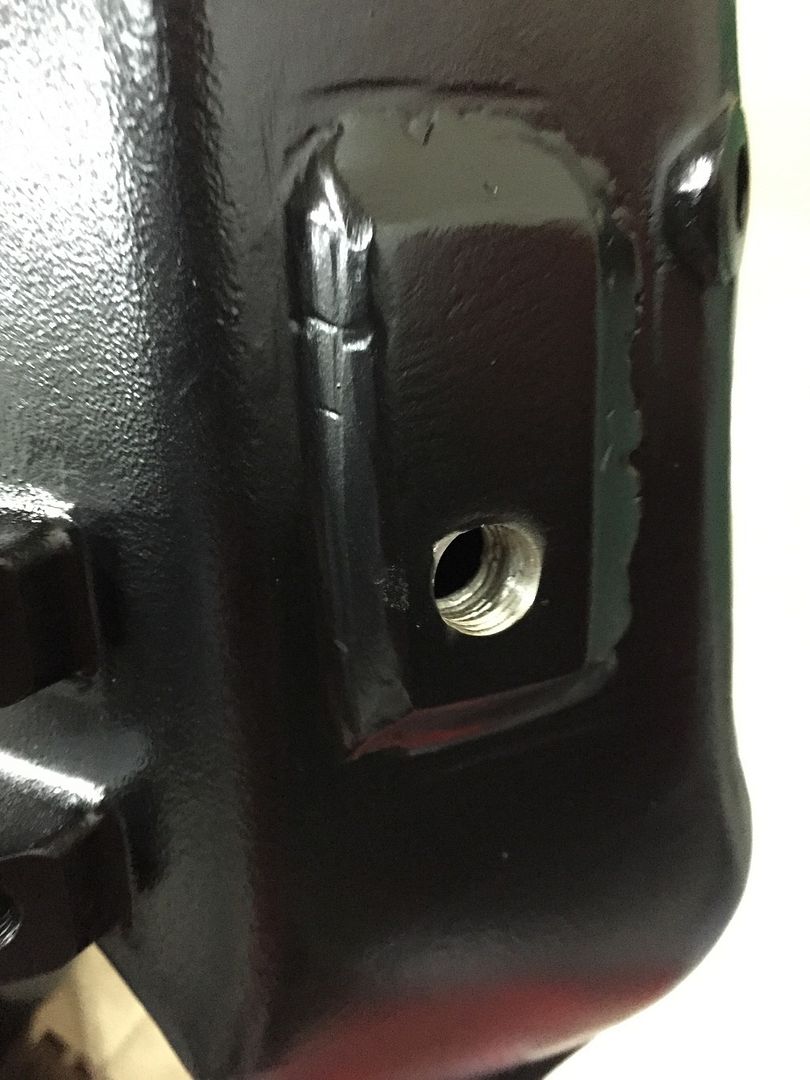
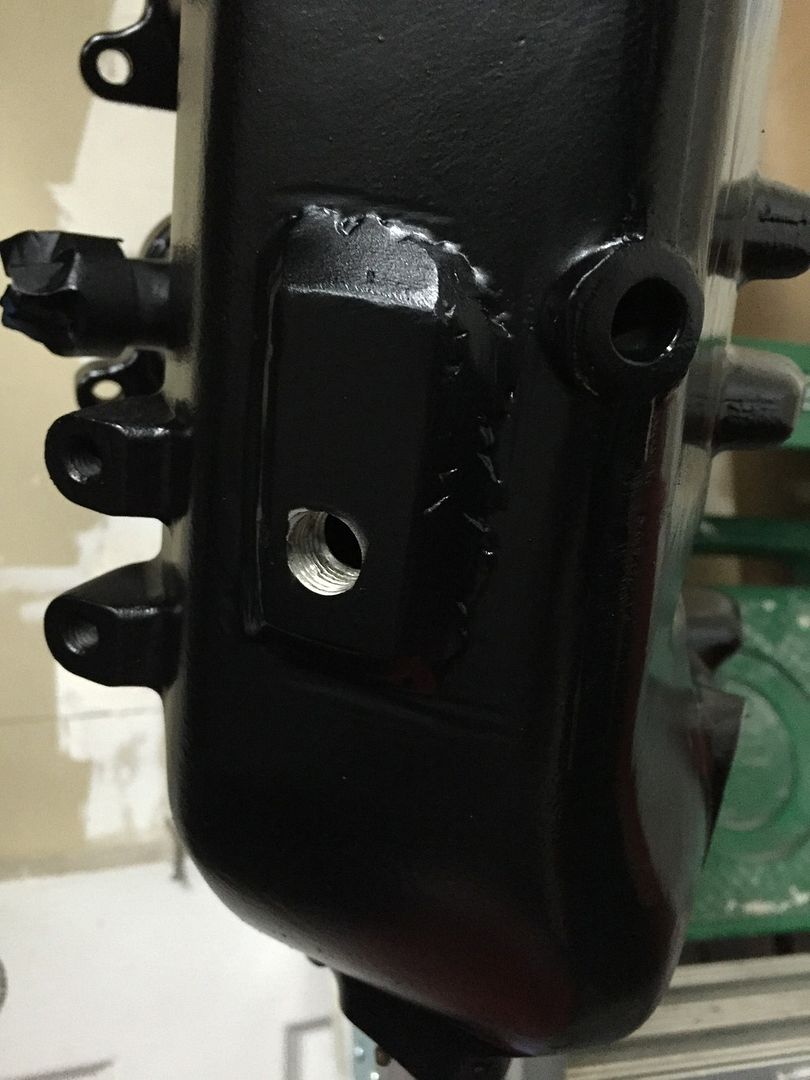
How did you do with the vac port on the intake?
Re: Nick's Black 90 - 3B Swap: 2.0 Coil Setup
I ended up drilling the 7/16 hole and tapping it ever so carefully. There's no other way to say that sorry. Turned out ok. I made sure to get all the flakes off and then spent a considerable amount of time using brake clean and air on the inside of the intake to make sure I got everything out. Should turn out well. Thanks again for helping me with the welding!!
Pics because yup:
Pics because yup:
Re: Nick's Black 90 - 3B Swap: 2.0 Coil Setup
You guys are going to get sick of all these little updates and pics.
Final version of my coil swap schematic. Since I have the 2+6 ignition this is the route I'm going. High current ground will go to the intake manifold ground point and the Low current ground to the firewall or if I feel like running another wire through into the footwell. We'll see what happens.
Also found a few minutes to paint the power steering pump last night. Should be one of the last pieces that needs to be painted.
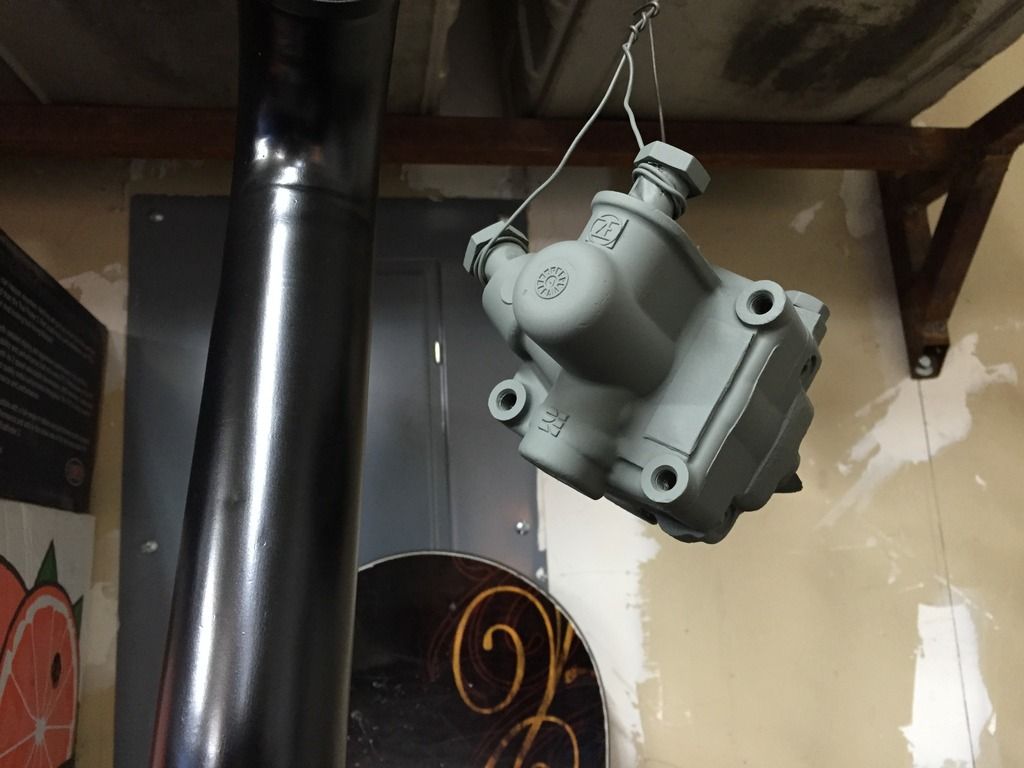
Re: Nick's Black 90 - 3B Swap: 2.0 Coil Setup
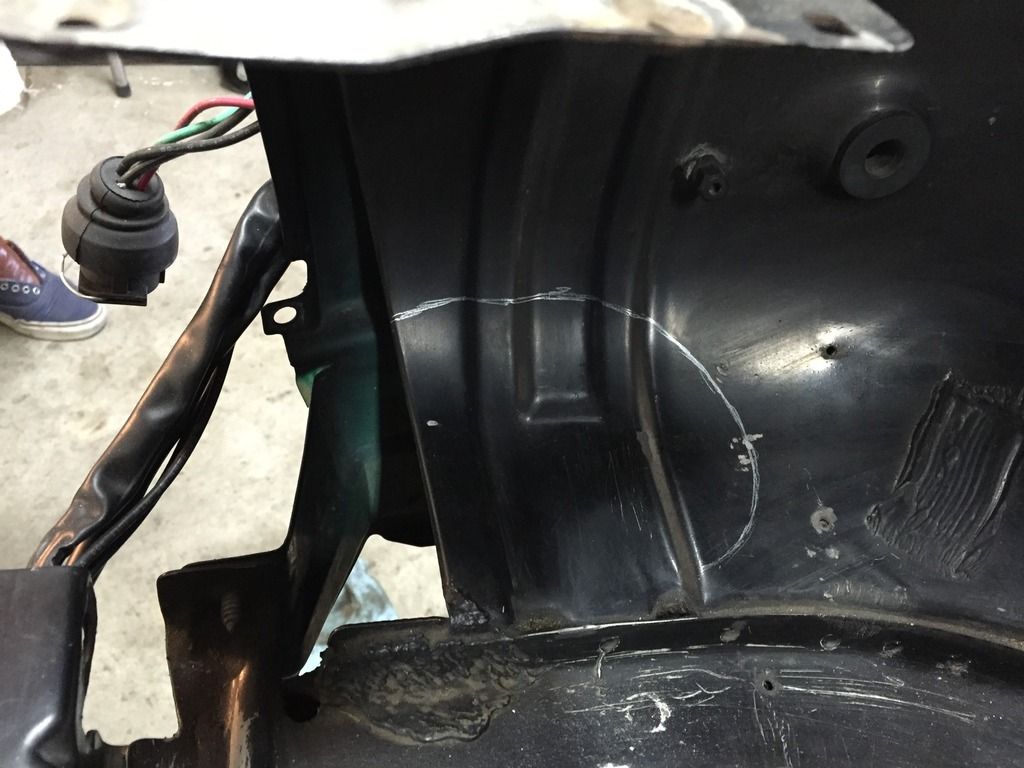
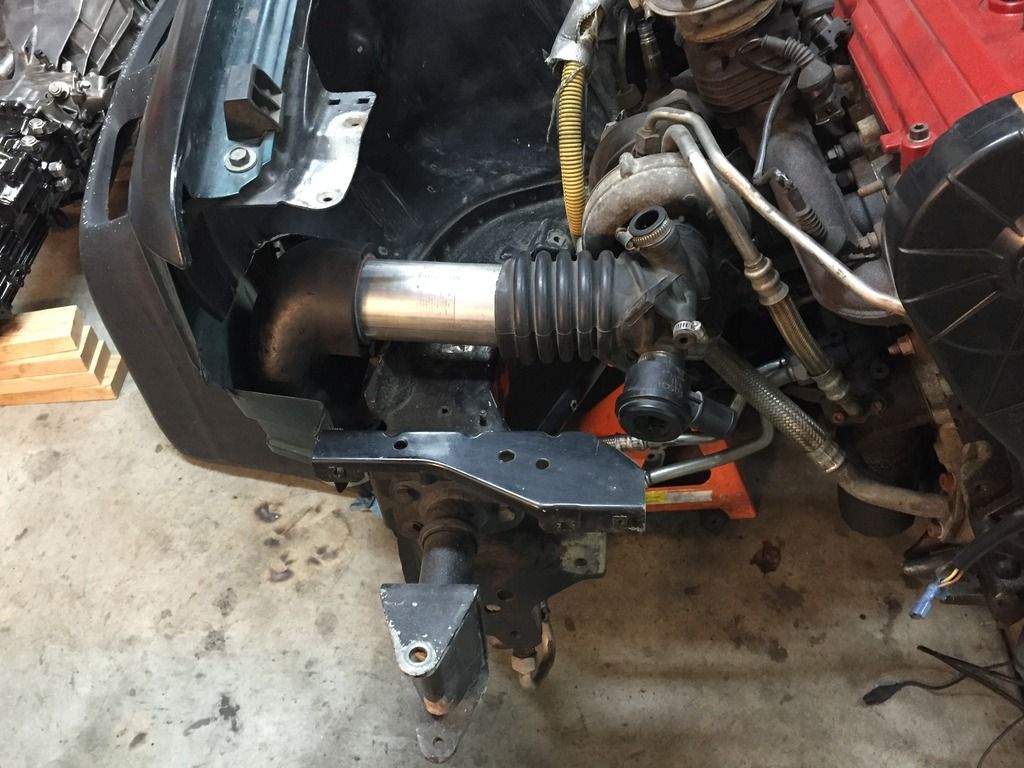
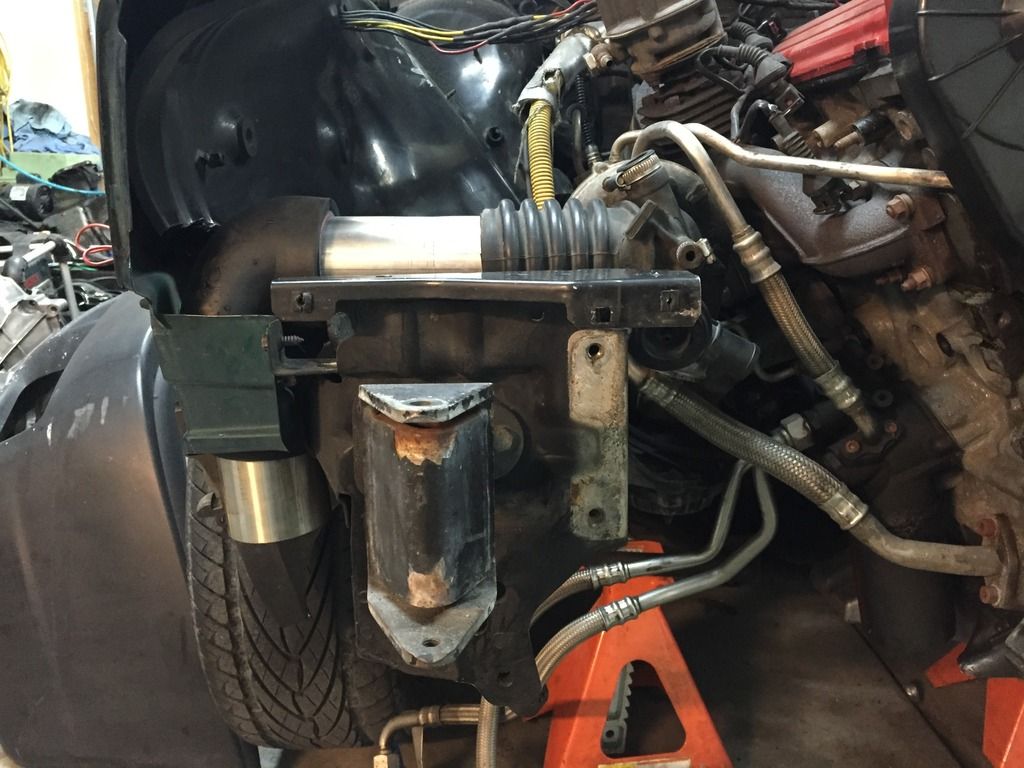
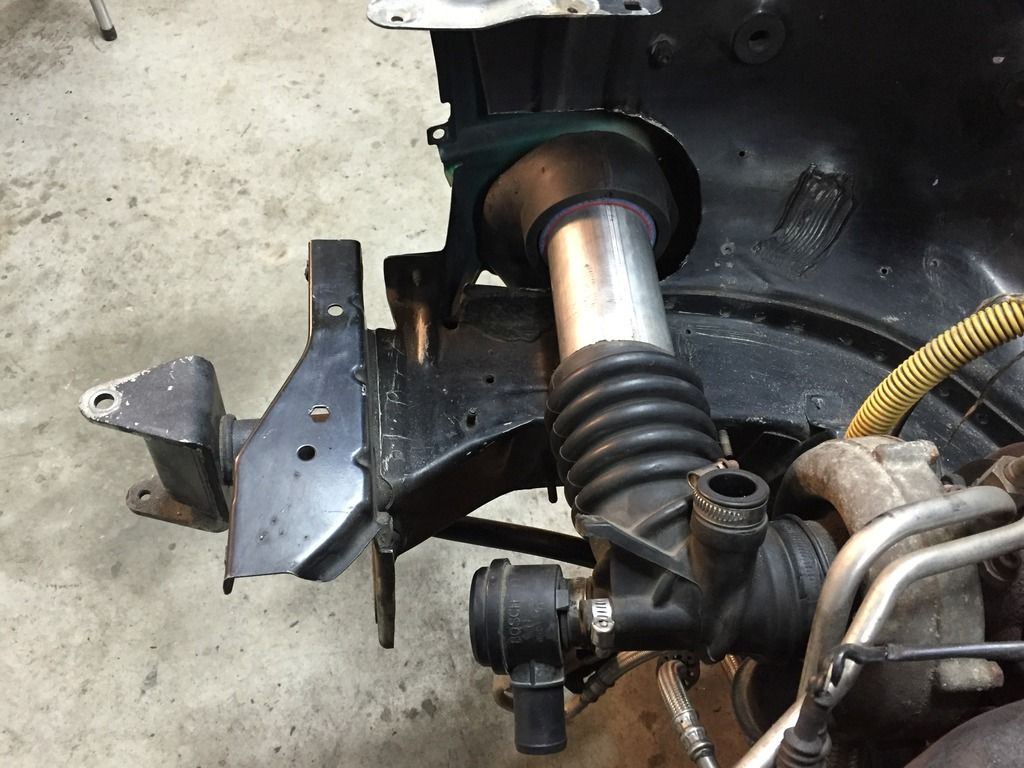
More bits and stuff done yesterday. Had to drill out some bolts to get the front power steering/motor mount hanger off. I painted those (of course), the afterrun pump mount, power steering line, coolant to heatercore line and some of the front clip screws. Can't have dirty 'ol screws on some freshly painted parts! The painting should be nearing completion and maybe, just maybe reassembly will commence later next week.
Fount a T to hook the afterrun pump into the heatercore and hopefully today will find a 90 line at Autozone that I can cut to fit. Should work out nicely. Harder part will be making it all run (another project for another day).
Drilled and tapped two holes in the motor mount arm so I can bolt down the afterrun pump mount and then mount the rubber isolators so then I can mount the afterrun pump.
Mailman brought me a new AEM 3" dry filter too. I'm going to try and find a 45 degree 3" inlet but if not will just try to use the little stainless piece I already have.
Pics!

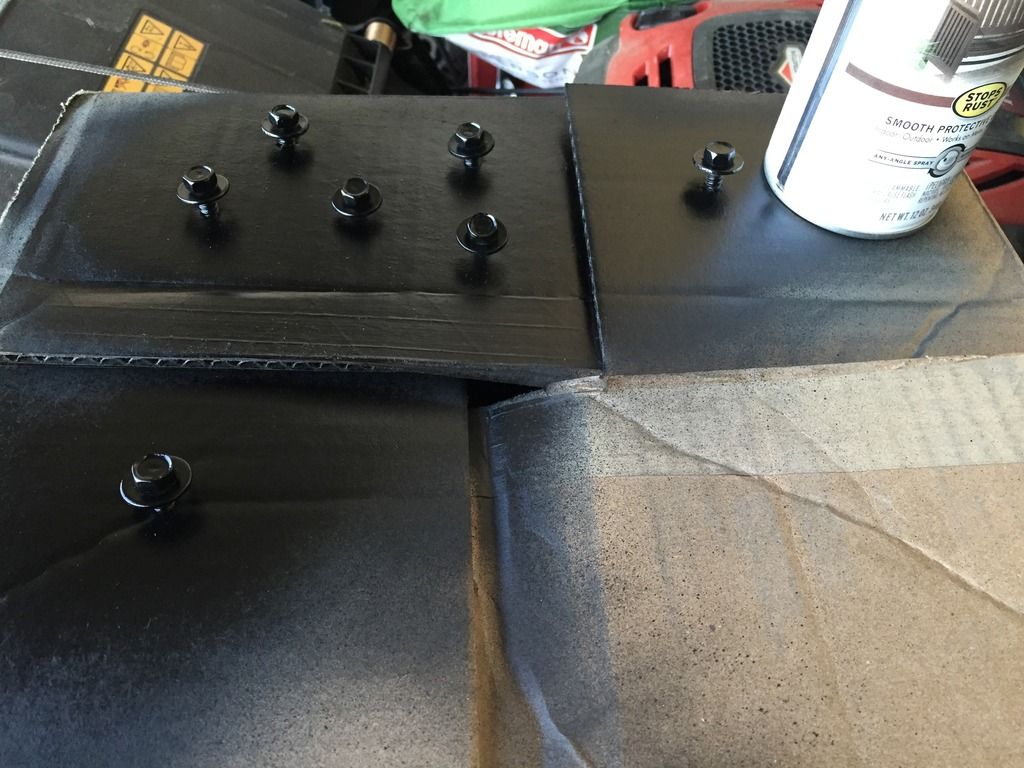

Whaaaa??? Yup. That's happening. . .
Fount a T to hook the afterrun pump into the heatercore and hopefully today will find a 90 line at Autozone that I can cut to fit. Should work out nicely. Harder part will be making it all run (another project for another day).
Drilled and tapped two holes in the motor mount arm so I can bolt down the afterrun pump mount and then mount the rubber isolators so then I can mount the afterrun pump.
Mailman brought me a new AEM 3" dry filter too. I'm going to try and find a 45 degree 3" inlet but if not will just try to use the little stainless piece I already have.
Pics!
Whaaaa??? Yup. That's happening. . .
-
ringbearer

- Posts: 1282
- Joined: Wed Feb 27, 2013 12:50 pm
- Location: Nor-Cal
Re: Nick's Black 90 - 3B Swap: 2.0 Coil Setup
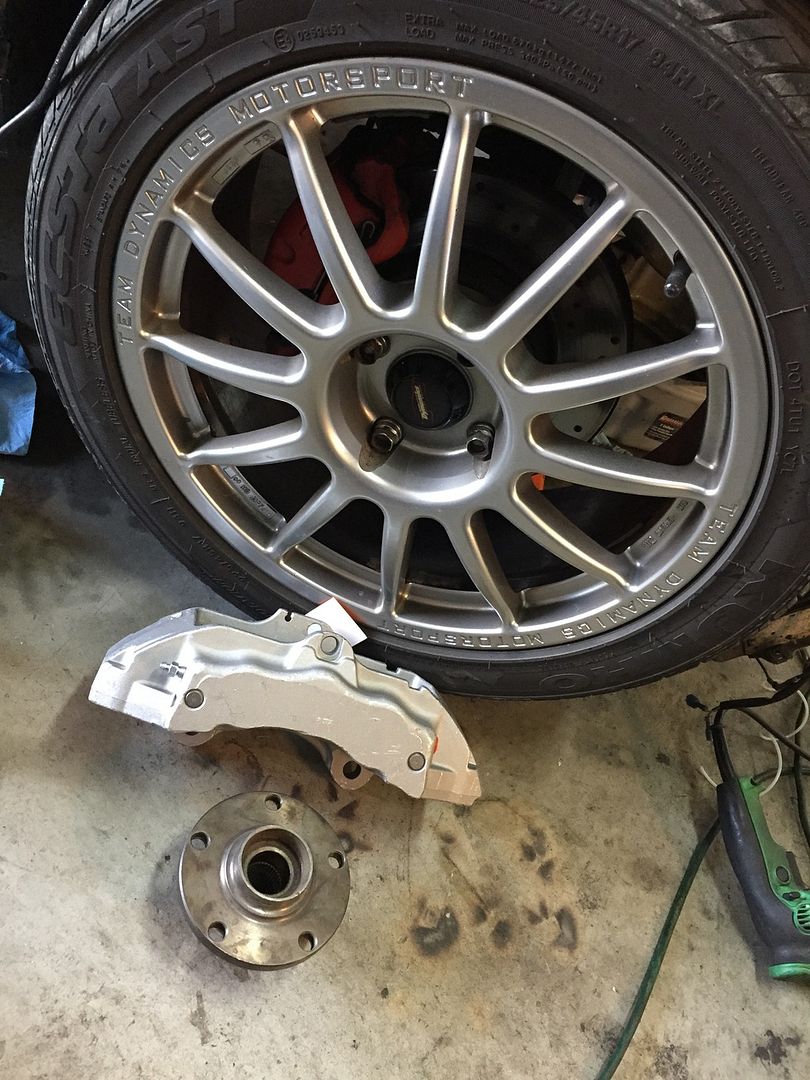
So glad you kept it!
Nice calipers too
Nice calipers too
Re: Nick's Black 90 - 3B Swap: 2.0 Coil Setup
Thanks! It'll be rad to get the engine bay all updated, drive it for a week then dig right into the chassis/brake/lug/wheel/$$$$$ updates

Re: Nick's Black 90 - 3B Swap: 2.0 Coil Setup
If only those wheels were 17x8 or 17x9. I'd want them back.
Darin
1989 80 20vt
1989 80 20vt
Re: Nick's Black 90 - 3B Swap: 2.0 Coil Setup
Ah c'mon, you know you want some hot 'n slender 7.5's
Re: Nick's Black 90 - 3B Swap: 2.0 Coil Setup
Looking good! T-minus 2.5 months until Audi Expo ...I need to meet that deadline too!
...I need to meet that deadline too!-Alex-
@vexartmedia @odd.cylinders @5cylinder_porsche
Odd Cylinders YouTube Page
1992 Porsche 968 (07K transplant in progress)
1983 Aud UrQ (MC1, GT2871R, IIc)
1985 Audi 4kq
2003 Audi S8 (Avus/Oxblood; DD; 6MT swap)
@vexartmedia @odd.cylinders @5cylinder_porsche
Odd Cylinders YouTube Page
1992 Porsche 968 (07K transplant in progress)
1983 Aud UrQ (MC1, GT2871R, IIc)
1985 Audi 4kq
2003 Audi S8 (Avus/Oxblood; DD; 6MT swap)
Re: Nick's Black 90 - 3B Swap: 2.0 Coil Setup
Ah man is it that soon? I better but more parts!
Re: Nick's Black 90 - 3B Swap: 2.0 Coil Setup
Oh man. It's been a little bit and some progress happened. I took a week off work and found time amongst the vacation to do a few things here and there. Mainly got more stuff painted and ready for install.
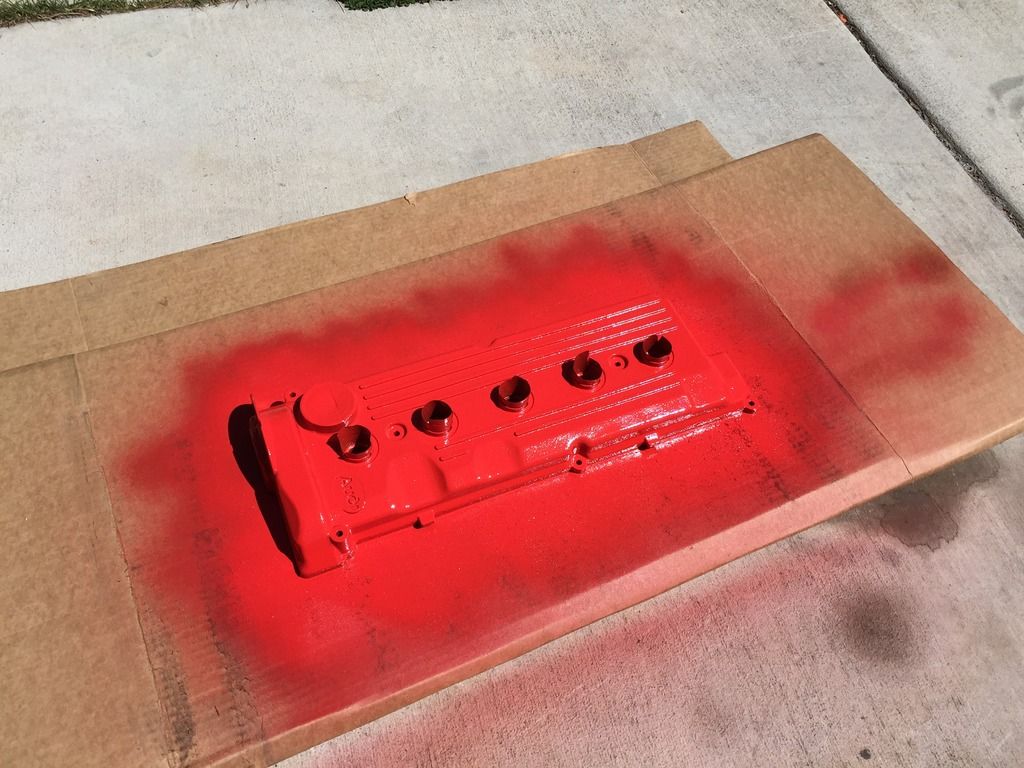
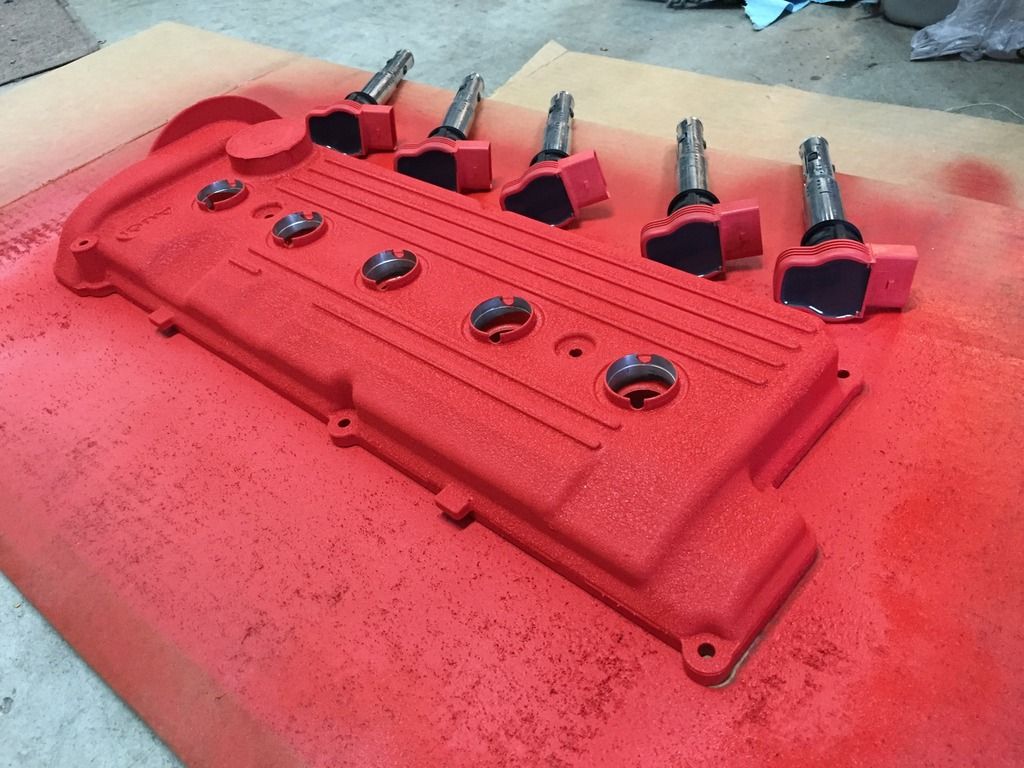
- Picked up my 7a valve cover from Chris all machined and ready for coils!
- Wrinkle Painted it red
- got some of the afterrun pump plumbed in. I deleted the heater core shut off valve for the time being as it wasn't being used anyway. I'll hook that all up later (probably next year).
- Wiring sorted out for the radiator side. Extended some wiring for the oil pressure and coolant afterrun switch.
- Finished the coil wiring harness!
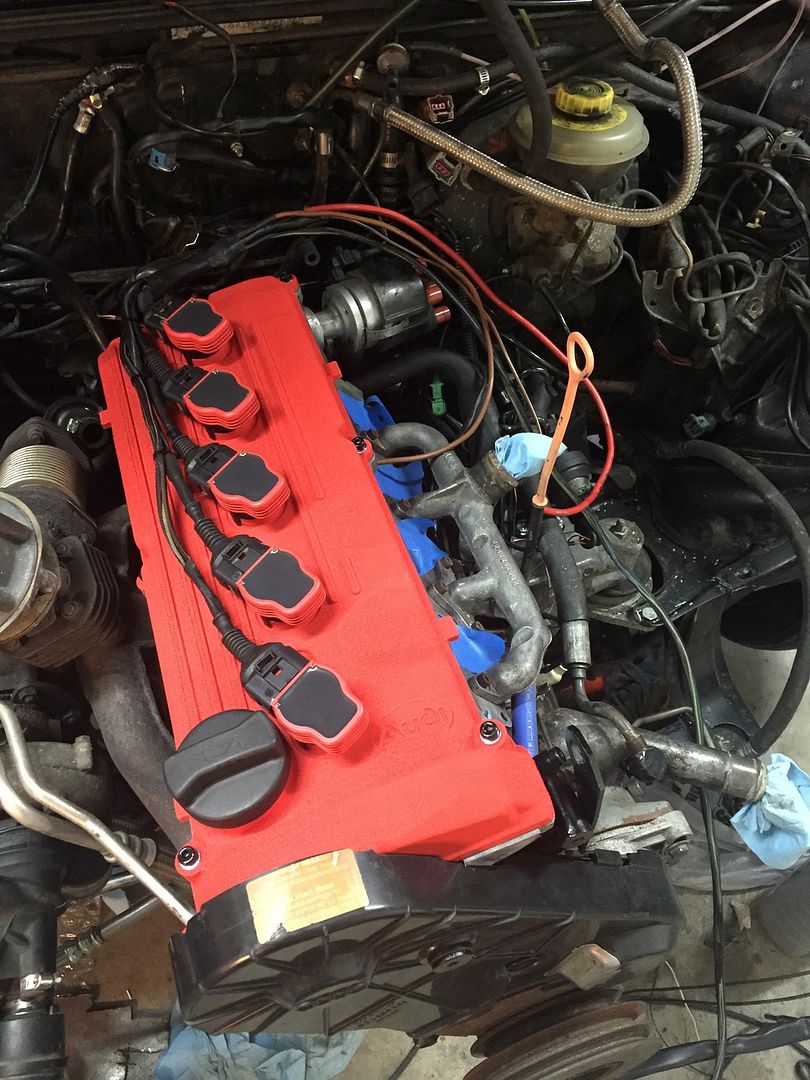
- started putting stuff on!
- Pics!
Coil Wiring Harness:
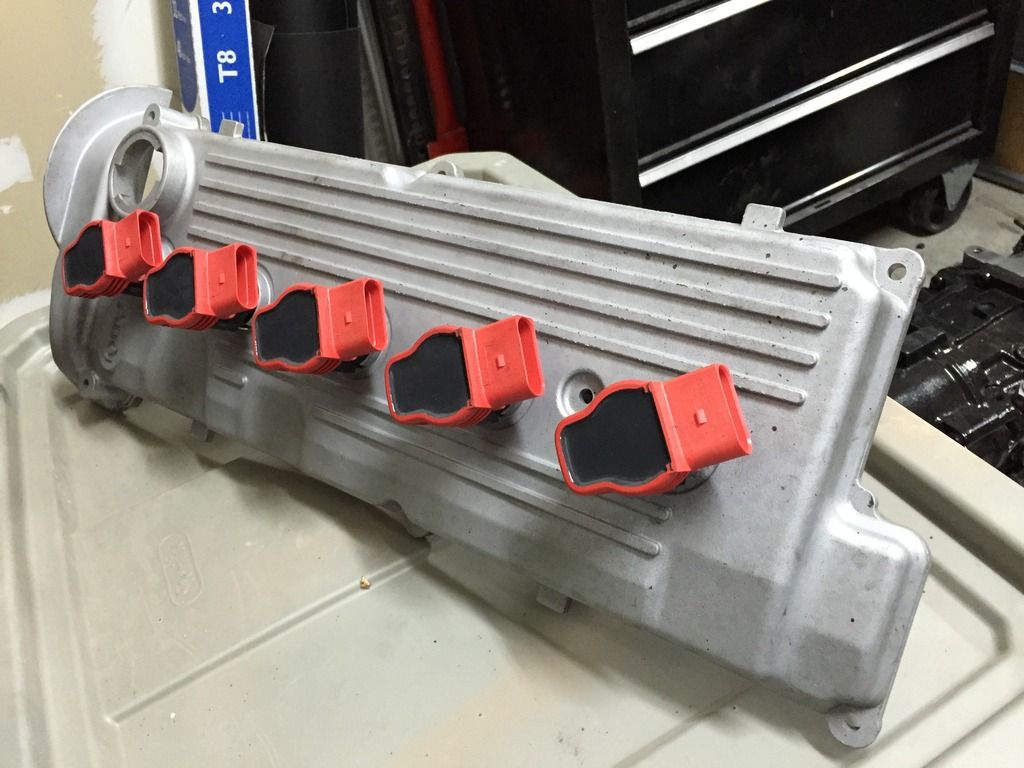
Wrinkle paint! - This was my first attempt. There are a lot of videos on this but what I found to be important (other than prep obviously) is to get the coats on there thick. You'll feel like it's going to run but it won't. I let it bake in the sun and went over it gently with a heat gun on low setting. It didn't turn out perfect but it'll do and I love the matte look.

Installed!
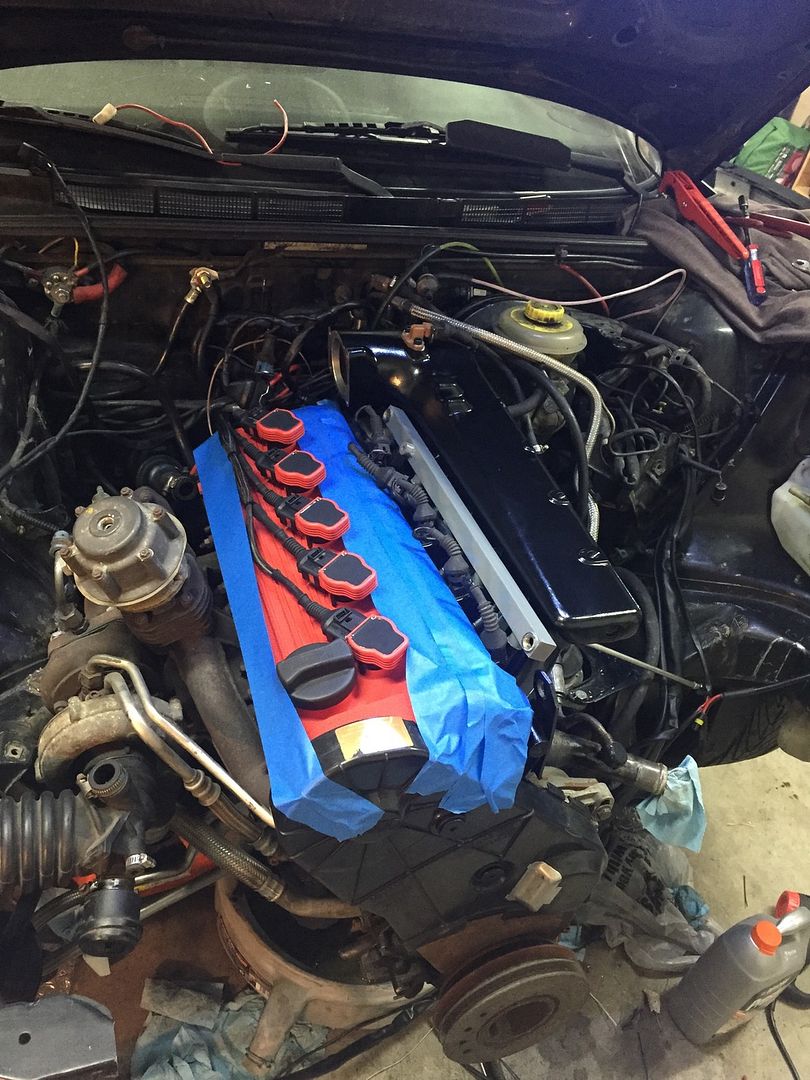
Intake installed:
Got my VVME HID Ballasts mounted as well. I just used some #10 sheet metal screws and drilled a pilot hole. Hopefully they will rest there nicely and out of the way of everything.
Air filter routed:
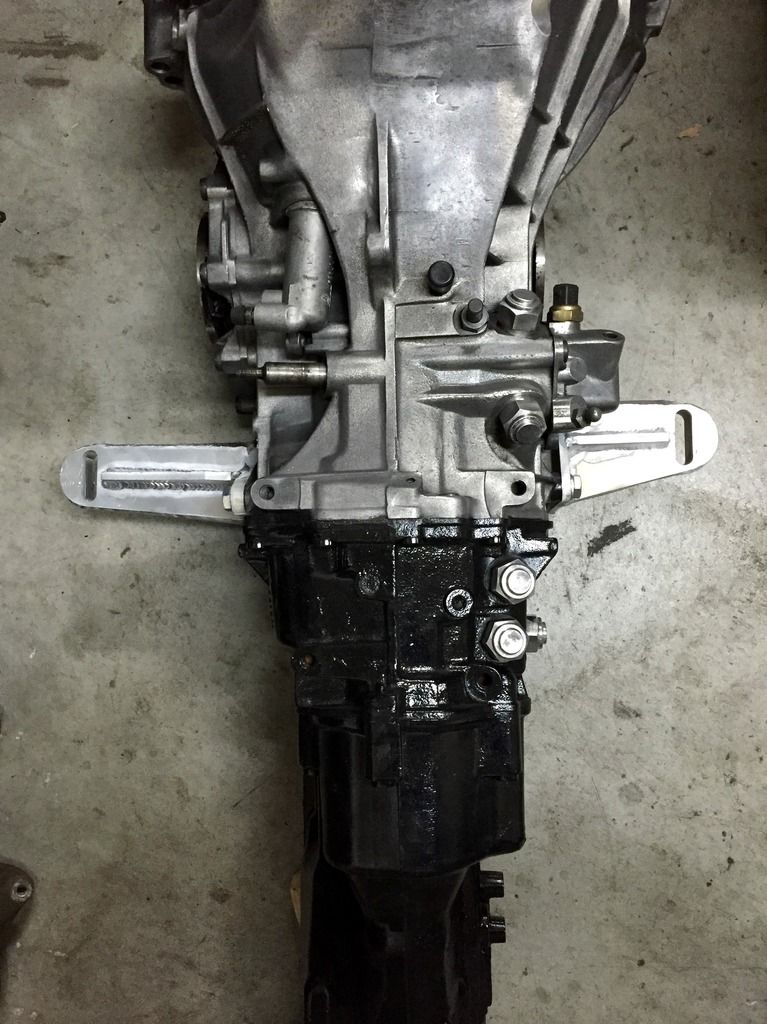
Trans Mounts! Man those things are beautiful. It's really too bad I have to hide them under the car. Maybe down the road I'll end up with some other Iroz bits to show off under the hood
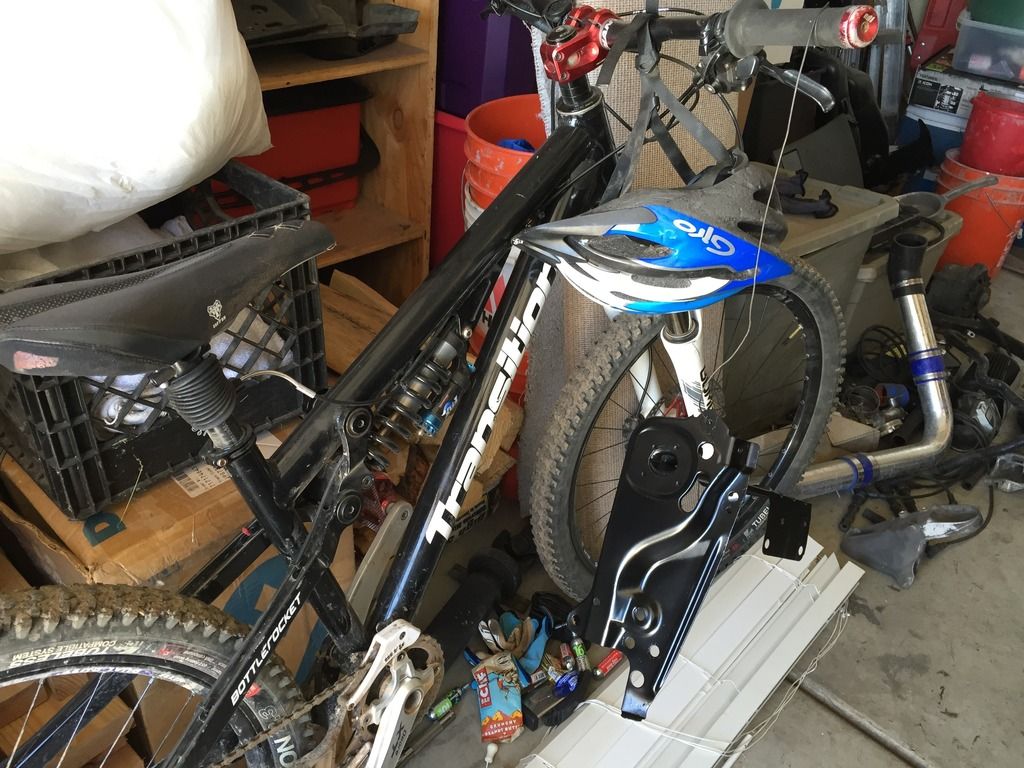
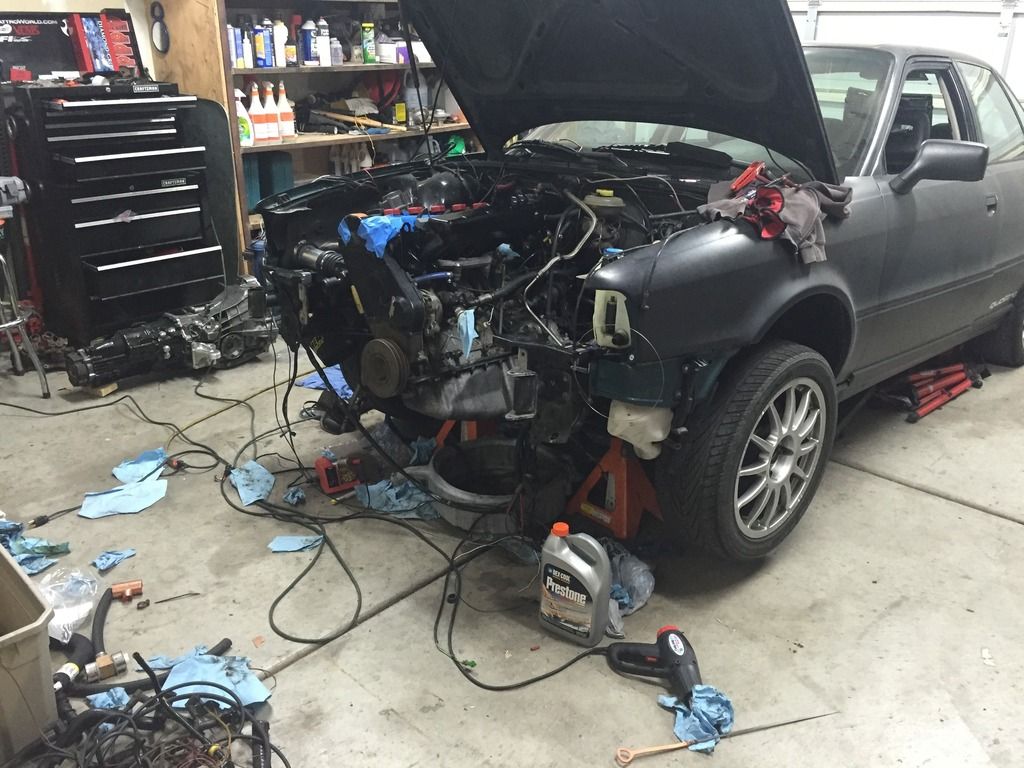
Where I left it last night. My garage is a mess. I just want to get stuff done and cleaning takes precious time. Although I know better and should really clean up as I go. Makes it go smoother and I'm not spending time searching for things. Hard to do though when you're in go-mode right?
Rest of this week will be dedicated to homework :( Sucks but that's life. I really just want to put all the things on and get it running again!
- Picked up my 7a valve cover from Chris all machined and ready for coils!
- Wrinkle Painted it red
- got some of the afterrun pump plumbed in. I deleted the heater core shut off valve for the time being as it wasn't being used anyway. I'll hook that all up later (probably next year).
- Wiring sorted out for the radiator side. Extended some wiring for the oil pressure and coolant afterrun switch.
- Finished the coil wiring harness!
- started putting stuff on!
- Pics!
Coil Wiring Harness:
Wrinkle paint! - This was my first attempt. There are a lot of videos on this but what I found to be important (other than prep obviously) is to get the coats on there thick. You'll feel like it's going to run but it won't. I let it bake in the sun and went over it gently with a heat gun on low setting. It didn't turn out perfect but it'll do and I love the matte look.
Installed!
Intake installed:
Got my VVME HID Ballasts mounted as well. I just used some #10 sheet metal screws and drilled a pilot hole. Hopefully they will rest there nicely and out of the way of everything.
Air filter routed:
Trans Mounts! Man those things are beautiful. It's really too bad I have to hide them under the car. Maybe down the road I'll end up with some other Iroz bits to show off under the hood
Where I left it last night. My garage is a mess. I just want to get stuff done and cleaning takes precious time. Although I know better and should really clean up as I go. Makes it go smoother and I'm not spending time searching for things. Hard to do though when you're in go-mode right?
Rest of this week will be dedicated to homework :( Sucks but that's life. I really just want to put all the things on and get it running again!

Re: Nick's Black 90 - 3B Swap: 2.0 Coil Setup
Looking really good, valve cover came out nicely.
Really glad you didn't sell!
Really glad you didn't sell!
Find me on Instagram @pry4sno
|| 2010 Golf Sportwagen TDI /// #farmenwagen
|| 2002 Dodge Ram 2500 24vt 4x4 #bertancummins
|| 1992 80 quattro 20v /// Eventual AAN'd Winter Sled
|| 1990 Coupe quattro /// Because Racecar
|| 2010 Golf Sportwagen TDI /// #farmenwagen
|| 2002 Dodge Ram 2500 24vt 4x4 #bertancummins
|| 1992 80 quattro 20v /// Eventual AAN'd Winter Sled
|| 1990 Coupe quattro /// Because Racecar
Re: Nick's Black 90 - 3B Swap: 2.0 Coil Setup
Thanks!
At this point I'm glad it didn't sell. I have a lot of stuff to do after this part is done. Can't wait to get this year's round of updates finished!
At this point I'm glad it didn't sell. I have a lot of stuff to do after this part is done. Can't wait to get this year's round of updates finished!
Re: Nick's Black 90 - 3B Swap: 2.0 Coil Setup
Stupid school, can I work on my car now???
-
mr_aj_johnson
- Posts: 220
- Joined: Mon Apr 22, 2013 11:01 am
Re: Nick's Black 90 - 3B Swap: 2.0 Coil Setup
Those Team dynamics would look great on the rally car....
Re: Nick's Black 90 - 3B Swap: 2.0 Coil Setup
They will probably be for sale soon. . .