Nick's Black 90 - 3B Swap: Running!

Document and share your build!
nsimps
Posts: 577
Joined: Thu Feb 28, 2013 1:02 am
Location: Saratoga Springs, UT

Re: Nick's Black 90 - 3B Swap: 2.0 Coil Setup

Post by nsimps »

Progress for the evening:

- Got the coil power relay sorted out.
- ISV installed
- breather installed
- throttle body installed

Pics:

Coil Power Relay. I used the Green/White wire from the old coil plug and ran it to the switch trigger for the relay. Plugged the power to the coils in the "Lamp" pin, ground to ground and power from the power block. You can also see my low current coil ground wire there to the right of the relay.

Image

The vent hard line. It's a little tight but seems to work.

Image


Image


N75 plumbed back in.

Image


Wastegate cap off. It'll be painted black like the rest :)

Image
nsimps
Posts: 577
Joined: Thu Feb 28, 2013 1:02 am
Location: Saratoga Springs, UT

Re: Nick's Black 90 - 3B Swap: 2.0 Coil Setup

Post by nsimps »

Moar parts!

I learned how to machine on a lathe today and had an amazing teacher.

URS Hubs are now ready. Need to order up my bearings!

I'm getting ahead of myself I know but what can you do?

Image

Also playing around with the vinyl printer. Tried to make some stickers to mask off the pistons for when I paint but the vinyl material doesn't seem to like to stick to the rubber. I'll try cleaning the rubber and see if that makes a difference. . .

Image
lucidmatt
Posts: 186
Joined: Sun Mar 24, 2013 7:59 pm

Re: Nick's Black 90 - 3B Swap: 2.0 Coil Setup

Post by lucidmatt »

Good job with the lathe work! I've been learning a little of that myself. It's quite the daunting task, but the end product is always so satisfying. I was very happy with the bearings I ordered from Europaparts. Make sure you get the correct wheel bearing for the front URS hub, that shoulder area is key! Learned that the hard way. This is what fit my hubs perfectly: http://www.europaparts.com/wheel-bearing-kit-4a0498625-fag.html
Dave
Posts: 415
Joined: Wed Feb 27, 2013 11:46 am

Re: Nick's Black 90 - 3B Swap: 2.0 Coil Setup

Post by Dave »

why would he buy an s4 bearing, i dont know if that would fit his knuckle
nsimps
Posts: 577
Joined: Thu Feb 28, 2013 1:02 am
Location: Saratoga Springs, UT

Re: Nick's Black 90 - 3B Swap: 2.0 Coil Setup

Post by nsimps »

I ended up buying the stock bearings for my car. I will post up how it goes in a couple weeks :)
nsimps
Posts: 577
Joined: Thu Feb 28, 2013 1:02 am
Location: Saratoga Springs, UT

Re: Nick's Black 90 - 3B Swap: 2.0 Coil Setup

Post by nsimps »

Oh, and the wastegate cap will be painted grey like the fuel rail, not black :)
nsimps
Posts: 577
Joined: Thu Feb 28, 2013 1:02 am
Location: Saratoga Springs, UT

Re: Nick's Black 90 - 3B Swap: 2.0 Coil Setup

Post by nsimps »

More Updates:

- Painted the wastegate cap (and added a 1.9(Dave?) spring)
- Got the afterrun pump plumbed in finally (temporary solution so I can still afford to do the rest of the goodies in the near future).
- Mounted up the alternator

Pics:

Image

Image

Image

Image

Image

Image
User avatar
chaloux
Posts: 3167
Joined: Wed Feb 27, 2013 11:43 am
Location: Muskoka, Ontario, Canada

Re: Nick's Black 90 - 3B Swap: 2.0 Coil Setup

Post by chaloux »

Getting there! The only thing that makes me laugh is the copper in the coolant hoses. Works fine just funny to look at.
Matt

18 Silverado 1500 work pig, roof rack and tonneau cover
11 Jetta sedan TDI DSG, rear muffler delete
GONE :( 87 4ktq - 4 FOX SNAKES

Image
nsimps
Posts: 577
Joined: Thu Feb 28, 2013 1:02 am
Location: Saratoga Springs, UT

Re: Nick's Black 90 - 3B Swap: 2.0 Coil Setup

Post by nsimps »

I know right?!? I had bought a different hose that I found at Autozone just browsing the hose section but that was a 35.00 option and still wasn't going to be a great fit so I opted for the 11.00 option for just the T and then bummed a 90 from my dad and a scrap length from a neighbor. Was able to utilize what I had on hand and move on with the rest of this. Yes an OEM S2 silicon hose is a better option but that 100.00+ dollars need to be saved for my 5 lug swap and trans swap coming up here soon :)
nsimps
Posts: 577
Joined: Thu Feb 28, 2013 1:02 am
Location: Saratoga Springs, UT

Re: Nick's Black 90 - 3B Swap: 2.0 Coil Setup

Post by nsimps »

I have little energy so this post will be short.

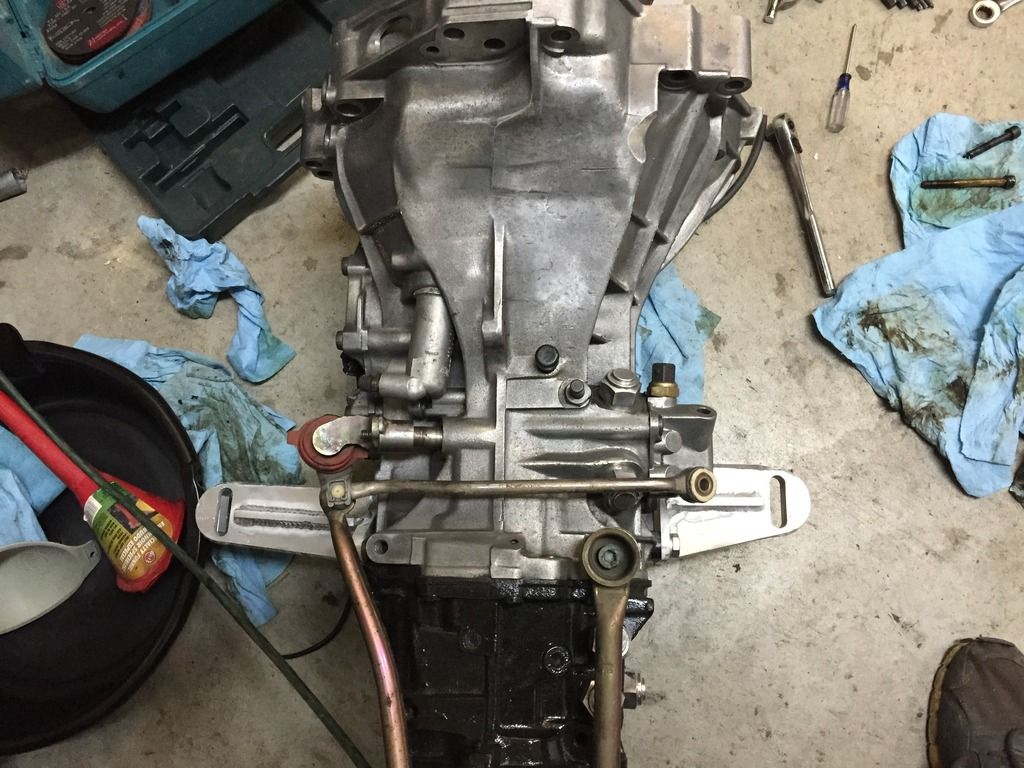
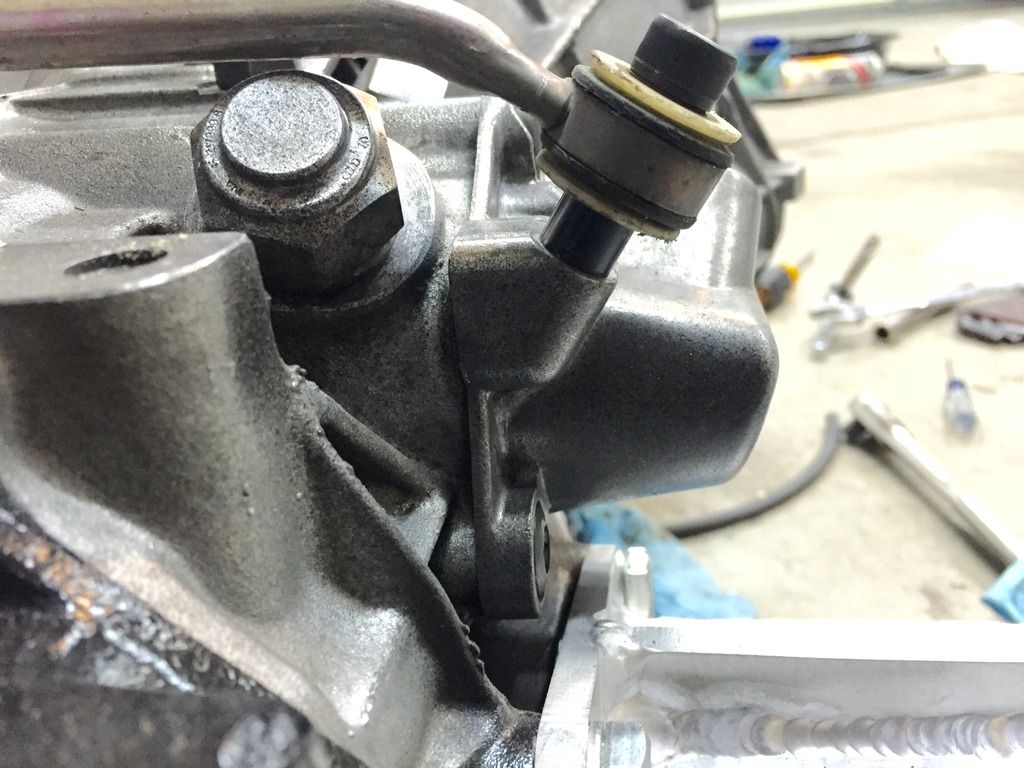
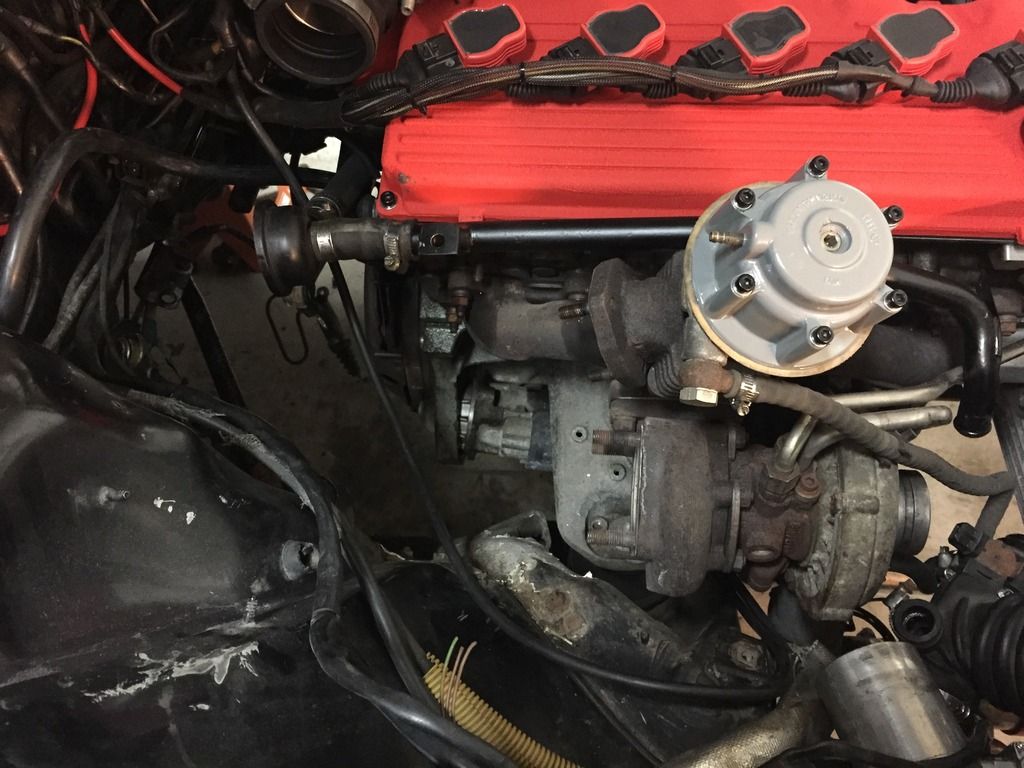
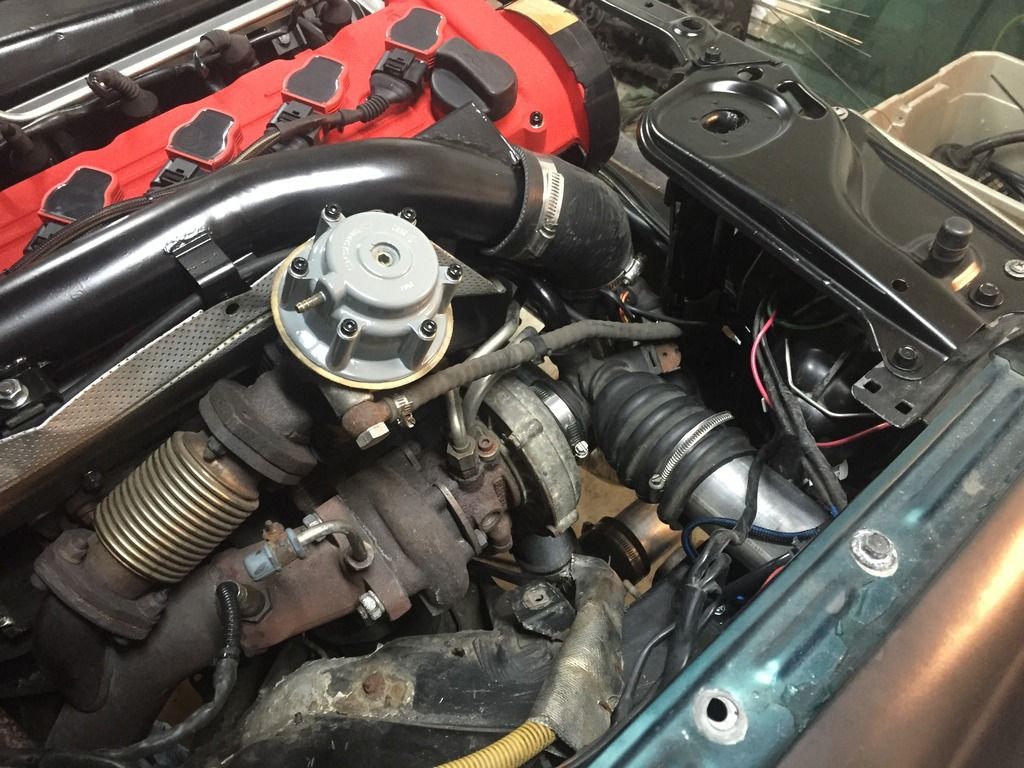
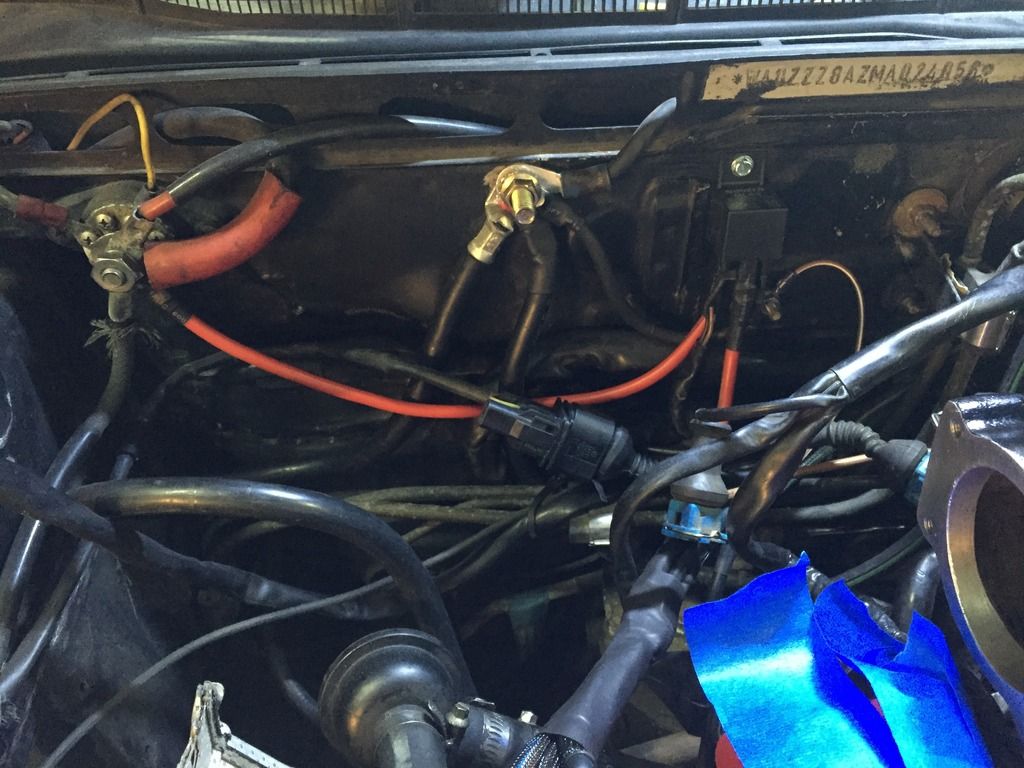
Got stuff all buttoned up and ready for fuel pressure test. The back banjo leaked a little so I pulled the banjo off, took the washer to some 1000 grit sand paper lightly, cleaned and reinstalled. That seems to have done the trick.

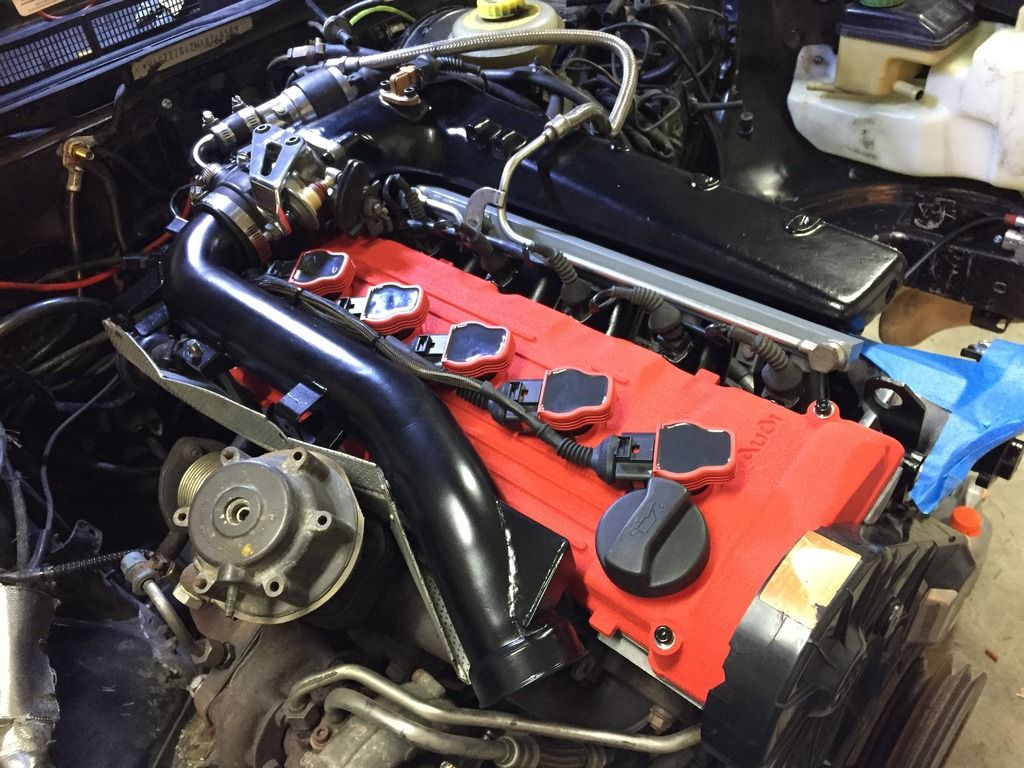
After I confirmed no fuel leaks, I setup the VEMS computer to log and turned it over. 2 seconds later it fired up! First try! Had to get some more power steering fluid so I took a break and came back to button up everything. Got the coolant system air'd out then took it for a drive.

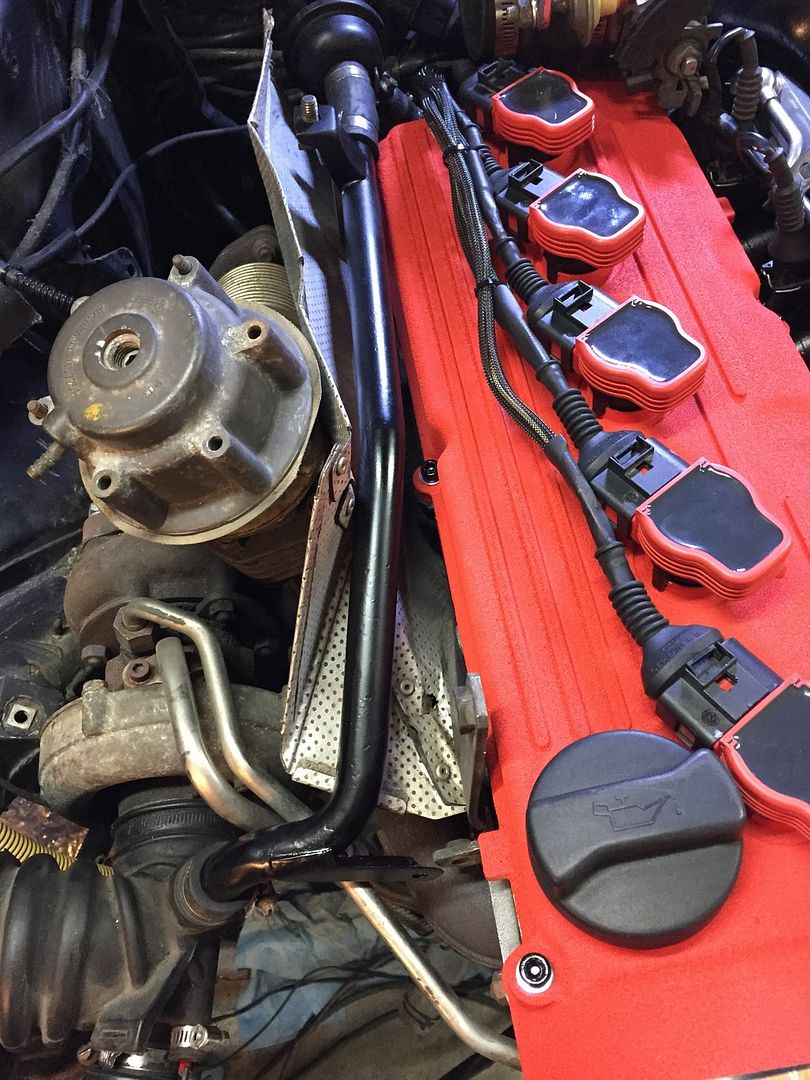
Seems to run smoother now with the coils, injectors and 4bar map. We'll see what the log file looks like after I send it to Marc tomorrow.

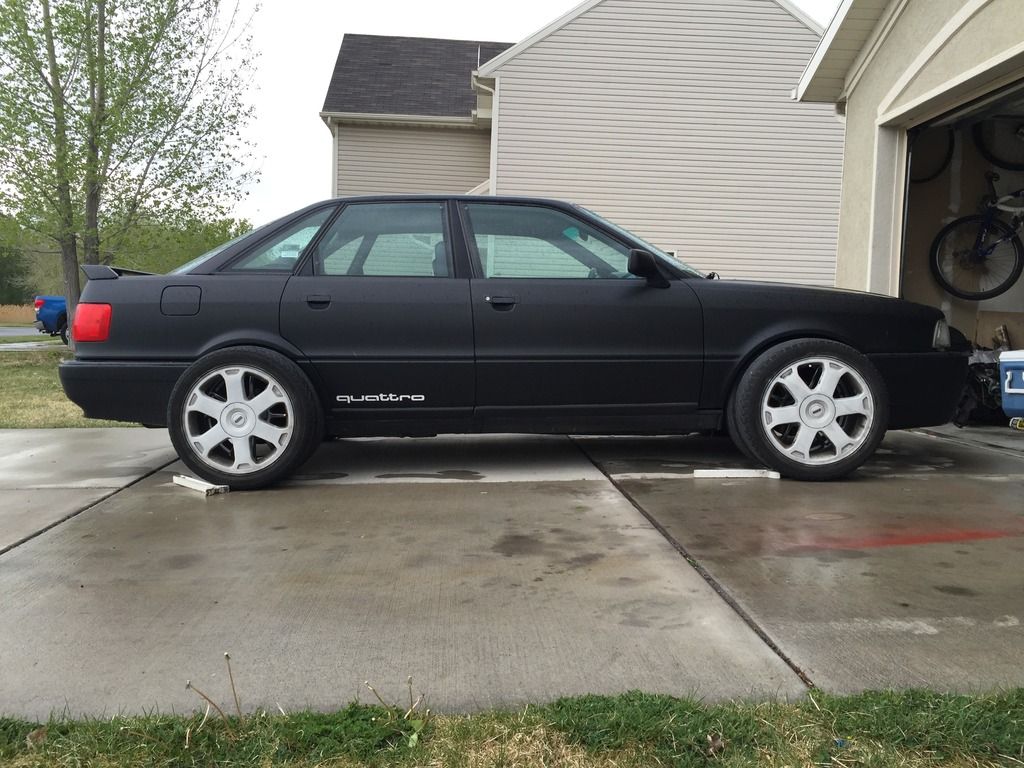
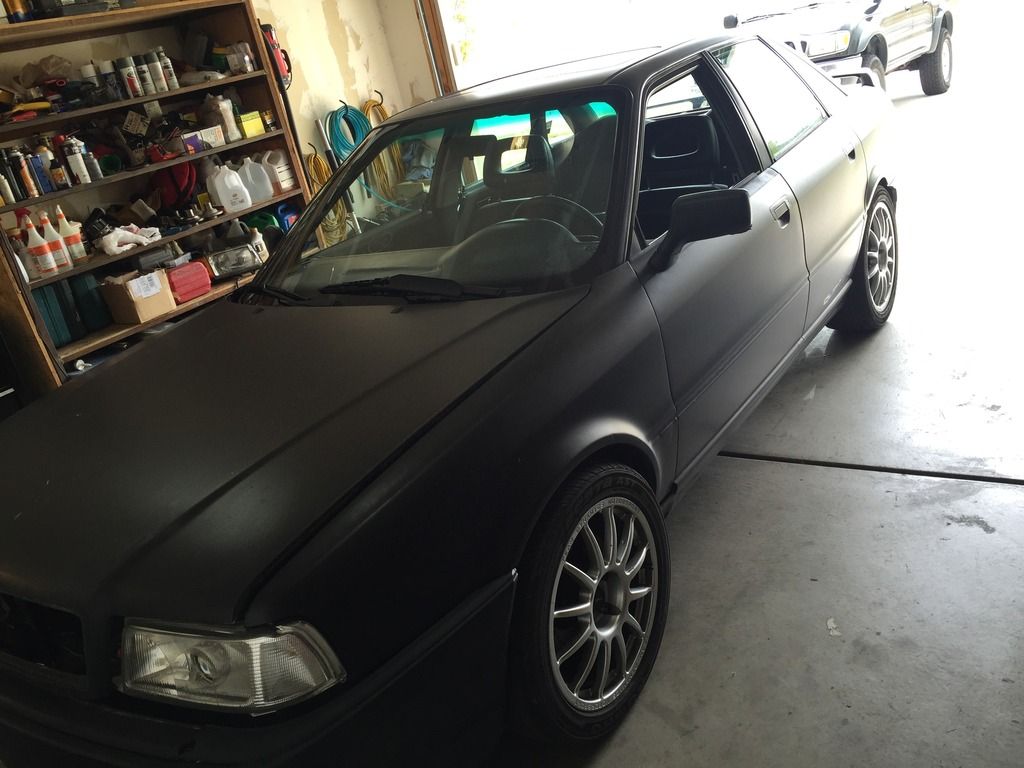
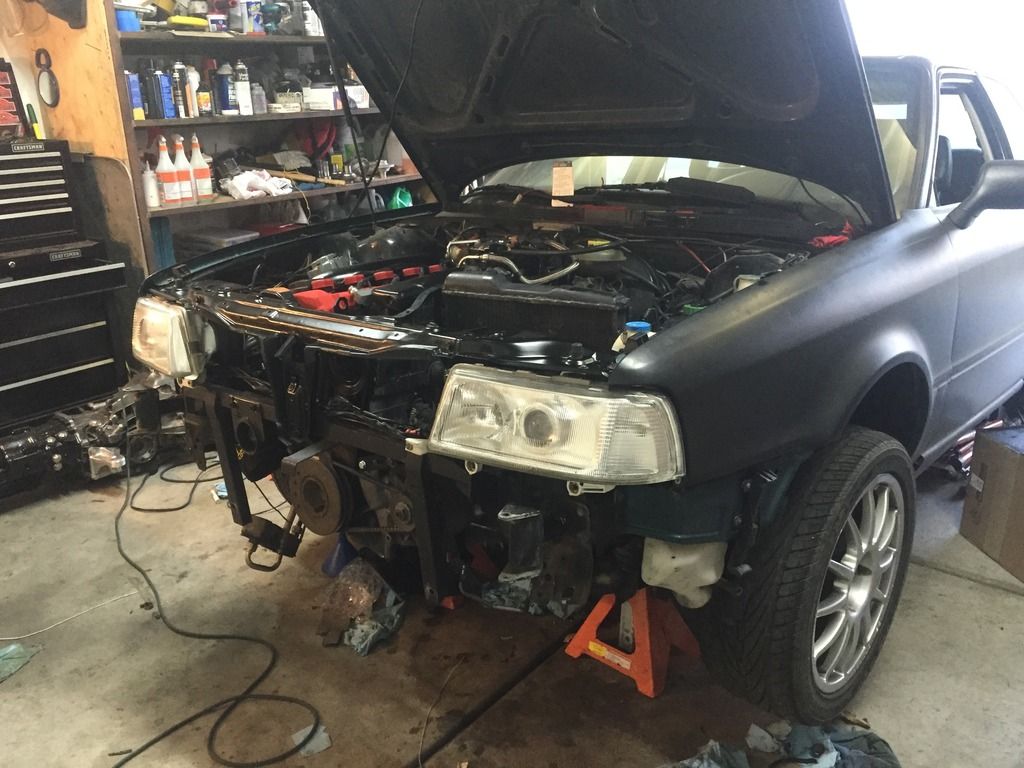
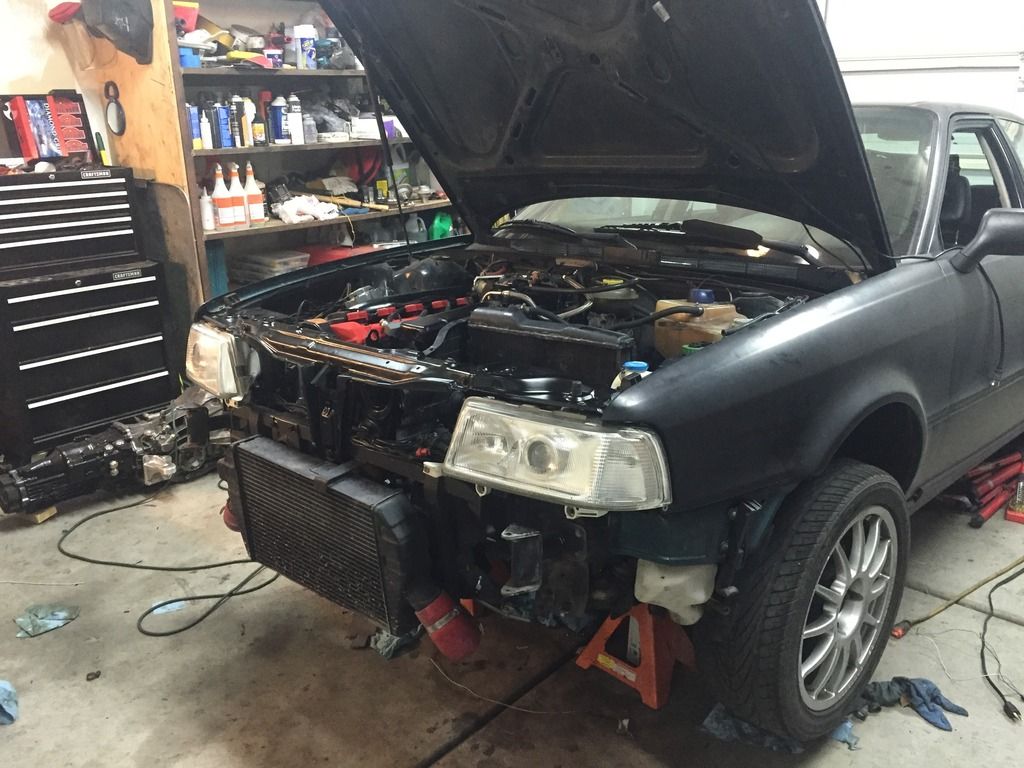
Can't find the lower headlight trims but no matter, after this week it and a shop clean it goes back on jack stands for chassis updates! Can't decide if I want to tackle the trans swap but I probably will. those updates will be fun and they may not take as long. . .

After that I'll probably get tuned for E85. I mean, the station is less than 10 miles to work and on the way to school next semester so why not?

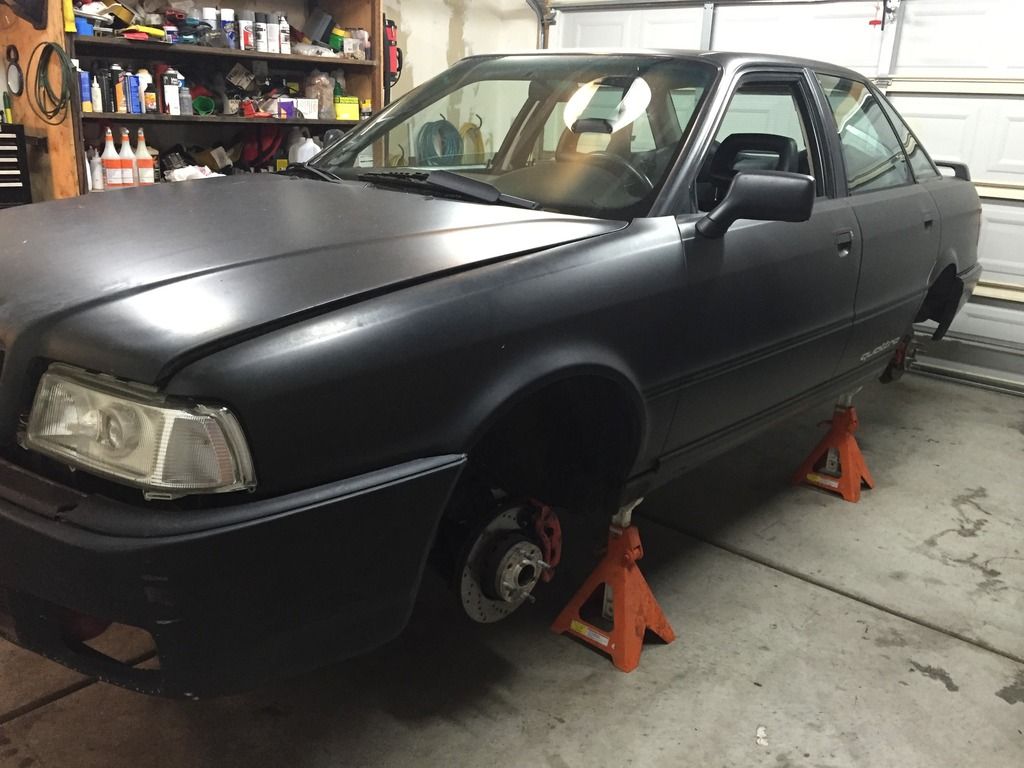
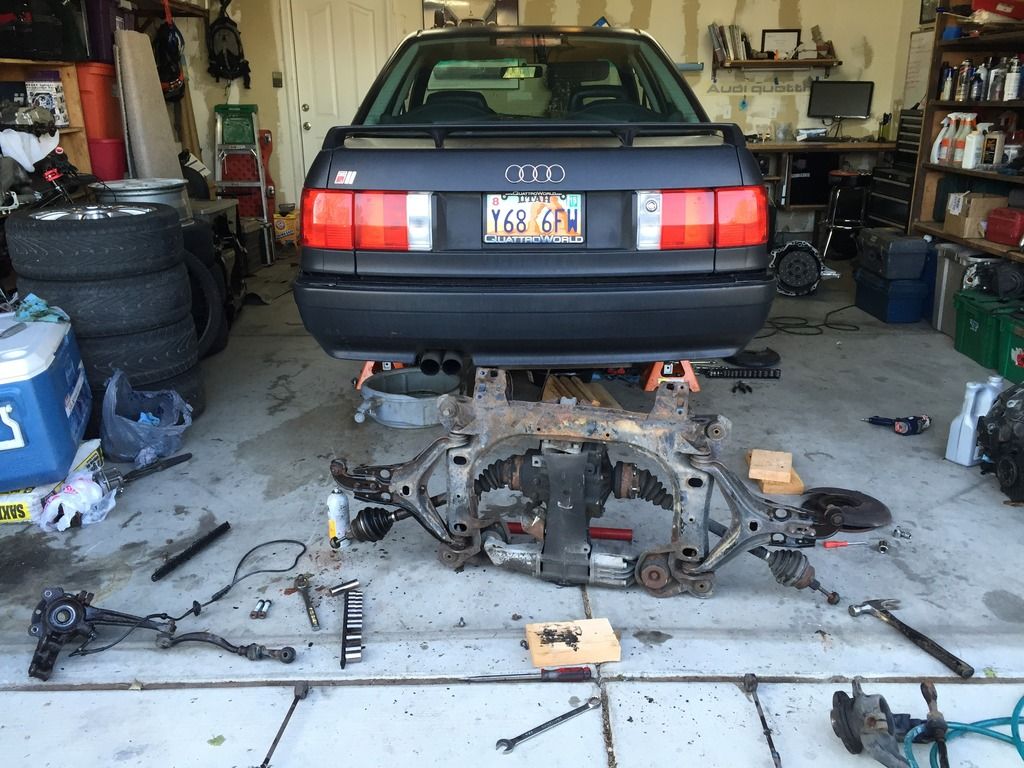
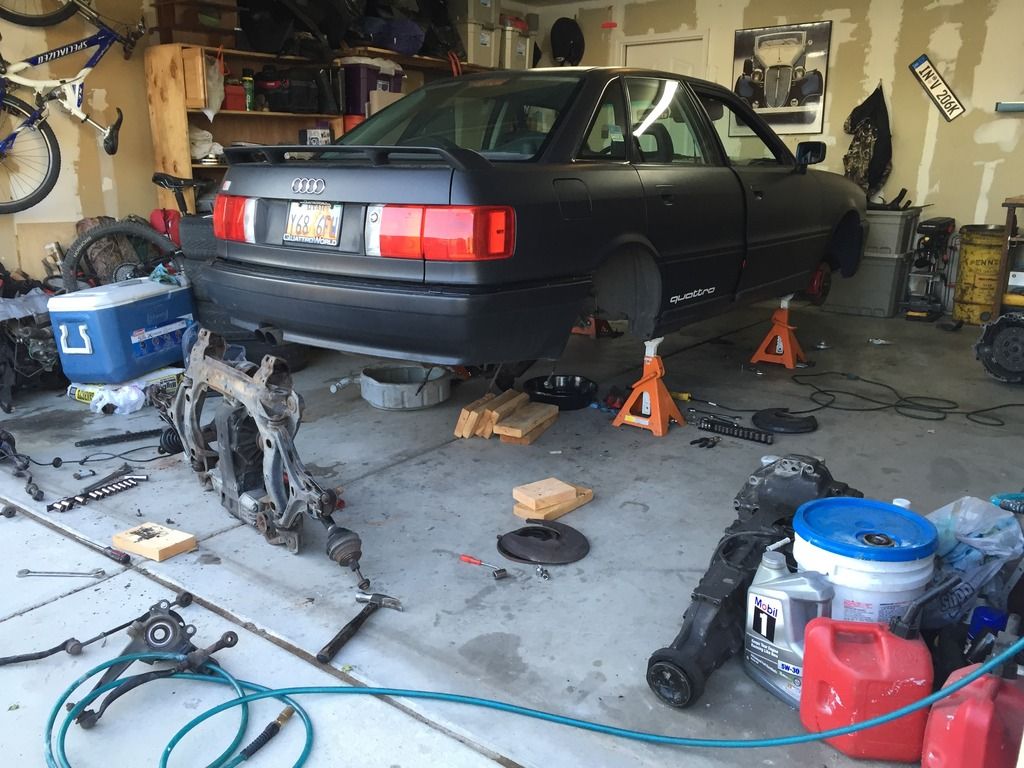
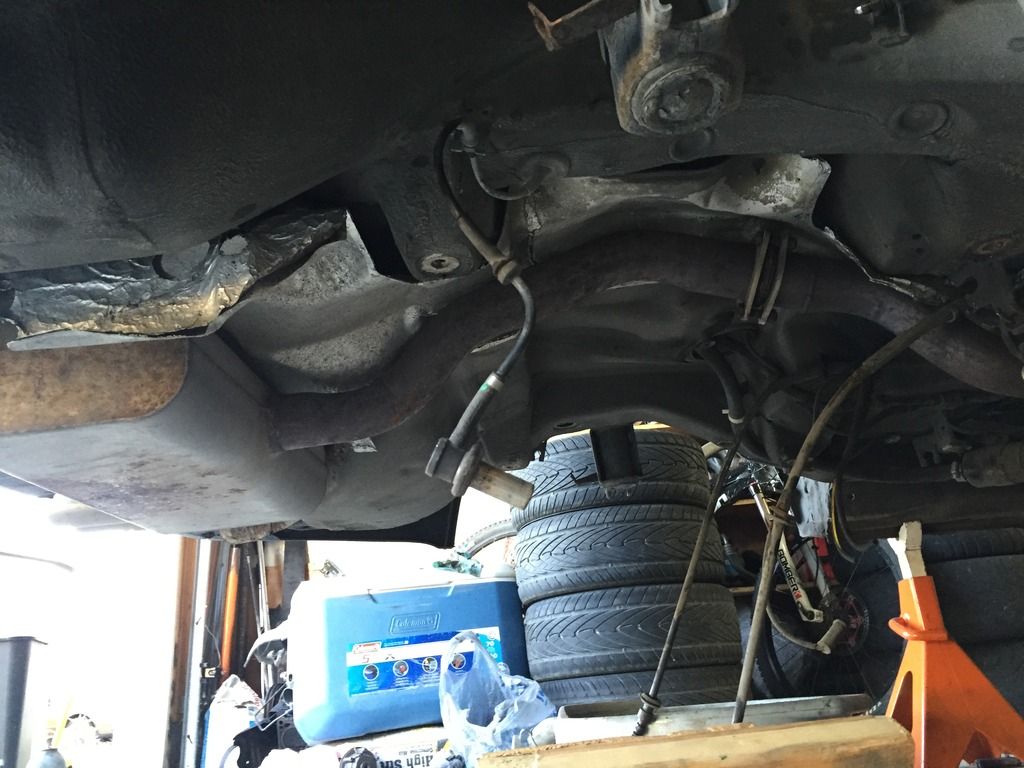
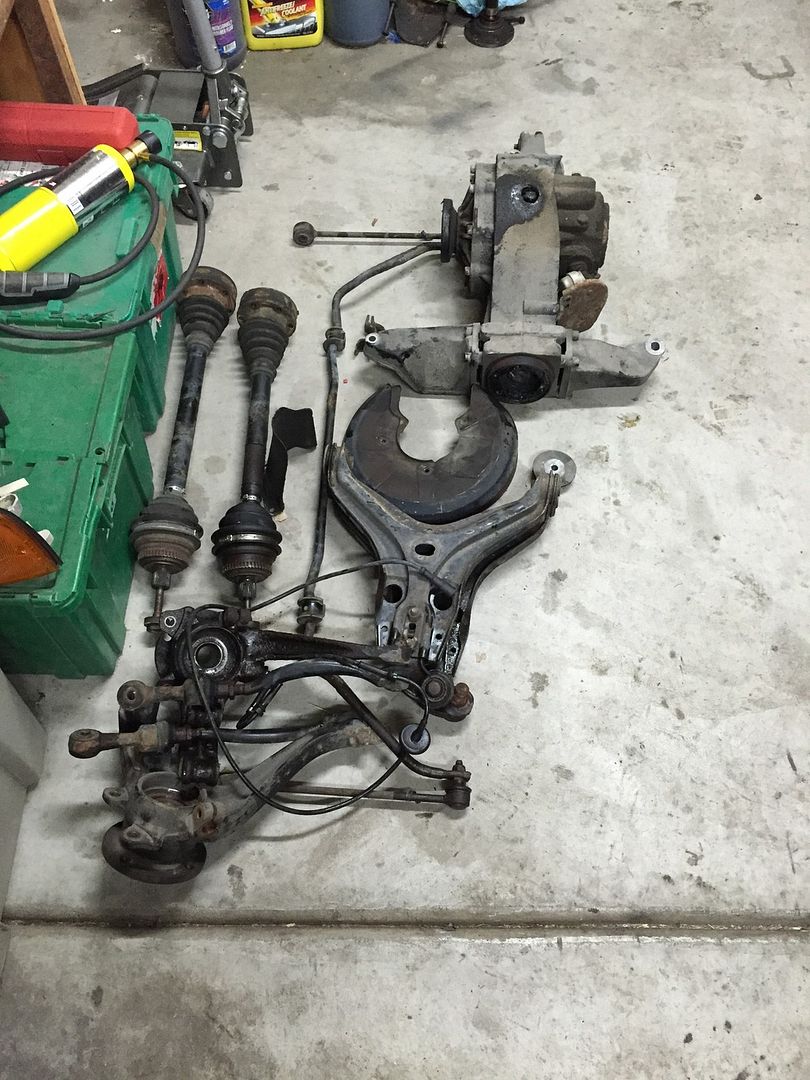
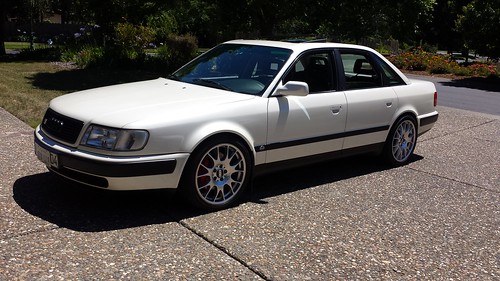
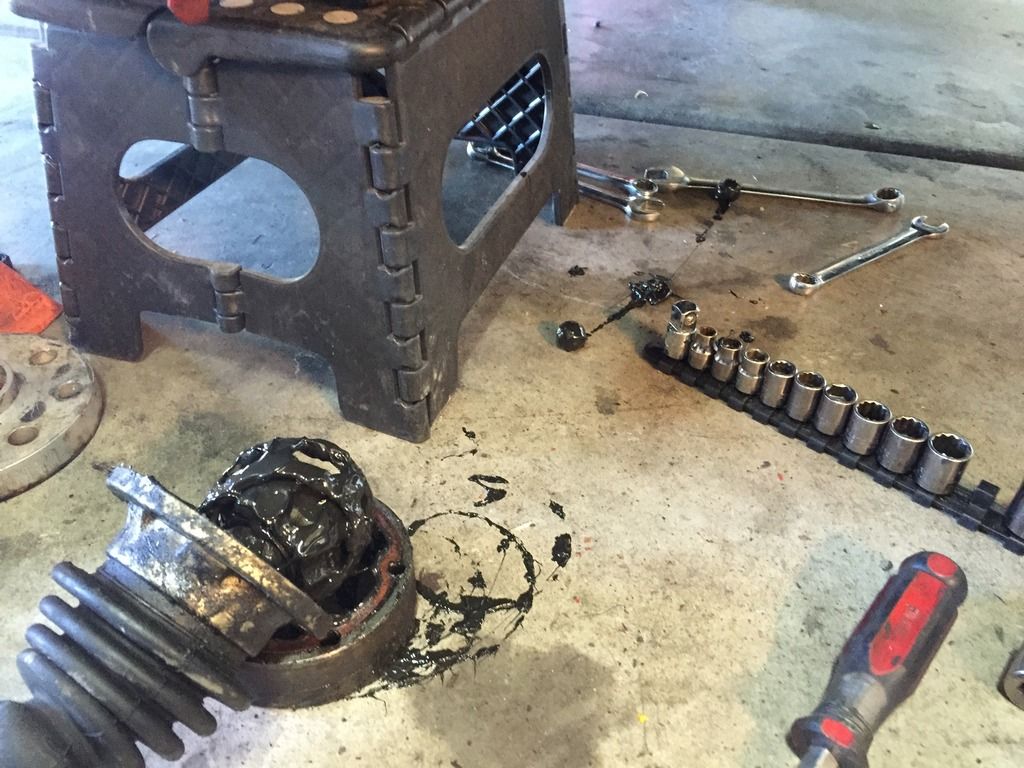
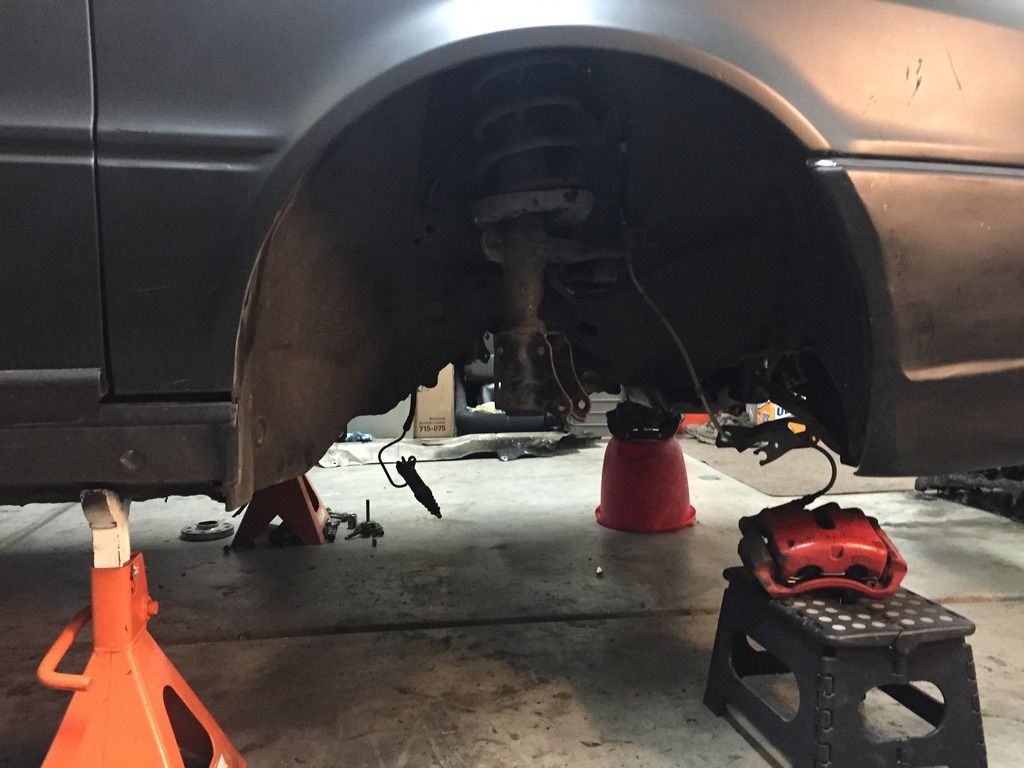
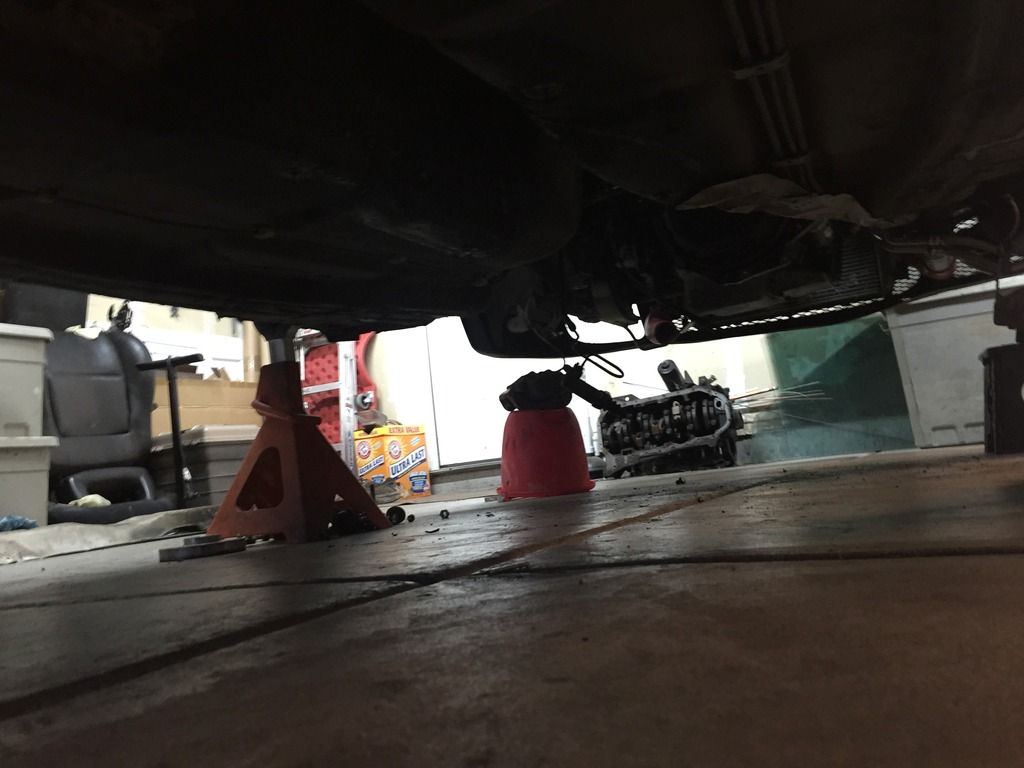
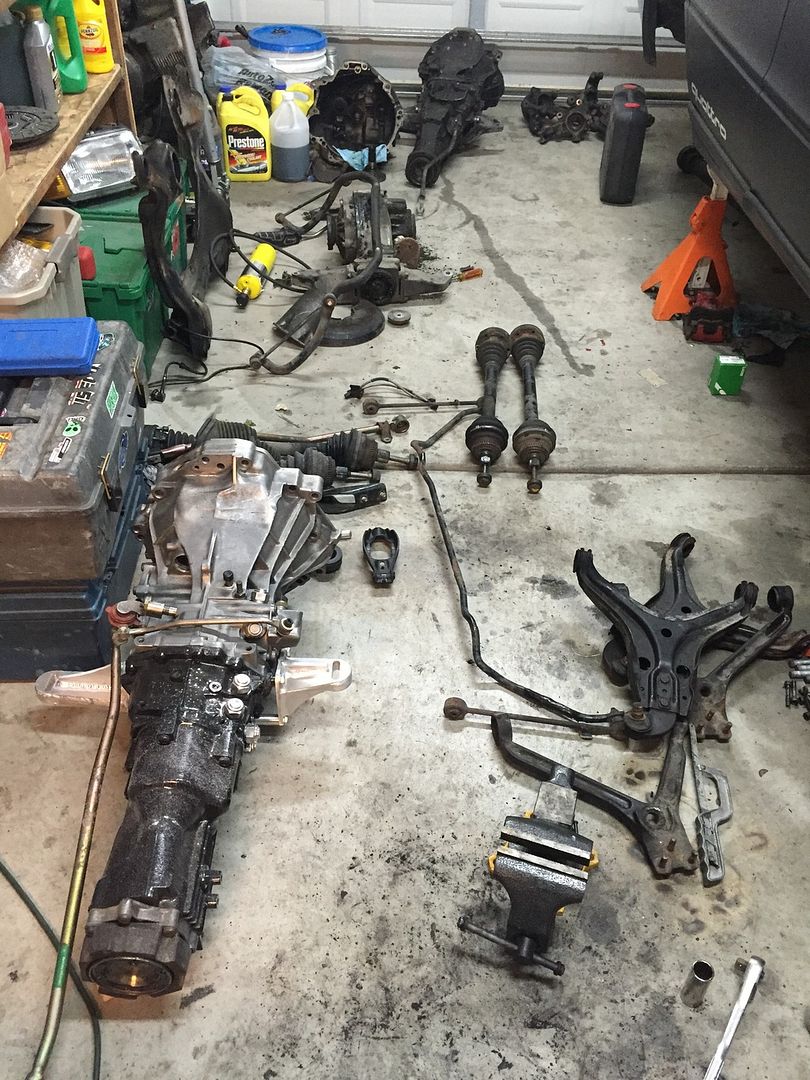
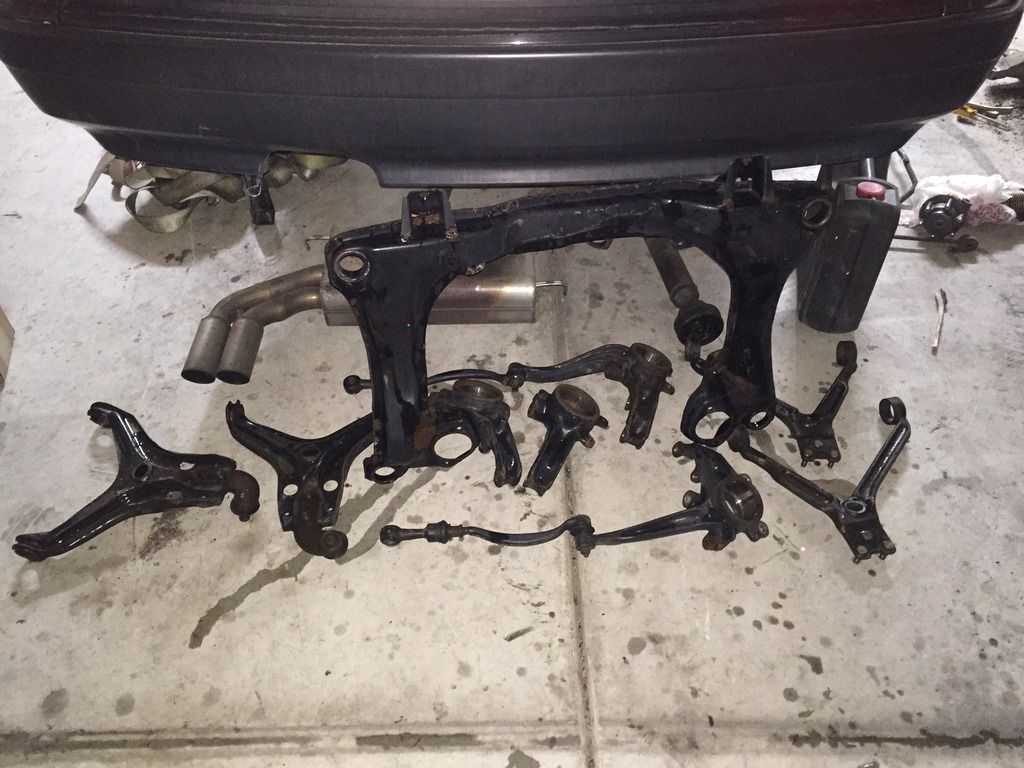
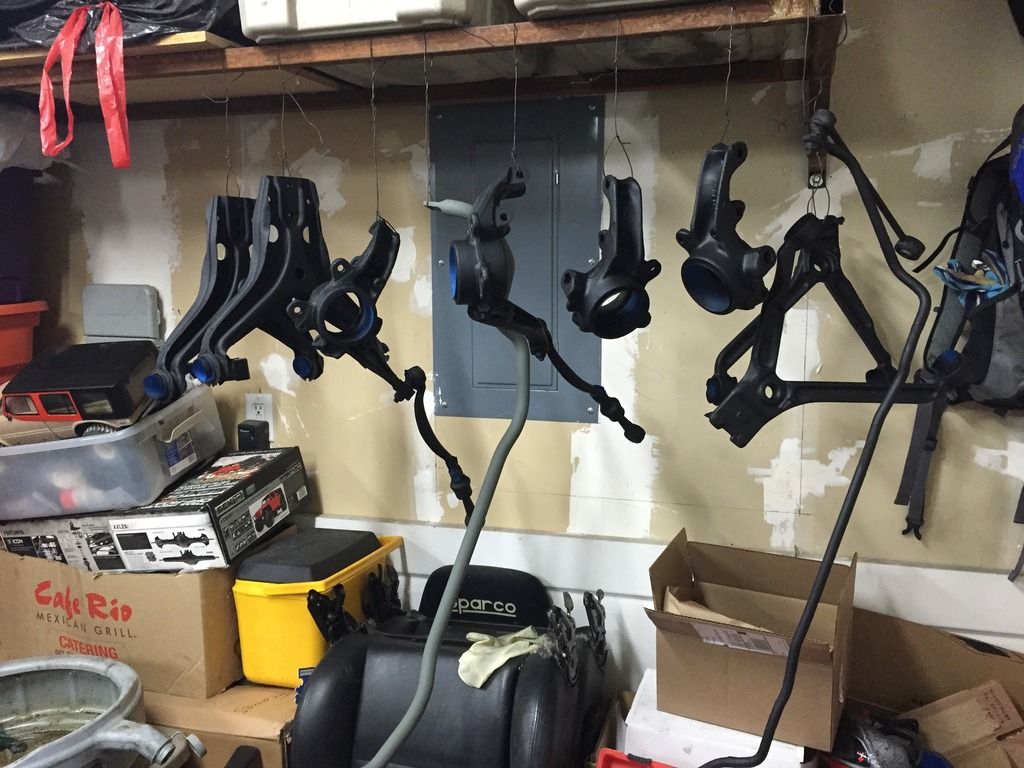
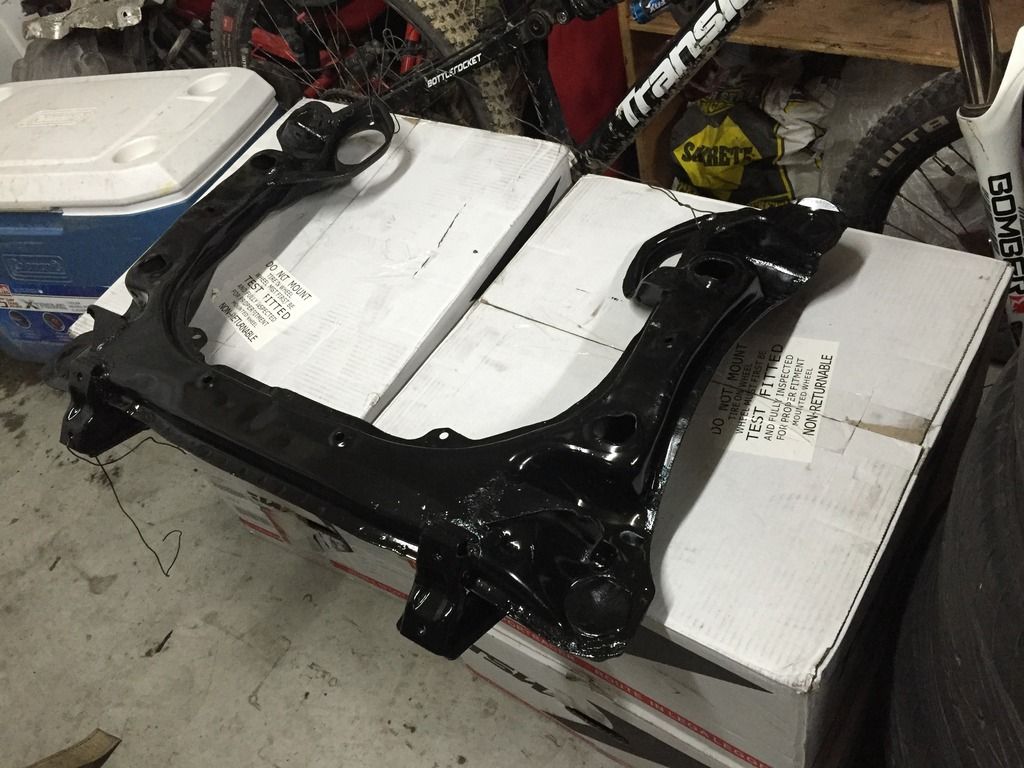
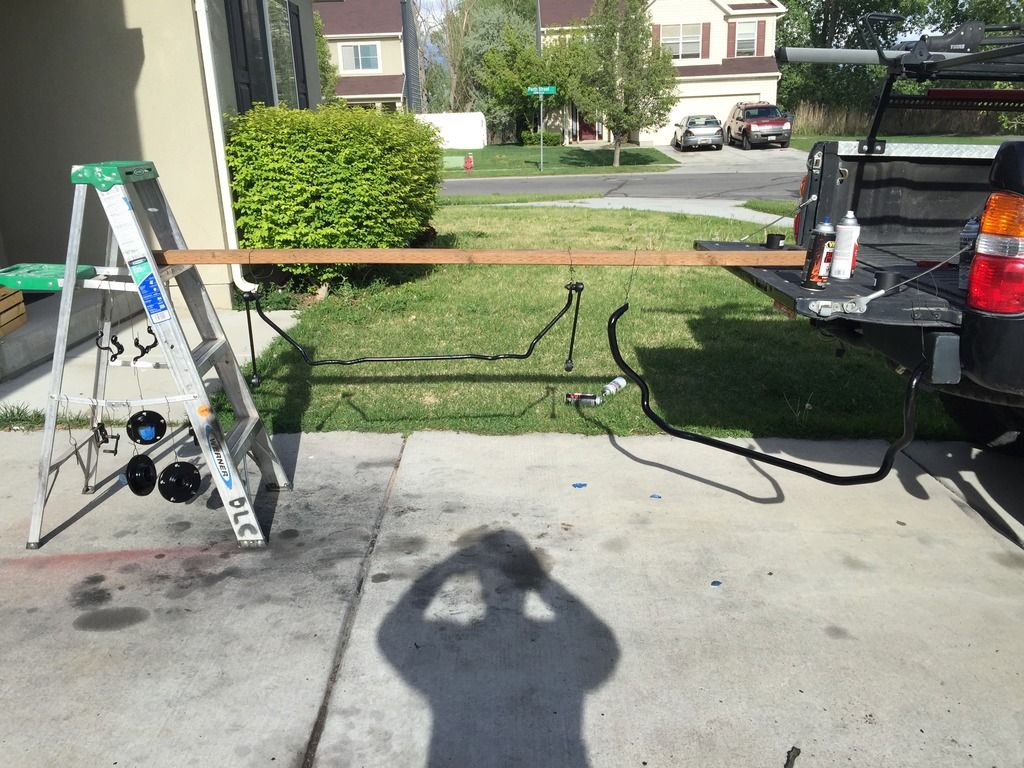
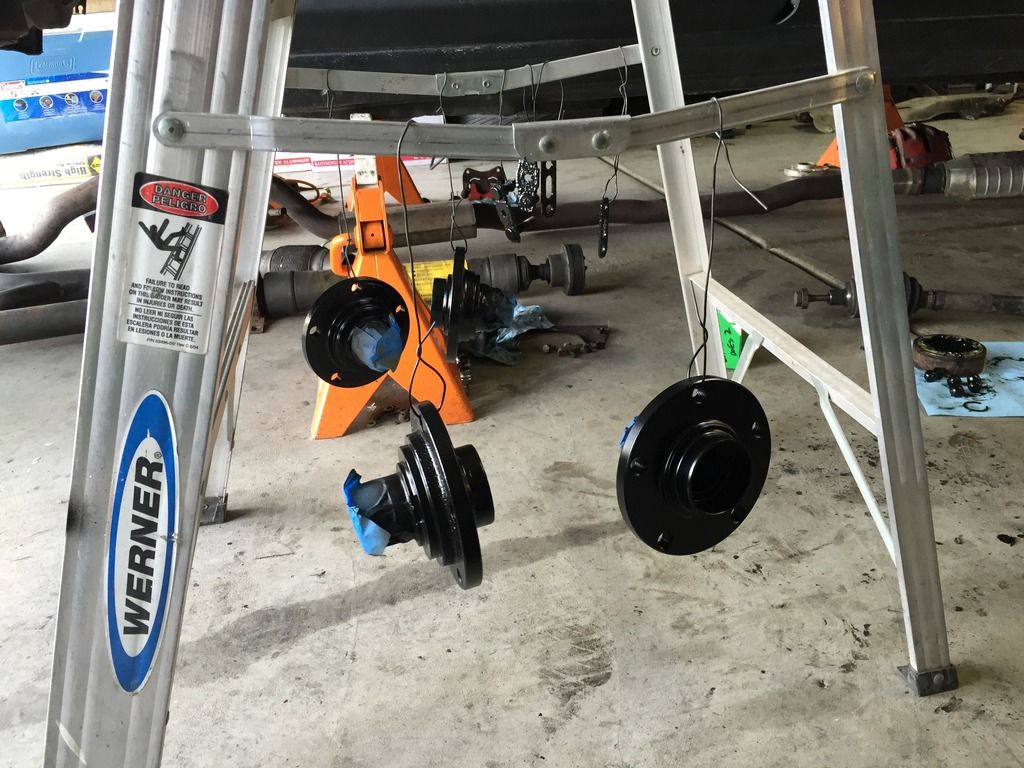
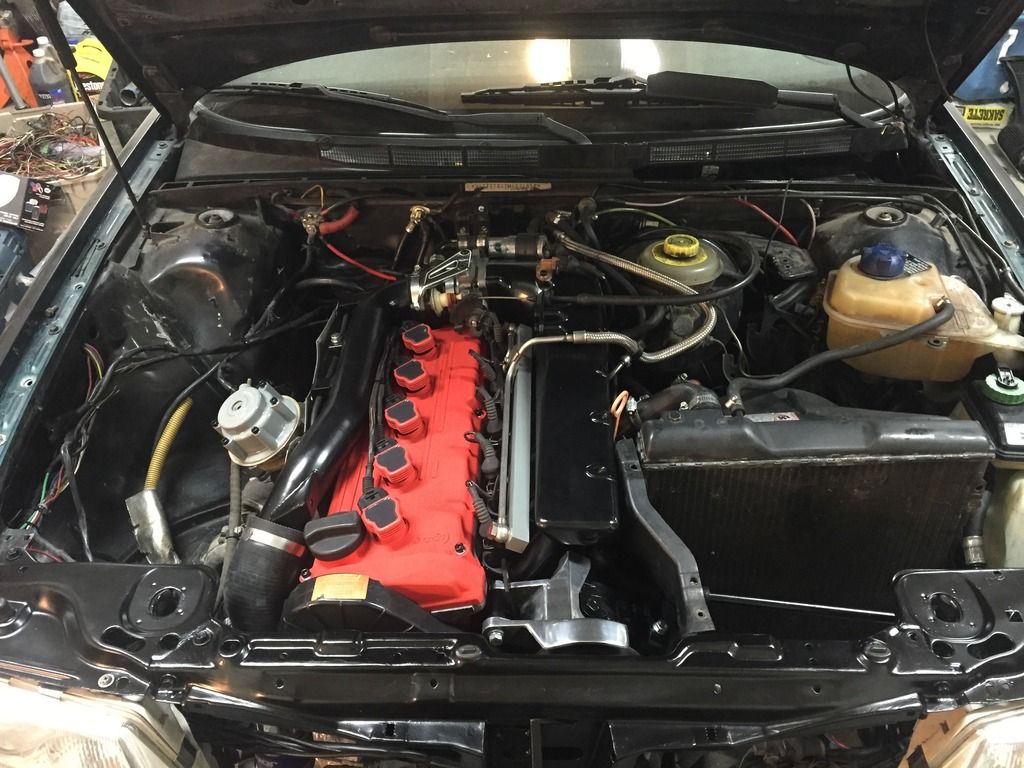
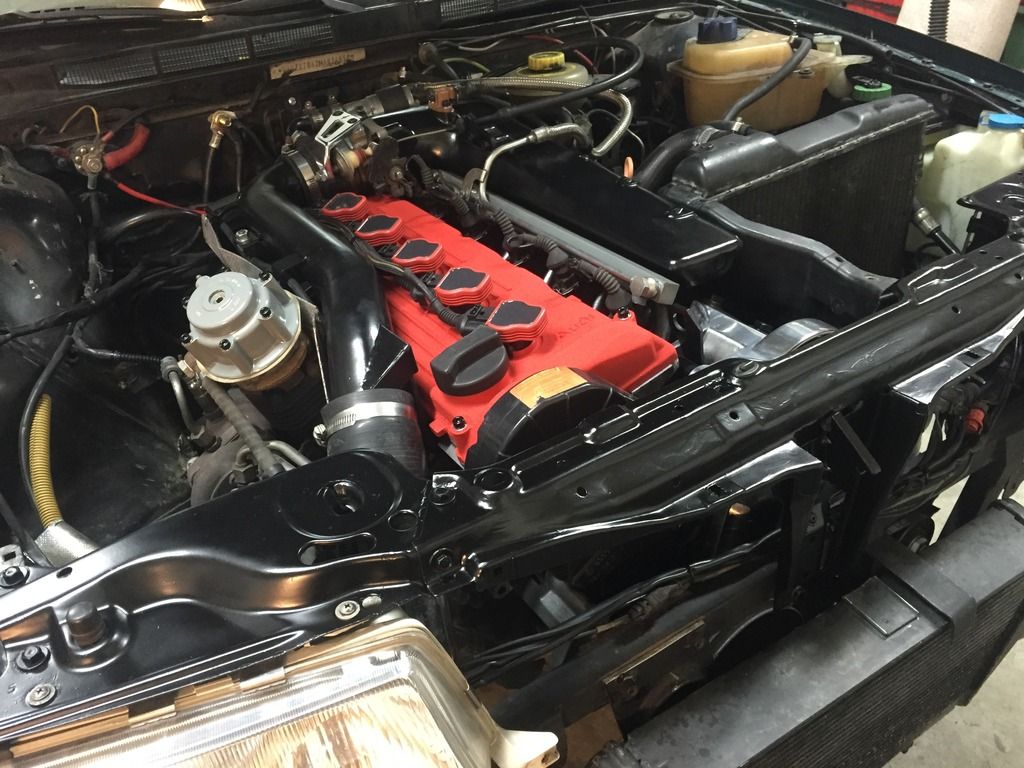
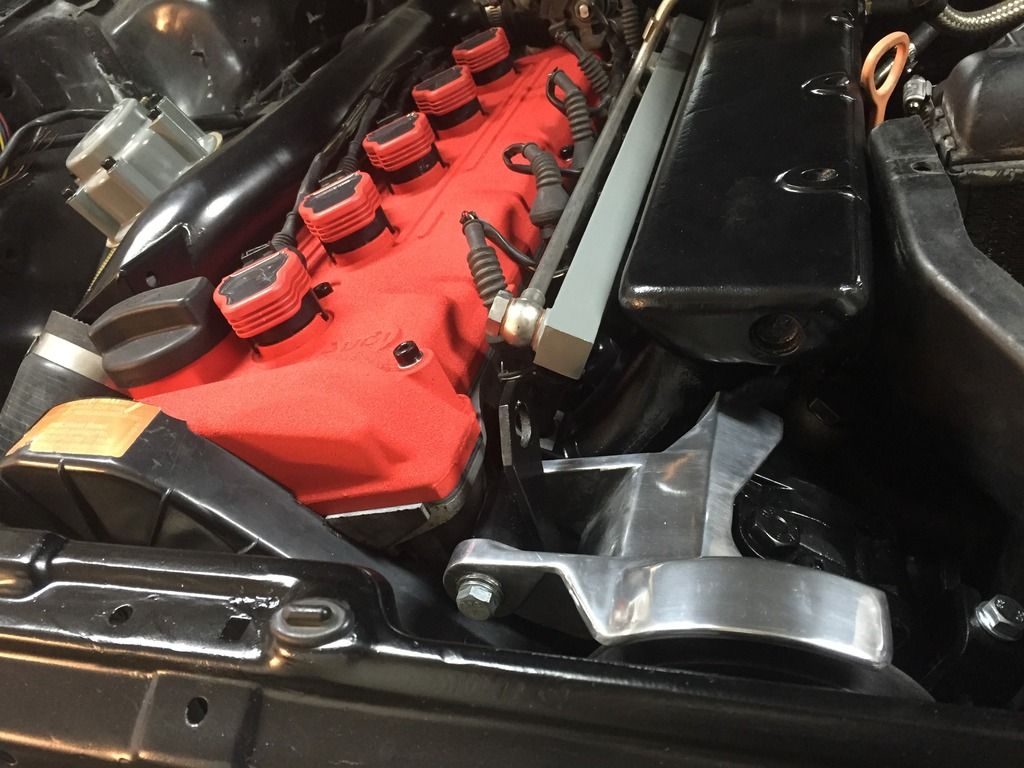
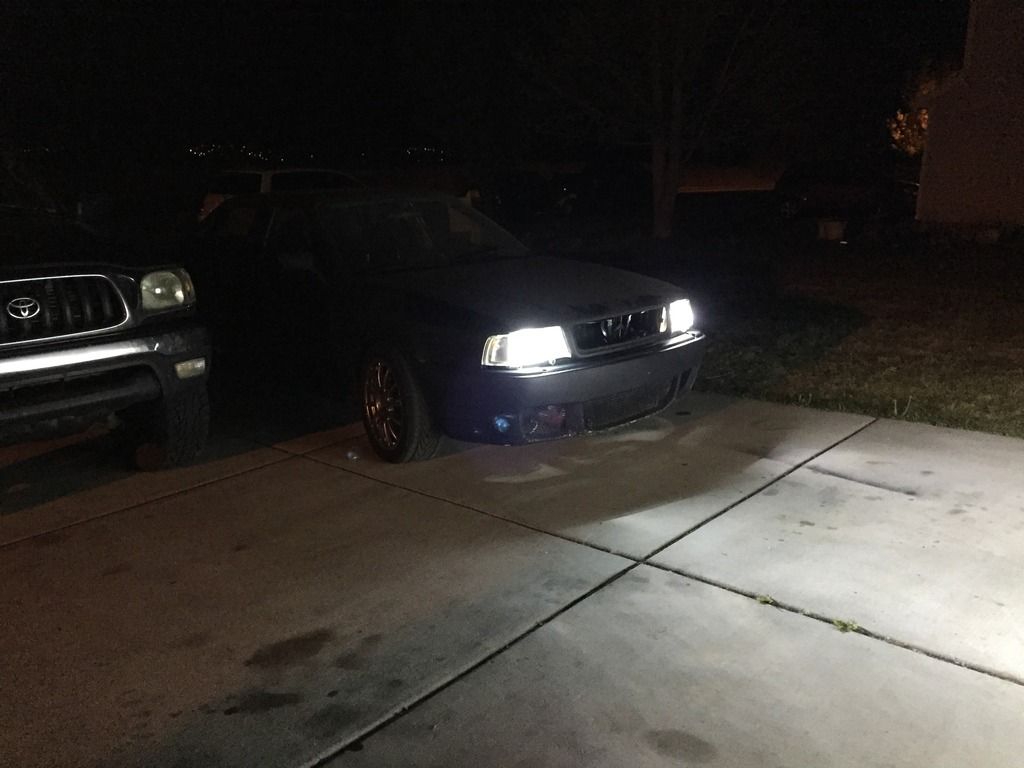
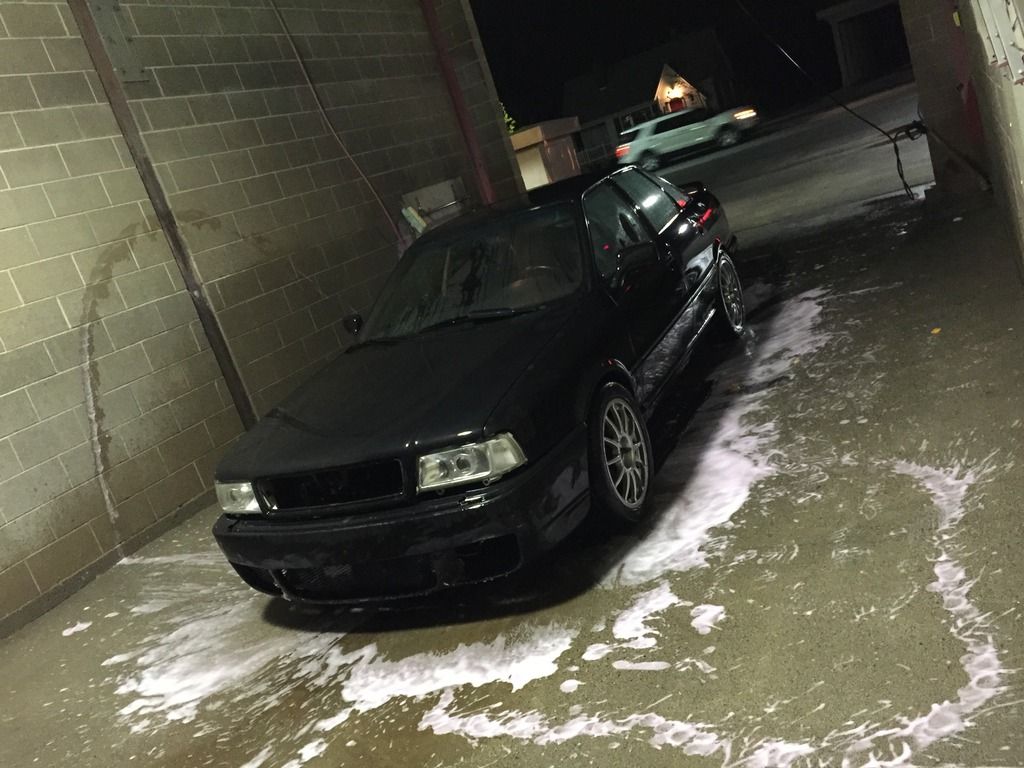
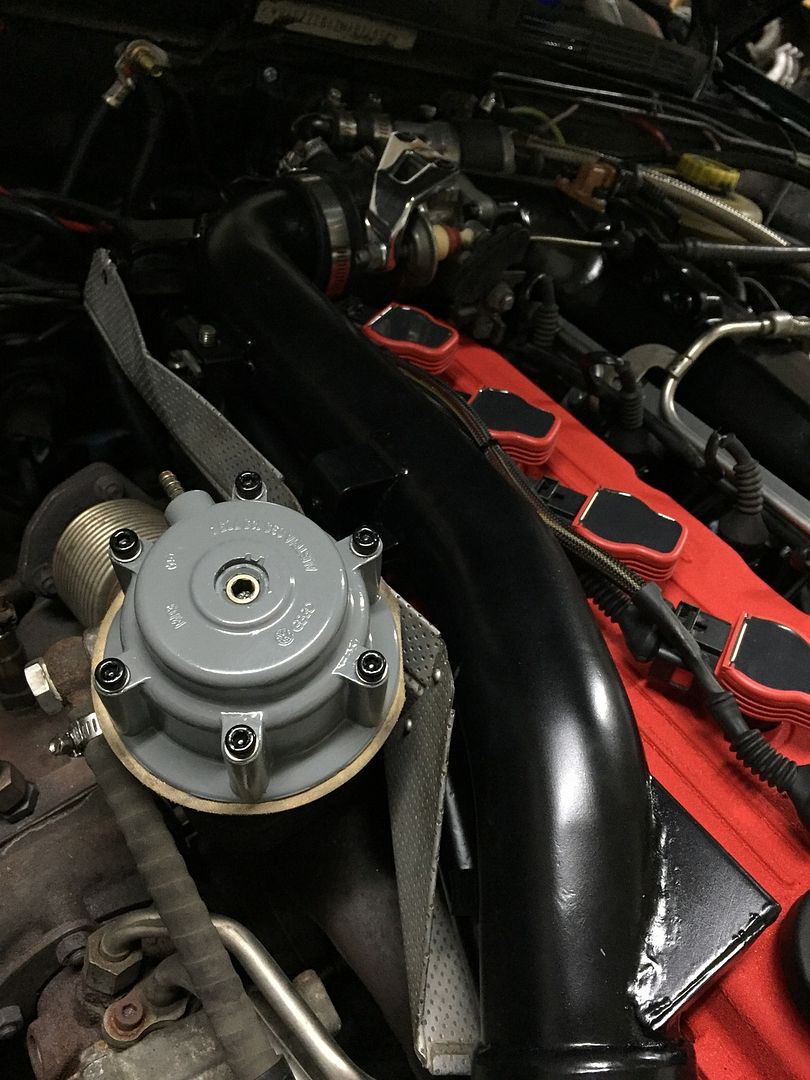
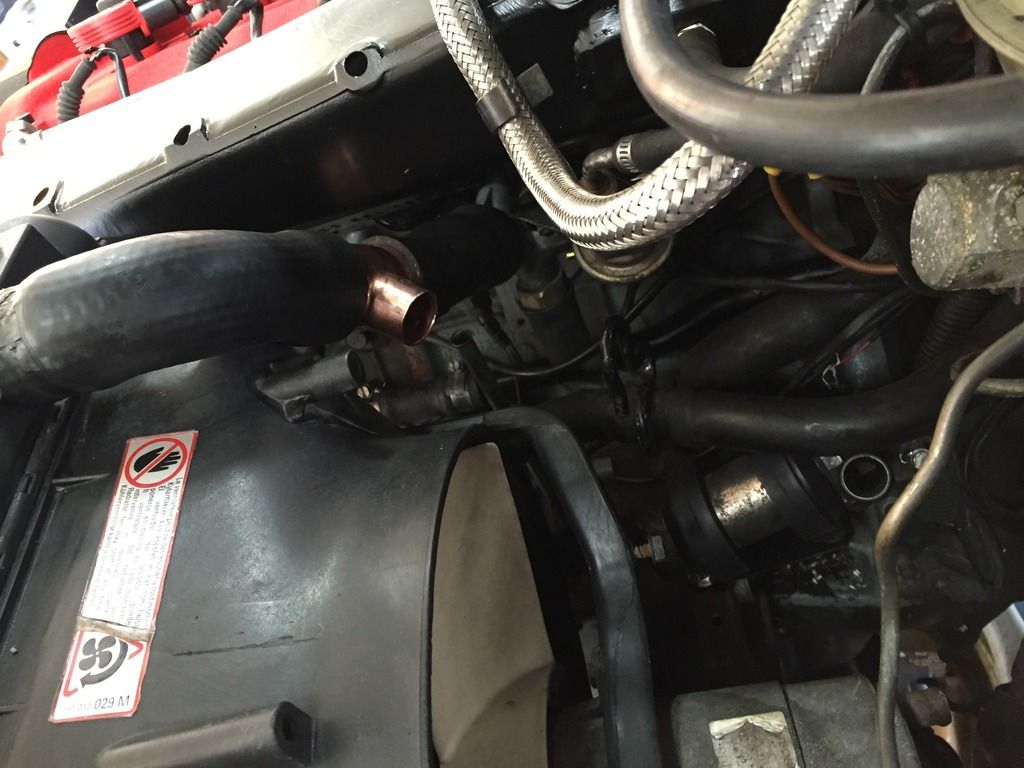
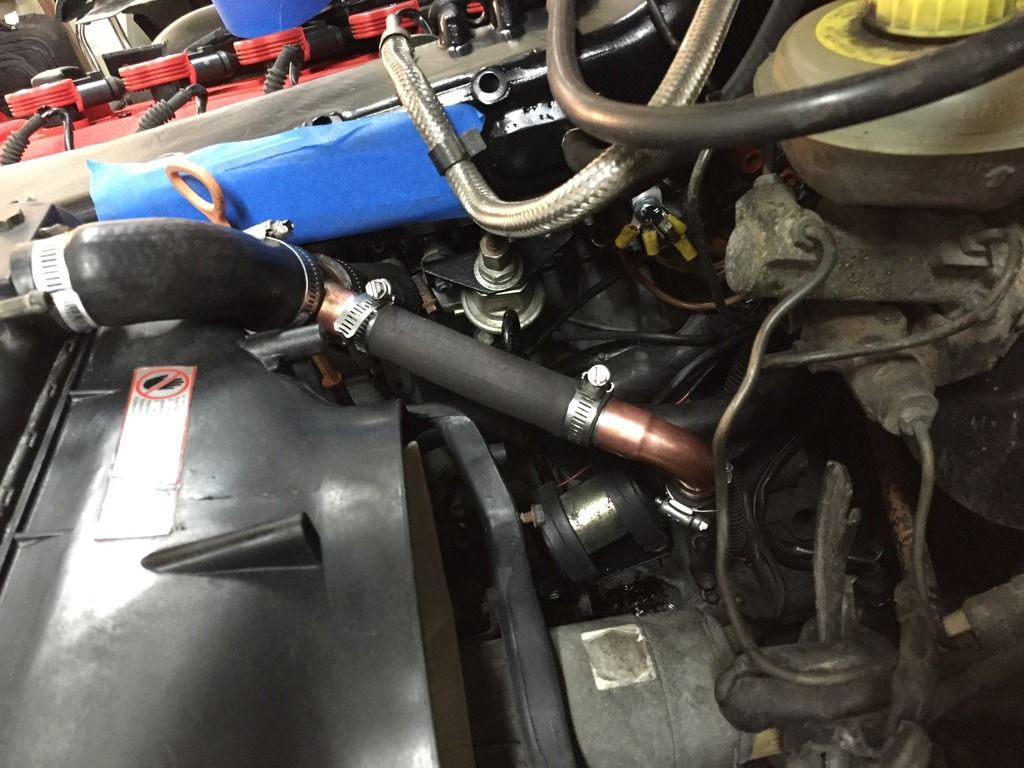
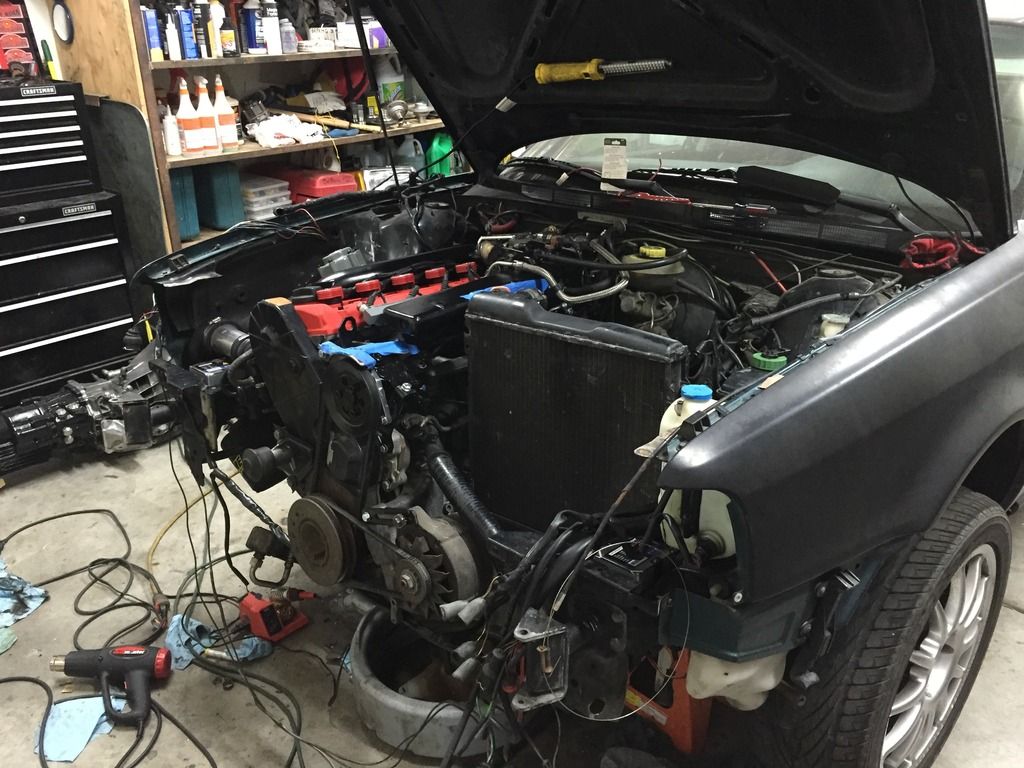
Pics because yippers:

Image

Image

Image

Image

Image

Image

Image

Image
nsimps
Posts: 577
Joined: Thu Feb 28, 2013 1:02 am
Location: Saratoga Springs, UT

Re: Nick's Black 90 - 3B Swap: 2.0 Coil Setup

Post by nsimps »

So this happened yesterday:

Image


I think what happened is I had the fuel pressure regulator and the diverter valve sharing one vacuum line from the intake manifold. Essentially I was experiencing turbo shock, drove it too hard and ended up with the shaft moving out of the journal bearing clearances. Motor still runs fine, just sounds like I'm at the dentist waiting for a cavity filling. the fore and aft play is pretty apparent.

Before this happened it was pretty dang awesome to drive it again! I was actually pacing with my boss on our way to a company lunch party. He has a new 335xi and when we got to the stop light he says "that thing is actually pretty fast!" Sorry but just hearing him say that was worth losing the old k24.

All is not lost. I had already planned on and budgeted a new turbo. The car is going down next week again for full chassis updates anyway so no biggie. I'm still happy.

I do need to see about sorting out a valve cover seep on the back. Stupid things anyway!
User avatar
PRY4SNO
Posts: 2430
Joined: Sun Mar 03, 2013 5:14 pm
Location: Edmonton, AB

Re: Nick's Black 90 - 3B Swap: 2.0 Coil Setup

Post by PRY4SNO »

Soooo... EFR time?
Find me on Instagram @pry4sno

|| 2010 Golf Sportwagen TDI /// #farmenwagen
|| 2002 Dodge Ram 2500 24vt 4x4 #bertancummins
|| 1992 80 quattro 20v /// Eventual AAN'd Winter Sled
|| 1990 Coupe quattro /// Because Racecar
User avatar
loxxrider
Posts: 6642
Joined: Wed Feb 27, 2013 7:46 am
Location: Jupiter, FL / Somewhere, PA

Re: Nick's Black 90 - 3B Swap: 2.0 Coil Setup

Post by loxxrider »

That turbo looks crusty! Seems like a good excuse to UPGRADE! :D 
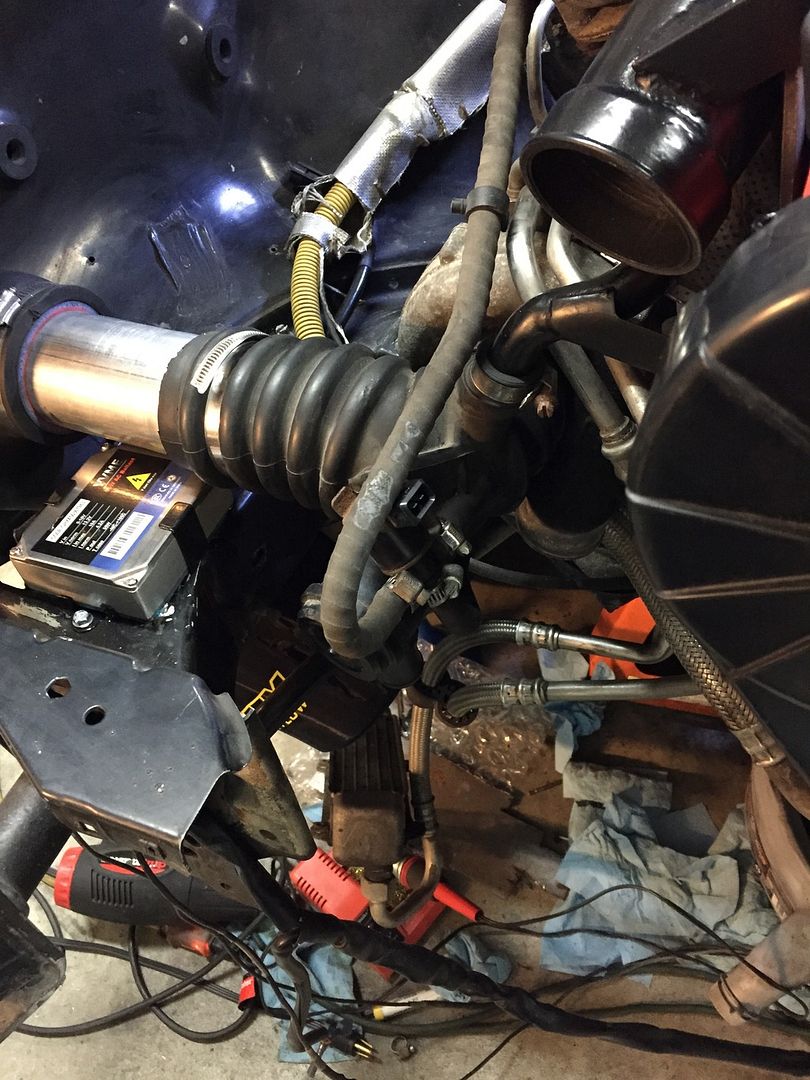
The only problem is that I don't understand why having the DV and FPR on the same vac line would cause that. I'd bet it was just a bad turbo ready to let loose at a moment's notice.

I like the red, black, and gray theme you have going on in the bay. Very Audi Sport esque.

For your VC leak, did you remember to put the little half moon seals in? Hopefully, because those will make a big leak lol (been there).
-Chris

'91 Audi 200 20v - Revver/BAT project
'91 Audi 200 20v Avant
'01 Anthracite M5
'90 M3
'85 Euro 635csi
'12 X3
E34 530i (maybe rear-mount soon)
nsimps
Posts: 577
Joined: Thu Feb 28, 2013 1:02 am
Location: Saratoga Springs, UT

Re: Nick's Black 90 - 3B Swap: 2.0 Coil Setup

Post by nsimps »

I'm planning on going with an upgraded K24. . . My power goals are around 300wtq (closer to 270 just to keep things safe).

I'm not sure either what was going on/causing the flutter but it ran great before I pulled everything apart and then after it started fluttering off boost. Sounded like the old rally cars. I gotta figure out what was causing the issue so when I get a new turbo it doesn't happen again! Would a bad fpr cause this maybe?

The valve cover does have the half moons :) I wonder if the cover just needs to be re-torqued. I followed the same procedure from when I originally did the swap and didnt' have any leaks then. Ah well, just one more thing to worry about later after all the drivetrain gets updated.
User avatar
PRY4SNO
Posts: 2430
Joined: Sun Mar 03, 2013 5:14 pm
Location: Edmonton, AB

Re: Nick's Black 90 - 3B Swap: 2.0 Coil Setup

Post by PRY4SNO »

Ugh. I went thru hell with my VCG. Followed Ed's QW DIY to the letter and all that, even bought a new tq-wrench for the low range. Still leaked. Never had a problem on my 7a, but the AAN... every_fricken_time.
Find me on Instagram @pry4sno

|| 2010 Golf Sportwagen TDI /// #farmenwagen
|| 2002 Dodge Ram 2500 24vt 4x4 #bertancummins
|| 1992 80 quattro 20v /// Eventual AAN'd Winter Sled
|| 1990 Coupe quattro /// Because Racecar
nsimps
Posts: 577
Joined: Thu Feb 28, 2013 1:02 am
Location: Saratoga Springs, UT

Re: Nick's Black 90 - 3B Swap: Drivetrain Out

Post by nsimps »

Rear subframe is out and apart. I'm gathering all the bolts that need to be replaced into a little baggie and will go to a local bolt supply store to source them as it's way cheaper than going to Home Depot or the like.

Got the linkage for my 01E. It's out of a B6 S4. So far the difference is that the cross bar is bolted to the trans rather than being pushed onto a ball seat unit. I ended up getting a nylon spacer to help it clear the trans nut things.

Also picked up a set of 17" Avus wheels for a really good deal. They are currently plastidipped white and I'll peel that off, clean them up, get rid of most of the curb rash and then put some new plastidip over the top. Goal here is to not spend a lot of money right now on the wheels, just make them look good from 10 feet away.

Next is pulling the 01A and front subframe.

Pics because they are more fun.

Image

Image

Image

Image

Image

Image

Image

Image

Image
User avatar
ringbearer
Posts: 1282
Joined: Wed Feb 27, 2013 12:50 pm
Location: Nor-Cal

Re: Nick's Black 90 - 3B Swap: Drivetrain Out

Post by ringbearer »

Looks like a familiar job. I just final torqued most of my rear suspension and started pulling my trans. I only get a few hours a week so you are making way more progress, keep it up!
nsimps
Posts: 577
Joined: Thu Feb 28, 2013 1:02 am
Location: Saratoga Springs, UT

Re: Nick's Black 90 - 3B Swap: Drivetrain Out

Post by nsimps »

Yeah I'm accelerating this quite aggressively. A friend is coming over tonight to help pull the trans. Pulling this stuff out is just the first step. There's quite a lot of work to be done before putting this stuff back in. Cleaning and painting takes so long!

Goal is to be done in a couple weeks so I can be back on the road and make sure nothing goes wrong. Gotta take this thing on a 14 hour drive to Washington in June!
User avatar
ringbearer
Posts: 1282
Joined: Wed Feb 27, 2013 12:50 pm
Location: Nor-Cal

Re: Nick's Black 90 - 3B Swap: Drivetrain Out

Post by ringbearer »

No doubt taking it out it easier. Every time I think I'm ready to put a part back on the bolts or something are dirty and need cleaning. Takes so long but it will make me happy in the end! Happy ending Audi, LOL, as if...
nsimps
Posts: 577
Joined: Thu Feb 28, 2013 1:02 am
Location: Saratoga Springs, UT

Re: Nick's Black 90 - 3B Swap: Drivetrain Out

Post by nsimps »

Trans and front subframe are out.

As I pulled out the passenger axle the inner cv dropped its balls all over. Guess that's where the vibration was at highway speed.

Fun to do and I had some help which made a huge difference with everything. I'm now ready to start cleaning parts and painting!

It's probably not realistic but I really hope to get this done in the next two weeks. . .

Image

Image

Image

Image

Image
User avatar
PRY4SNO
Posts: 2430
Joined: Sun Mar 03, 2013 5:14 pm
Location: Edmonton, AB

Re: Nick's Black 90 - 3B Swap: Drivetrain Out

Post by PRY4SNO »

Saw some pics on insta, progress is looking great!
Find me on Instagram @pry4sno

|| 2010 Golf Sportwagen TDI /// #farmenwagen
|| 2002 Dodge Ram 2500 24vt 4x4 #bertancummins
|| 1992 80 quattro 20v /// Eventual AAN'd Winter Sled
|| 1990 Coupe quattro /// Because Racecar
nsimps
Posts: 577
Joined: Thu Feb 28, 2013 1:02 am
Location: Saratoga Springs, UT

Re: Nick's Black 90 - 3B Swap: Drivetrain Out

Post by nsimps »

Thanks! Yeah it's coming along :)

Tonight I did a lot of torching, more torching and even more torching. 2 hours worth to get the bushings out of the front subframe and the control arms. The sleeves on the subframe came off nicely. The control arms are still in progress. I don't have a way to saw the inside of the sleeves on the control arms so I'll need to borrow a friend's.

Was able to get the rear tie rod nut loose and able to be adjusted come alignment time. I was worried about this one and one side gave up a fight but I was persistent, patient and it all worked out.

Right now it seems like I've done a lot of work but haven't really gotten anywhere. It will soon change but it's just that part of the project where everything is partially there but nothing complete.

Goal tomorrow is to get the bearings and hubs pressed out so they can be cleaned and painted before re-install.

Image
nsimps
Posts: 577
Joined: Thu Feb 28, 2013 1:02 am
Location: Saratoga Springs, UT

Re: Nick's Black 90 - 3B Swap: Drivetrain Out

Post by nsimps »

Got the hubs and bearings out of the hubs last night (thanks Chris!). Next is to get the rest of the control arm bushings out and then prep for paint. Things are moving right along but still in that middle part of the phase. My hope is to have everything painted next week and start getting the rear stuff installed. The trans will be the hard part.
nsimps
Posts: 577
Joined: Thu Feb 28, 2013 1:02 am
Location: Saratoga Springs, UT

Re: Nick's Black 90 - 3B Swap: Drivetrain Out

Post by nsimps »

Stuff got painted.

Other stuff got cleaned and ready for paint.

Tires got moved to different wheels.

Rear inner cv's got repacked.

pics:

Image

Image

Image

Image

Image

Image

Image
User avatar
audifreakjim
Posts: 2142
Joined: Sun Mar 03, 2013 3:00 pm

Re: Nick's Black 90 - 3B Swap: Drivetrain Out

Post by audifreakjim »

Looking good Nick. If the face of those hubs is painted, you might want to remove that. Glued on brake rotors are no fun.
Post Reply