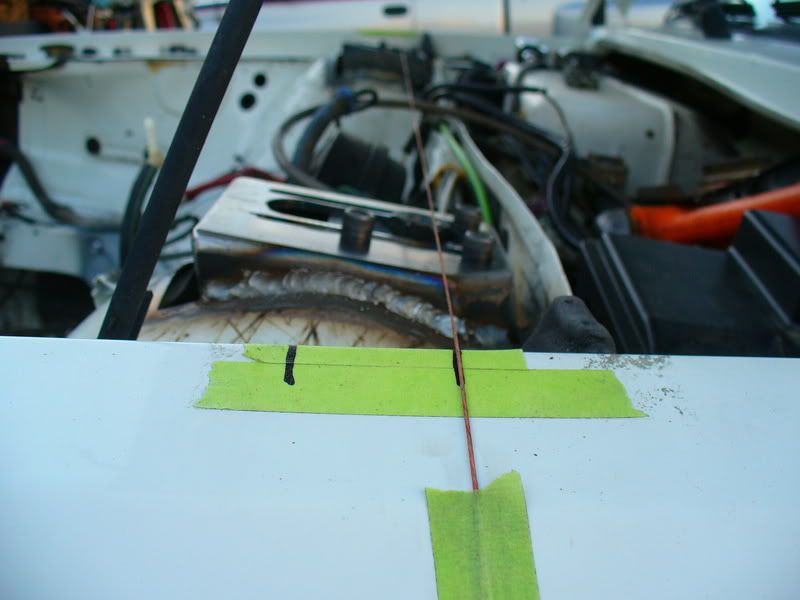
ok, to go over my last post in regards to Eric (cuatrokoop), i've been welding inside with no wind, my argon is set at 22CFM, and i still get a bit of that brown flash stuff... sooo, i dunno. i know i got plenty of heat going into my welds, and when the wind kicks up and blows the gas away (outside welding), the welds bubble up and grow on their own, but it's not doing that now, so i feel it's workin ok as is. also the flash on the camera really makes it bright brown. and if nothing else, it should hold together long enough to get everything running and then redo it one day

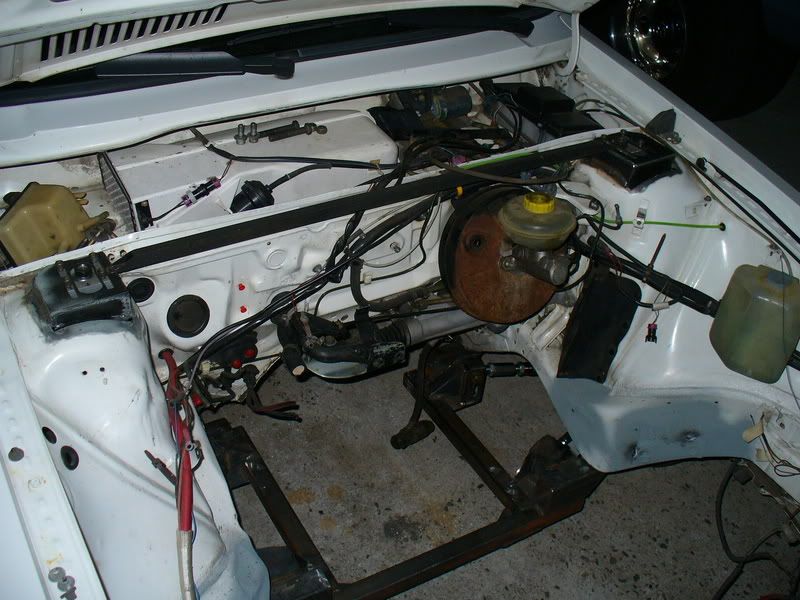
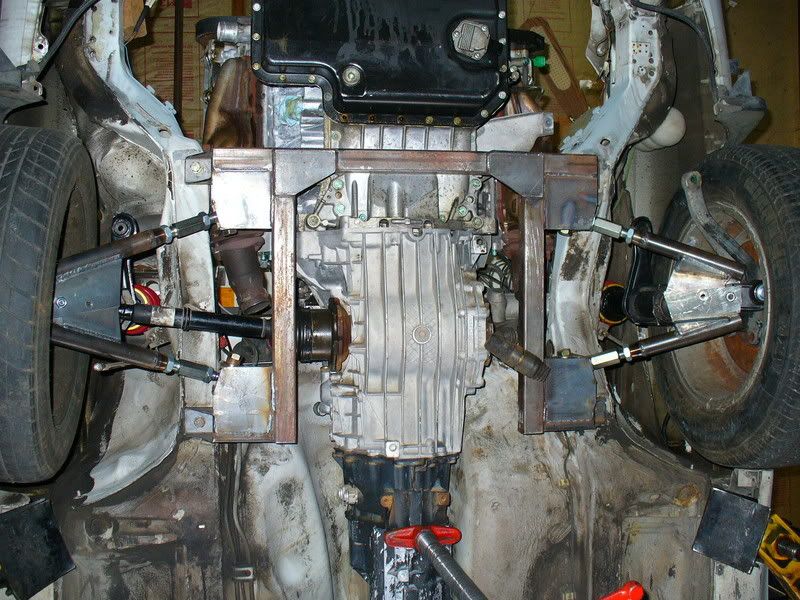
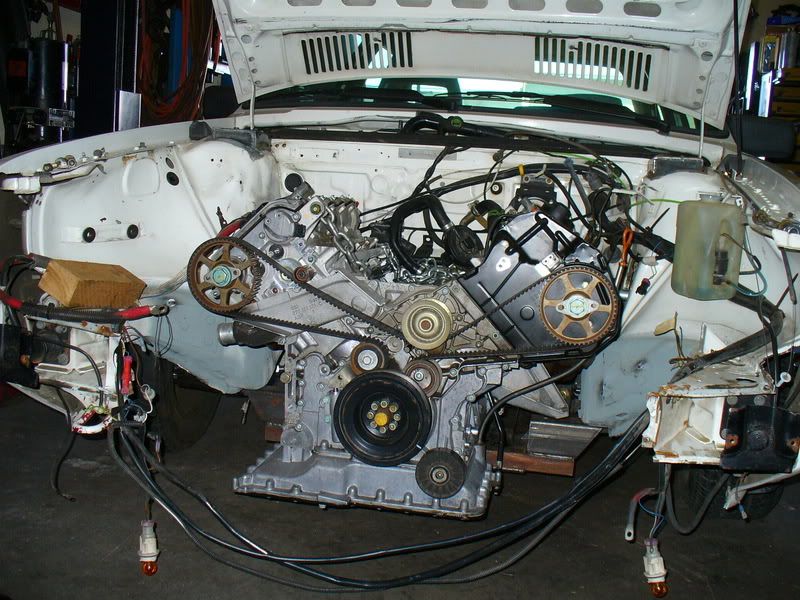
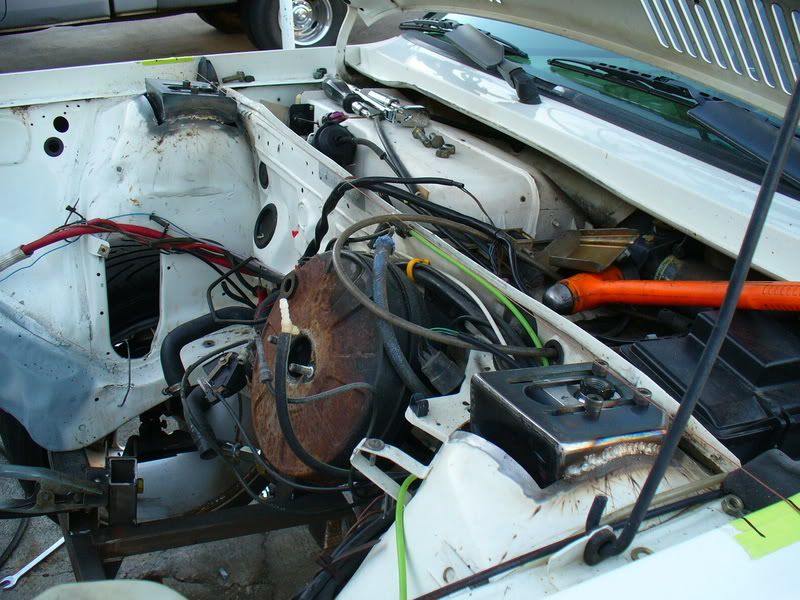
time for a little update.. i've been working over the weekend on getting the engine and trans put into place and mounts made up. i was hoping to get 3" of movement backwards, but looks like i'll have to settle for 2.5". it'll just interfere too much with the steering arms and the back of the head. the whole package is also sitting about 1.75" lower than it normally would... so these things should help my CG a bit.
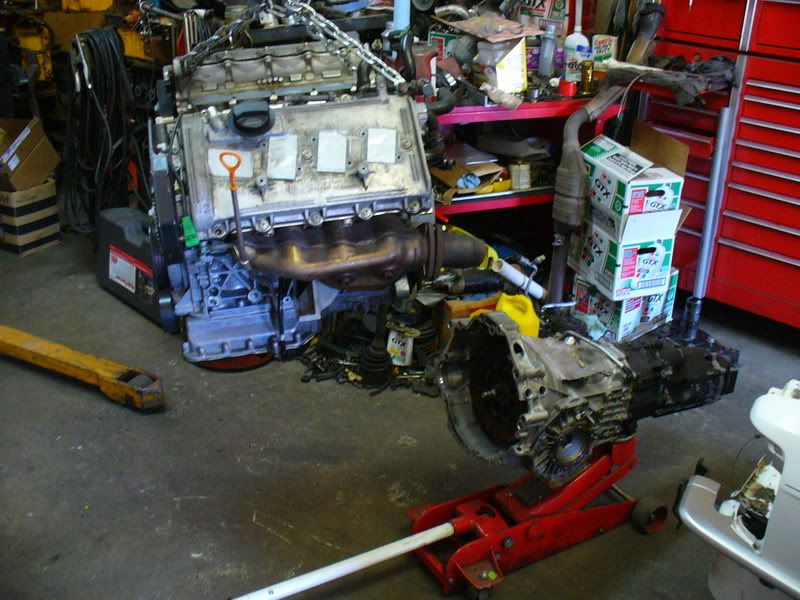
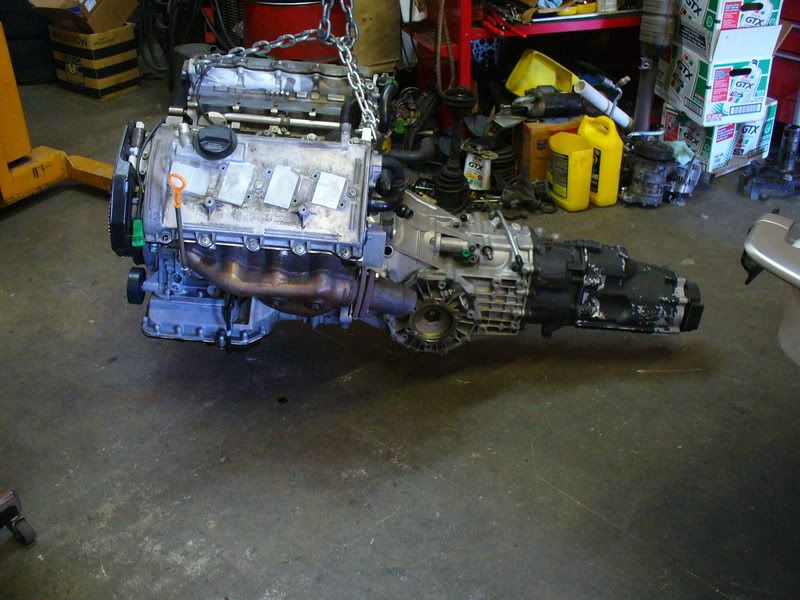
engine and trans on the floor...

setting in about where i want it....
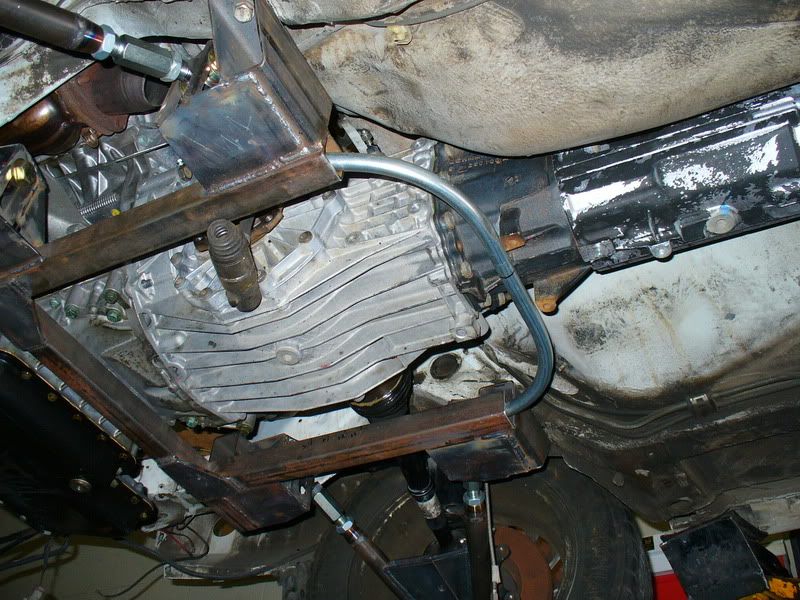
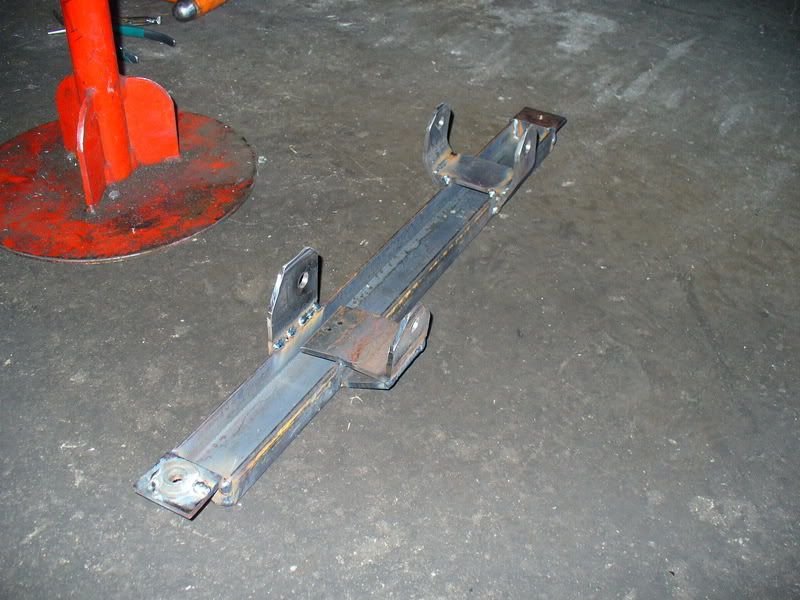
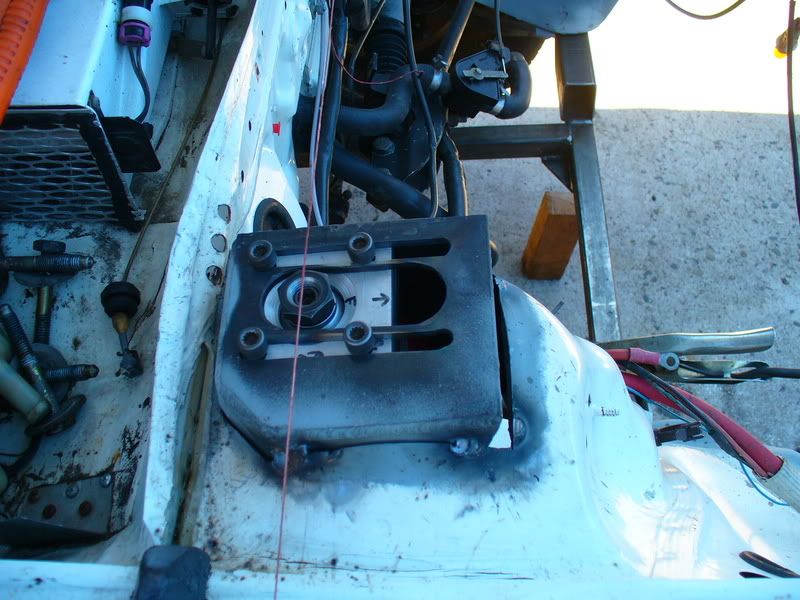
temporary conduit trans mount
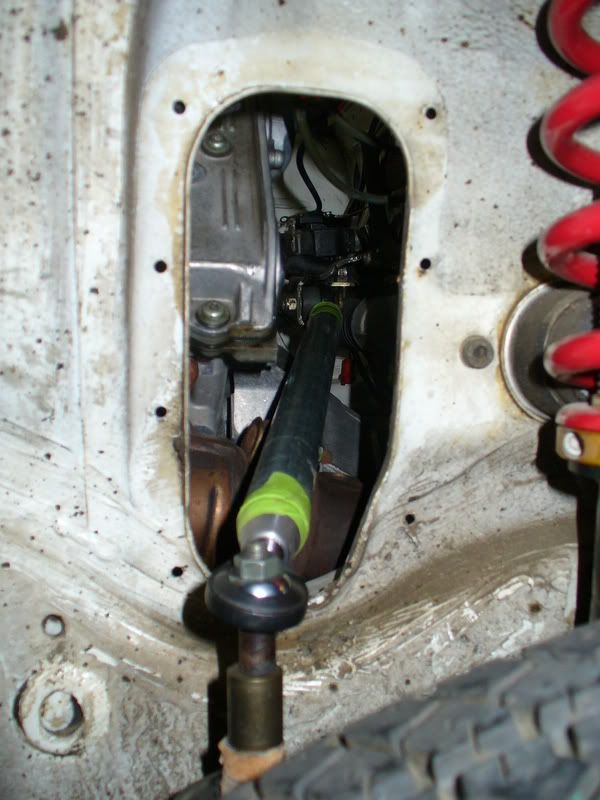
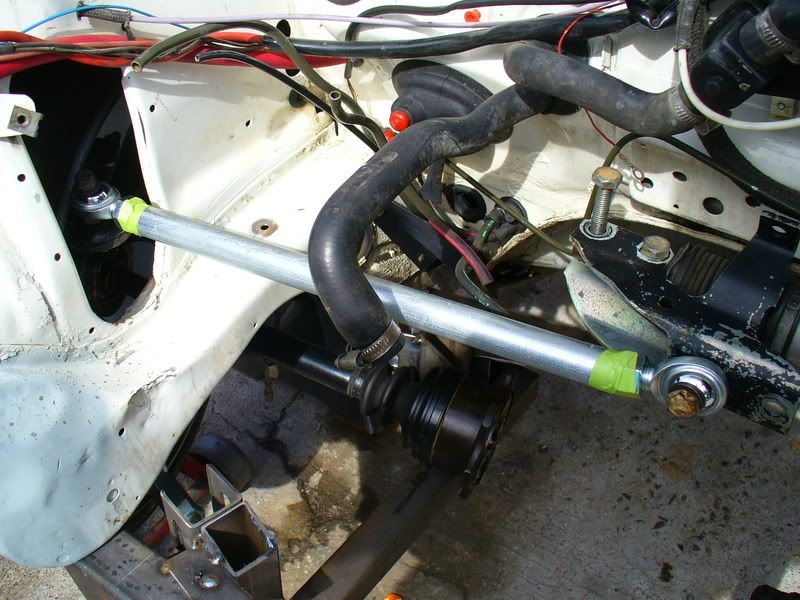
where the steering arms are gonna have to shimmy through...
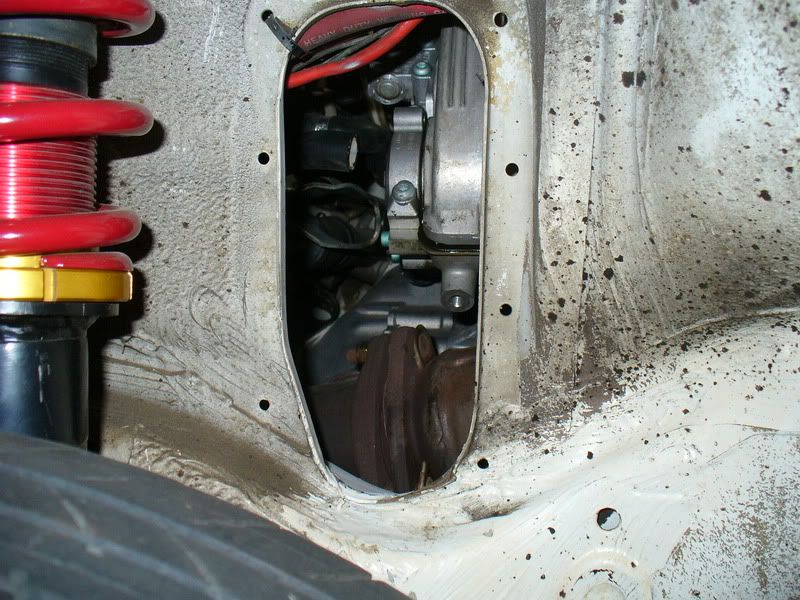
good thing i'm shortening the steering arms 1" like i did on my zermatt car (nevermind the rediculous long bolt with spacers, it was just to get the steering arm mounted in it's proper path)
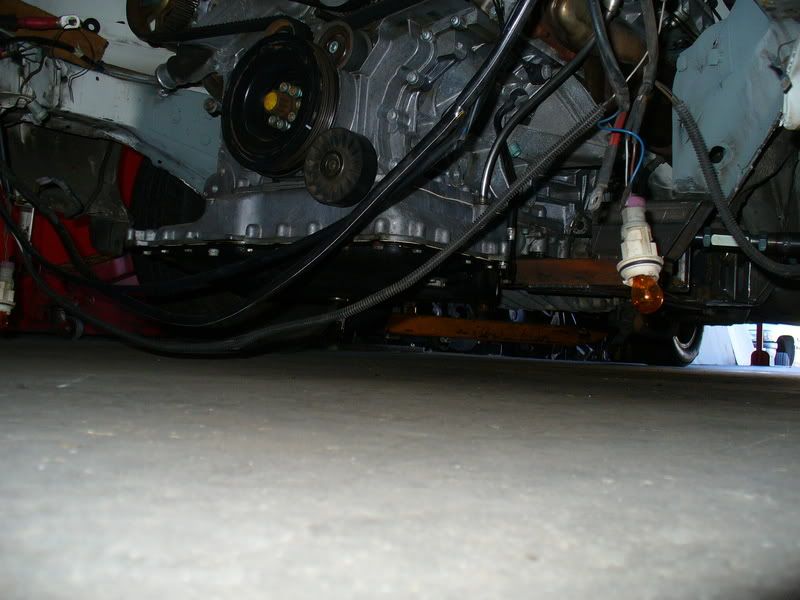
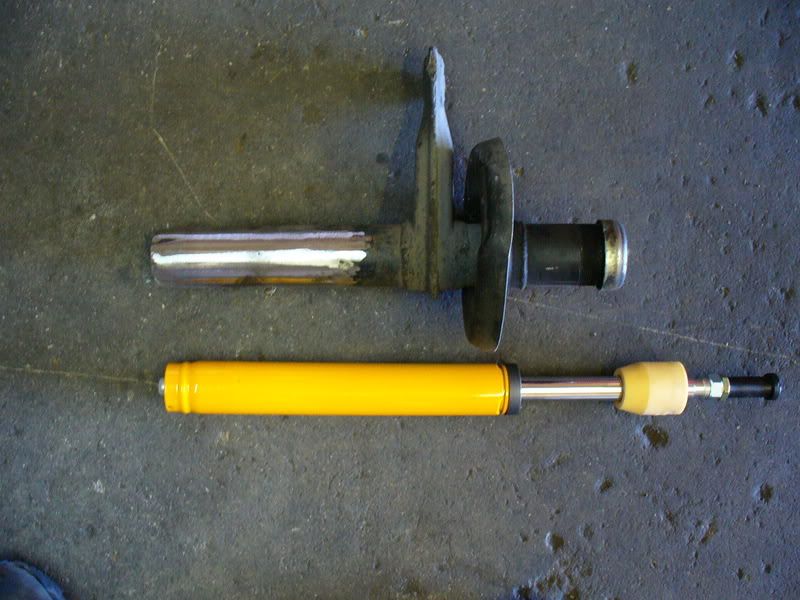
low and deep..

car on the ground with weight on the springs and at the lowest adjustable point, the pan is 5" from the ground. it'll come up a bit with proper ride height adjusted and the bigger wheels/tires.
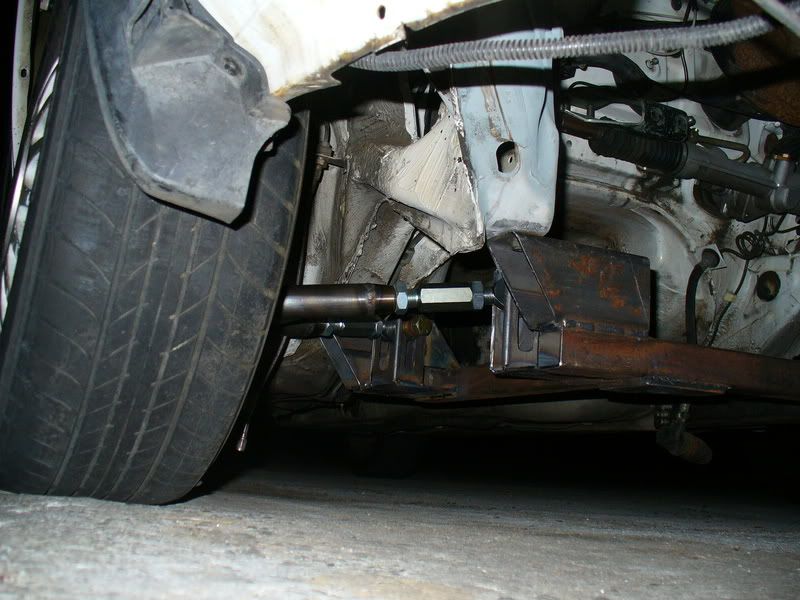
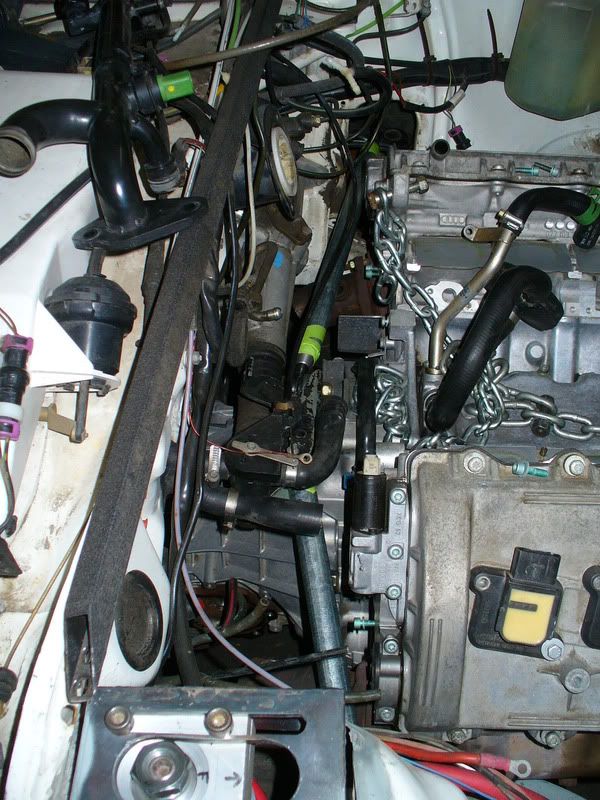
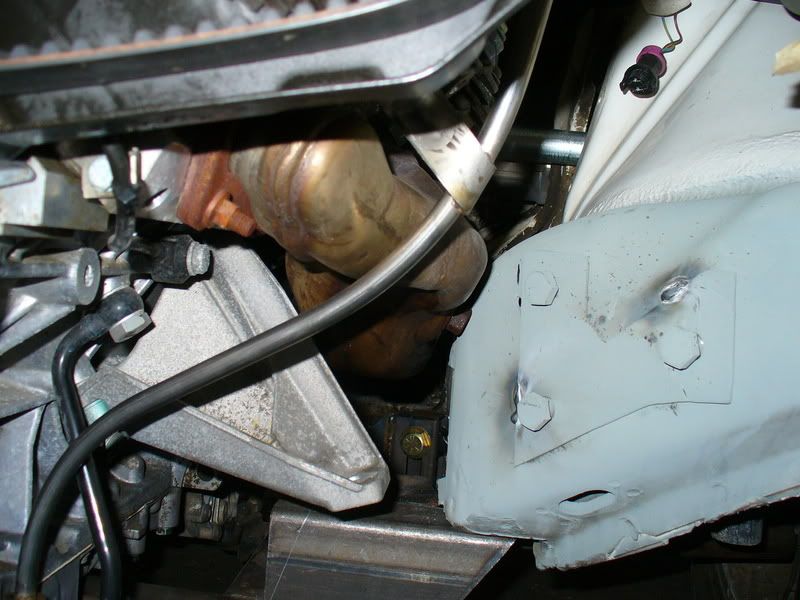
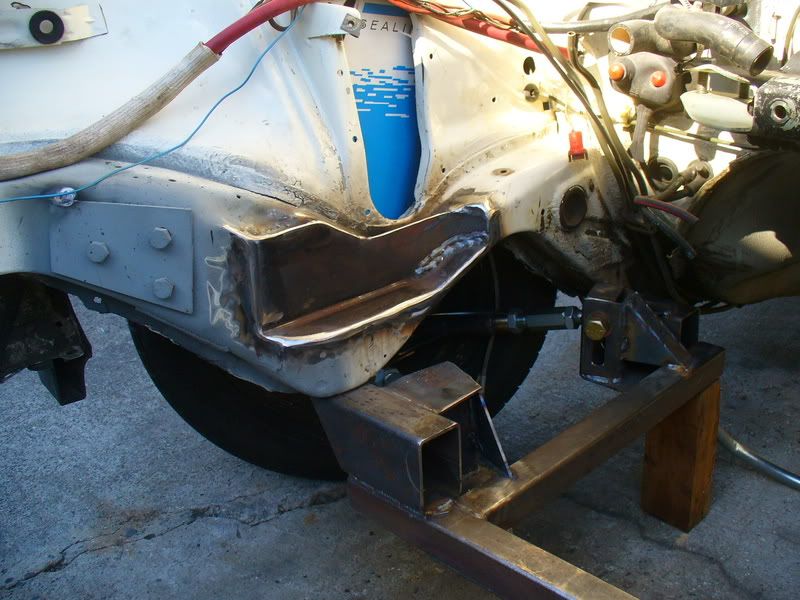
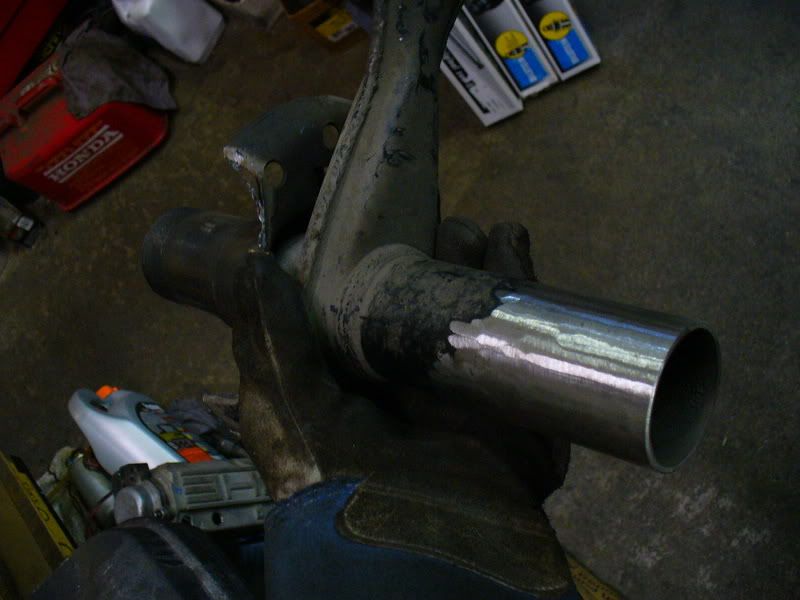
next thing i ran into, the manifolds were pretty much making out with the frame rails...
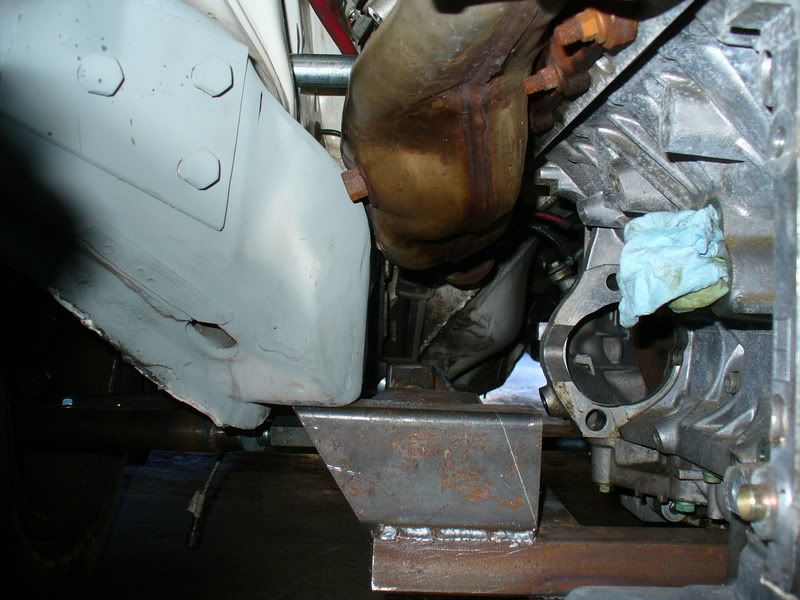
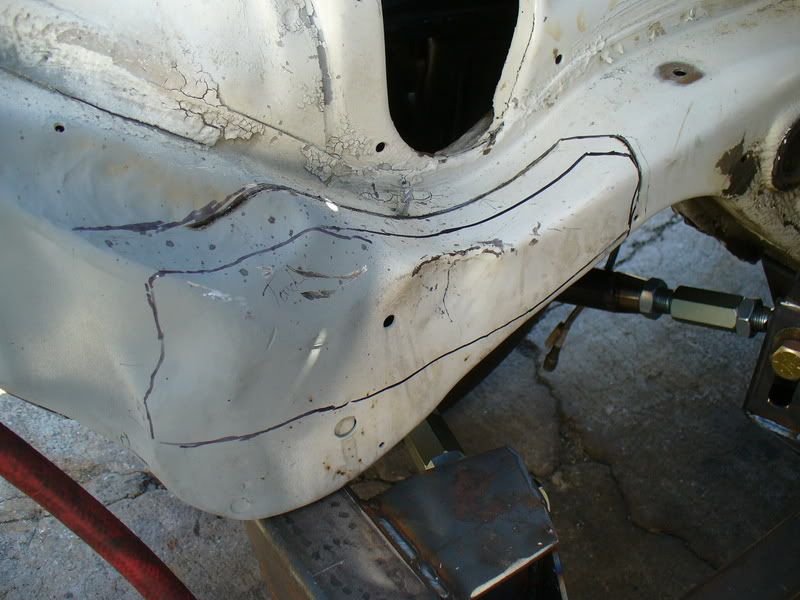
and i needed it to go 3/4" towards the pass side to center the engine in the bay, and make my driveshafts equal lengths. so i opted to notch the frame rail on the pass. side. i think it's about 1.5" or so.
hey! a headlight clip! (and a lot of shavings
)
i found a nice square chunk of steel to work with...

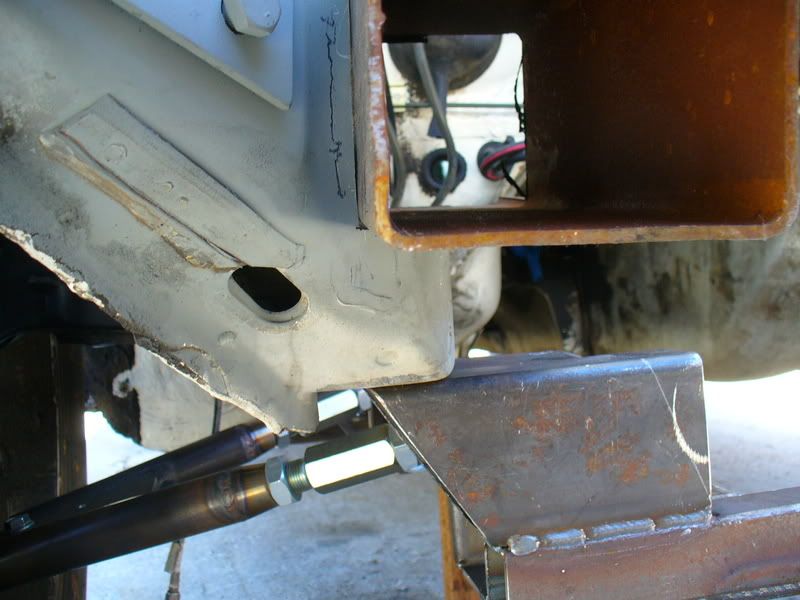
and ended up with this..

now i have a little breathing room
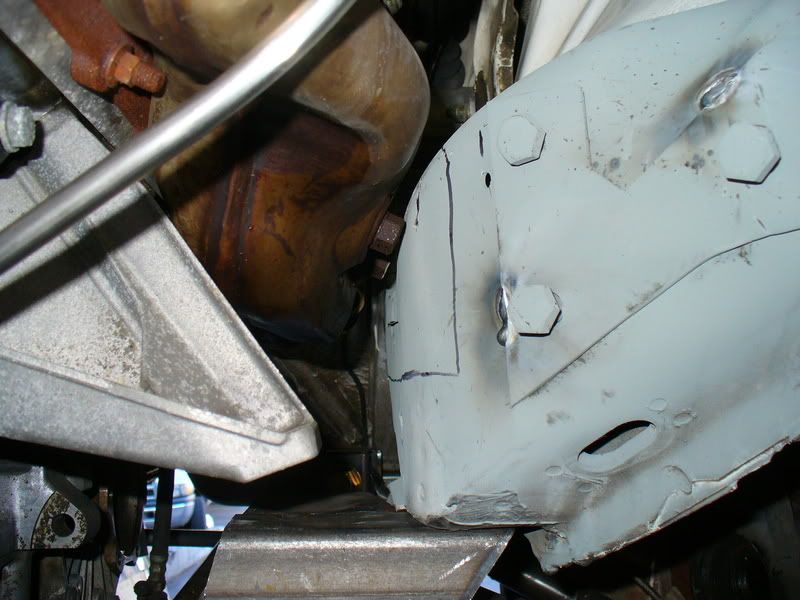
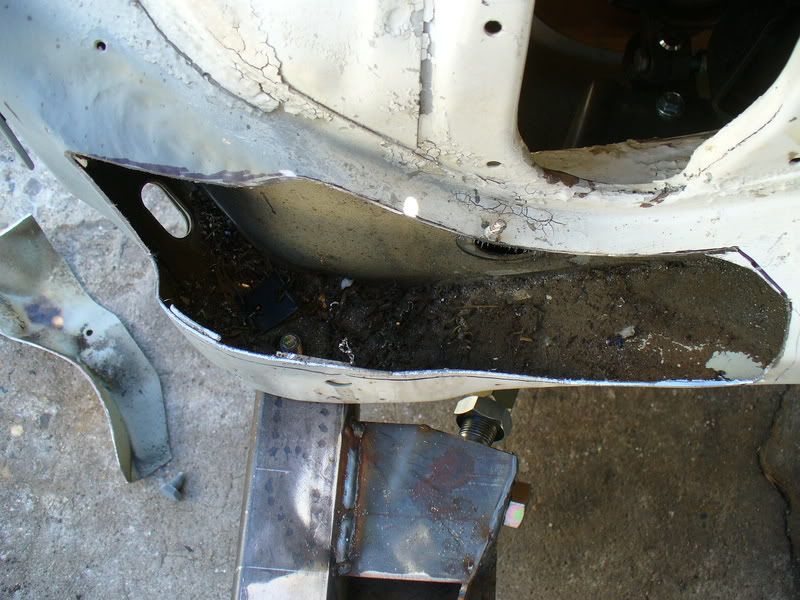
i noticed when i cut the frame rail, that there's an inner runner, so effectively the frame rail isn't just a hollow horn, it's fairly sturdy. the piece i welded in is a bit thicker than the stock sheetmetal, so it should be plenty strong.
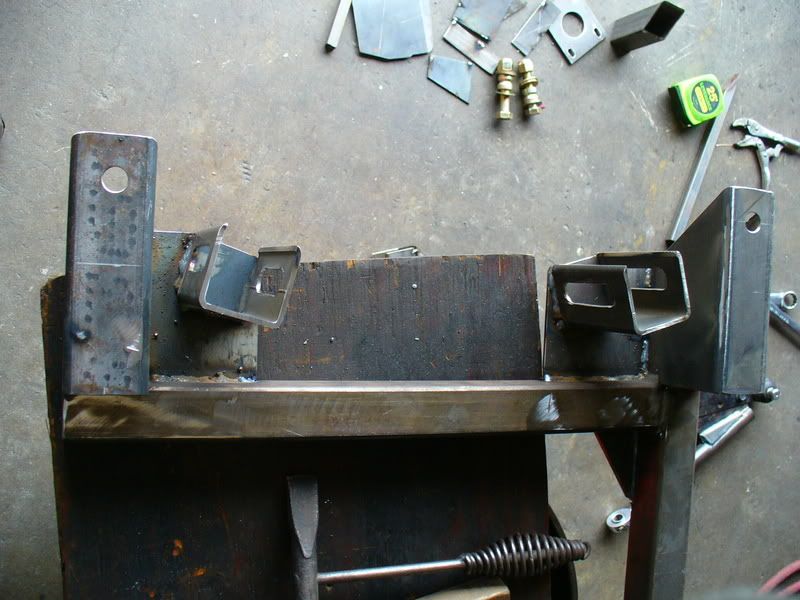
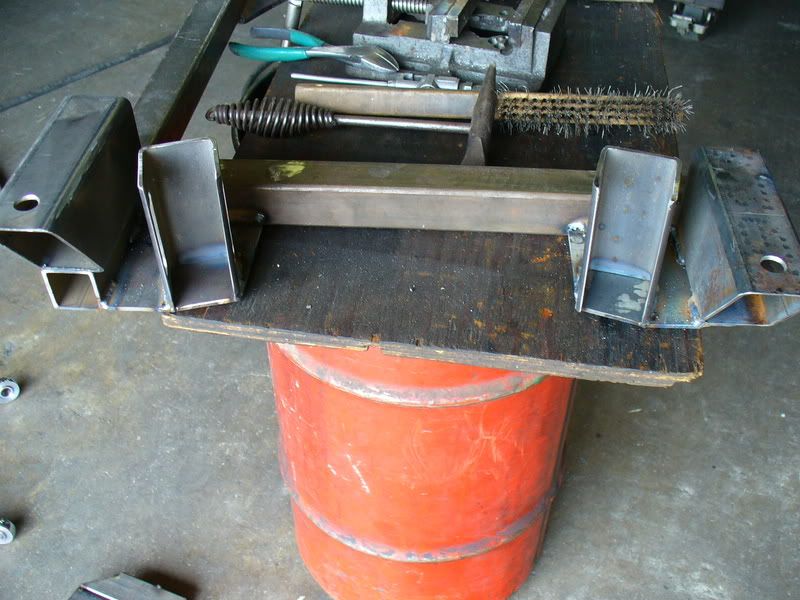
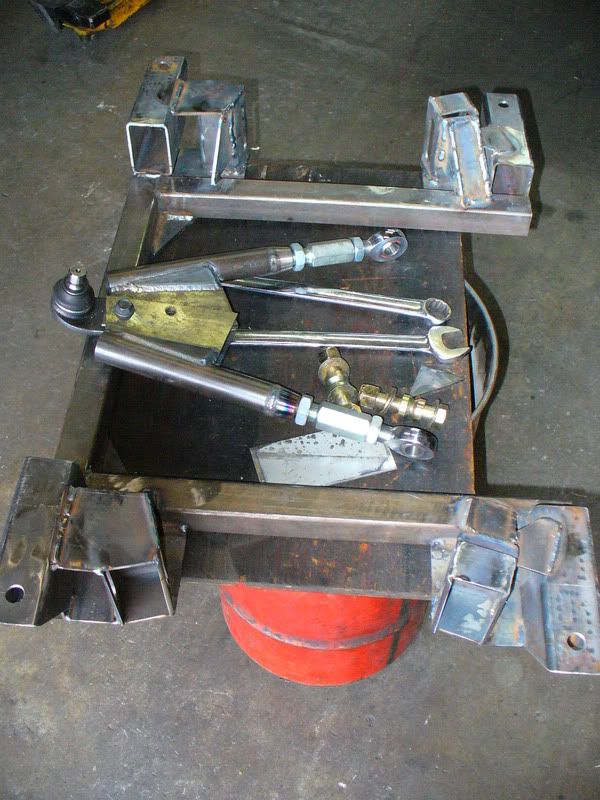
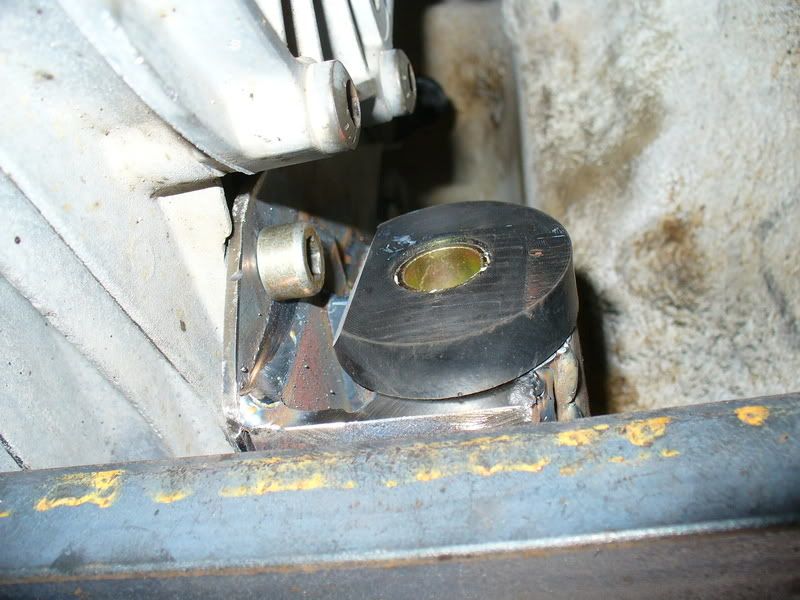
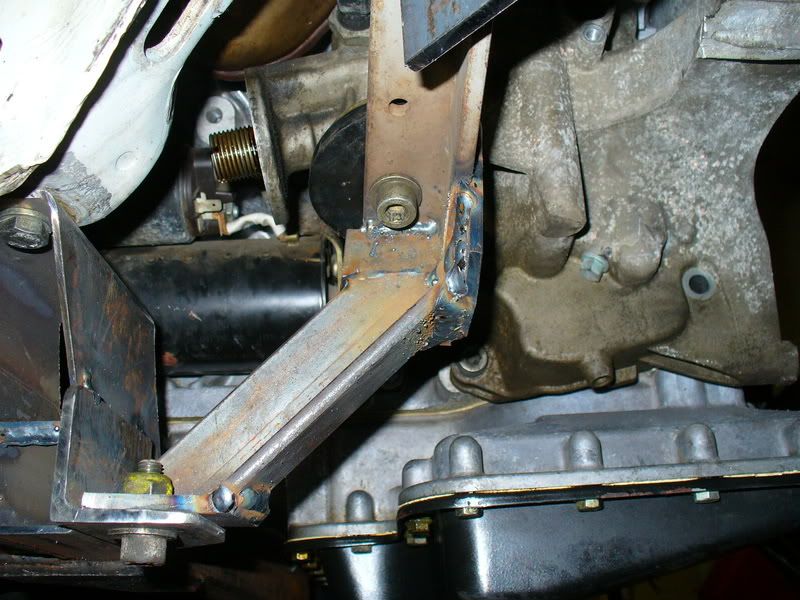
after all that, i got on the trans mounts...

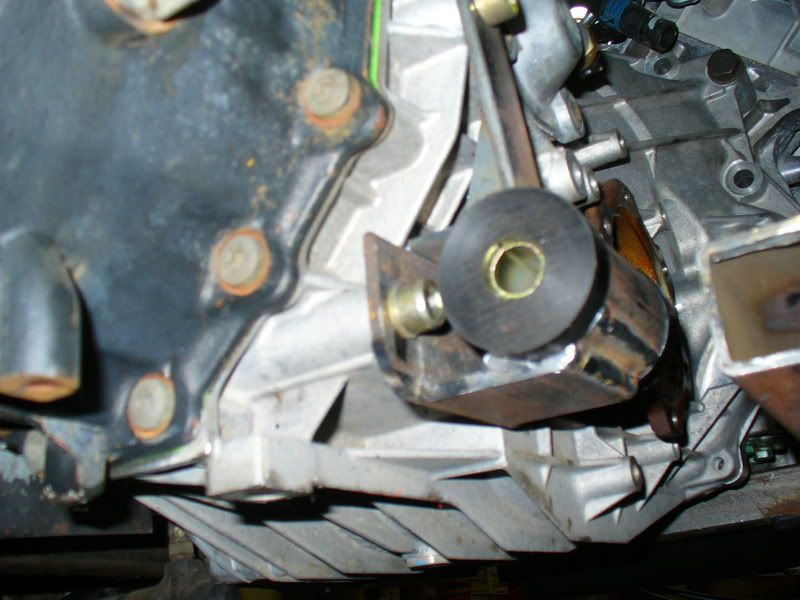
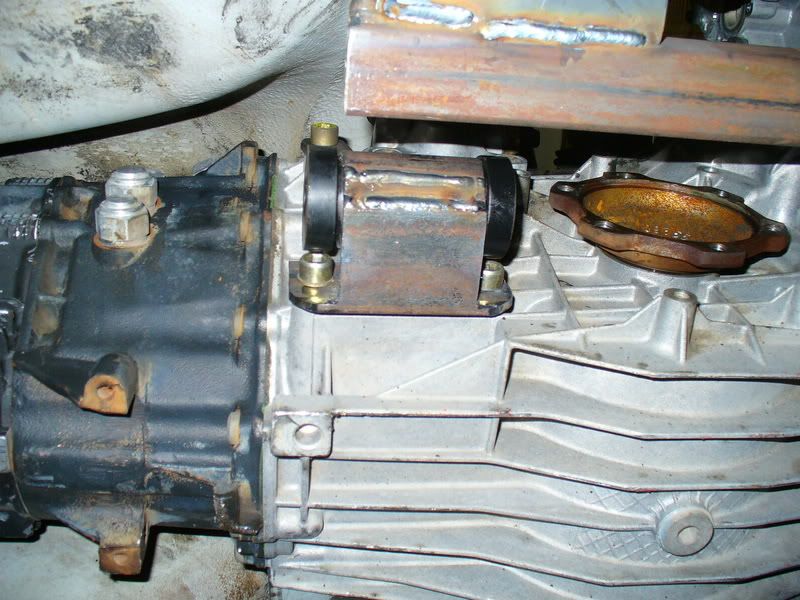

i had to shave this bushing to get it!
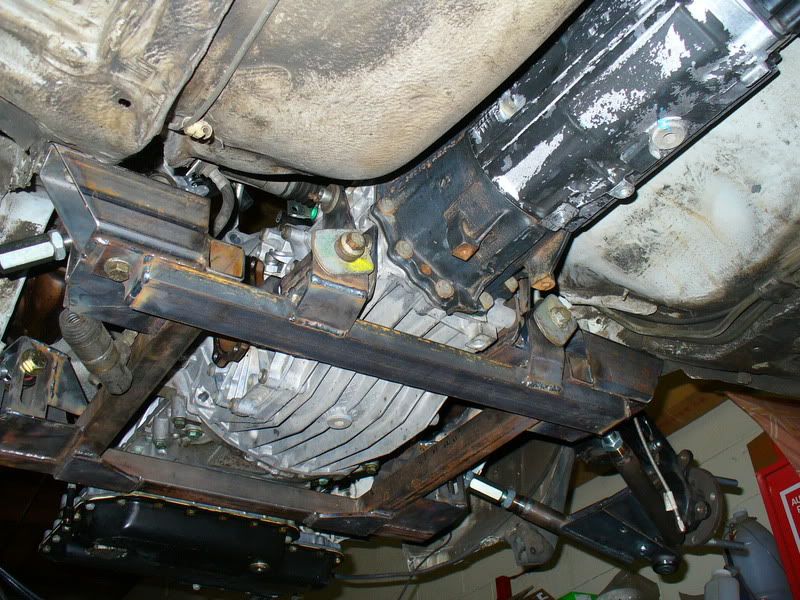
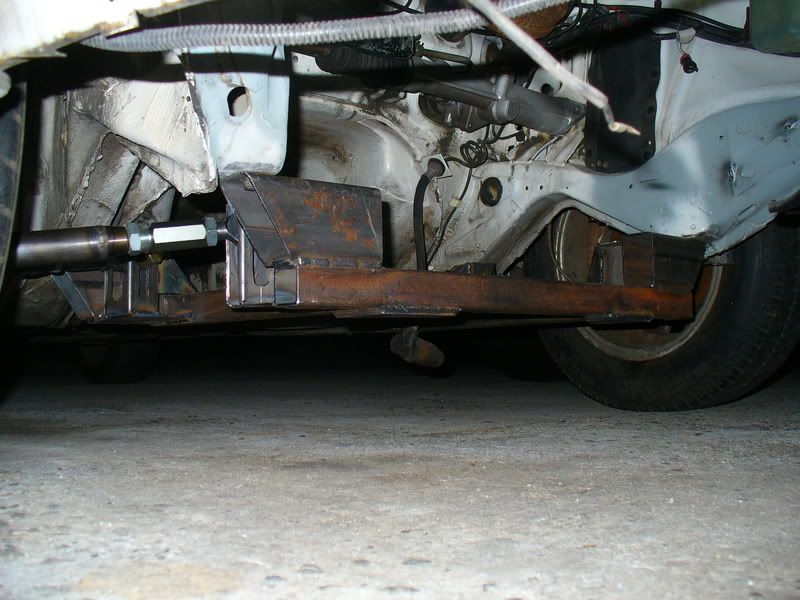
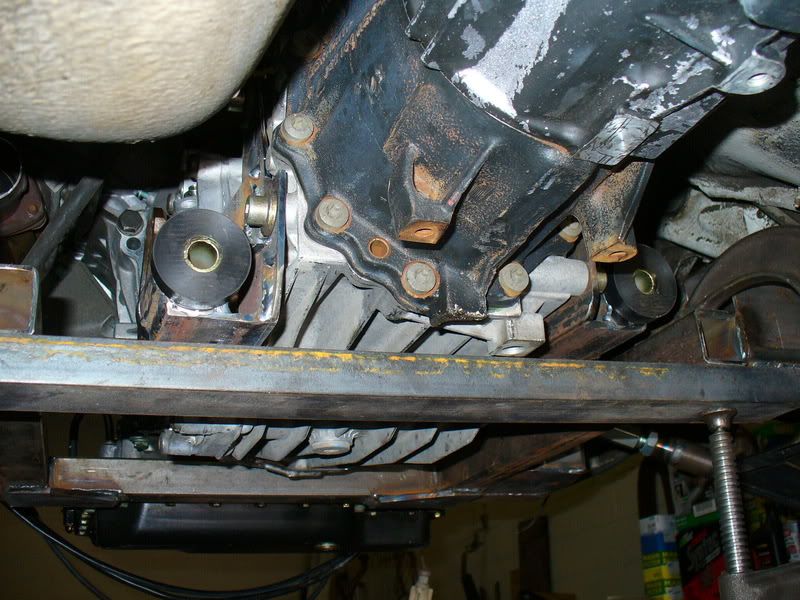
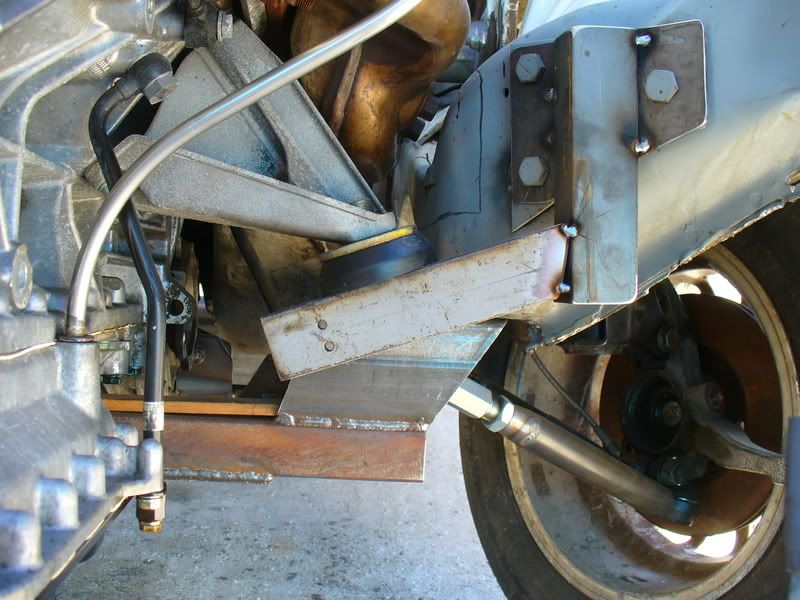
there's enough room between the floorboard, subframe, and mounts to allow my exhaust to run over the tops of the axles and through the gauntlet so that everything stays tucked up tightly to the floor and away from the ground. the exhaust is 2.25" dual, and is 409 SS. i got some toyota tundra dual exhaust kit off ebay for a decent price, and it's all mandrel bent.

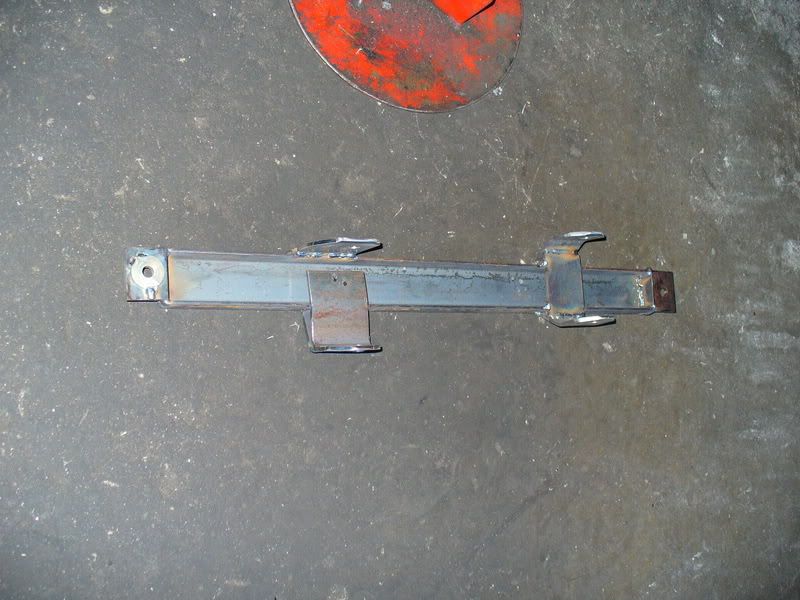
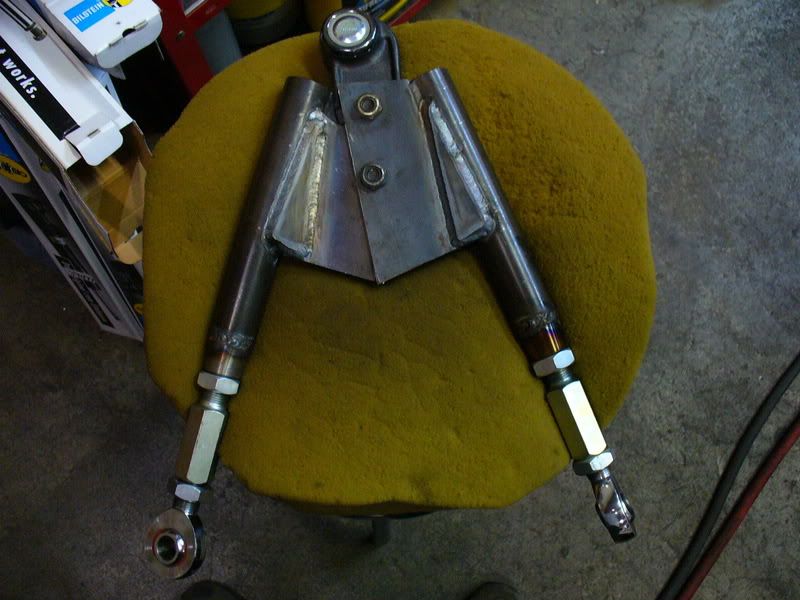
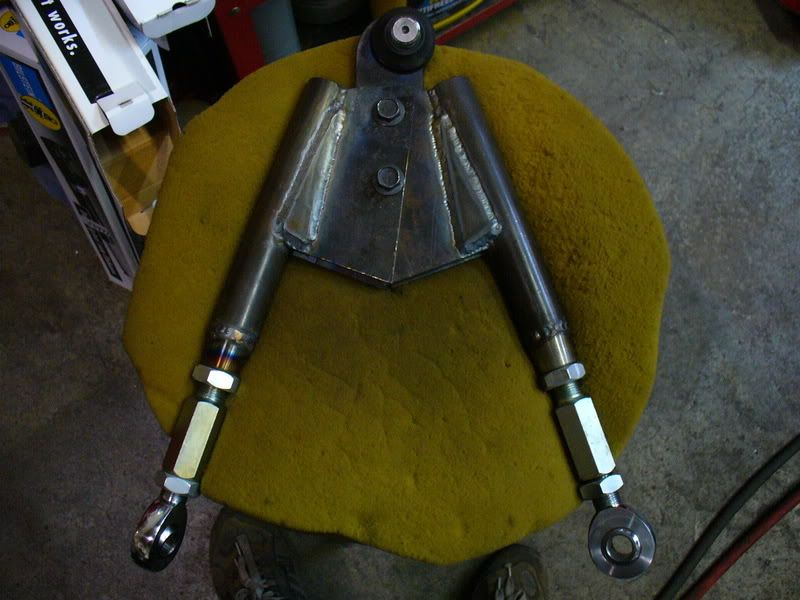
the trans cross member/mount is fully removeable and ties the rear half of the subframe together unlike a stock setup. the round mounts are poly leaf spring bushings from a chevy truck. i wanted compact and tidy, i think this will work out. the mounts on the side of the trans are tucked tightly so that i don't have to pull them to remove the trans like a factory setup.
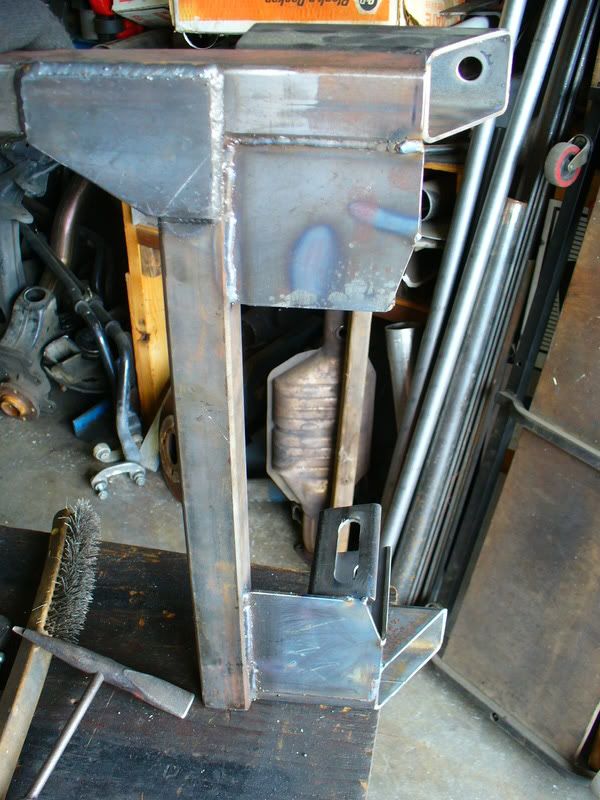
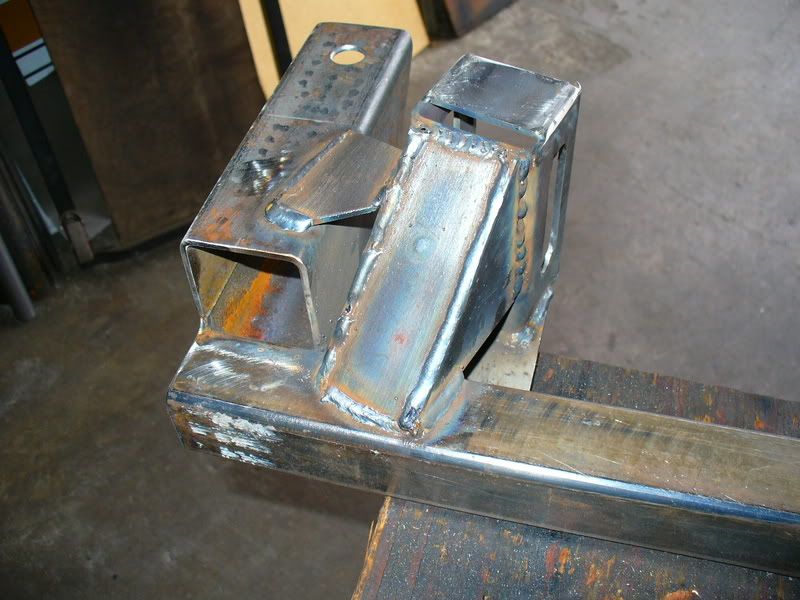
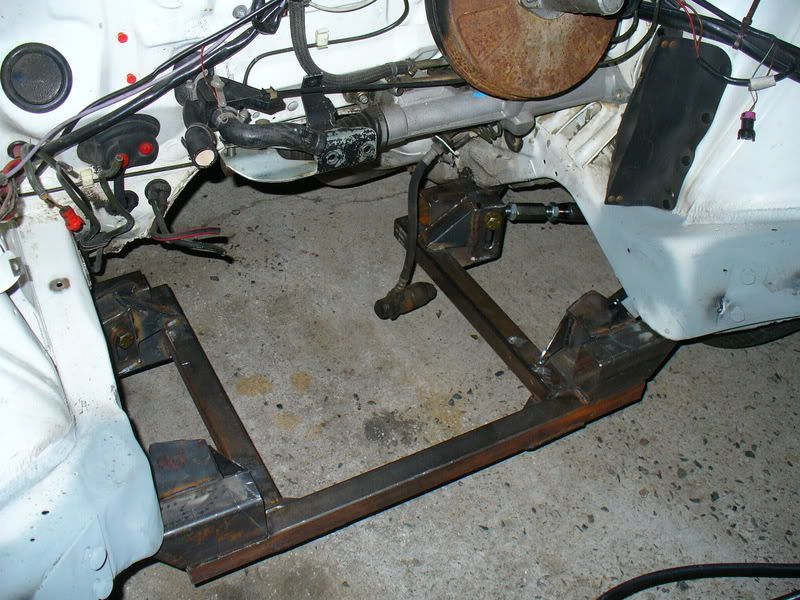
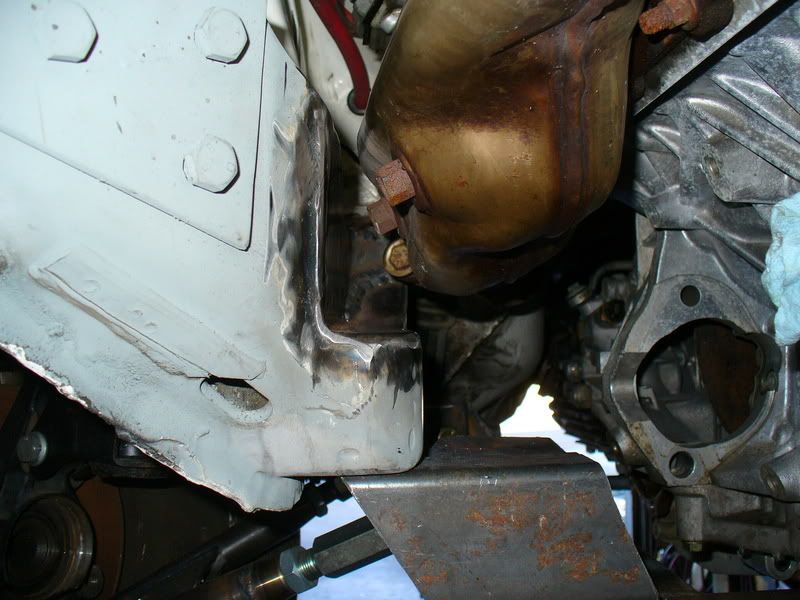
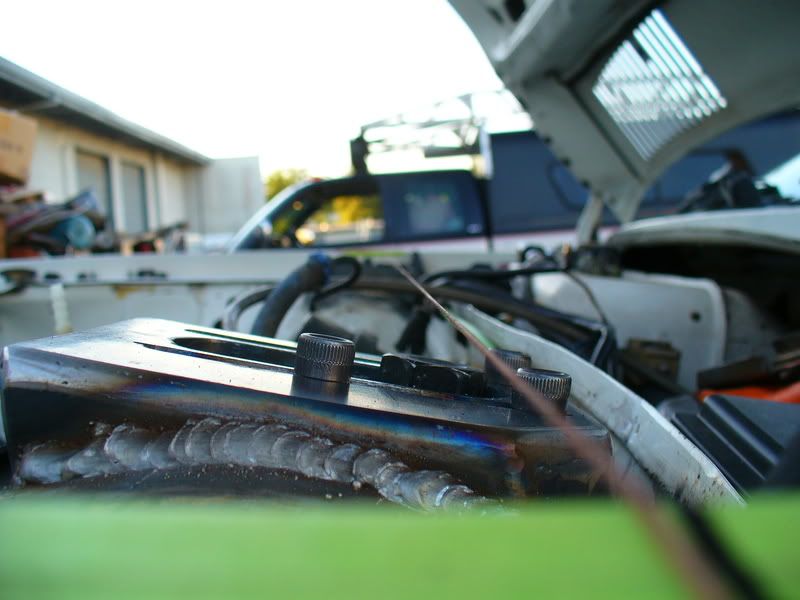
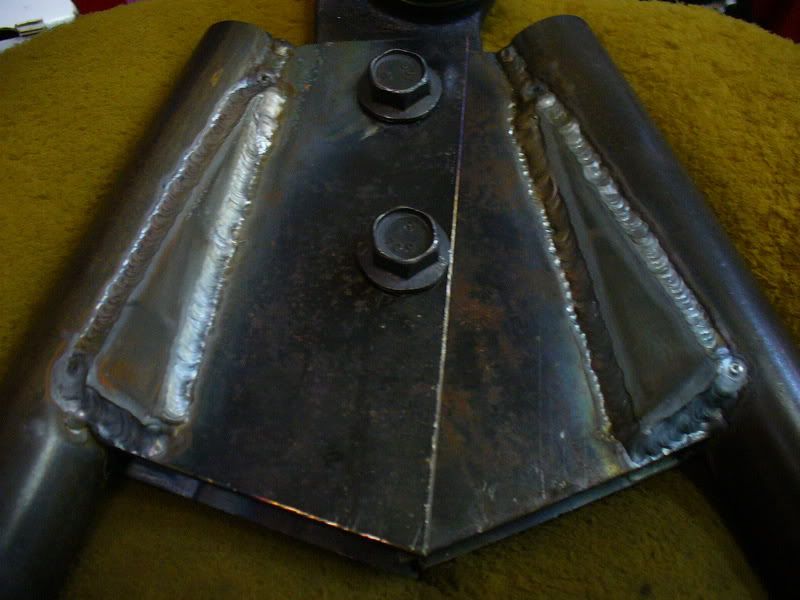
next i got on the engine mounts. i'm not completely done, but this is how far i've gotten. it's not necessarily asthetically pleasing to look at, but sometimes that can't be done, and strength trumps looks at this point. i've done my best to make most things bolt in and not irreversible, so that later on i can change them up if i get bored and want to re-fabricate everything
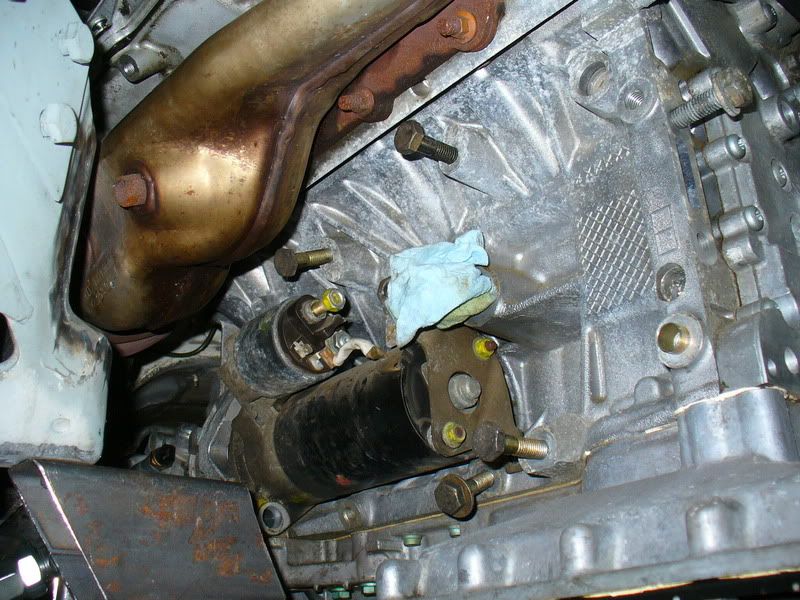
the pass. side also allows for the starter to be removed without pulling the mount, or dropping the subframe like on my A6.
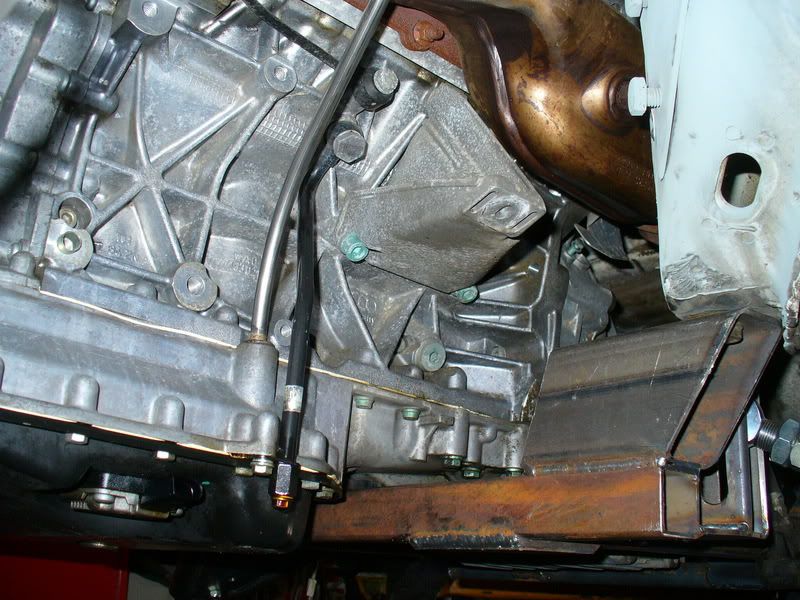
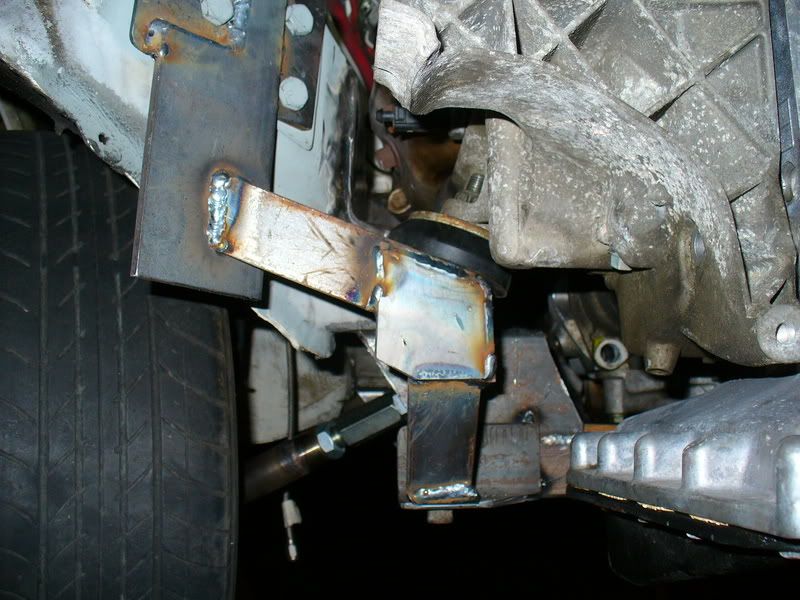
last bit to do on it is some triangulation braces for my own piece of mind. i've seen some other guys weld angle iron to their frame rails, then just jut a piece out to hold the engine, but i'm kinda crazy sometimes with over beefing certain pieces, like the engine
drivers side still needs some finishing.
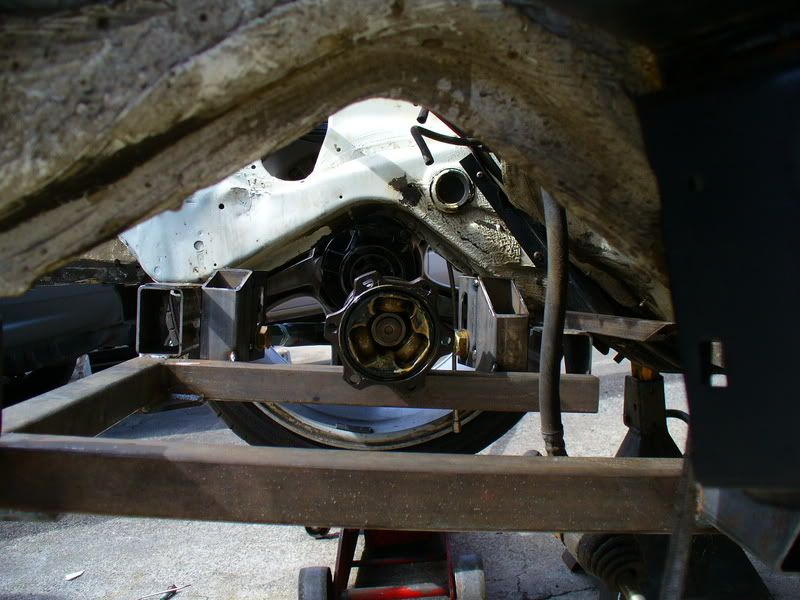
while i had it all together, i test fit my axle, and the first hybrid i built came up short, soooo, i grabbed one of my A6 auto axles and tried it out... bingo!
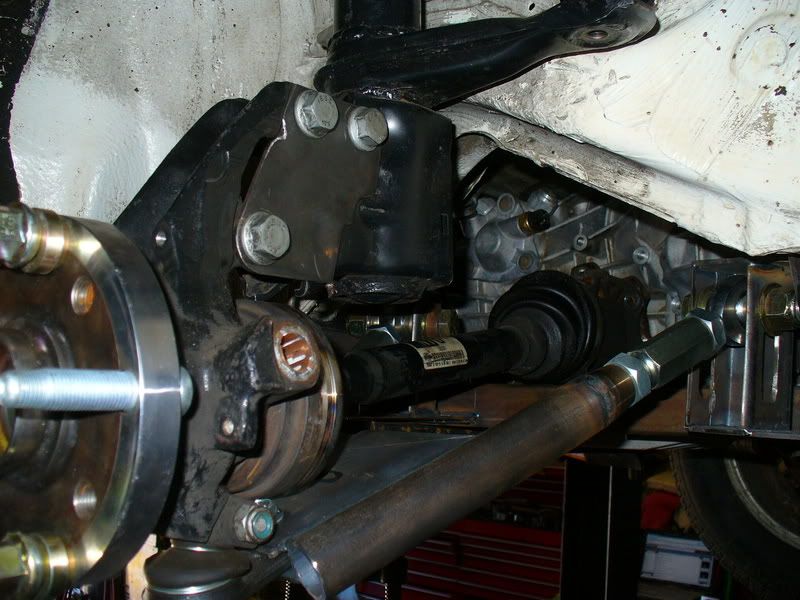
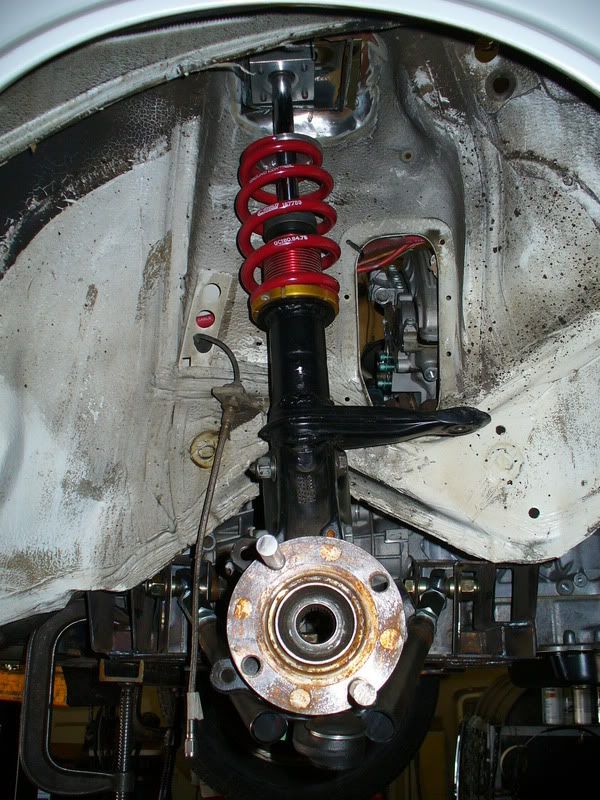
here you can see the castor i'm getting

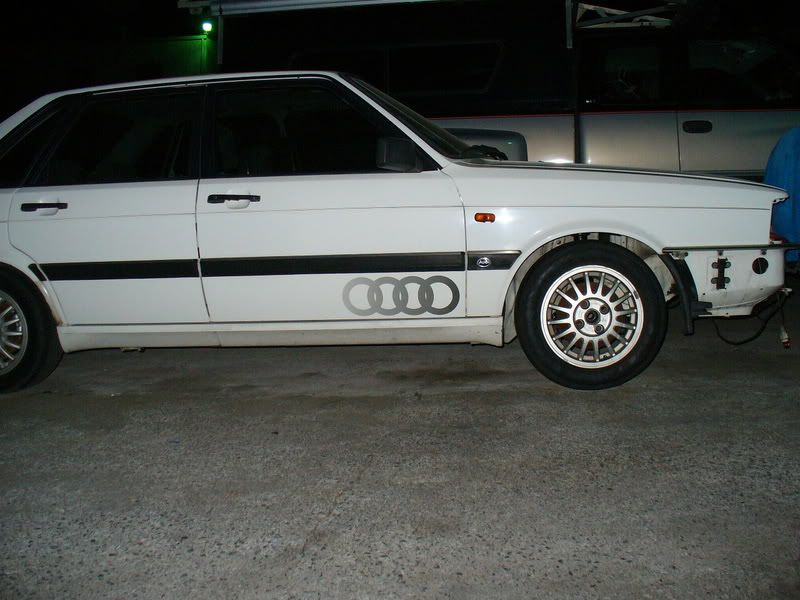
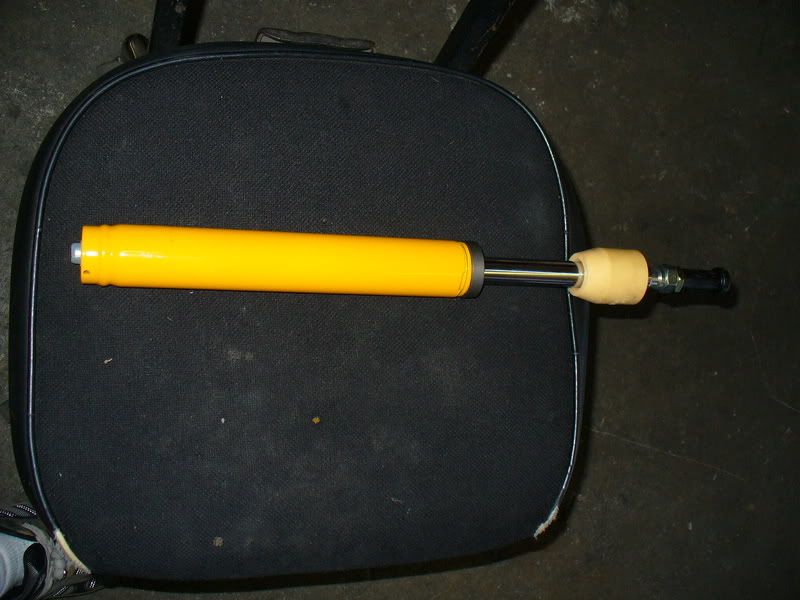
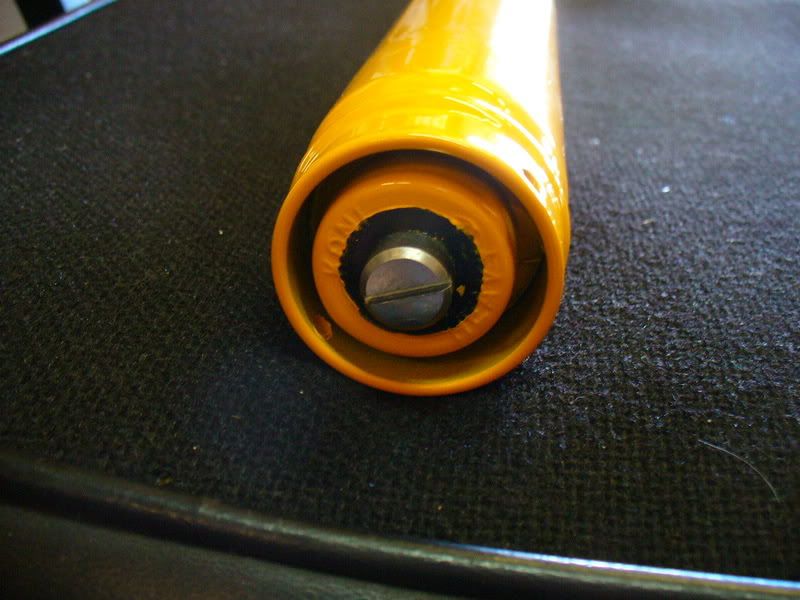
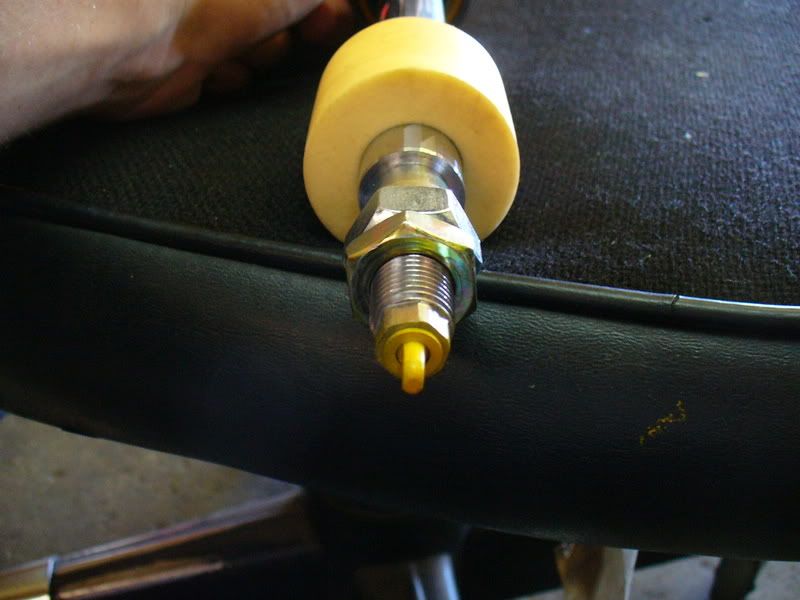
well, that's all for now. i'm gonna try and wrap up the engine mounts tonight and set the car up for building the front struts since they too are being built from scratch for these stupid wheels. i plan on making the car look absolutely awesome so that if it sucks to drive, i can at least stand back and go.. "man, those wheels are soooo wide!"
lol.


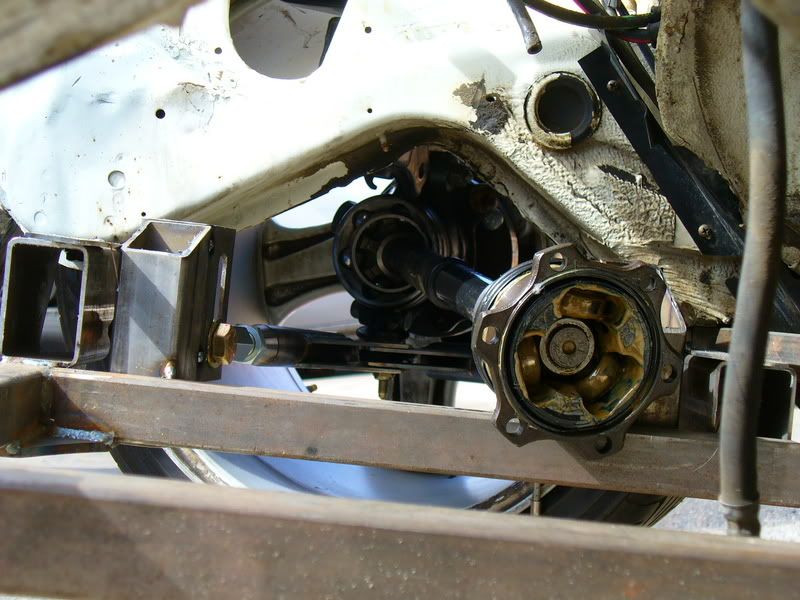
 the rails actually sit real close to the inner joint, but i may have to modify the subframe to get my extra 1'' downward movement i'm shooting for here.