hey Pat, i used all new rubber mounts, tranny, diff (all three on the diff), and new stock engine mounts. i want the car to be nice and quiet and smooth. no more vibrations at idle and when the engine is lugged under a load

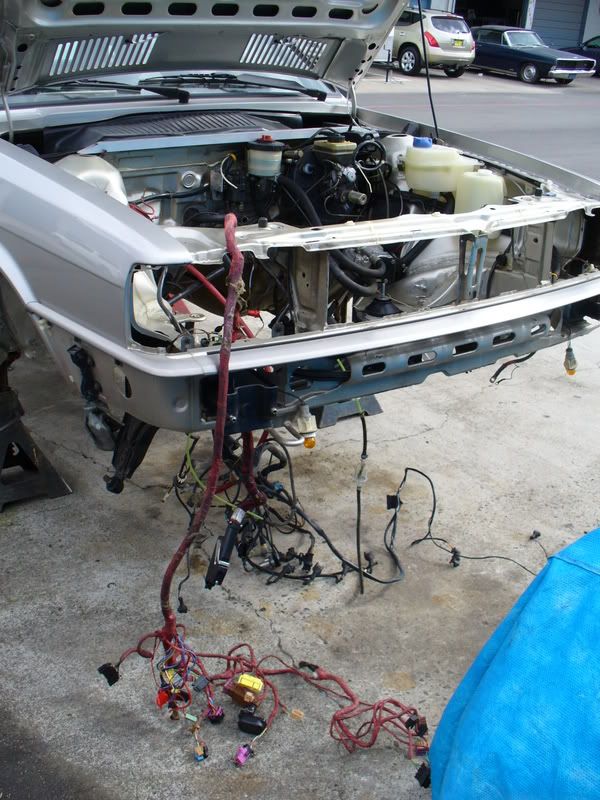
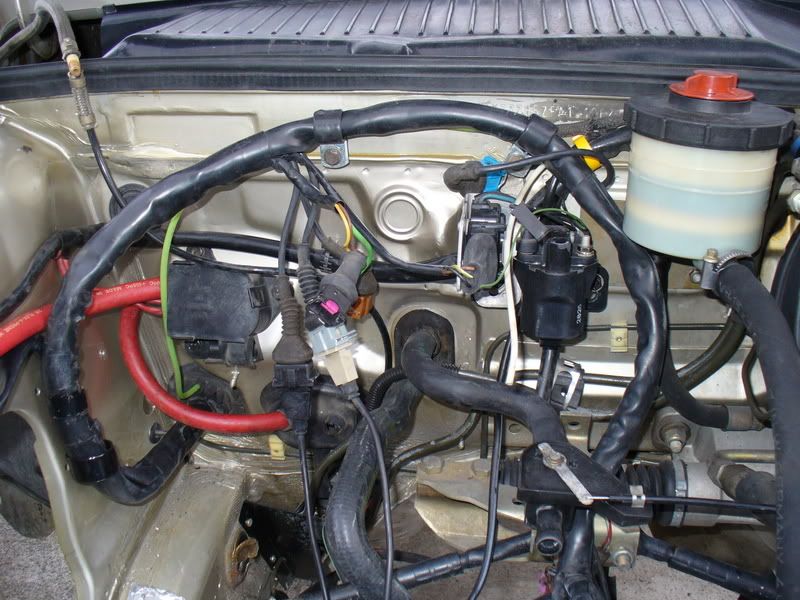
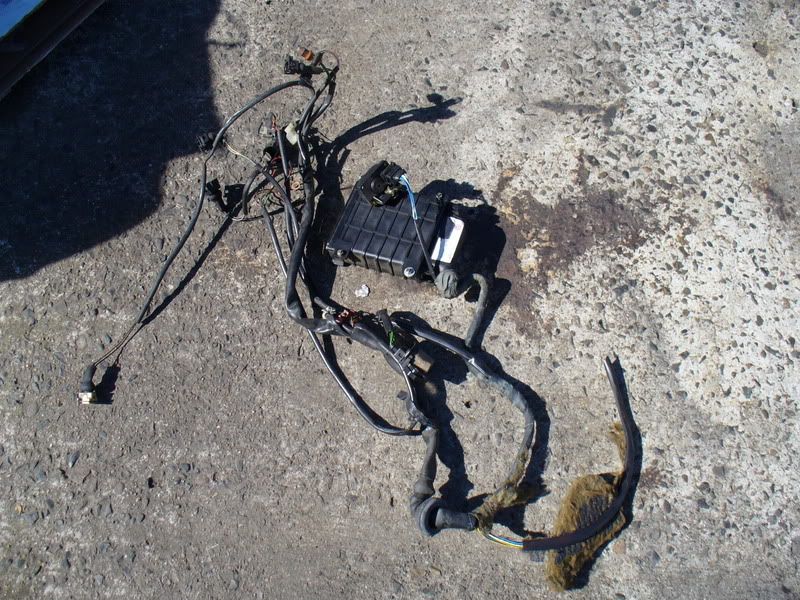
today was again very productive. cleaned up the firewall and painted it, re-routed the fuel lines for hooking up to the stockers, mounted the coil, removed the stock engine harness, the A/C box inside, routed the battery cable, mounted the new battery cable junction box, reinstalled the cover for the heater/air box, got nice new windshield washer fluid lines and more

so, on with the pics 8)
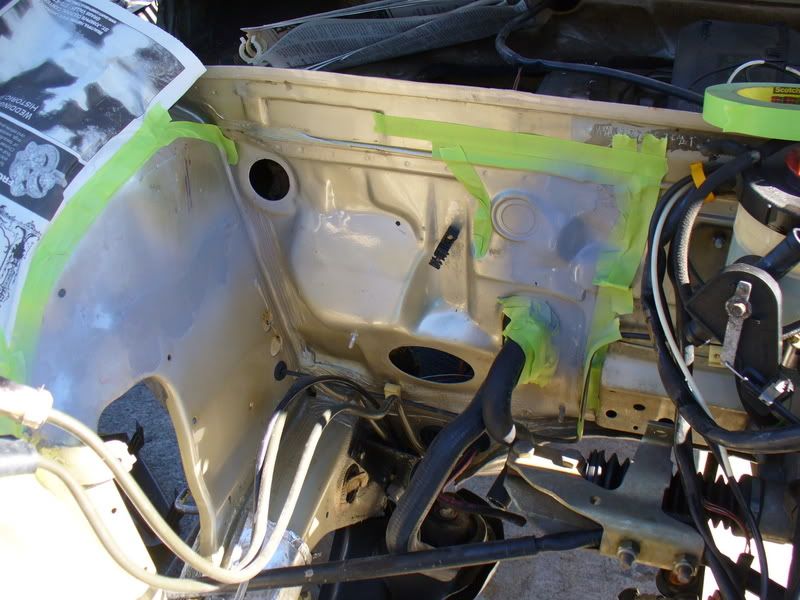
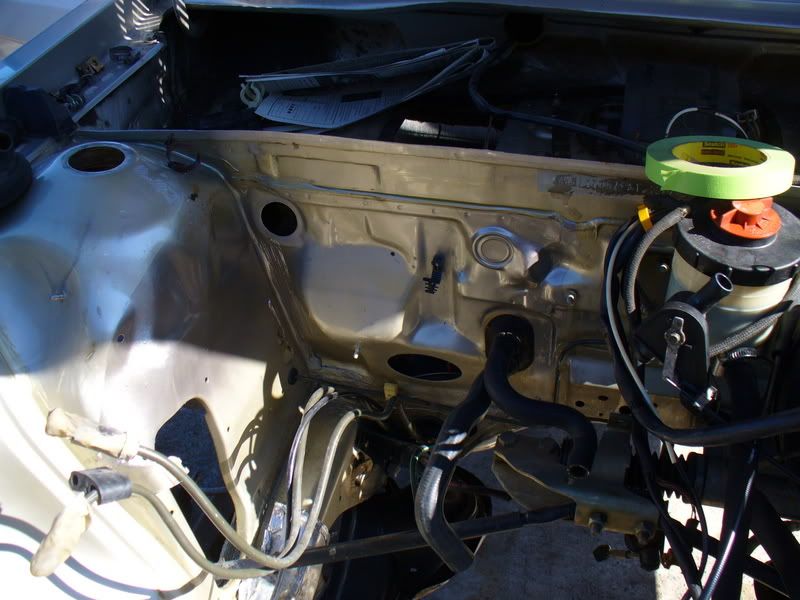
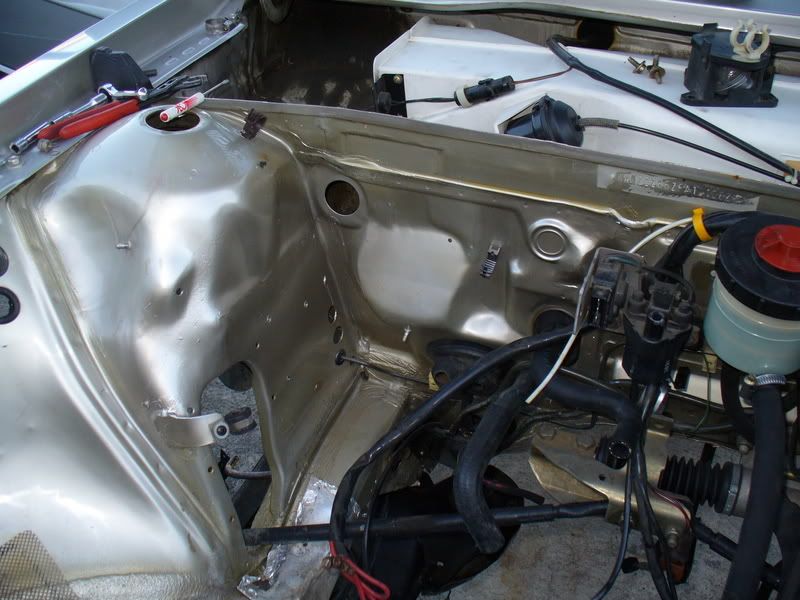
started off with actually getting to see what i had after steam cleaning yesterday and while it's clean, the paint was still kinda hazy, so i went at it with some rubbing compound and got a bunch of it really nice. there was still some nasty scarring from battery juices on the pass. side strut tower though.

a bit of sanding and taping...
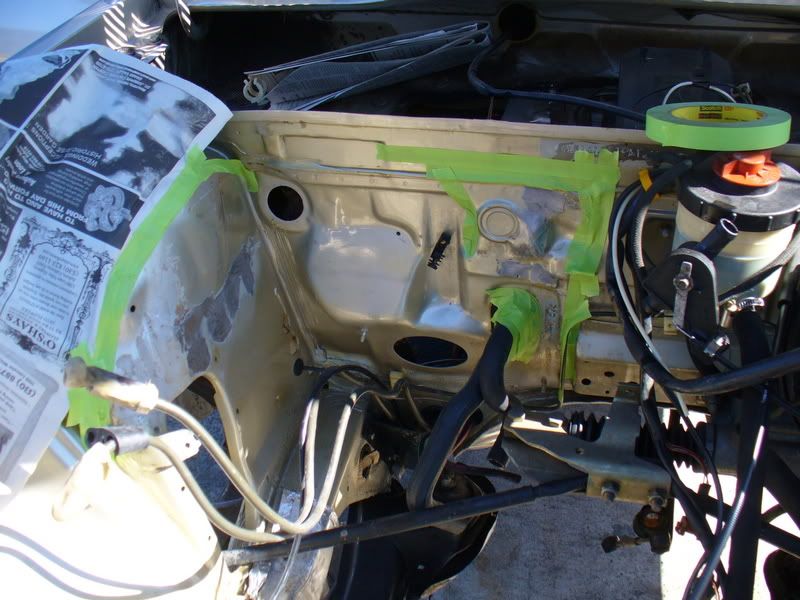
a bit of primer..
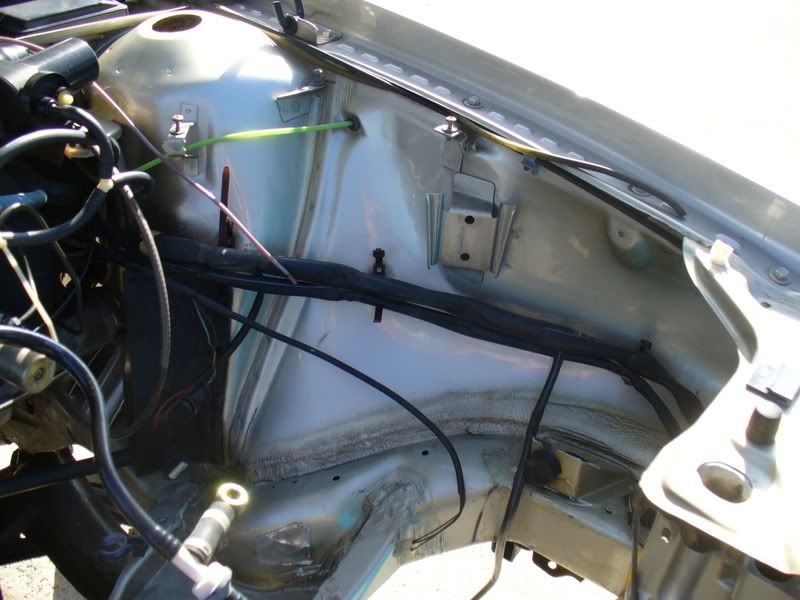
and a bit of color
i remembered seeing Martin's relocating the fuel lines for his 7A swap, so i did pretty much the same thing.
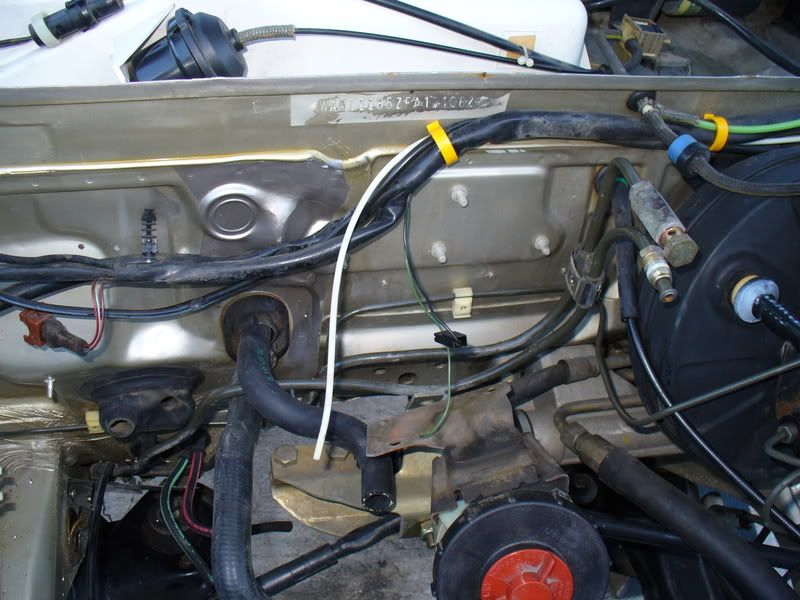
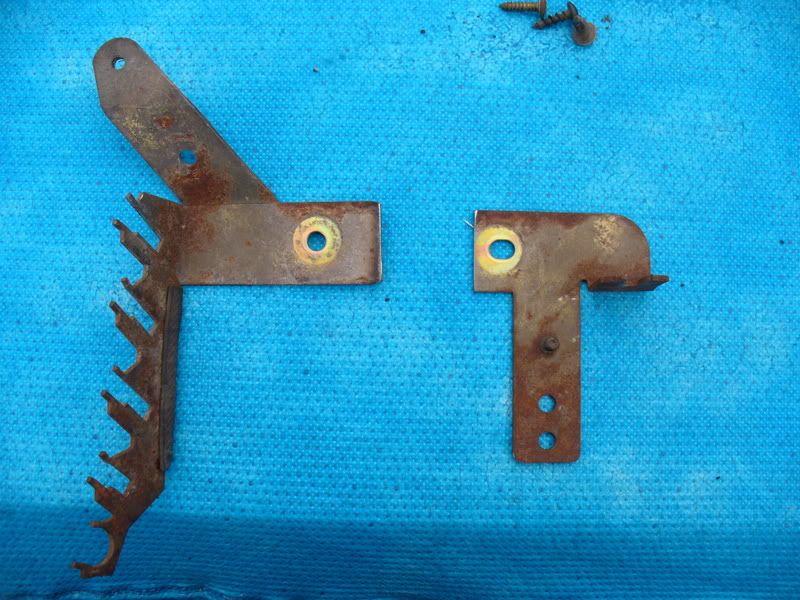
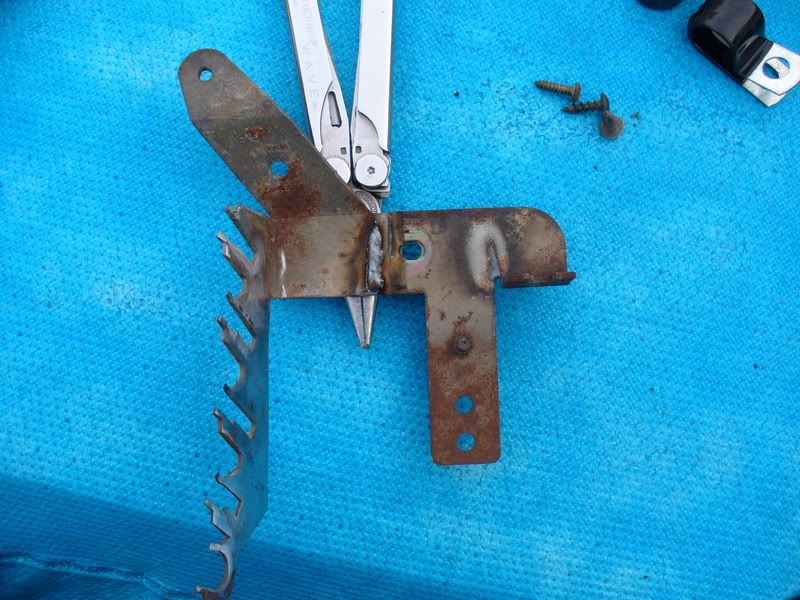
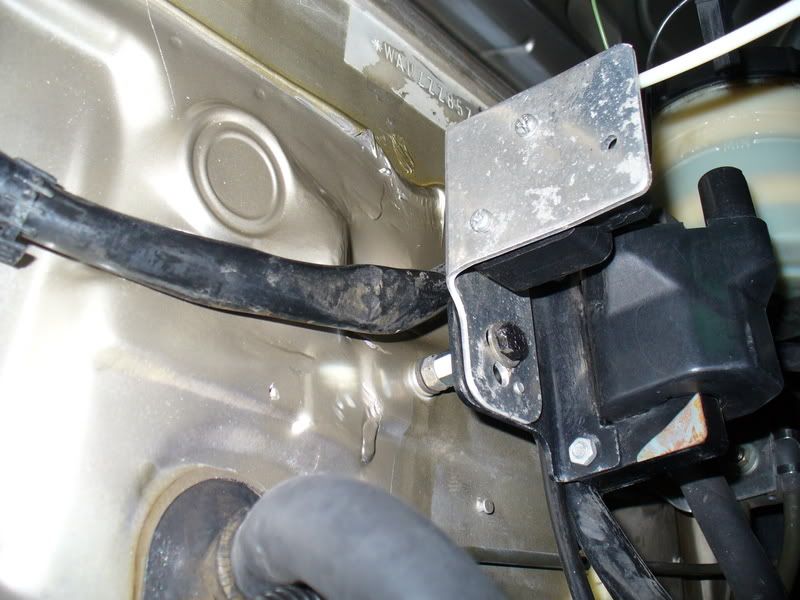
made a little bracket to hold the lines up in place properly
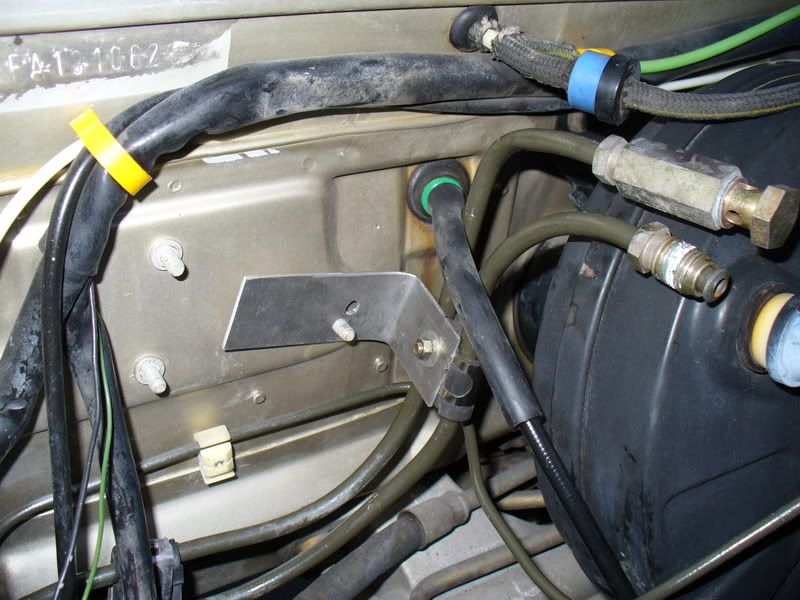
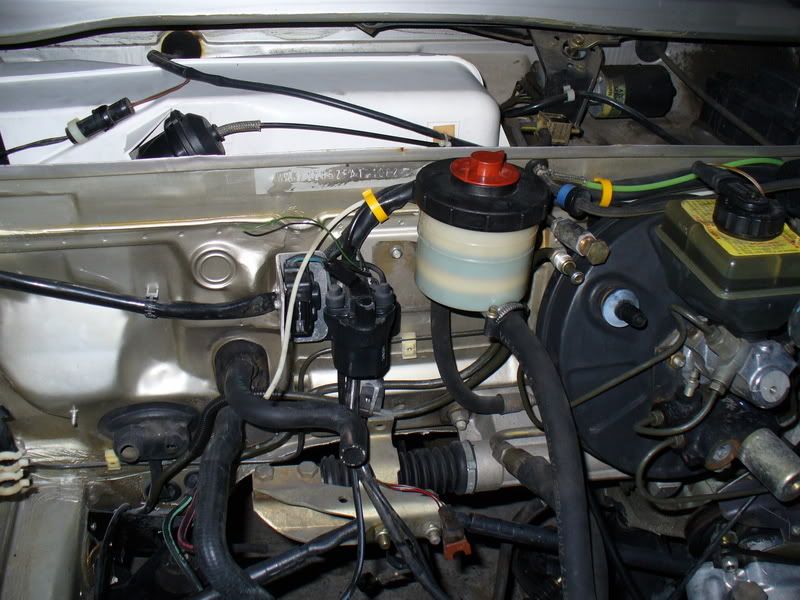
and the fit nicely in their new home. they even have the right offset to match the feed and return lines off the 3B intake manifold
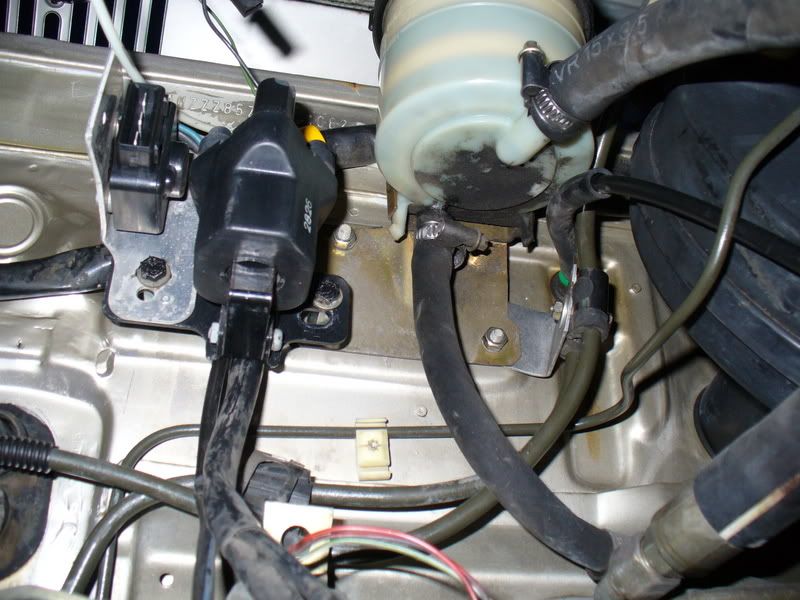
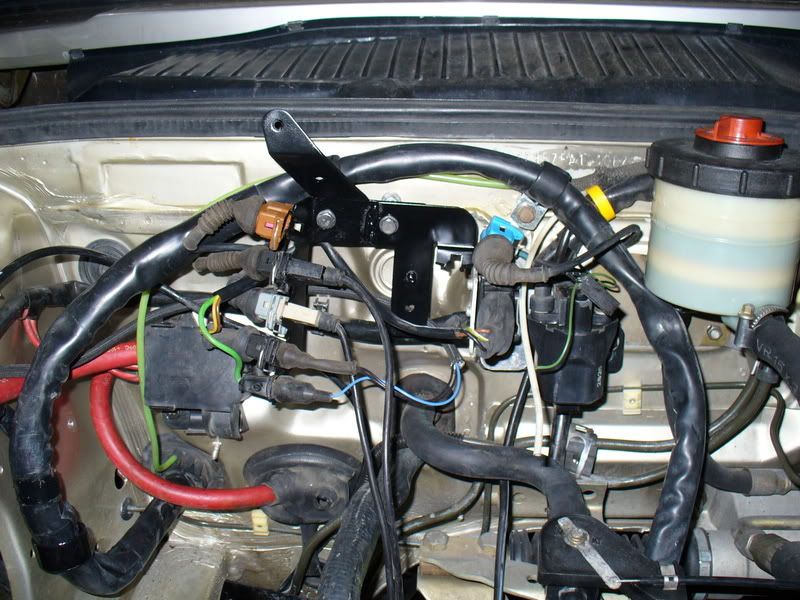
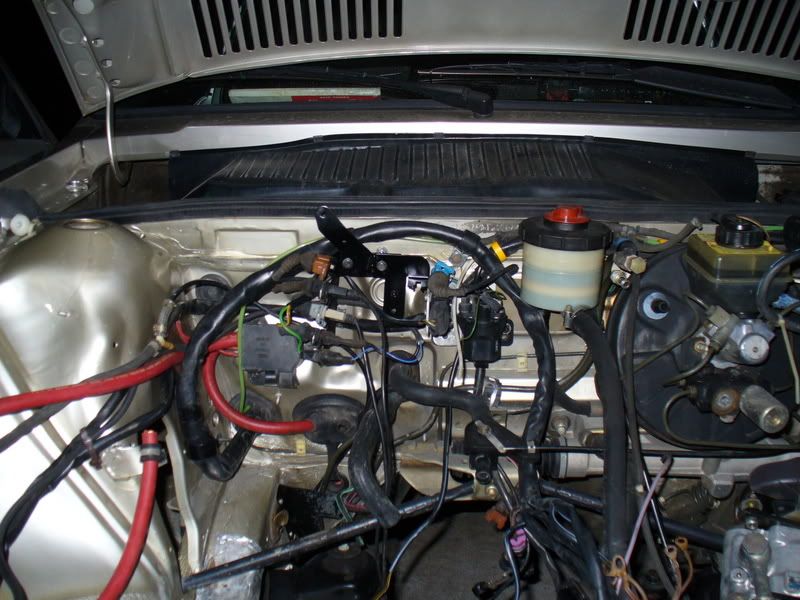
nice and clean with the lines all re-routed and everything tidied up.
the coil is spaced out on coupling nuts.
hung the new motor mounts 8)
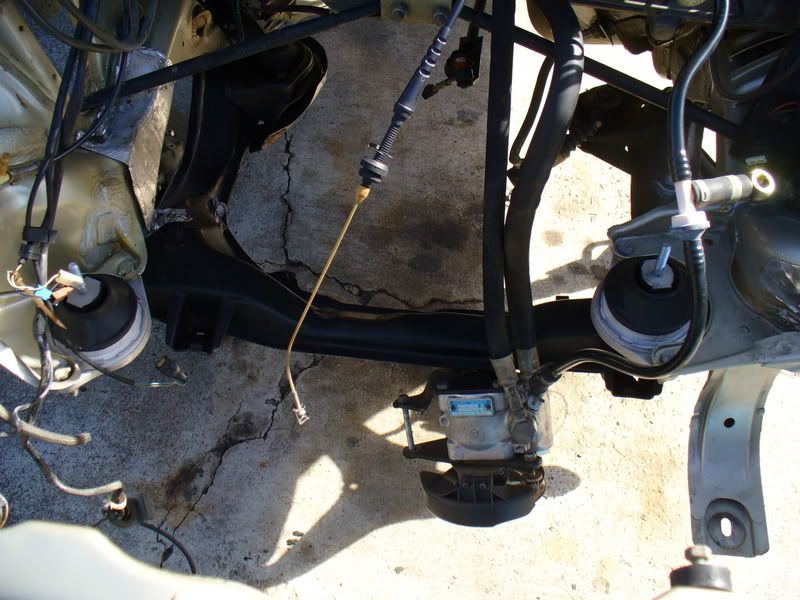
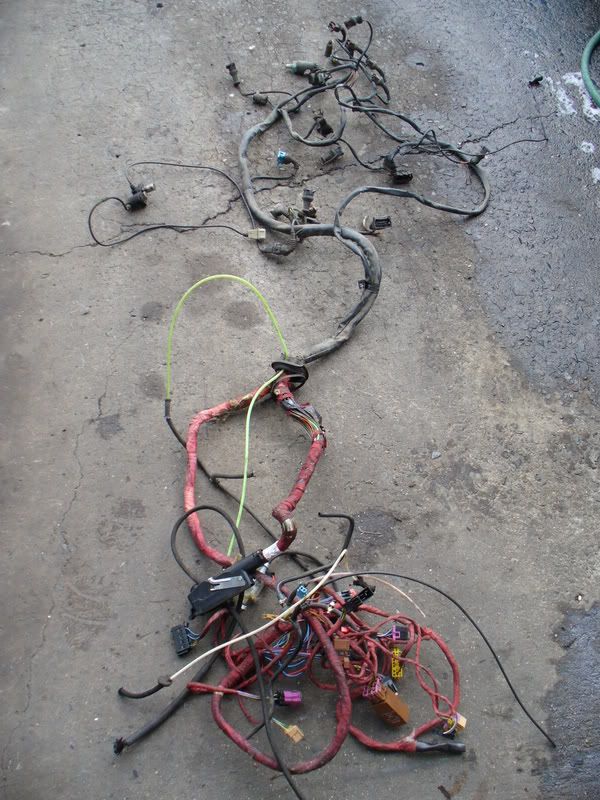
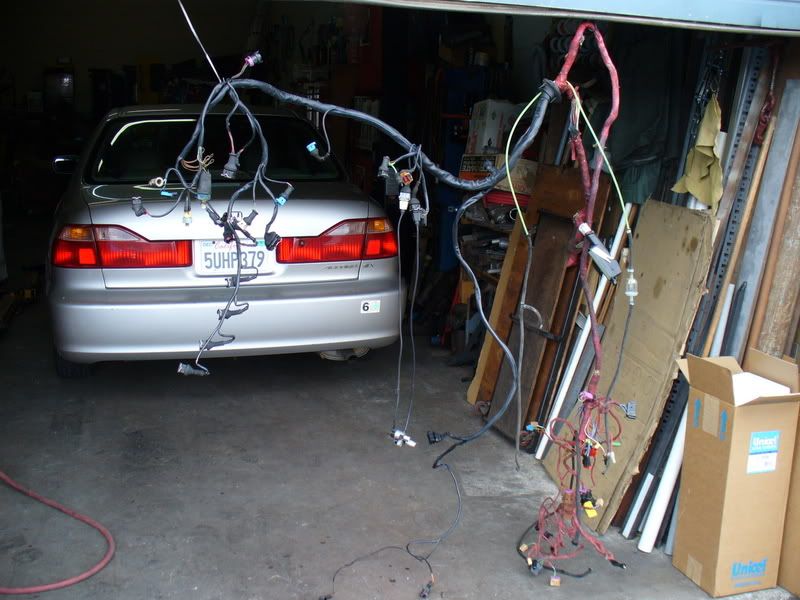
won't be needing this turd no more

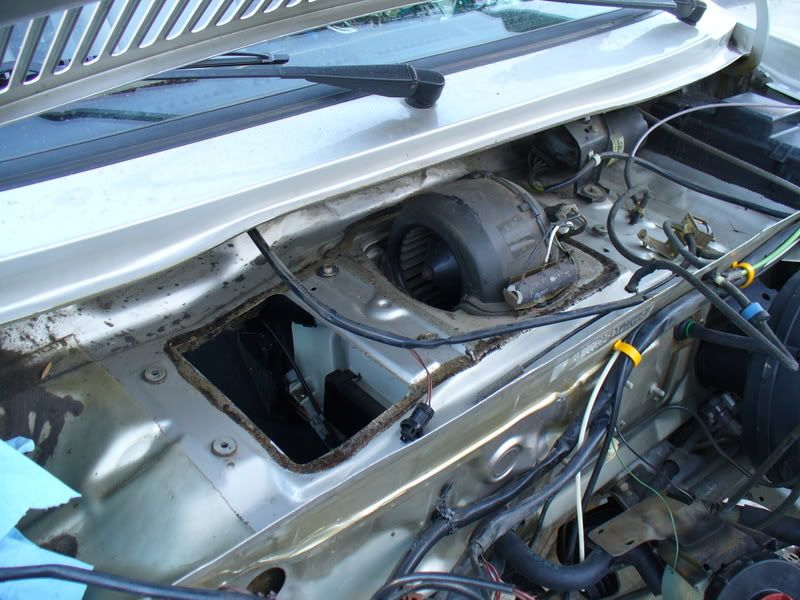
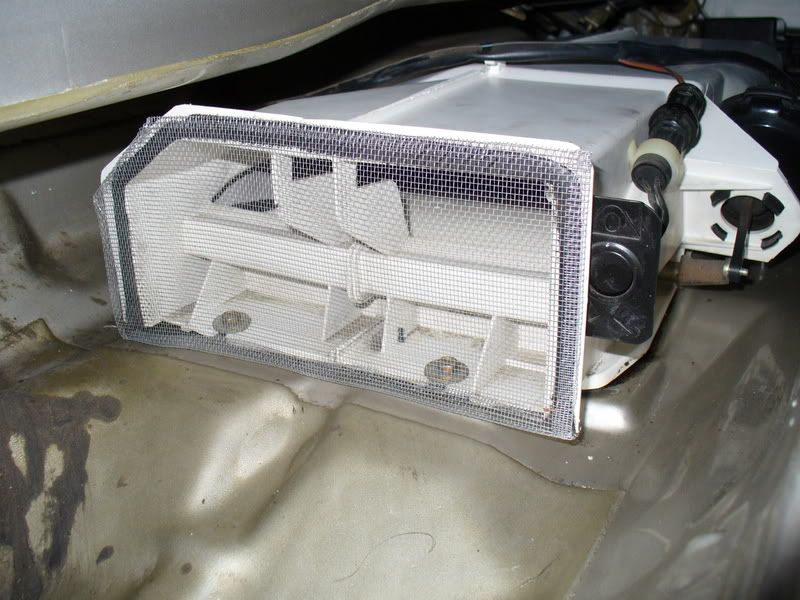
then i had to cover this thing up..
i got new foam at napa and sealed this thing up all nice and tight 8)
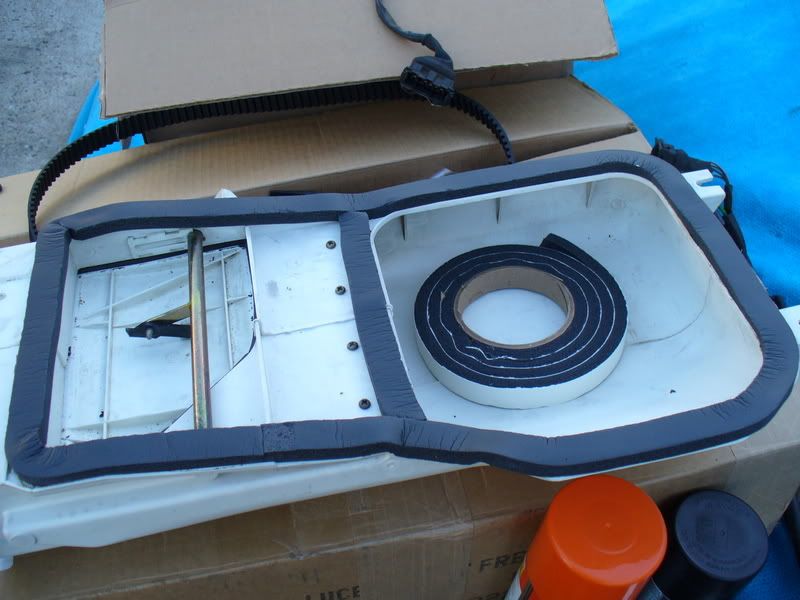
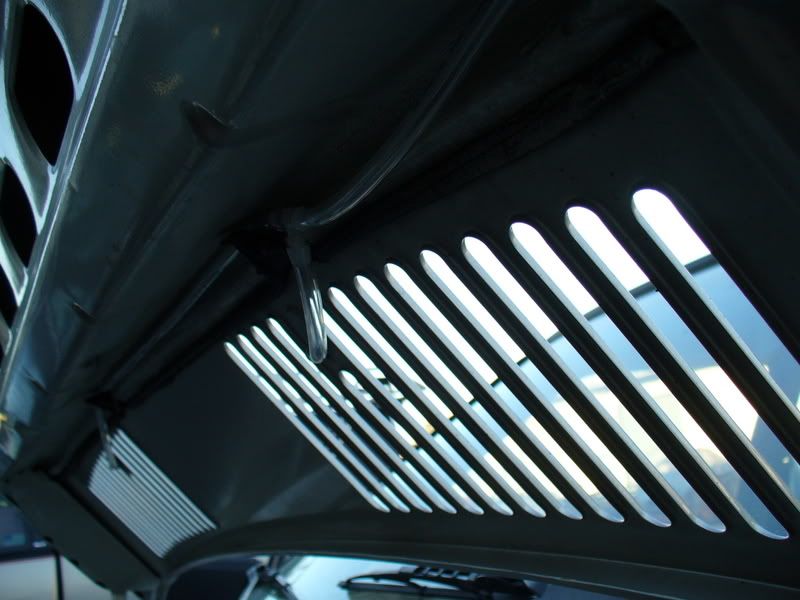
also made a new screen for the inside air inlet... although i'm not sure if i'll be able to cope with not getting greeted with leaves in my eyes when i open the fresh air vent in the future
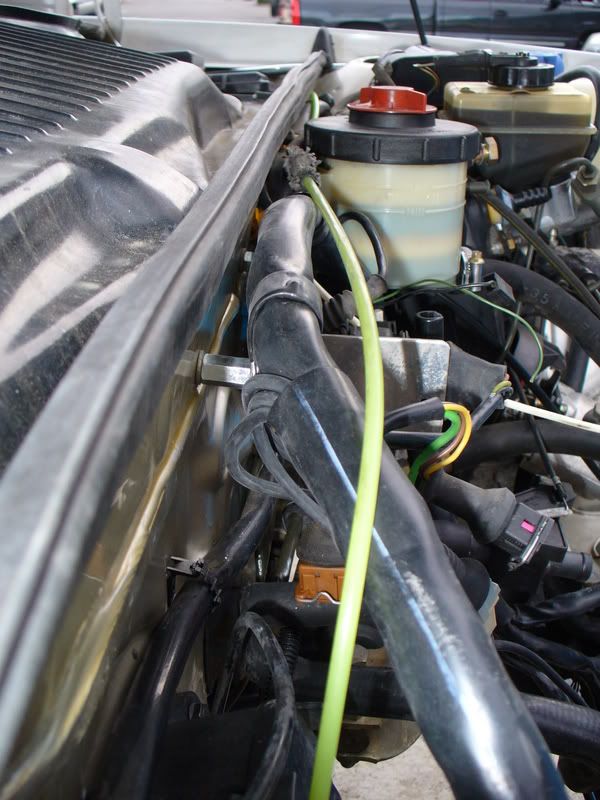
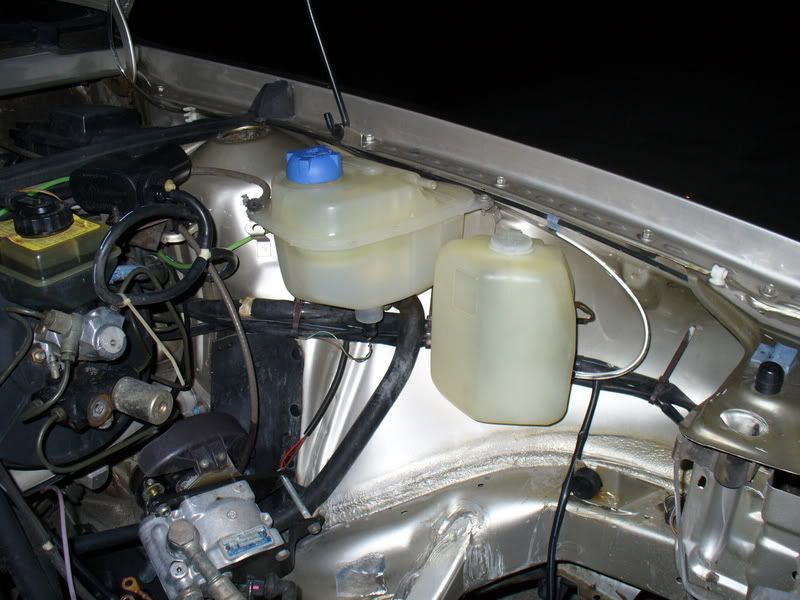
also got the new winshield washer fluid lines in. it's cheap at ACE hardware
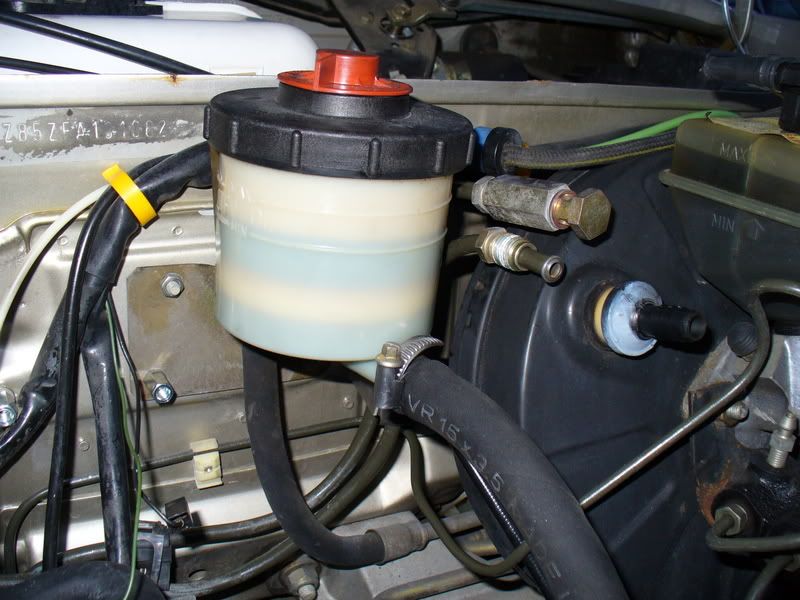
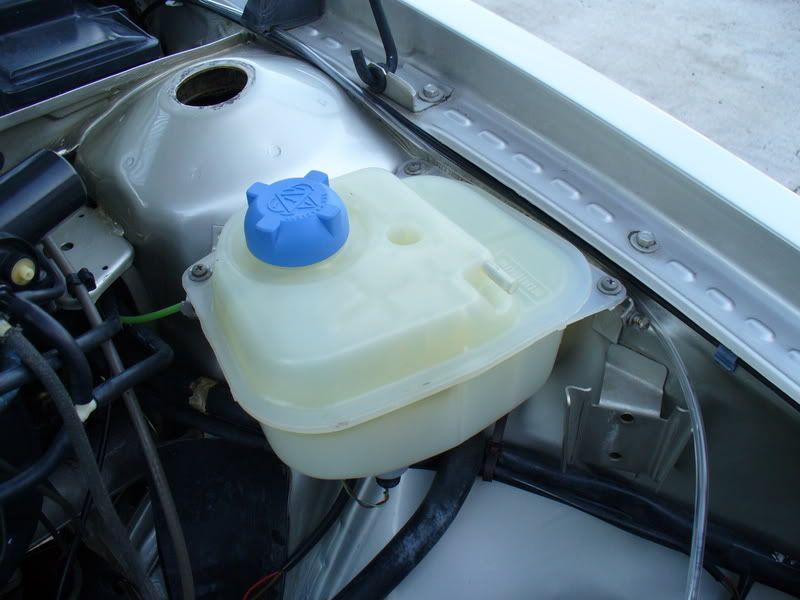
and a newerish coolant bottle so i don't get yelled at bye the wiz for having a brown one...

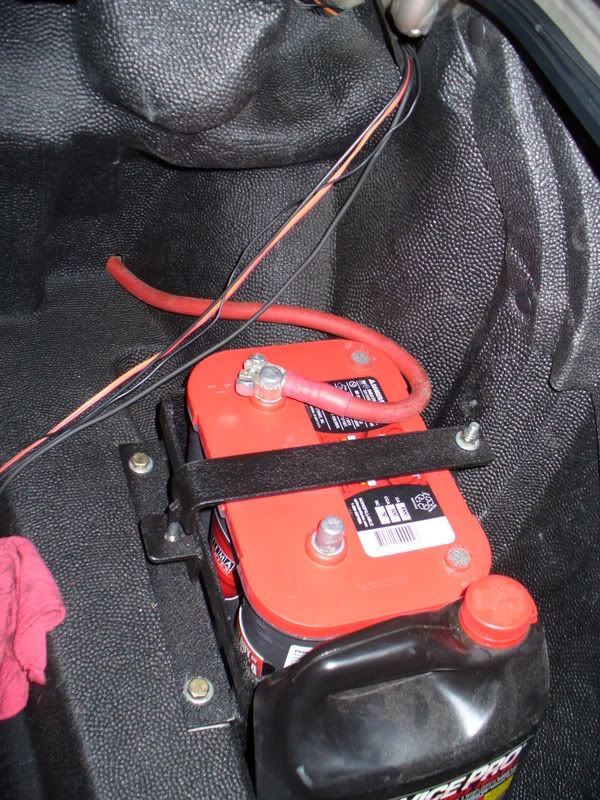
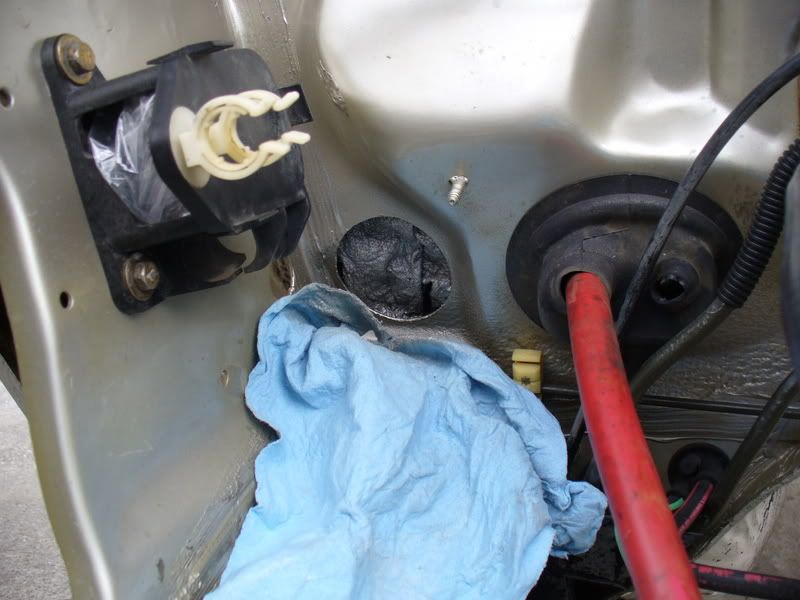
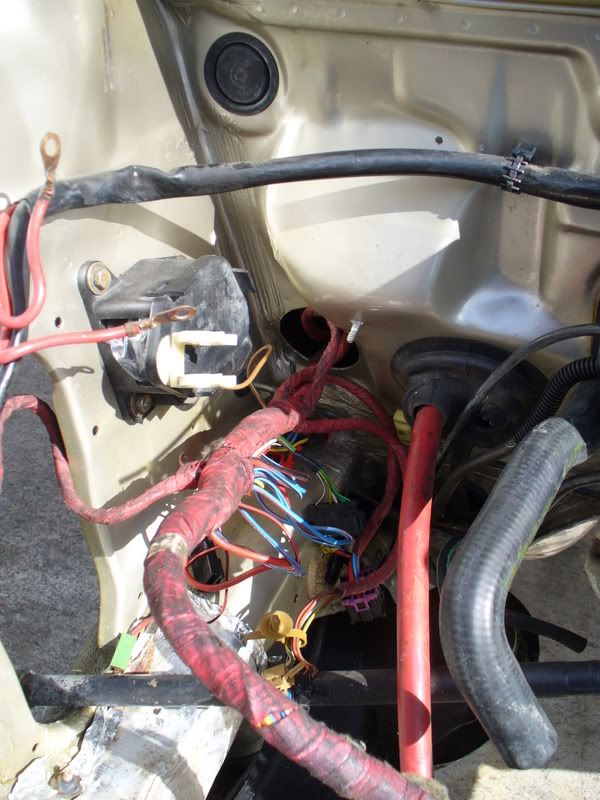
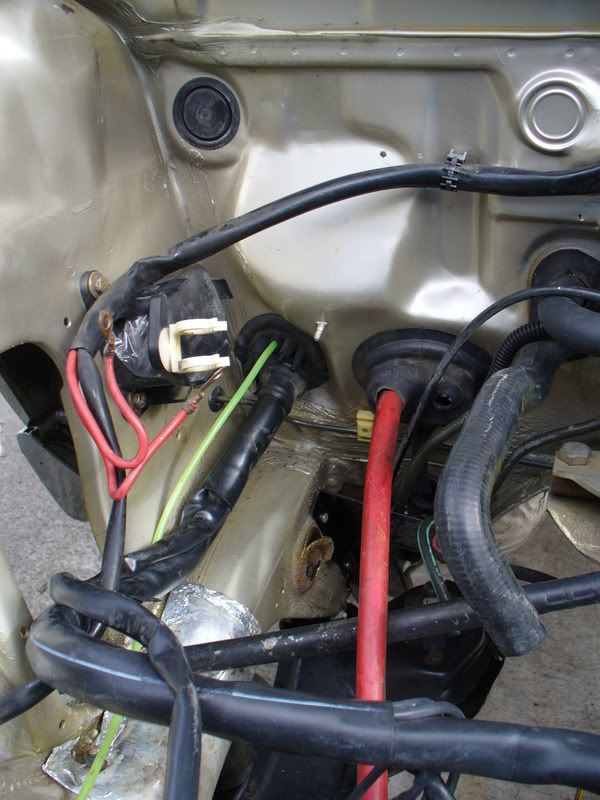
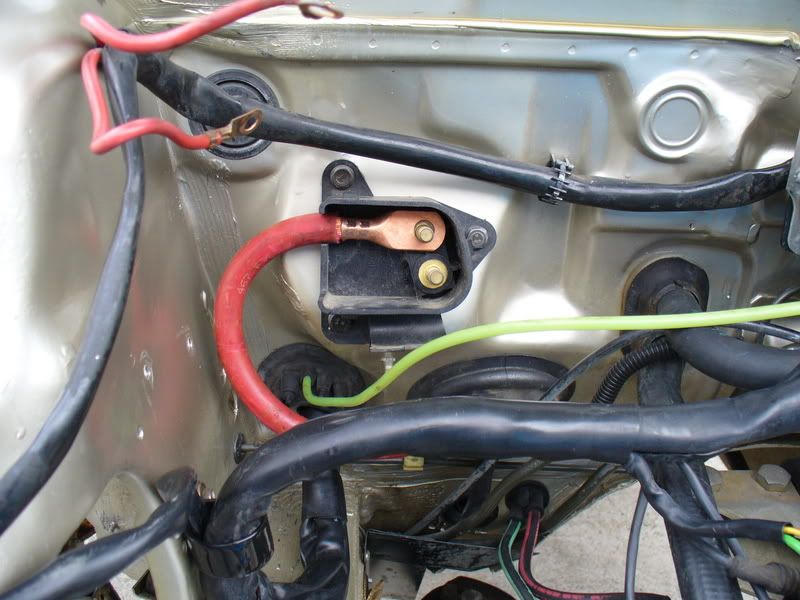
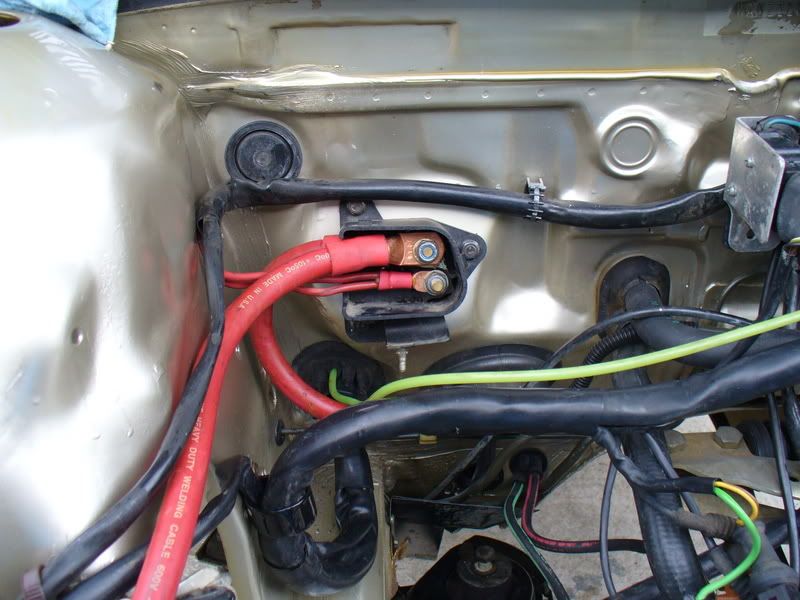
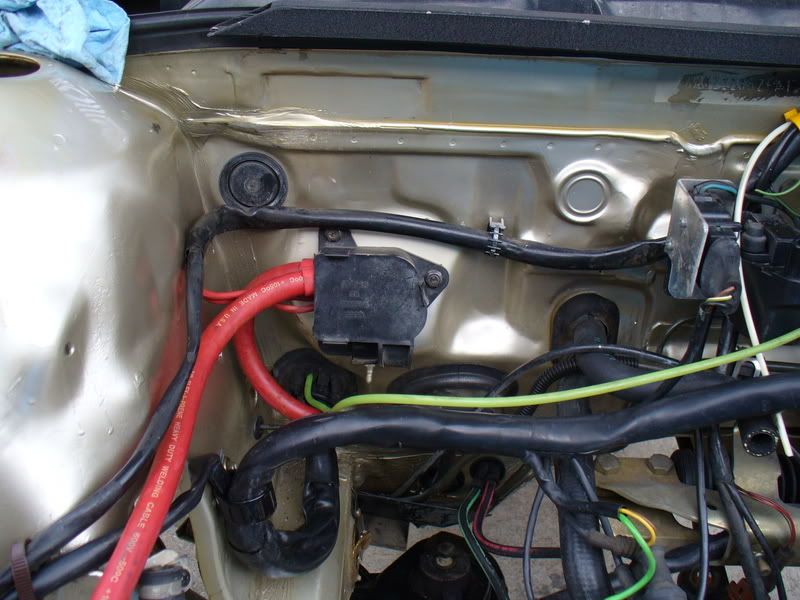
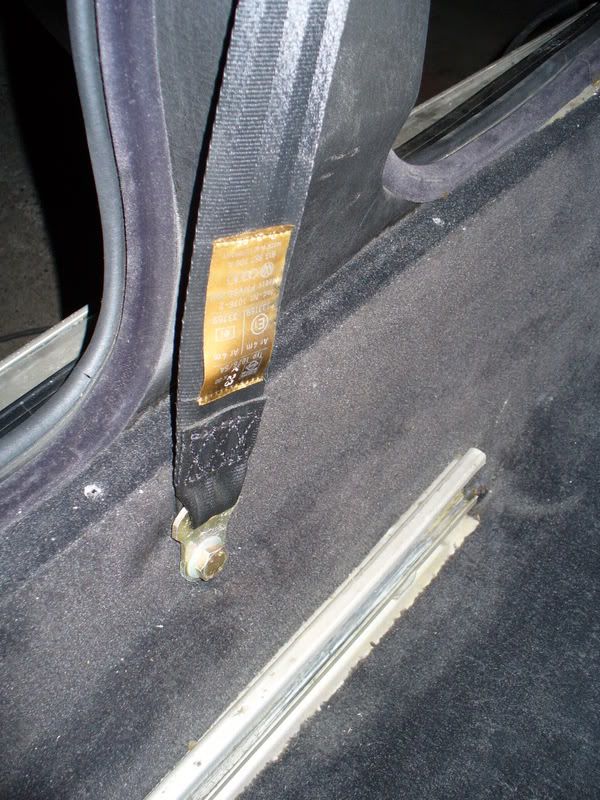
then the last thing i did tonight is run the batter wire...
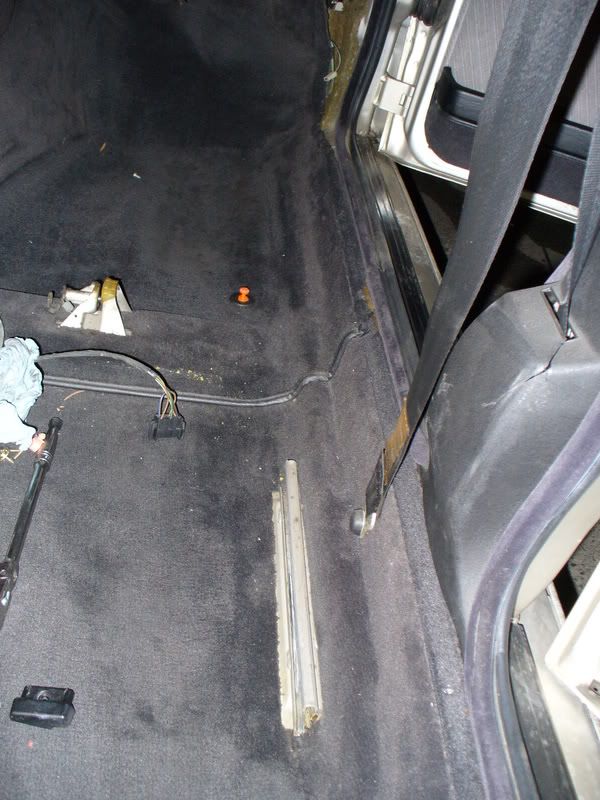

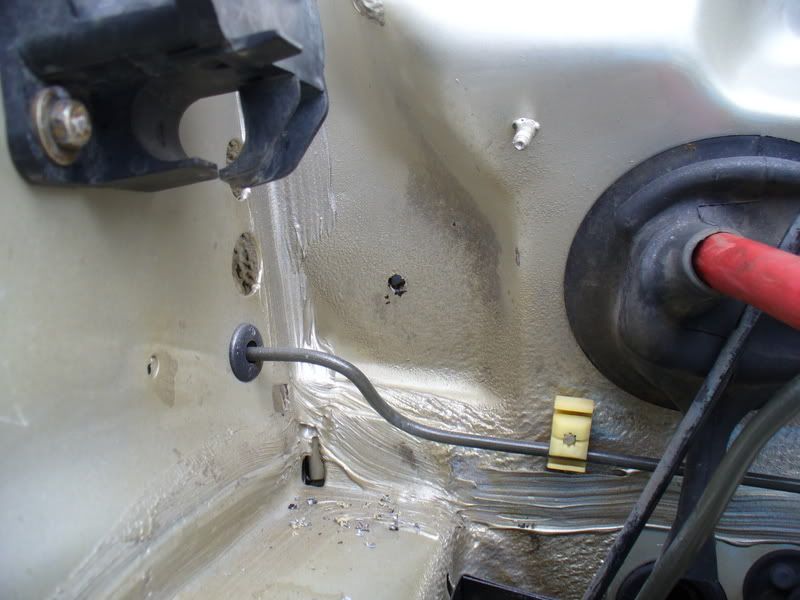
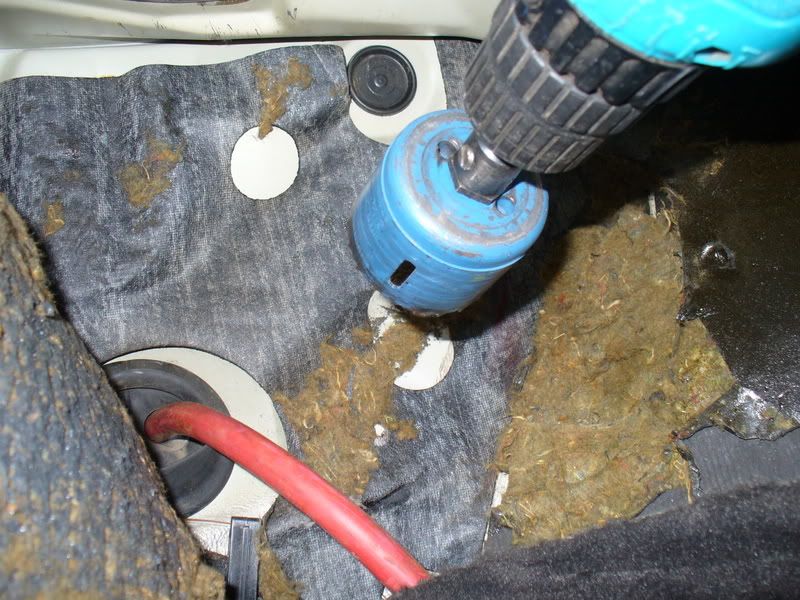
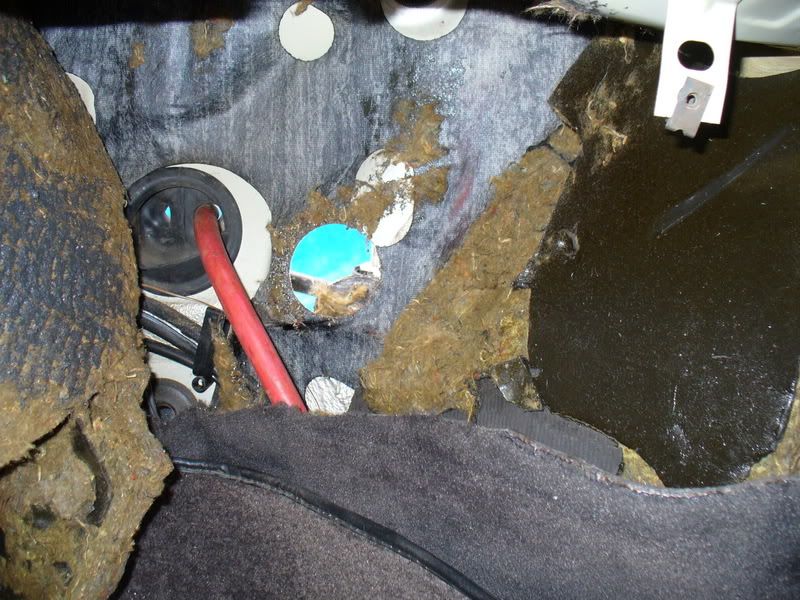
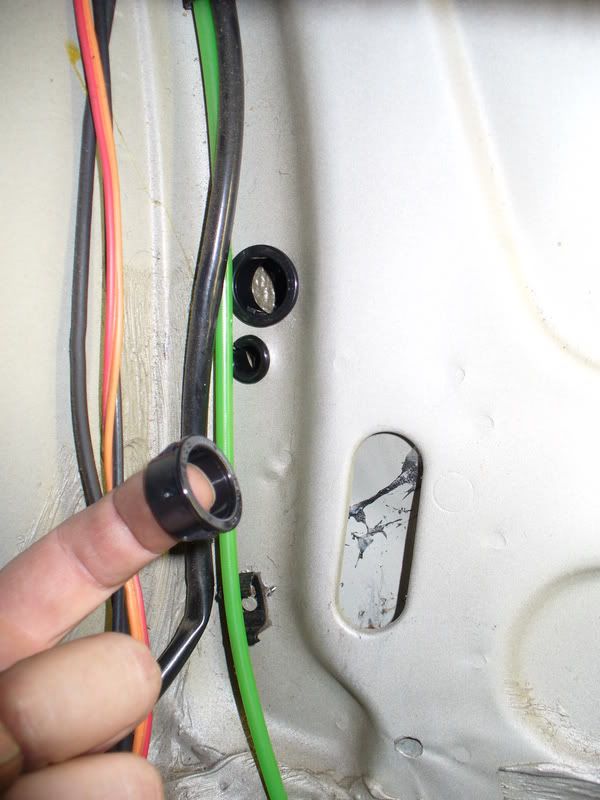
i put an isolator in the hole in the rear firewall so chaffing of the wires isn't a problem. big wires burning aren't my idea of fun :(
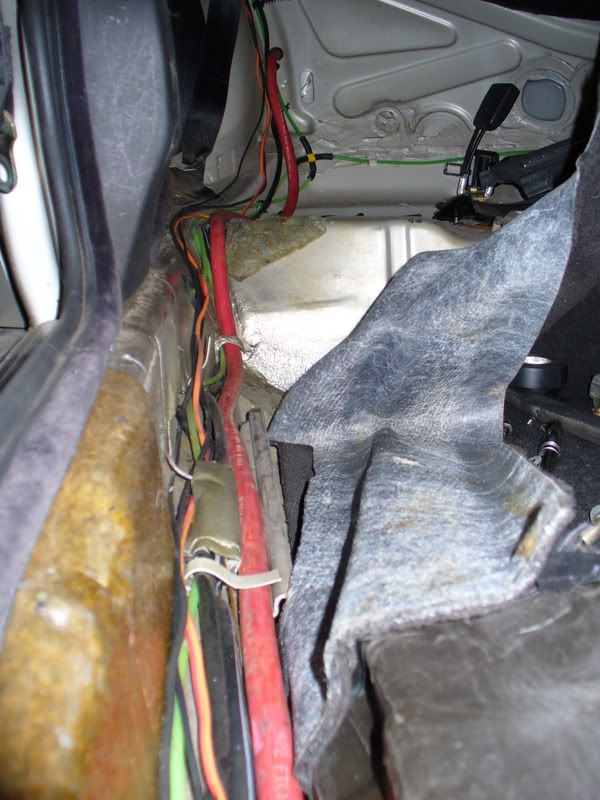
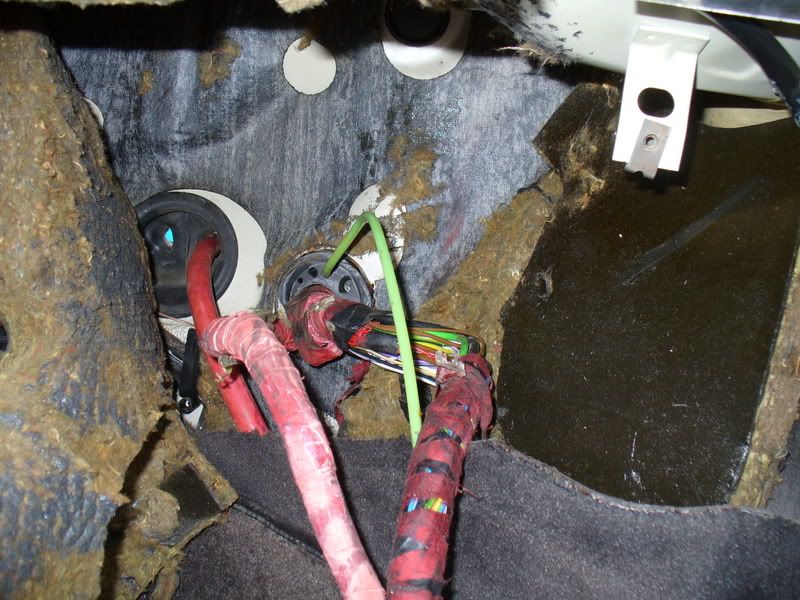
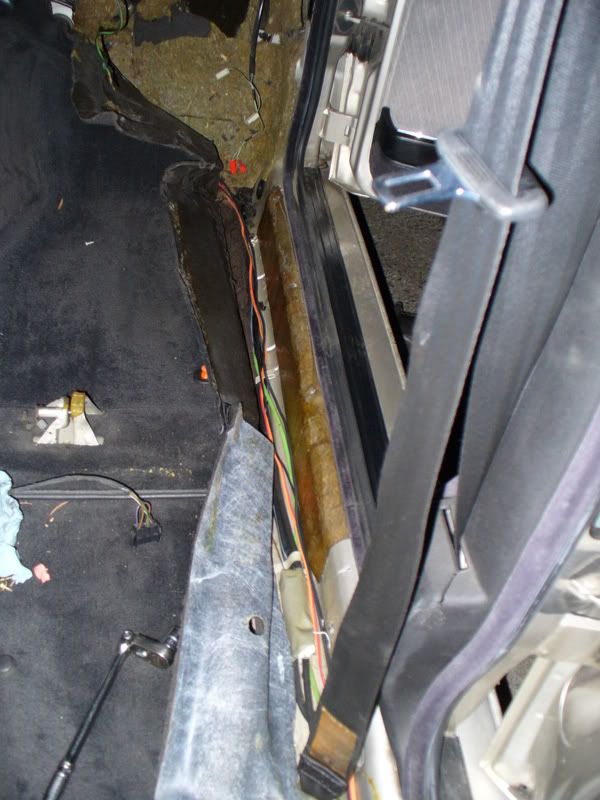
i cut a route in the padding so the wire doesn't protude out of the carpet.
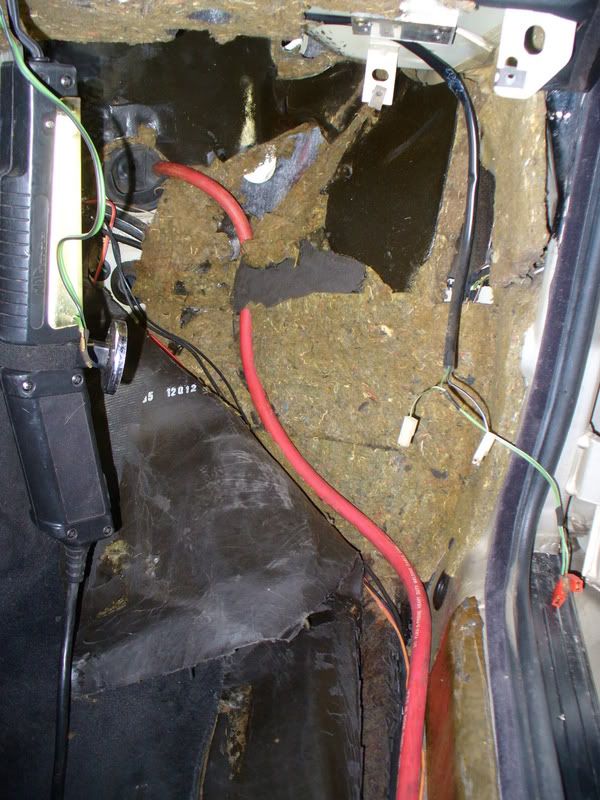
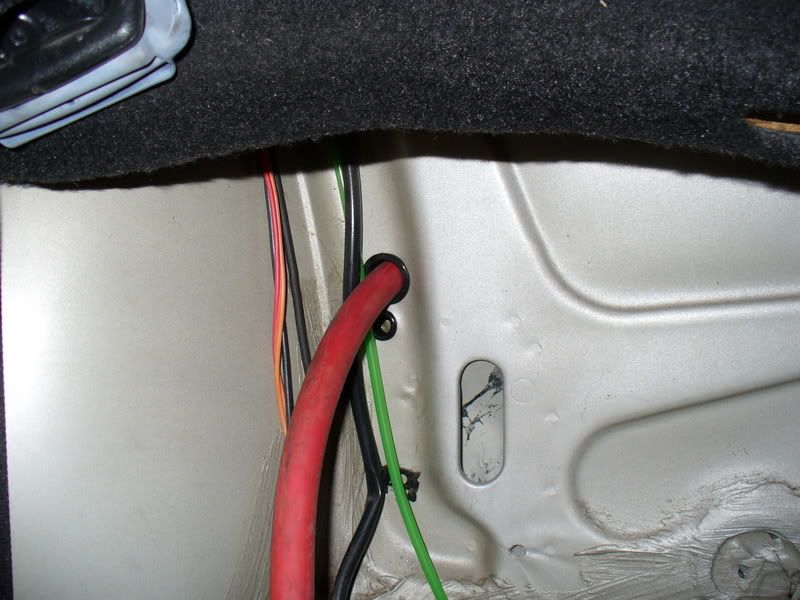
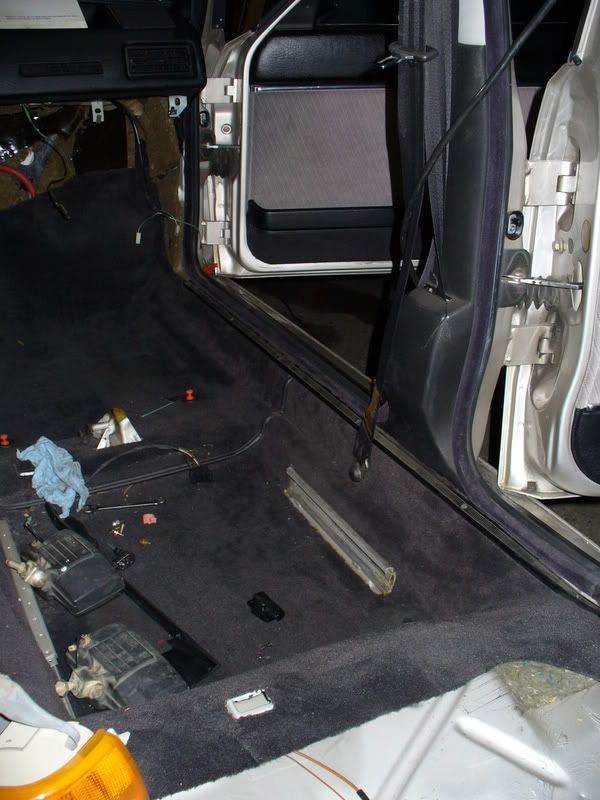
all put back together
and finished up in the trunk too.