Page 12 of 83
Posted: Tue Mar 13, 2007 9:03 pm
by derracuda
the M3 is mine, bought it off a customer with a blown engine. if you have to ask how much.... :slap:
Posted: Tue Mar 13, 2007 9:28 pm
by Matt
Did I mention that I really dislike you right now... two near perfect 4kqs, an UrQ, and an E30 M3.
:frustrated:
Posted: Tue Mar 13, 2007 9:43 pm
by derracuda
ok, so maybe i lied about the M3 being mine...

but i did have a dream last night that i had bought some car (can't remember what) and the guy had some extra parts in a storage bin and it was like, 2 RS2 IM's, some turbos, EM's, euro lights, and other cool stuff of course.... i was rather upset when i woke up and realized it was a dream... but alas, i guess that's why they call them dreams

Posted: Tue Mar 13, 2007 9:47 pm
by Matt
Ok, so I like you a little better now... I'd be dreaming about a parts bin full of SQ parts..
On another note I had to pass up a $300 CGT today.. Extrior was good, looks like a driver but the interior is junk...
Posted: Wed Mar 14, 2007 5:36 am
by Audilard
Wow, that looks great D. Just curious, how much does a hot tank bath on an engine block cost?
Posted: Wed Mar 14, 2007 7:13 am
by Longitudinal
Audilard wrote:Wow, that looks great D. Just curious, how much does a hot tank bath on an engine block cost?
Usually $50 or less in these parts.
Posted: Wed Mar 14, 2007 7:47 am
by derracuda
:stupid: i ended up not having mine hot tanked and did all the cleaning myself so i could use the $$ elsewhere.
Posted: Wed Mar 14, 2007 7:48 am
by cuatrokoop
I get crap for painting my block silver, and you get props....Nice. I like the silver, obviously! Nice work as always D.
Posted: Wed Mar 14, 2007 8:29 am
by derracuda
thanks eric

i thought about going with silver silver... like, to make it look like aluminum, but i think the body color matching part is what's cooler
Posted: Wed Mar 14, 2007 8:32 am
by Lt. Sarge
No (bananna) Grabber Green? That's what all the cool kids do.
Posted: Wed Mar 14, 2007 9:00 am
by derracuda
:bashtard:
Posted: Wed Mar 14, 2007 9:30 am
by dspl1236
cuatrokoop wrote:I get crap for painting my block silver, and you get props....Nice. I like the silver, obviously! Nice work as always D.
nothing wrong with silver blocks!! As long as it is in a black engine bay...
Posted: Wed Mar 14, 2007 2:30 pm
by Wizard-of-OD
Whats the story with the M3 Derek?You buying it?
Posted: Wed Mar 14, 2007 3:01 pm
by derracuda
Wizard-of-OD wrote:Whats the story with the M3 Derek?You buying it?
haha, no, i was just pulling matt's chain

Posted: Wed Mar 14, 2007 6:28 pm
by cuatrokoop
derracuda wrote:thanks eric
i thought about going with silver silver... like, to make it look like aluminum, but i think the body color matching part is what's cooler
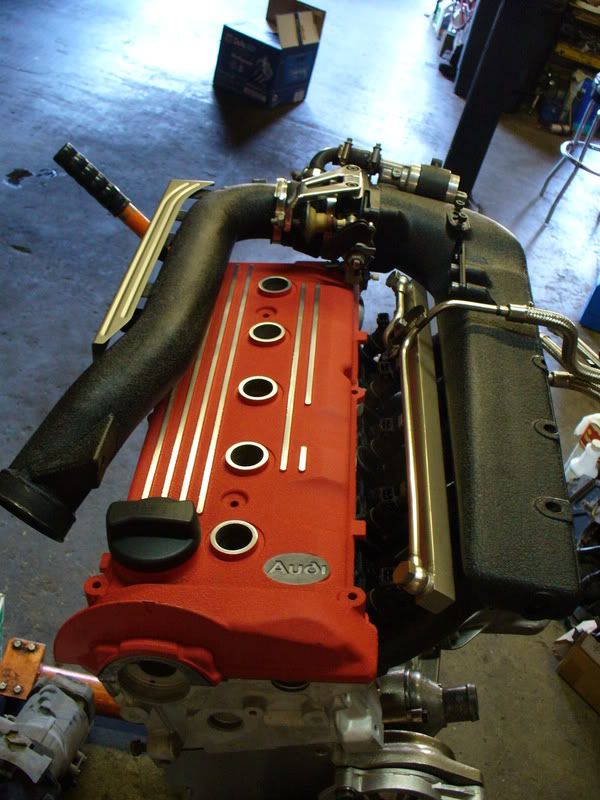
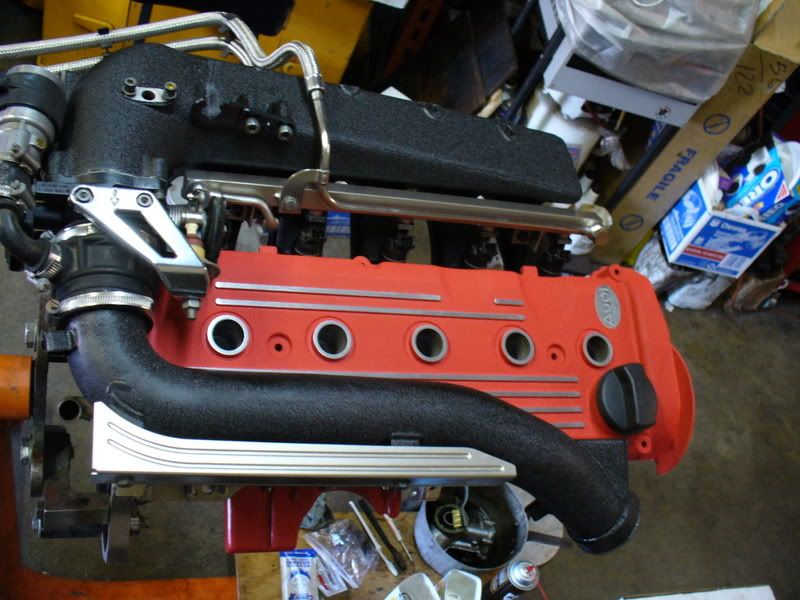
The color match is pretty nifty, I was just going for contrast. T.Red engine bay highlighted with silver and black engine...Your's will be punctuated by that sweet red crinkle cover... :woowoo:
Posted: Thu Mar 15, 2007 8:33 am
by derracuda
i'm about out of hosting space with photobucket, and i already have a second account that's being used on another email address.... soooo, i remembered an old email address and just used that to start up a third
here we go.....
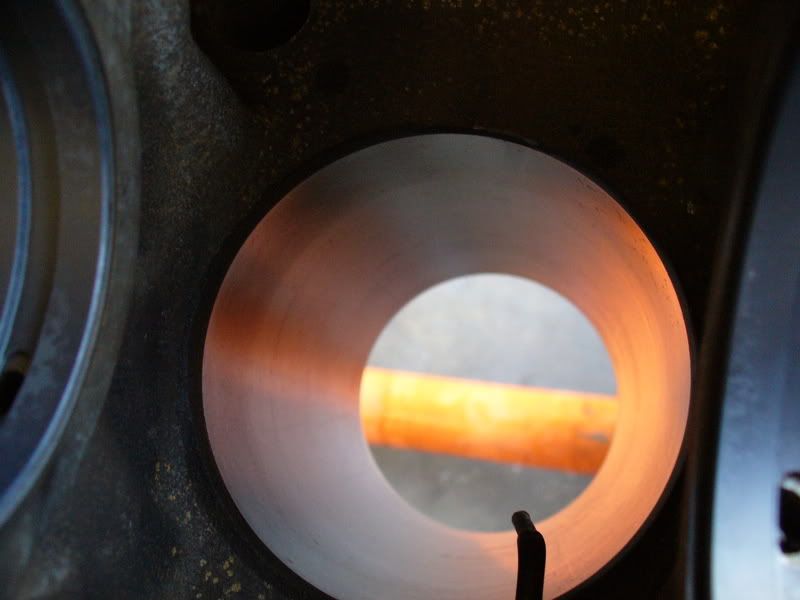
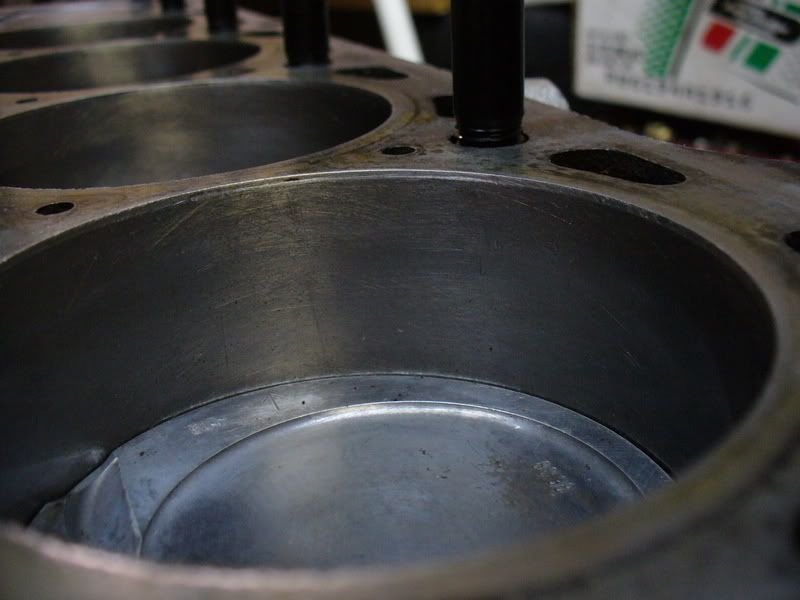
since i used a used MC block, there was a decent sized unworn ring around the top of the cylinder, the cylinders were all in great shape, no taper, and about a half thousandths wear in all of them, i just had that lip at the top that would damage the rings, and after all the work i've gone to, i don't want to pull it apart for a long while...
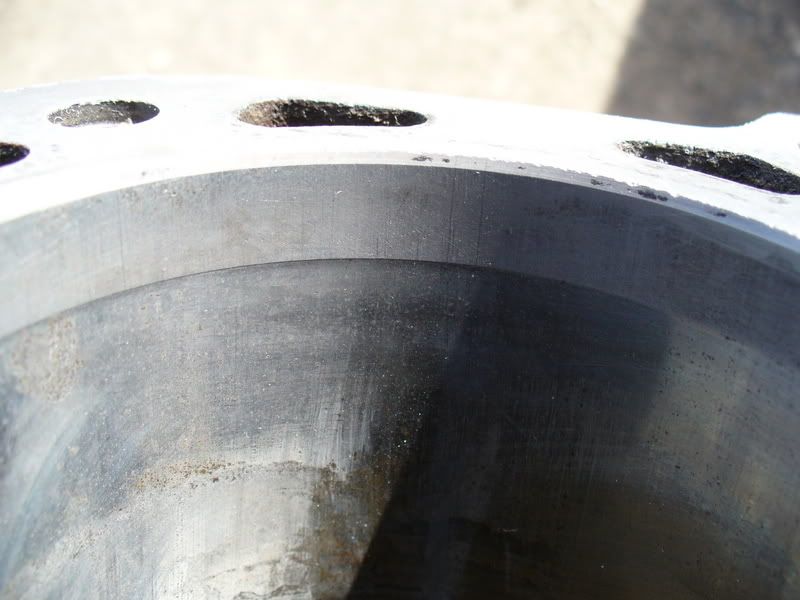
i tried a ridge reamer, but it wouldn't catch the lip, so i spent about an hour or more carefully sanding the ridges out......

i then honed the cylinders out and check them and they were good to go. so after that i had to flush the bores really well, first with superclean and a hose out, then with paper towels and some ATF to help float the particles out. i put some ATF on the paper towel and wiped the bores, and did it until i didn't get any residue on my towels...i think they turned out pretty decent...
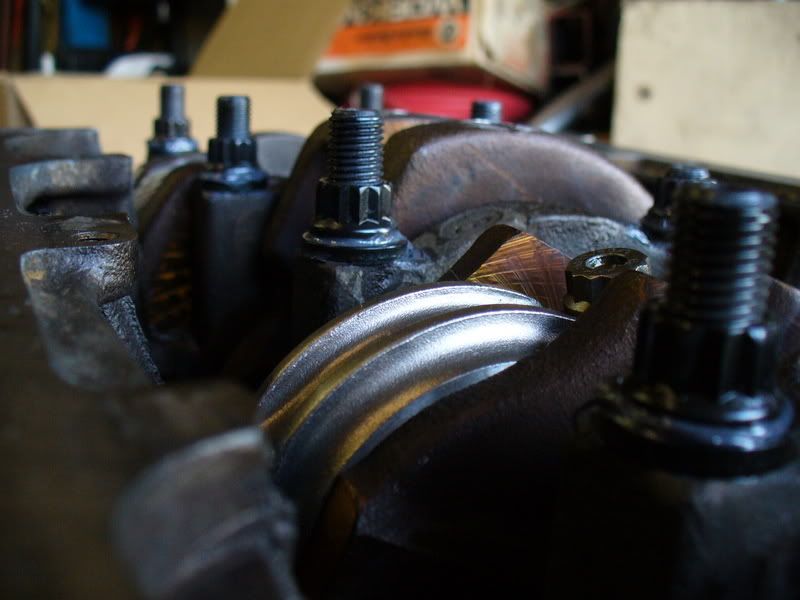
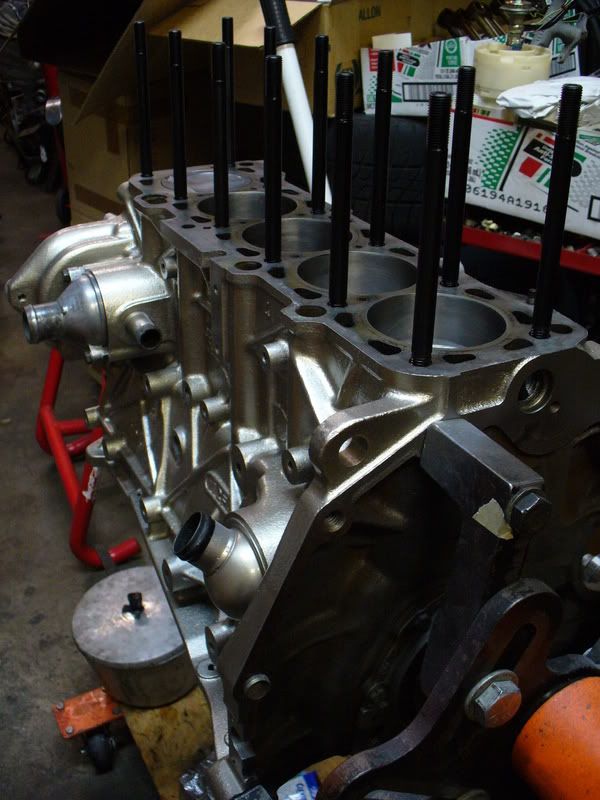
next up i was ready to install the crank, so i put in my new coated main bearings...
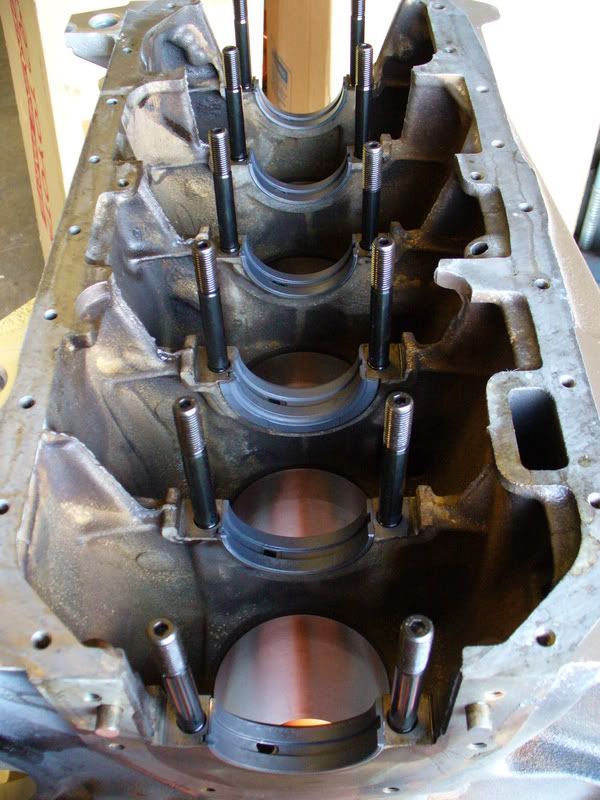
then put the crank in and plastic gauged the mains, they're all in great shape 8)

first piston went in, and this is what i like to call TDC
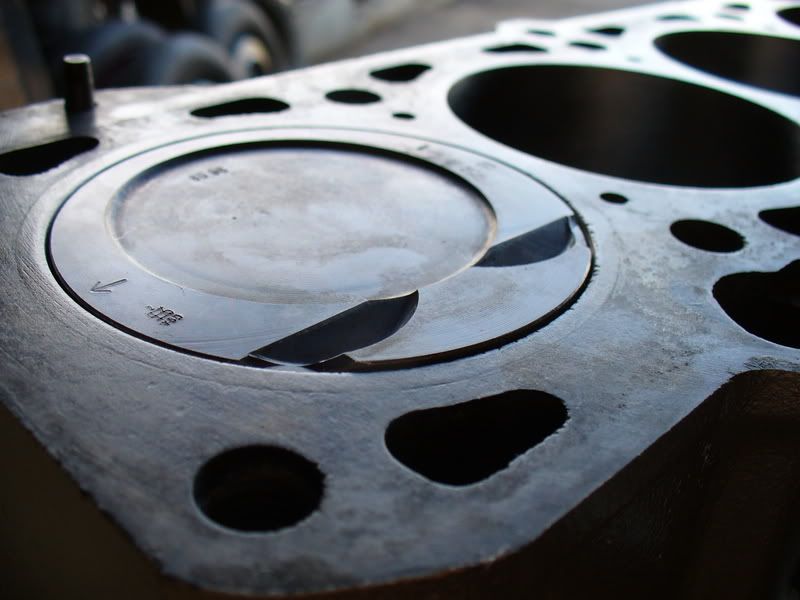
peek a boo
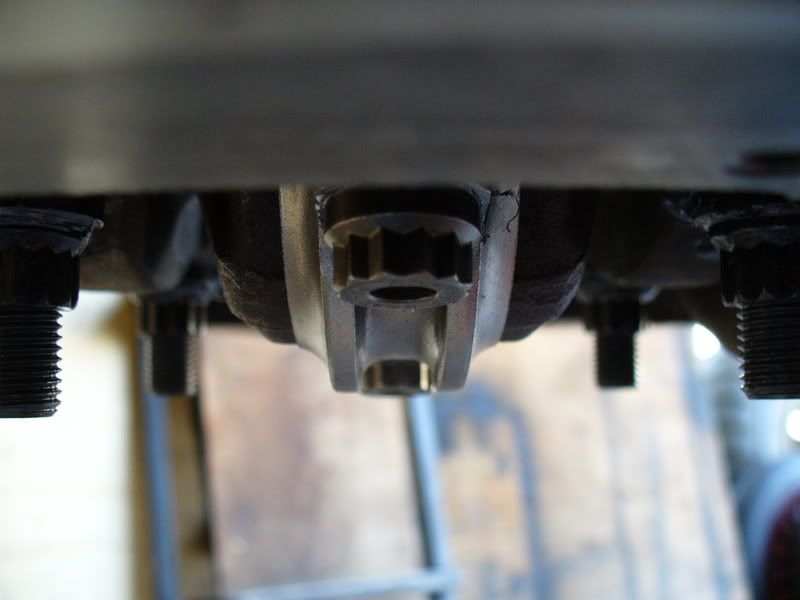
tools
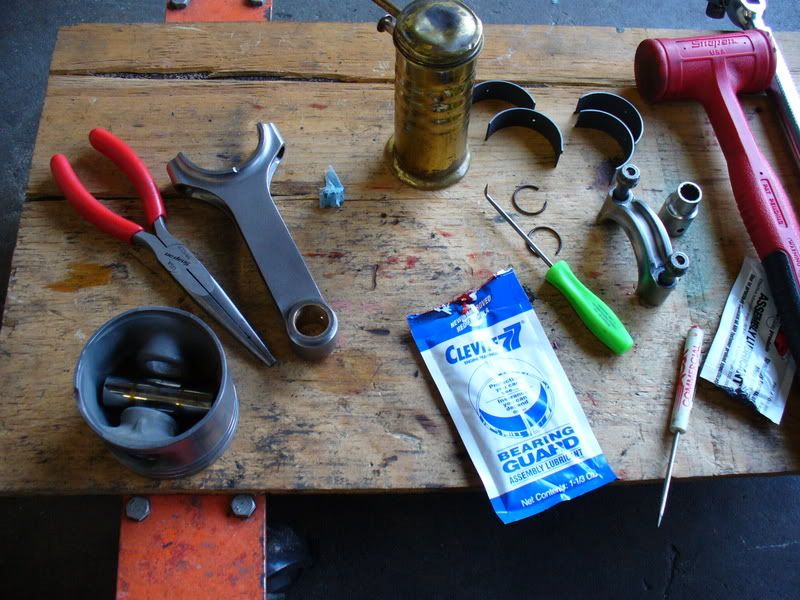
shineeeeyyyyy

i like this... it makes me think of the word "tough" comon', say the word tough
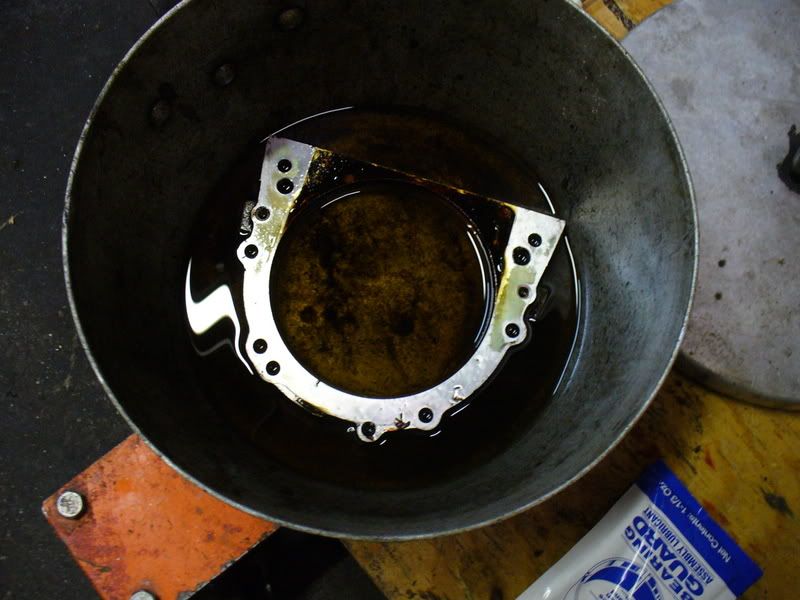
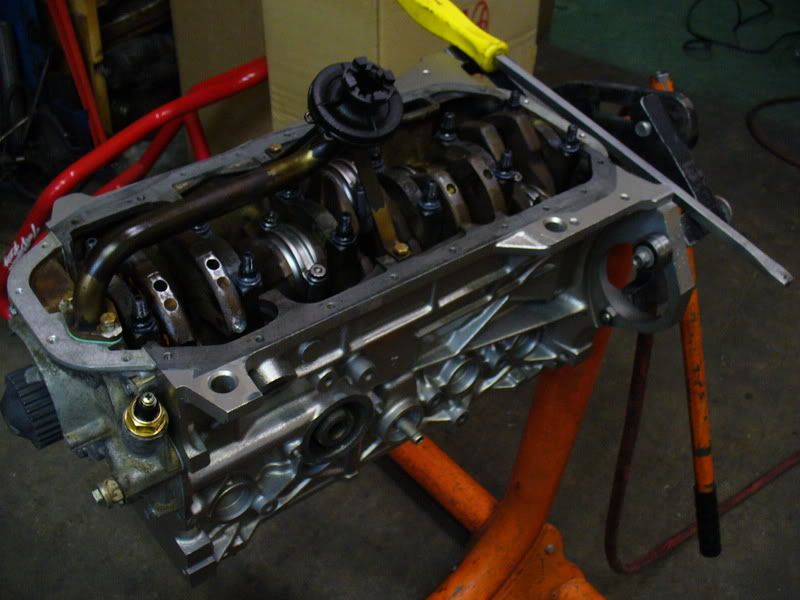
after all the rods and pistons were installed and torqued, i cleaned the rear main seal housing up, put the new seal in, and installed it.
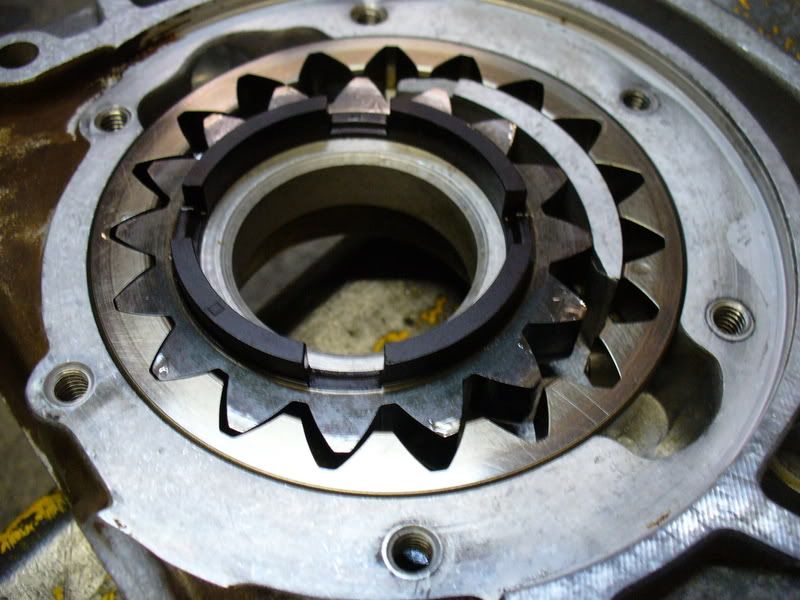
after the rear was the oil pump housing, it was dissassembled, cleaned and then put back together
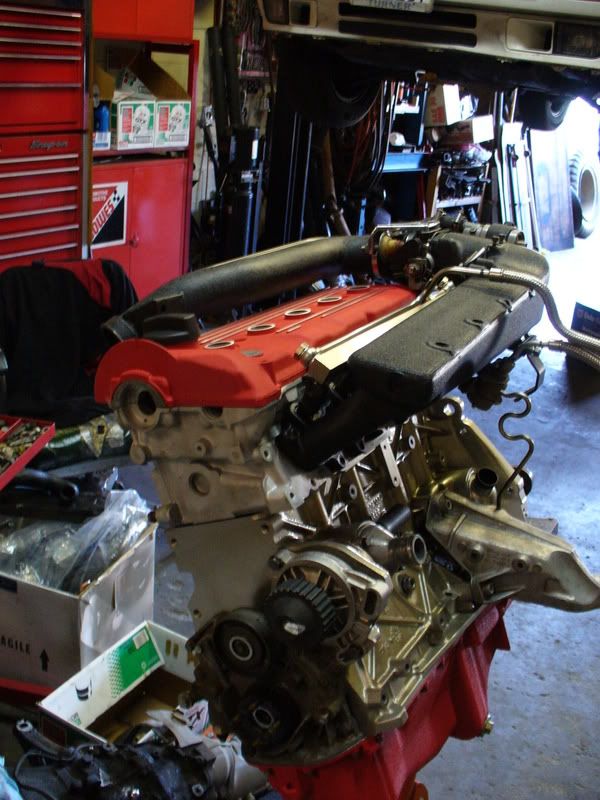
last night i left the shop with the engine like this..
and this morning i came back and fit the oil pan 8)
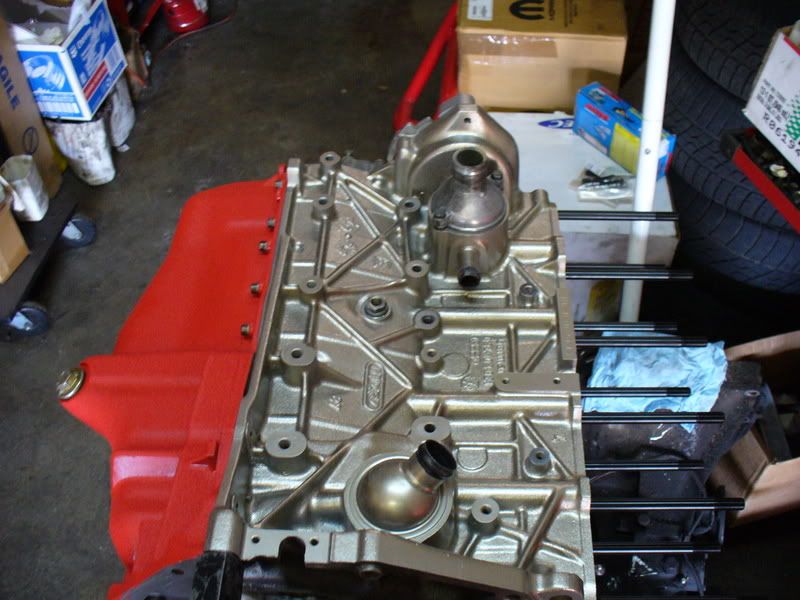
more today i hope
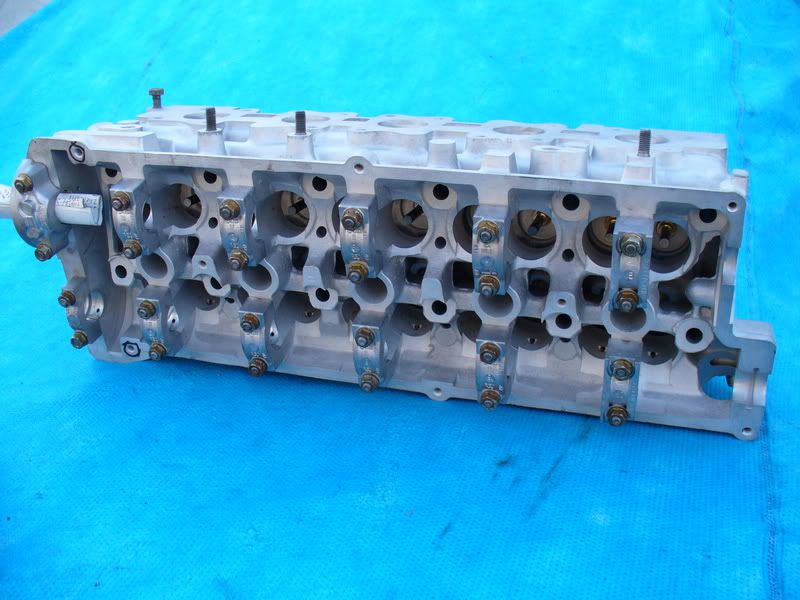
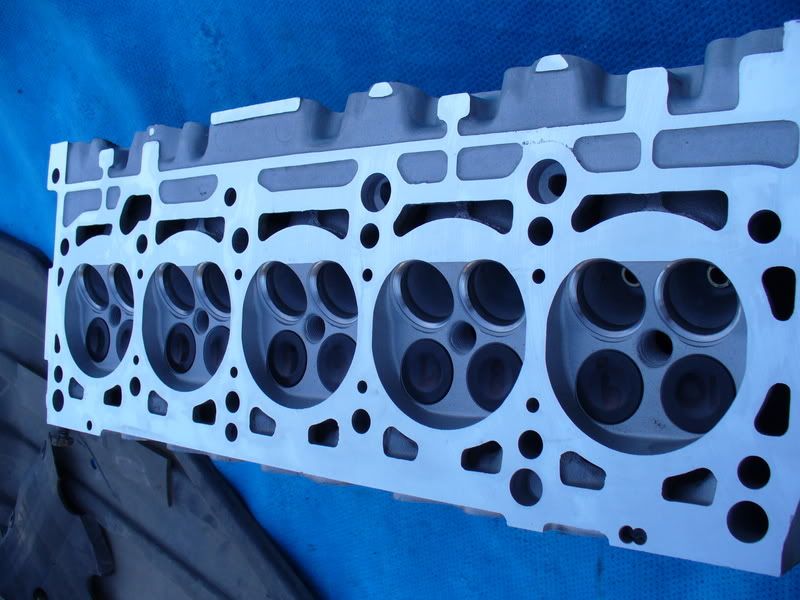
the head is almost done at the machine shop, so i'm shooting to have the block all ready for it 8)
Posted: Thu Mar 15, 2007 9:00 am
by Audilard
Are you sure that block is cleaned. I see some debris that could cause head problems. You better double check that. :wink:
Looks beautiful! When are you coming to build my new block up?
Posted: Thu Mar 15, 2007 1:09 pm
by Wizard-of-OD
Looking good derek!
Posted: Thu Mar 15, 2007 2:15 pm
by LarryFlint
Did you use a windage tray?
Posted: Thu Mar 15, 2007 2:19 pm
by Chad T
Glad you found some more picture hosting. Looking good! That motor is going to be too nice to put in a car. You'll have to just set it in the living room.
Posted: Thu Mar 15, 2007 2:35 pm
by Corey
Dude, looking very good. You need to give it some decent bhp though
Posted: Thu Mar 15, 2007 4:03 pm
by derracuda
Posted: Thu Mar 15, 2007 4:37 pm
by quattrofrog
That looks awesomes.
Posted: Thu Mar 15, 2007 4:44 pm
by Chad T
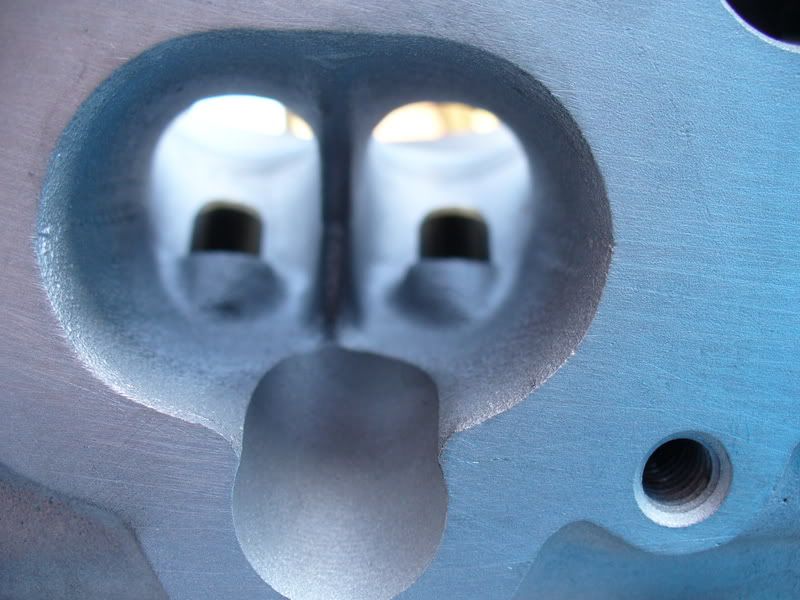
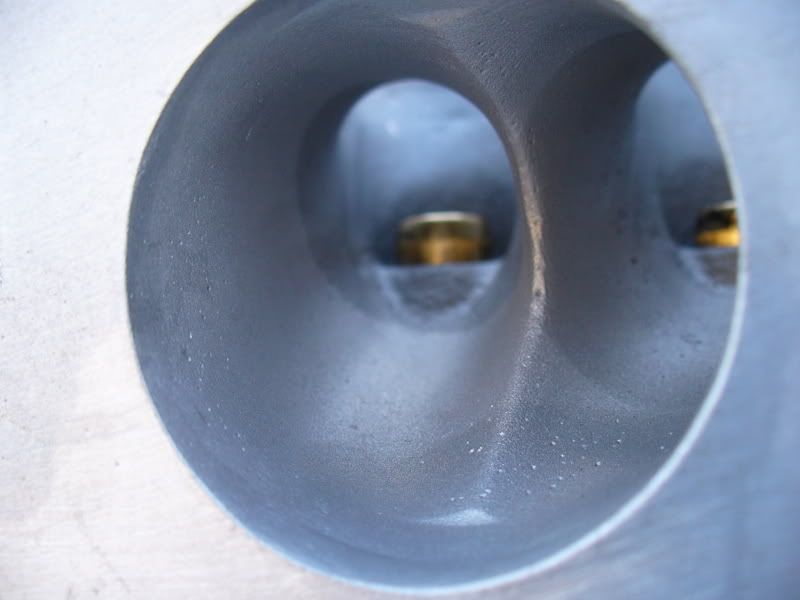
I hope my head looks that good when I get it back. I just dropped it off today. So why did the intake valves need replaced?
Posted: Thu Mar 15, 2007 5:56 pm
by Wizard-of-OD

Still looking good Derek!